The bent sides turned out better every time I did them. But I was still not satisfied that I knew how to do this well enough to try it with my Mesquite. Those last sides were scorched and marked, and I wanted to see if I could do better. I decided to make some more wood to practice bending. I still have half of the oak board that I used for the first four sides. I resawed that board into four more sides. That will give me practice with the saw as well as an opportunity to use my new smoothing plane.
Marking the wood with the knife edge along the grain was a problem last time. The knife wants to follow the grain, and it often went off center. It was a pain in the neck to control. And then, after all that, in order to see it I had to put a pencil mark through it anyway. So I decided to mark the wood with a pencil this time. In order to do that, I modified a pencil so that I could use it in the marking gauge.
Using a shop knife and a file I squared off the tip of a pencil into a wedge shape.
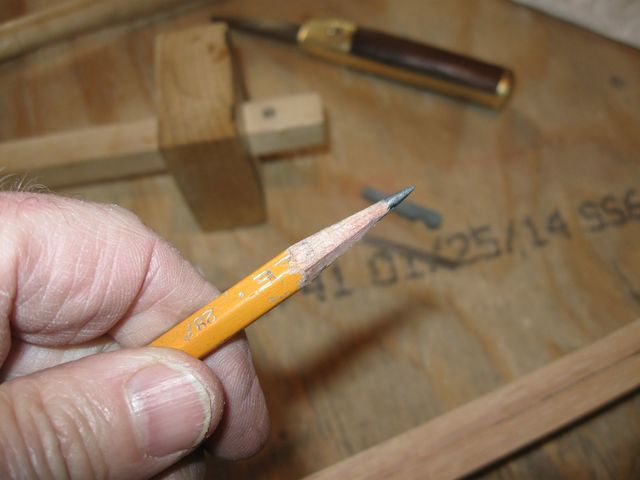
I Can Wedge this Pencil Into the Marking Gauge
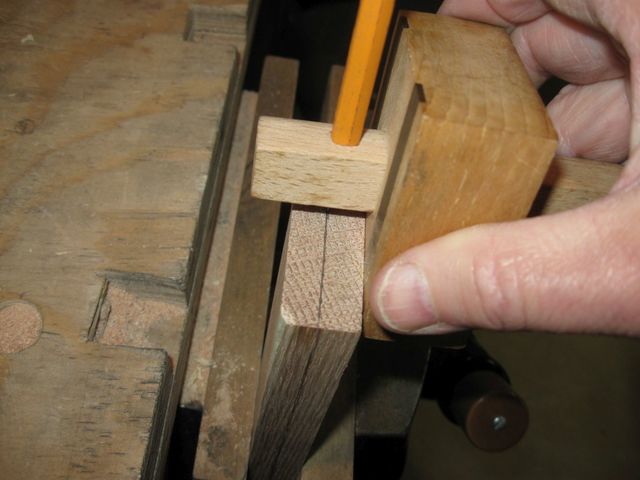
I removed the wedge and the knife from the marking gauge and put the pencil into the hole.
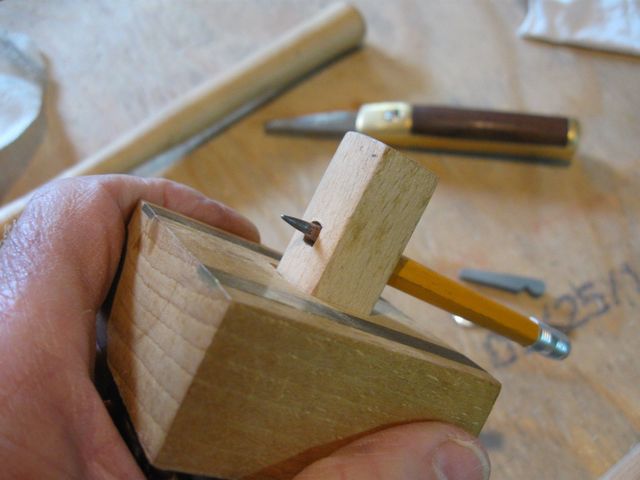
The Pencil Point Sticks Out of the Hole
I tapped the eraser end of the pencil with my plastic mallet to seat the pencil in the gauge.
I Hit This End to Seat the Pencil
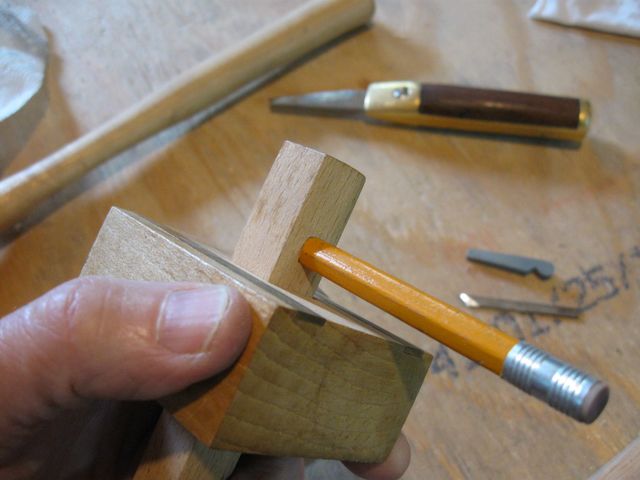
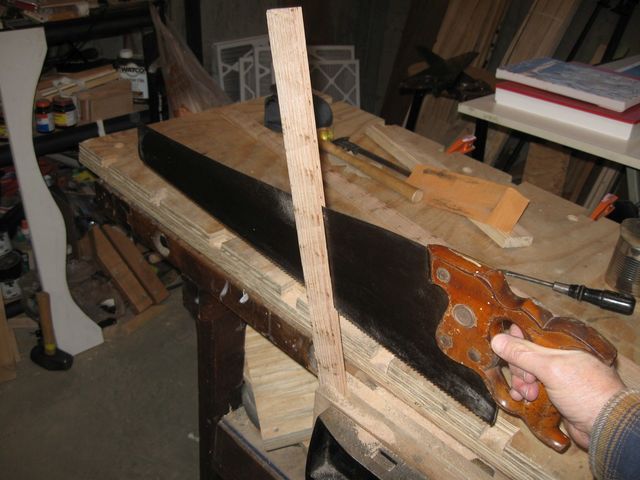
Once I had the pencil in the marking gauge, I used it to mark the wood down the middle. The wood is 3/4" thick, so splitting it down the middle will give me two pieces, each 3/8" thick minus sawdust.
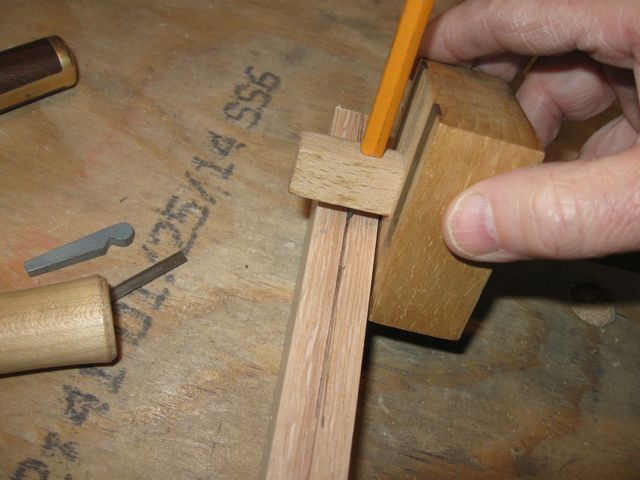
The Pencil Line is Easier to See
You can see in the photo above that the pencil still wants to follow the grain, but it is easier to correct than the knife cut. It is also much easier to see on the end grain.
This is Much Easier to See than a Knife Cut
The rest was the same as the last time I resawed a board. I cut down an inch or so, then flipped the board and did the same from the other side.
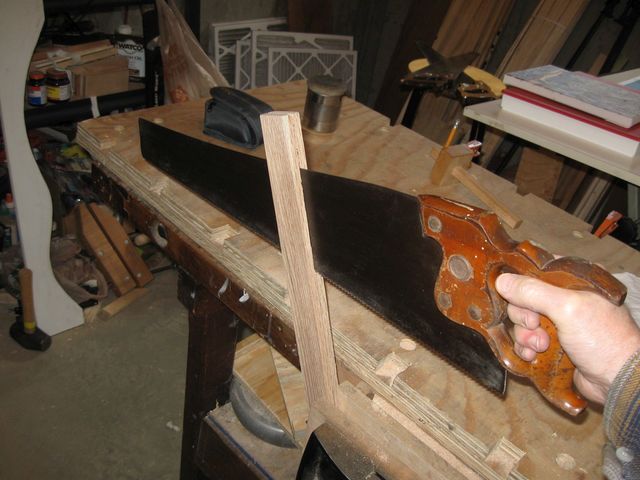
The Saw Followed the Kerf Nicely
I was very careful this time to flip the board every couple of cuts when starting to make sure that the blade did not wander off the line on the opposite side. Once I was down into the board, the saw blade followed the kerf easily.
I sawed the board from one side until I could no longer grip it in the vise.
You Can See How Little is Left in the Vise
Then, I flipped the board end for end and started the kerf on the other end. I put a cardboard kerf keeper in the kerf where I clamped it to keep the kerf from collapsing in the vise pressure. You can see a couple of the cardboard kerf keepers in the photo below.
I Have Two Pieces of Wood Now
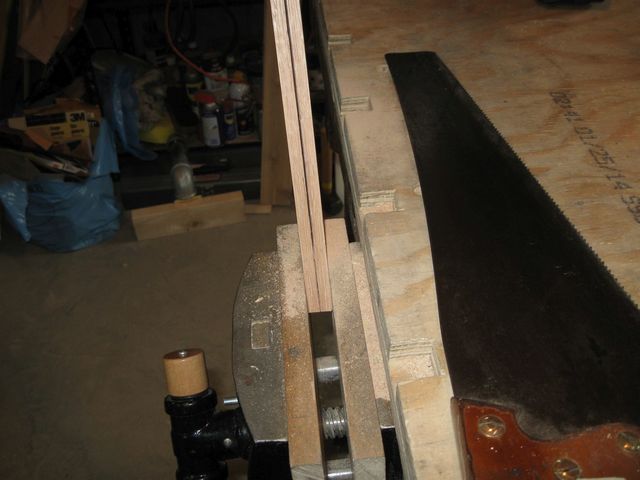
I did the same thing with the two 3/8" pieces of wood I had just made. I marked them down the middle with the pencil and ripped them end to end.
Sawing a 3/8" Board In Half
I tried something different this time when sawing the thin boards. Instead of sawing down the middle of the line, I favored the side closest to the smooth, planed side of the board. I ran the saw blade a tad to the right of the pencil line in the photo above.
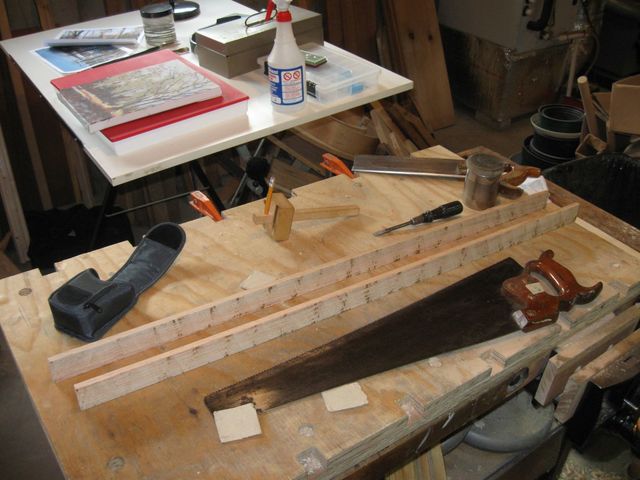
I did that to leave a little more wood on the pieces that came from the center of the board, and a little less wood on the pieces that came from the outside of the board. The outside pieces have one side that was planed at the factory and one side sawed by me. The inside pieces have two sides sawed by me. I will have to plane two sides smooth on the inside pieces and only one side on the outside pieces. So I made the inside pieces a tad thicker.
I did not take a lot of photos since you have seen all this before. Here are the finished pieces.
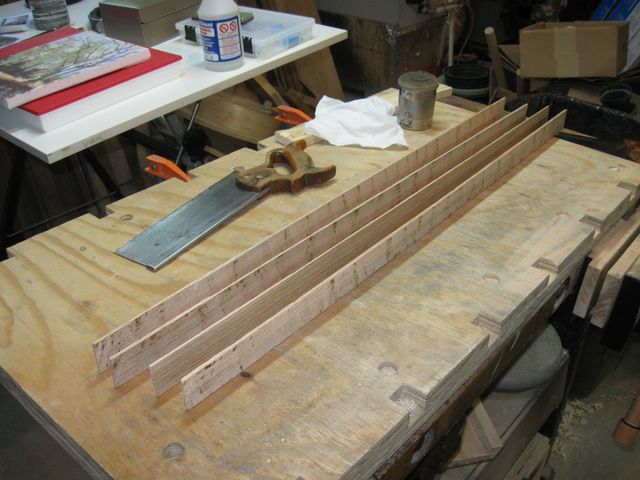
I Have Four Boards Now
The 3/8" boards sawed in half are now two boards, each one nominally 3/16" minus sawdust. I put the calipers on one of the boards to see how I did.
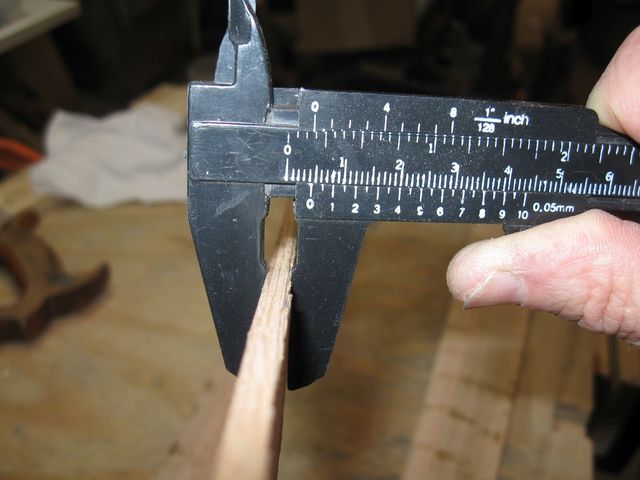
That is Just Shy of 3/16" Thick
The next thing to do is to plane the boards flat and thin. For that, I used my new Stanley #4 Smoothing Plane.

The Plane in Action
This is the reason that I took the time to restore that old plane before I continued. It is a lot easier to handle than the larger #5 Jack Plane. The Smooting Plane has a sole that is 9 3/4" long, and the Jack Plane is 14" long. It makes a difference.
I planed one of the boards until it was smooth and thin.
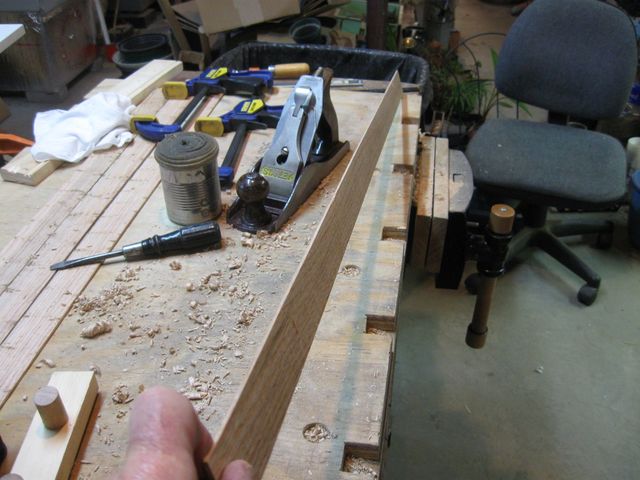
That Looks Pretty Good
That was all I had time for today. I will finish the boards in the next session.
Oh.... and if you had told me a year ago that I would eventually be able to saw a 36" long board that is 3/8" thick in half lengthwise.... I would have said, "Horsefeathers"! But there it is. I did it.
