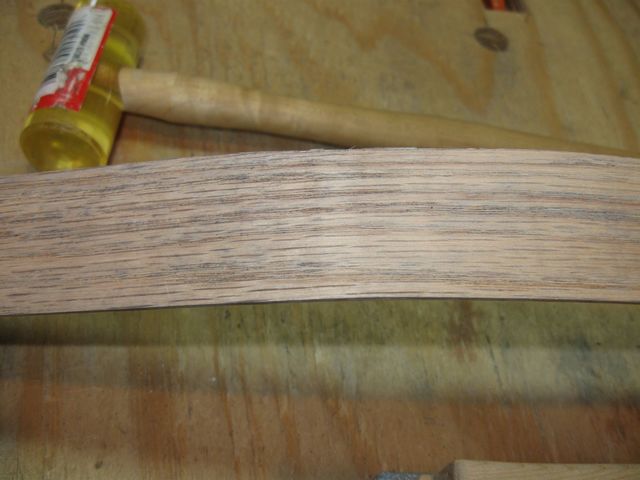
Yesterday I bent two sides for an hourglass shaped dulcimer. I left them clamped in the template to dry, and today I pulled them out to see how they look. Here is a photo of the two sides spooned together.
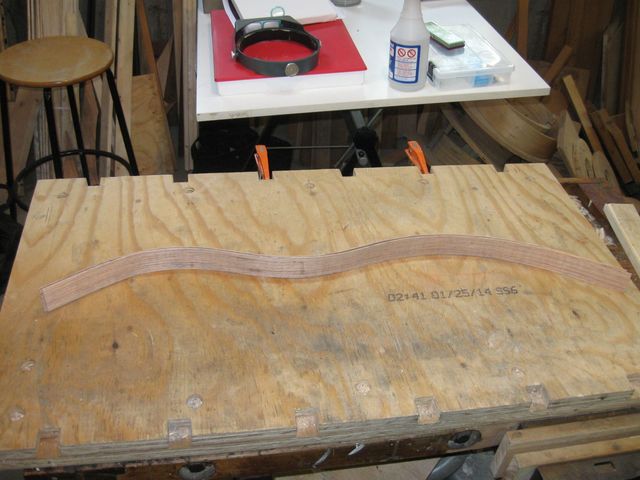
Yes, That is Two Sides
I flipped one over and set them out so that you can see the shape that they would have when glued into a dulcimer.
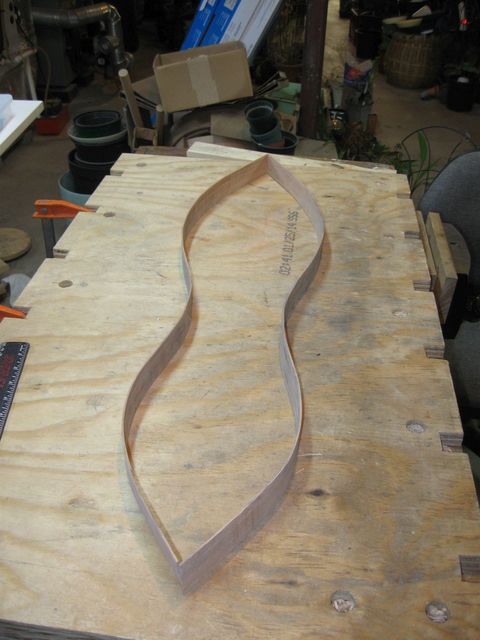
That is the Basic Hourglass Shape
That is a bit wider than it would actually be because the sides are longer than they would be once fitted into the peghead and the tail block. But you get the basic idea.
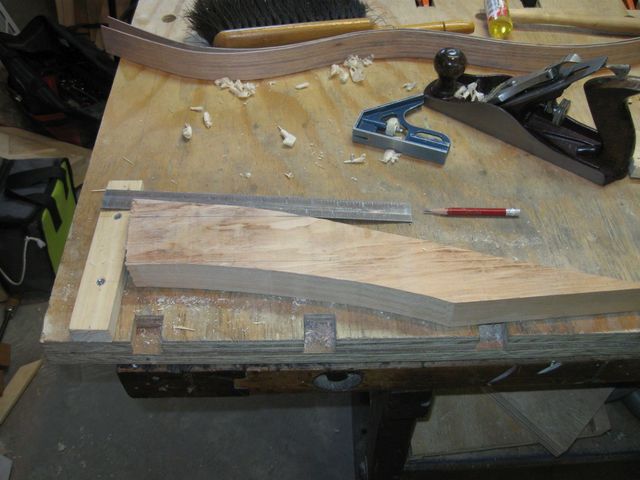
I had to work the wood against the iron for so long that there was quite a bit of scorching and staining of the wood.
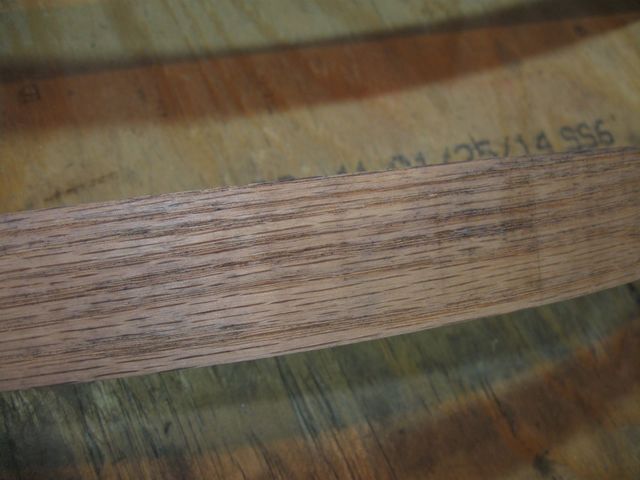
This Might Have Happened When I Turned the Iron Up Too High
Some of it might be discoloration from contact with the iron. Most bending irons are made of aluminum, but mine is made out of galvanized iron. The marks are all over the wood.
The Gray Marks are All Over the Wood
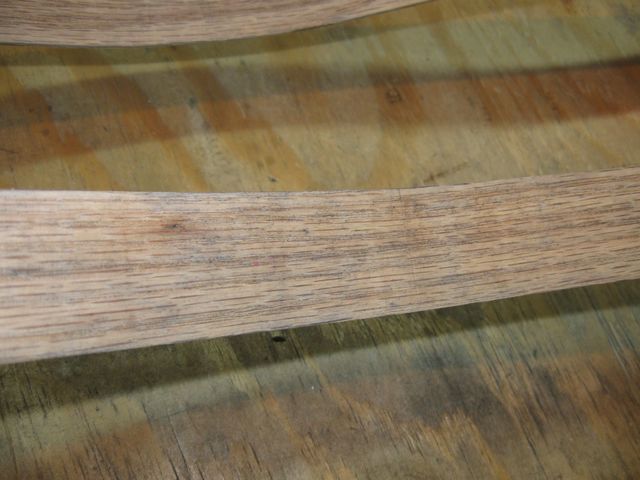
The bends are not completely smooth either.
I Had to Bend The Wood in Small Increments
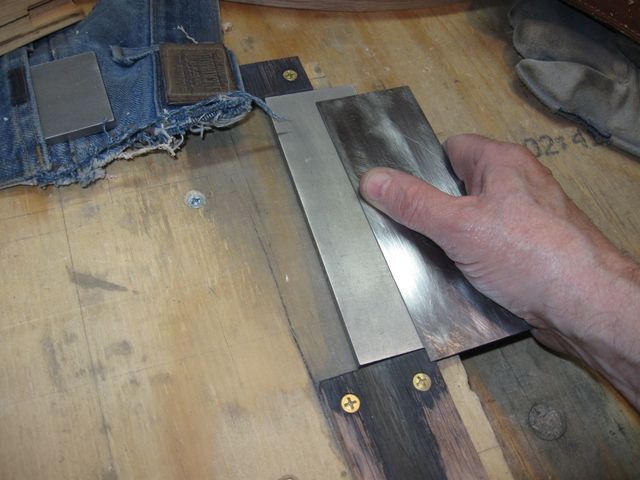
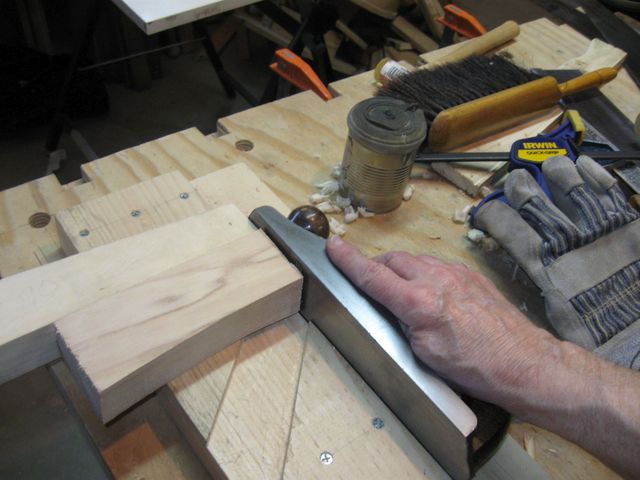
The marks should sand out. So I briefly tried using 80 grit sandpaper, but that was not aggressive enough, so I got out the card scraper.
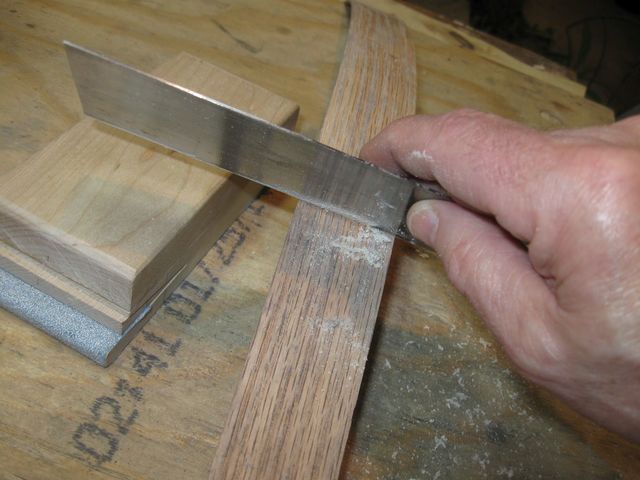
The Card Scraper Cuts Right Through It
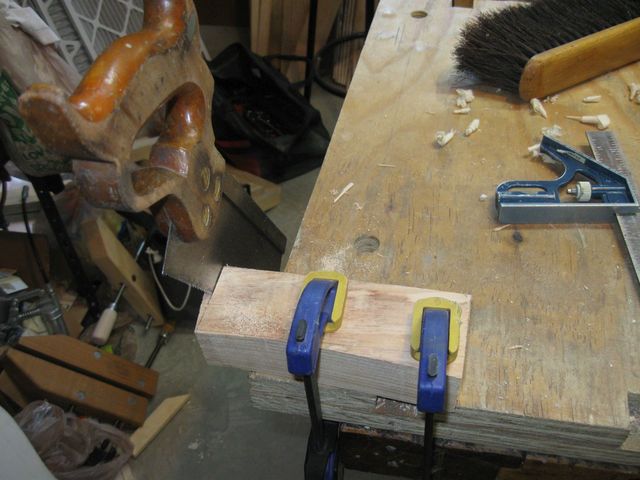
I scraped the wood until it looked acceptable. I did not spend the time to get all of the marks out because these sides will never be used for an instrument. That is because of the other issues, i.e. the bad saw marks. But they turned out OK otherwise, and if the other issues were not there, I could probably use them.... except that I would never make an instrument out of oak.
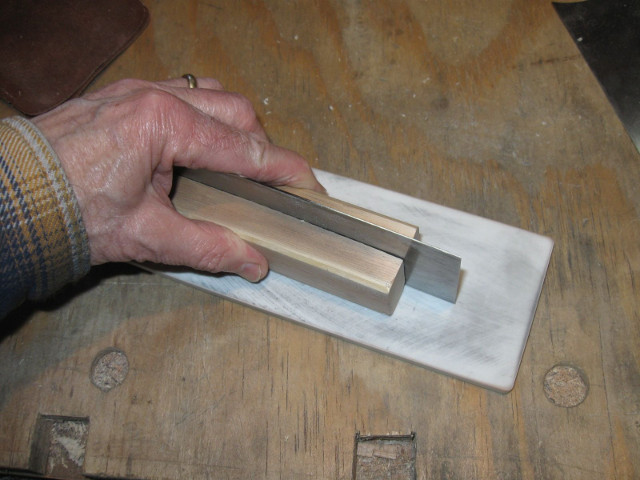
Just for grins I set the two sides together. They look pretty good.
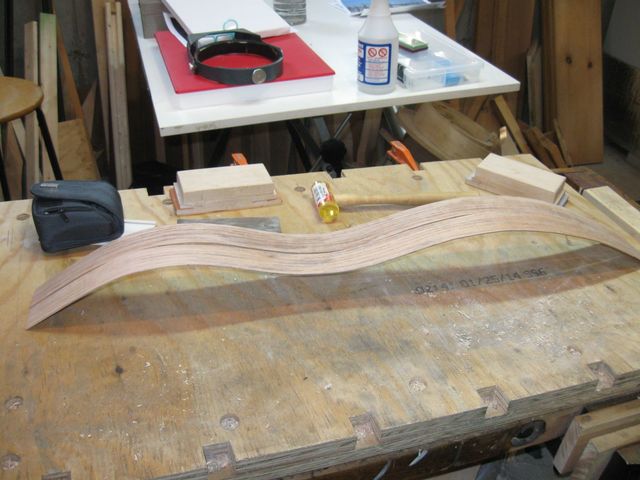
These are Not Identical, but They Could Work
The card scraper was getting a little dull, so I decided to sharpen it. That is always a struggle for me because I don't always get good results. I went online and did some research about how others sharpen their scrapers. Everybody does it differently. Most of the techniques don't work for me, so I grabbed a few new ideas and tried them out. I think I have come up with a good way to get the scraper sharp, so I have written it up.
A few months ago I went to a demo of how to use a card scraper at Woodcraft. The guy there used a jig that he made on his band saw to hold the scraper vertical to the stone. The first thing you have to do to the scraper is to joint the edge at exactly 90° He made a bunch of the jigs and gave them to us. They are just a scrap of wood with a vertical kerf cut in them on the band saw. Here is one of them.
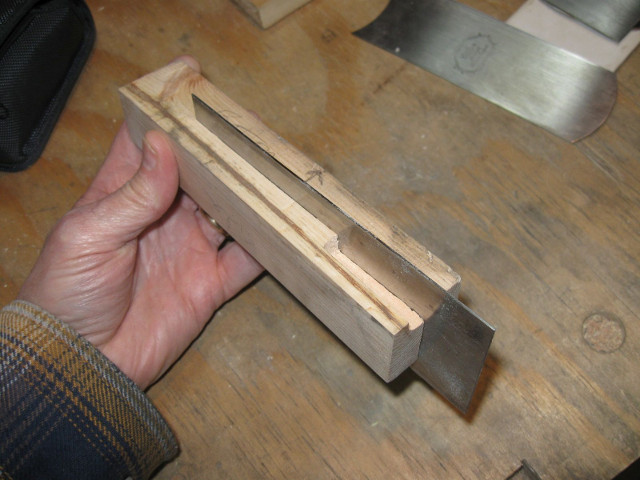
The Slot Keeps the Card Scraper Vertical
You basically slide the entire block back and forth on the stone to sharpen it square.
This is How The Demonstrator Used the Jig
That mostly worked OK, but it was hard to hold, and the card moved around in the slot. They also tend to grind the wood into my stones. One of the suggestions that I read online was to use a simpler jig, which is just a squared piece of wood, and hold the scraper against the side of the wood. You move just the scraper on the stone.
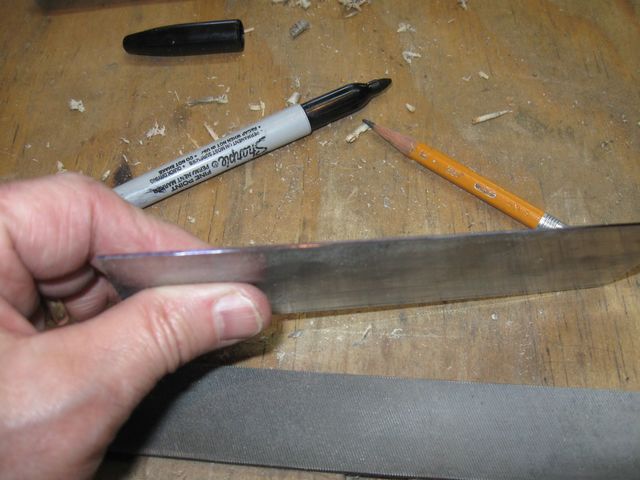
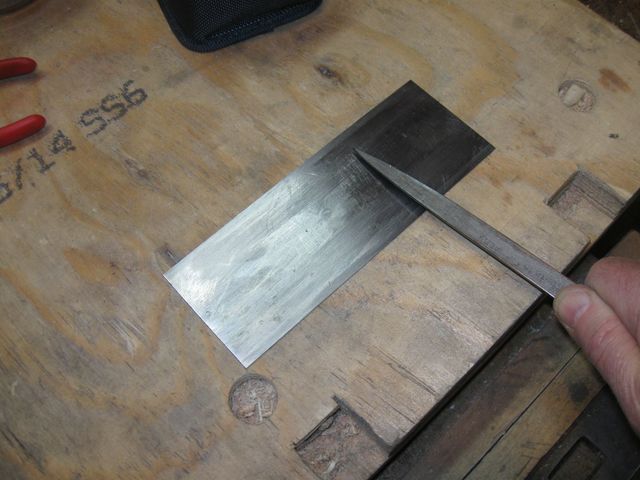
So I tried that with one of these blocks. Here's the file on the bench.
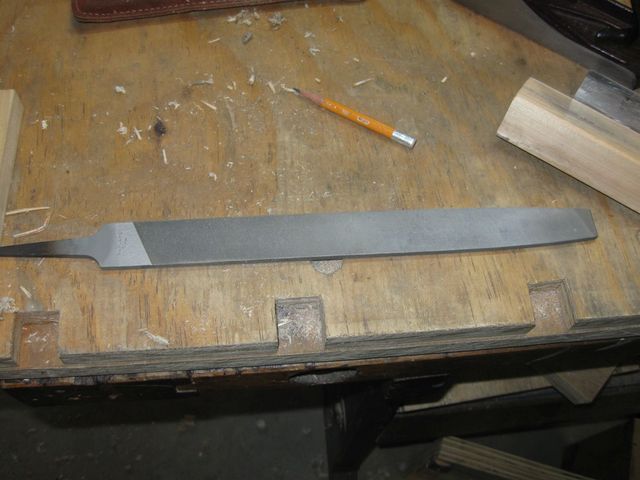
The First Thing to Do is to Joint the Card on a File
The jig can be used like this.
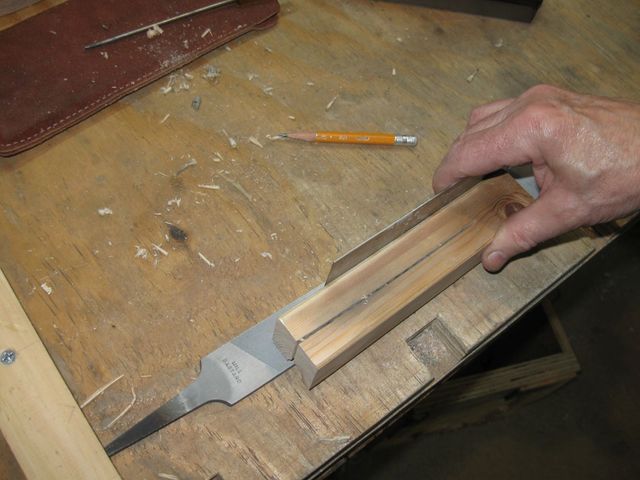
The Card is Simply Moved Along the Side of the Wood
The wood has to be perfectly square to use it this way, so I got out my plane and squared it up.
Square
I need practice making things square anyway.
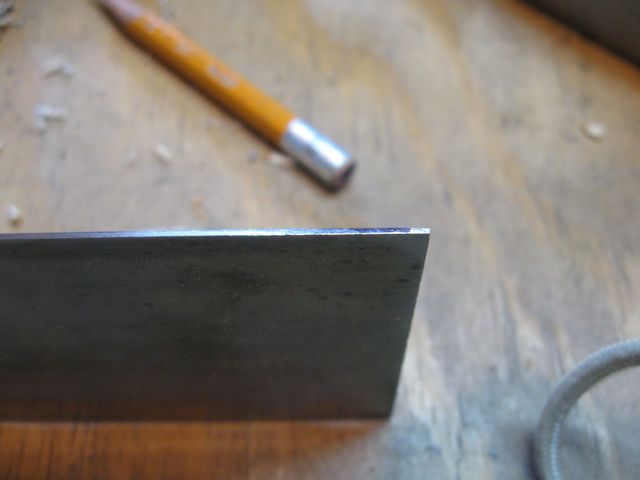
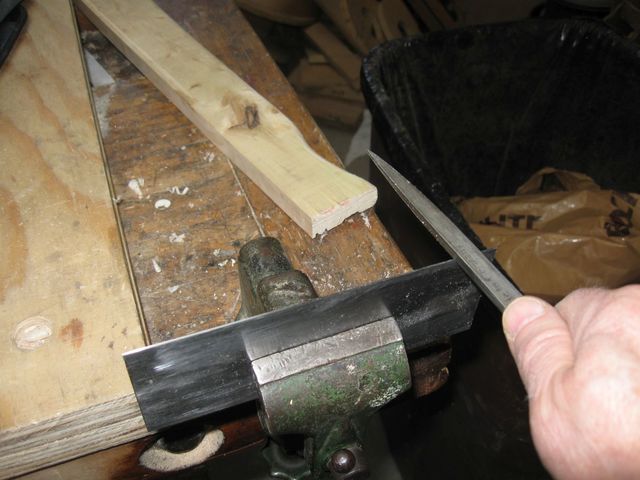
I need to make the edge of the scraper exactly 90° to the face of the scraper along its entire length. To do this, I first painted the edge of the scraper with a permanent marker.
You Can See The Mark, Right?
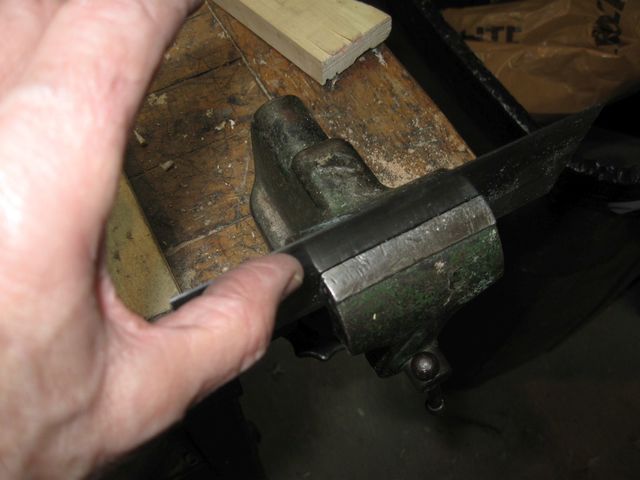
I held the scraper along side the block of wood with the edge down on the file, and I moved the scraper back and forth on the file. That takes off a lot of metal rather quickly. Looking at the edge, I could see that on the end there was still some black marker ink, so I took it back to the file until that was gone.
This End is Not Quite Done Yeet
After I jointed the edge, I put the scraper down flat on the file to file the side flat.
The Face of the Scraper Needs to be Flat
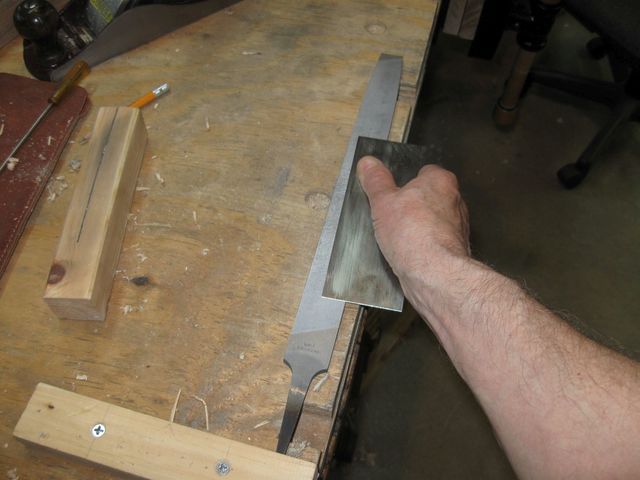
After jointing the edge on the file, I moved to the stones, holding the scraper against the side of the wooden block and pushing it back and forth on the stone.
Honing the Edge on the Stones
Just as I did on the file, I honed the face of the scraper on the stone.
The Face Needs to be Flat
One thing that was suggested online was using the "Ruler Trick" to make the honing of the scraper face less onerous. You take a very thin ruler and put it on the side of the stone.
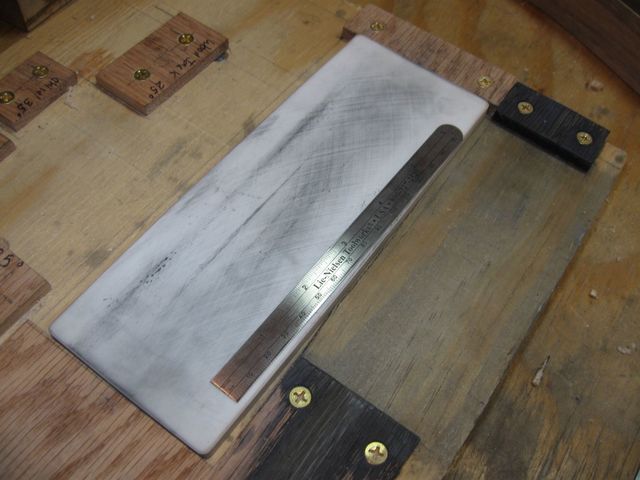
The Ruler is Very Thin
Then, you put one edge of the scraper on the ruler and the other edge on the stone, and hone it like that. What that does is put a very very very (very) small angle on the face side of the scraper. When you do that, you do not have to remove so much metal from the side. You only need to remove a small area that is close to the edge.
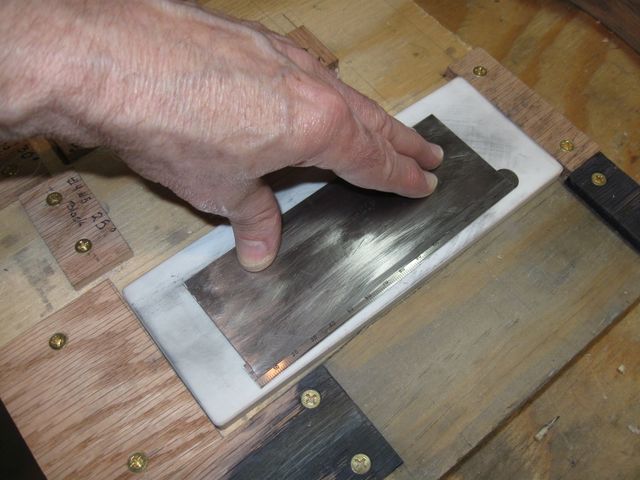
Honing the Face Using the Ruler Trick
Lie-Nielsen recommends sharpening plane irons using the Ruler Trick. In fact, the last time I was up there, his folks gave me the ruler when I picked up a Boggs Spokeshave. That is where I got the ruler for the Ruler Trick.
After going through all of the grits of the stones, it is time to burnish the hook on the scraper. That is done with my burnisher.
My Burnisher
The Burnisher is much harder than the steel in the scraper, so it will bend the edges when pressed down on the steel.
To keep the steel from galling, I ran the scraper over the rag-in-a-can oiler.

Oiling the Scraper
I also ran the burnisher over the oiler.

The Edge of the Burnisher Needs Oil Too
Burnishing is a two step process. First, you run the burnisher on the face of the scraper, putting moderate pressure on the edge where the hook will be formed. This is to pull the edge up and harden it somewhat.
Burnishing the Face of the Scraper
Step two is running the burnisher against the edge of the scraper, which bends the 90° edge down into a hook. The hook is just a burr caused by bending the edge down.
Burnishing the Edge of the Scraper
I burnished the edge until I could feel the hook with my thumb. I am pulling up against the edge of the scraper to feel the hook.
You Can Tell it's Sharp by Feeling the Burr
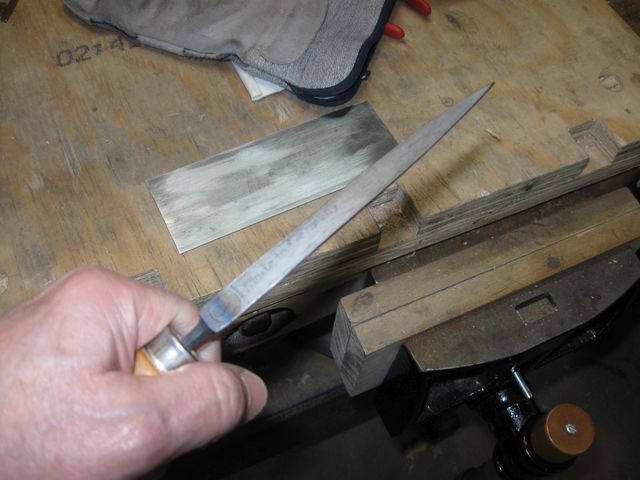
Once you have a burr on the edge, you can use the scraper to pull curls of wood from the boards. Using a properly sharpened scraper is one of the best things about woodworking.
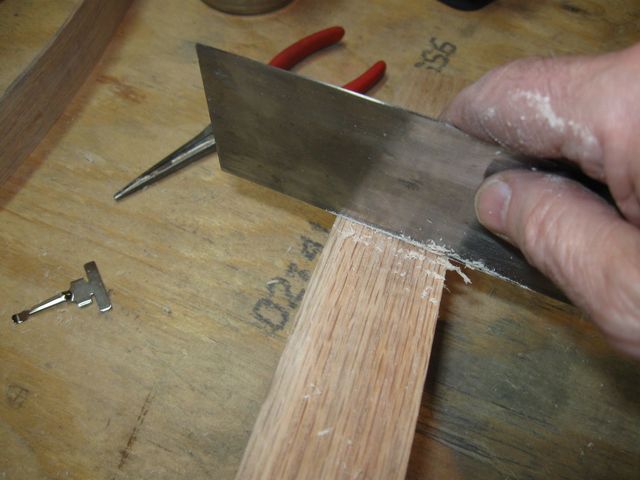
Scraping The Bent Side
The scraper is more aggressive than sandpaper, and it leaves a smoother surface on the wood.
I like this scraper sharpening technique, so I decided to make a better jig. There were a couple of reasons for doing this. First, the slotted blocks were made using a band saw to keep the slot vertical. I have no band saw, and I do not want to depend on something that requires the use of one. Part of the reason for using hand tools is to be free of those things. Another reason is that the blocks I have are 1" square, and that makes it difficult to keep the scraper tight against the vertical face of the block.
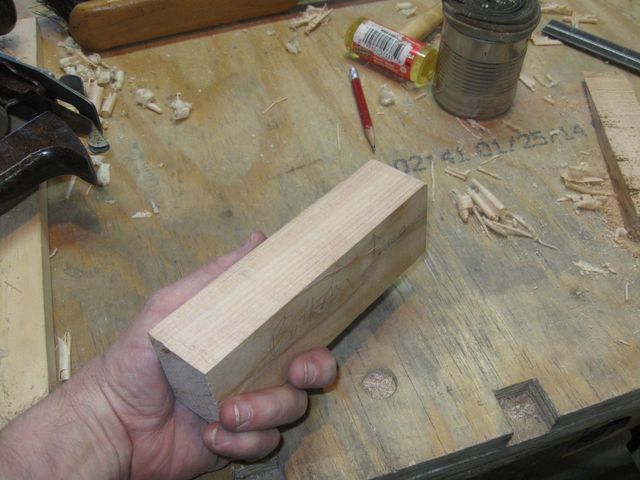
So I decided to make my own block out of some scrap 2" lumber left over from a previous project.
This Is Lumber Left Over from Another Project
I marked it off and cut a rectangular piece out of it.
Cutting Off the End Square
I squared the end of the board using the shooting board.
I Need to Make This Square
I sawed off the odd pieces until I had a rectangle of wood.
Using the Rip Saw to Square Up the Board
I planed the rough cut edge with the smoothing plane until it was flat and 90° to the face of the board.
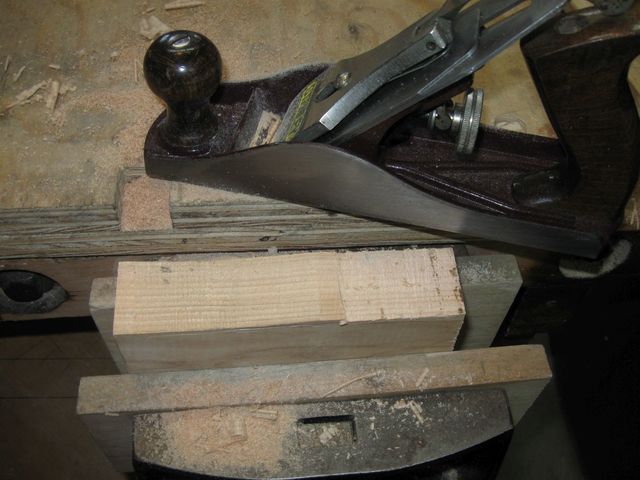
The Smoothing Plane is an All Purpose Plane
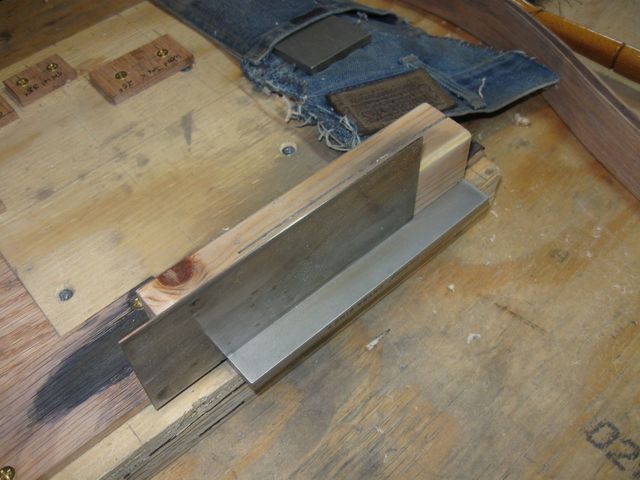
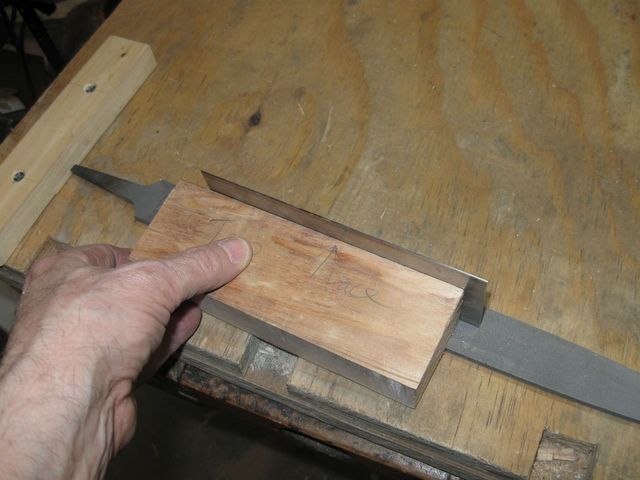
Using the shooting board and the try square, I made a face to hold the scraper against. It is exactly 90° to the top face of the board.
This Face is At 90° to the Other Surface
Here is how it sits on the file.
This Will be Easier to Hold Than the Smaller Blocks
Later on I might make a board to hold the file. I will inlet the file into the board so that it sits flush with the surface of the board. That will give me more surface area to hold the sharpening jig flat to the file. But that will have to wait because I need to get back to my wood.
