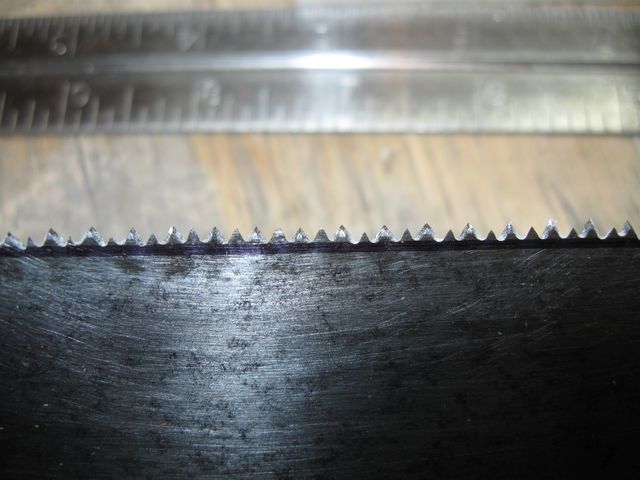
I was really puzzled that my saw file had erased half of the teeth on my back saw. So I did some research online to see if I could figure out what I had done wrong.
The online experts said that it is important to use a small, shorter file on saws with smaller teeth. That did not make any sense to me at all. Regardless of how long the saw is, or how large it is, a three sided file has the same shape, like in the drawing below.
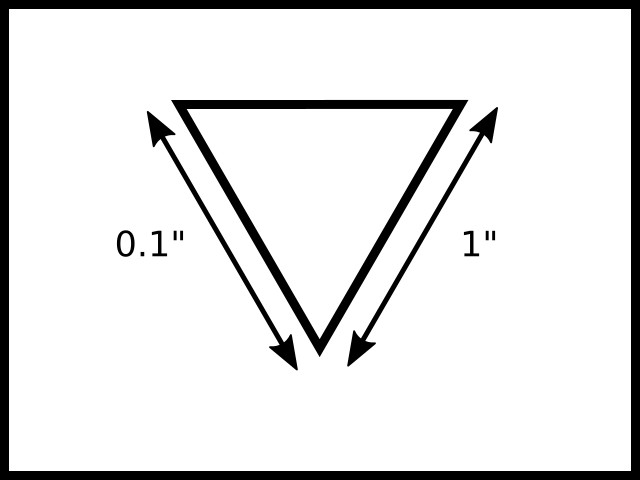
Drawing of a 3 Sided Saw file.
You can see in the drawing that it does not matter if the file is one inch wide or one tenth of an inch wide, the sides still meet at 60°. It should not matter at all how large the file is. The shape is the same, so it should cut the teeth to the same shape.
But then, I read that the "three sided file" does not really have three sides. It has six sides. They just call it a three sided file. If you look at the actual cross section of the "three sided file", it looks more like the drawing below.
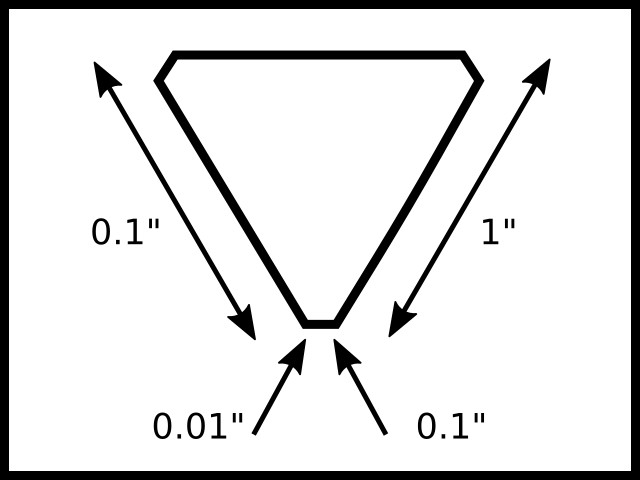
Drawing of a 6 Sided Saw File
With the six sides, it does matter how large the file is because the small, corner sides are scaled up with the size of the file. The numbers I used in the drawing are just estimates, but the concept is the same. The small, corner sides are designed to file out the gutters between the teeth. So if you use a file that is too large, the gutter will cut into the tooth that is next to the one you are filing, and as in my case.... obliterate it.
So I went off to the store and bought a new, smaller file. Here is a photo of the two files next to each other.

They Don't Look All That Different
The new file is a "5 inch file", and the old file is a "6 inch file". You would not think that would make all that much difference, but the way the files are made, it does. Notice that the new file is a lot thinner than the old file, even if it isn't that much shorter. The file is called "Extra Slim". So the lesson here is that you need to be careful of the nomenclature. It is a bit confusing.
Here is the summary: The "three sided" file or "triangular file" is really a 6 sided file, and it is not a triangle. Triangles only have three sides. Also, the 5" file is significantly different from the 6" file, more than just the one inch difference in the length. When folks say that you need to use a shorter file for the smaller teeth, what they mean is that you need to use a thinner file for the smaller teeth. So when you go to the hardware store to buy a triangular saw file, you are buying a 6" file, and they don't tell you that it was designed to file the teeth on those humongous rip saws with 5 1/2 teeth per inch. In order to file the teeth on a small fine woodworking saw, you have to go to the specialty store and get the shorter file, a 4" or 5" file, for the smaller teeth, and even so, the length of the file is irrelevant since what you are looking for is the "Slim" or "Extra Slim" shape, not the length of the file.
Oh, and before I move on, please note that I bought a wooden handle for the new file..... and it is straight.
And while I was at it, I grabbed a couple of new pencils out of the desk upstairs to reset that issue as well.
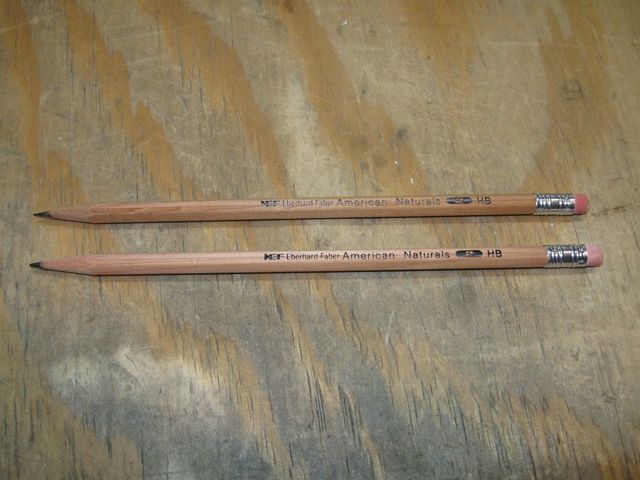
Brand New Pencils
I measured the discrepancy between the tall teeth and the small teeth.
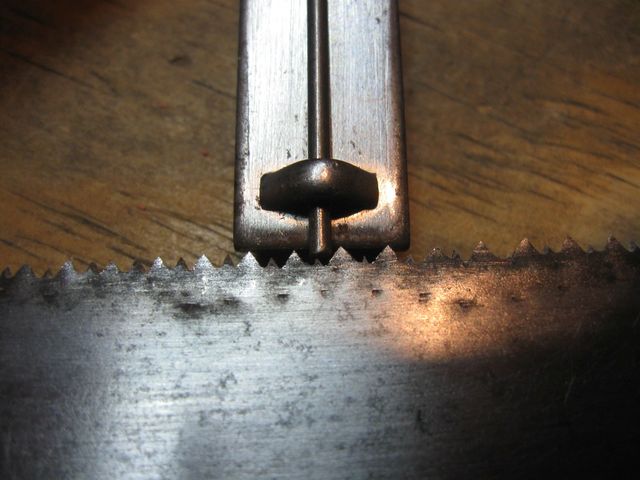
I Need To Make All the Teeth the Same Height
That's about 1/32" difference.
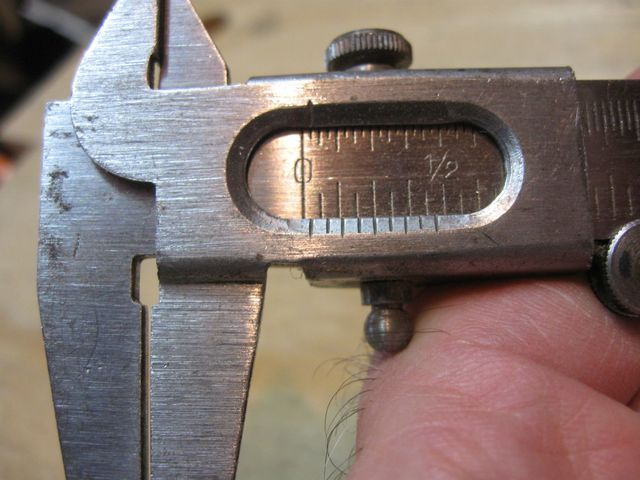
Doesn't Seem Like All That Much When You Say It Out Loud
This time, in order to do a better job with the sharpening I took the handle off of the blade. That will allow me to clamp the blade better.
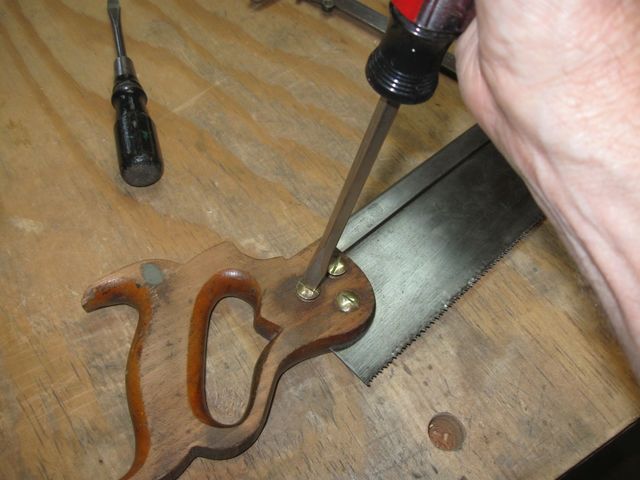
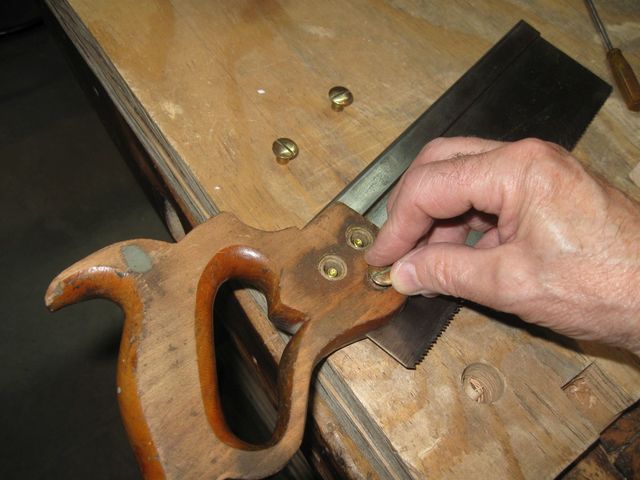
Removing the Bolts
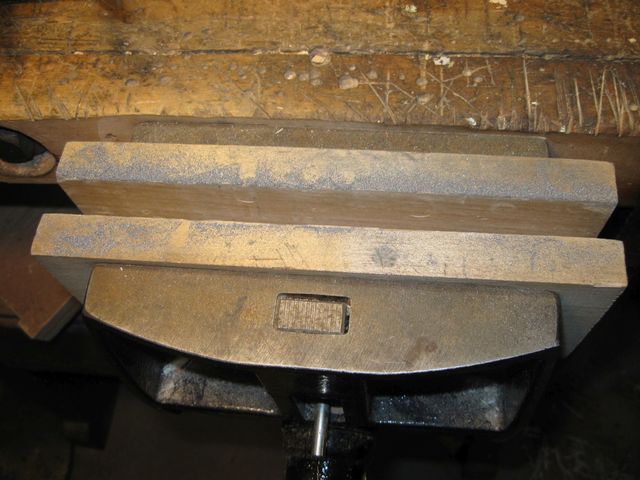
Then, I cut some of the scrap wood down to size so that I can clamp the blade better in the vise. I should have cut the wood before I took the saw apart. But no worries. I just used the panel saw.
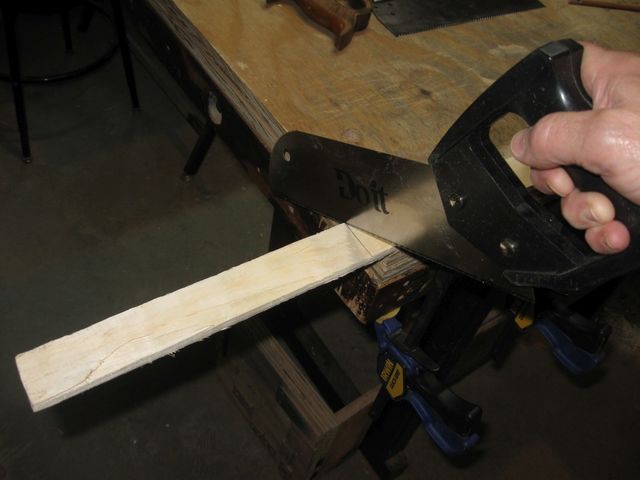
That Wood is Plaster Lath
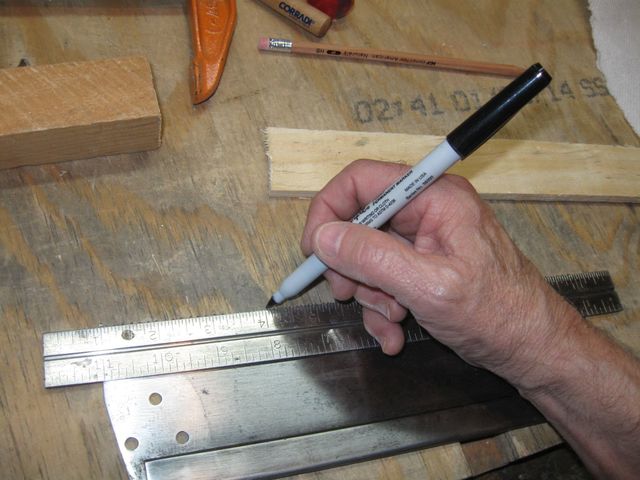
I marked the saw blade with a permanent marker so that I will be able to see how much to file each tooth as I go down the blade.
You Can't See the Mark At This Angle
Here is the mark.
I Need To File Down To the Bottom of that Line
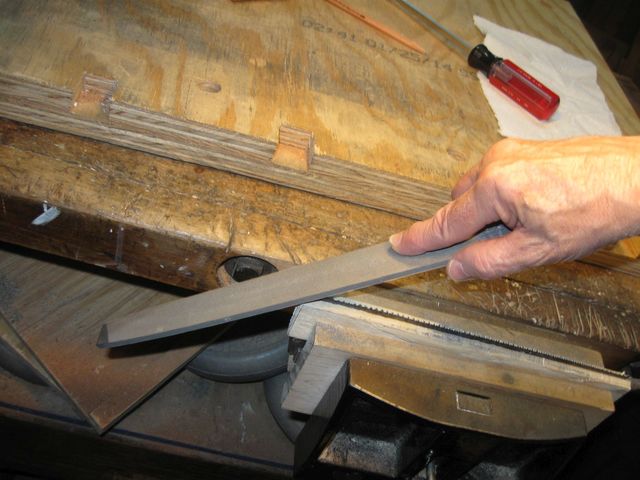
I clamped it into the vise between the two pieces of scrap wood.
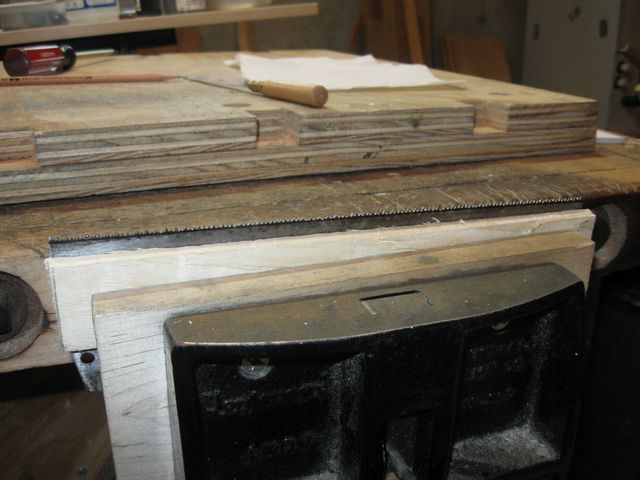
It Was Clamped Too High; I Had To Move It Down
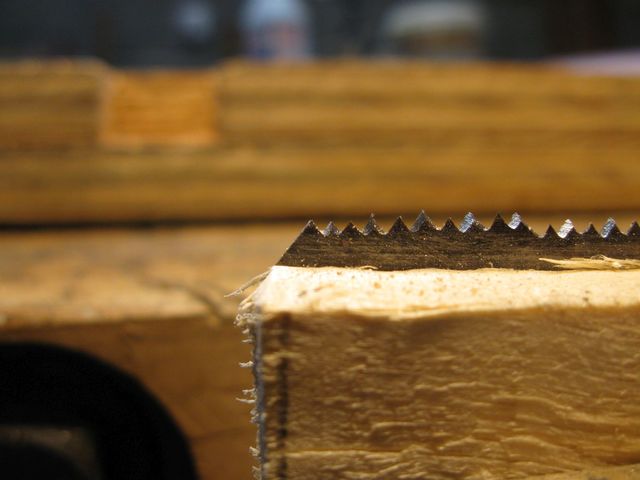
Then, I went down the saw, filing every other tooth. You can see in the photo below that every other gullet has been filed down to the bottom of the marker line.
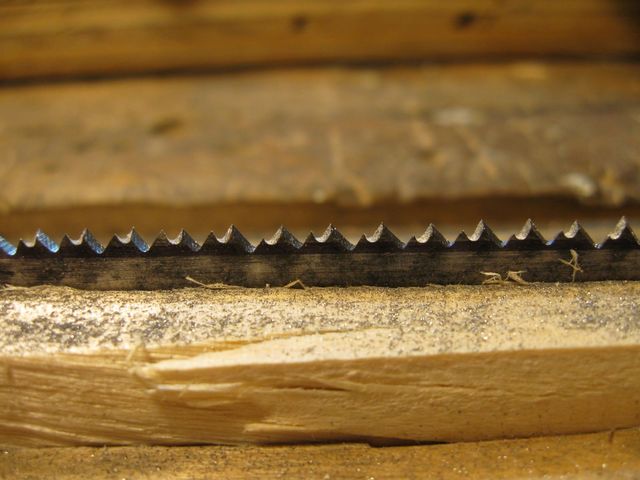
When I File the Other Side, The Long Teeth Should Get Shorter
I guess this saw has been sharpened a few times. This spike was at the heel end of the blade.
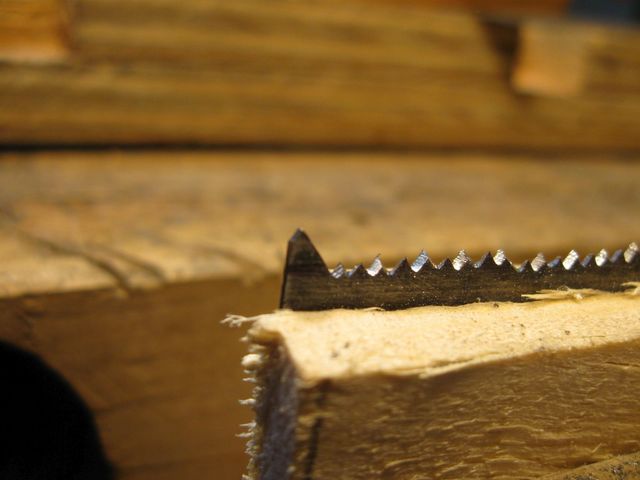
I Really Don't Need That Giant Tooth
So I took it off with my bastard file.
Filing the Heel Spike Off of the Blade
There. That's better.
That Looks a Lot Cleaner
I went back to the toe of the saw, and filed the other half of the teeth. They came out pretty well. I didn't get a photo. But I did get a photo of my new saw set in action.
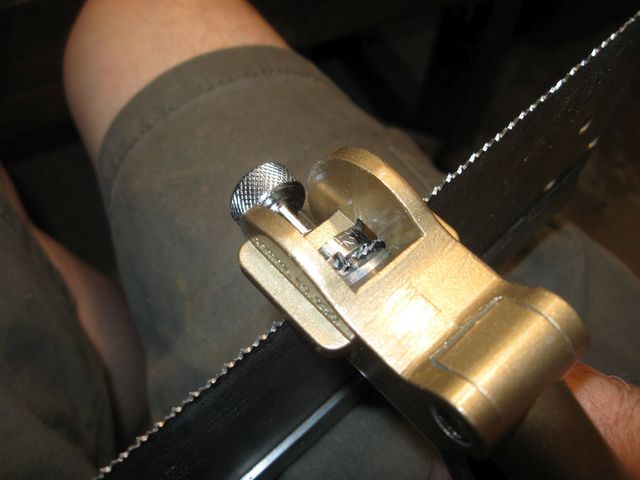
Setting the New Teeth.
The new file worked fine, and the new saw set worked well too. So it looks like I got it done this time. I took quite a bit of metal off the blade to do this.
I Guess We Should Call That "File Dust"
I put the handle back on the blade.
Remounting the Handle
Then I gave it a try.
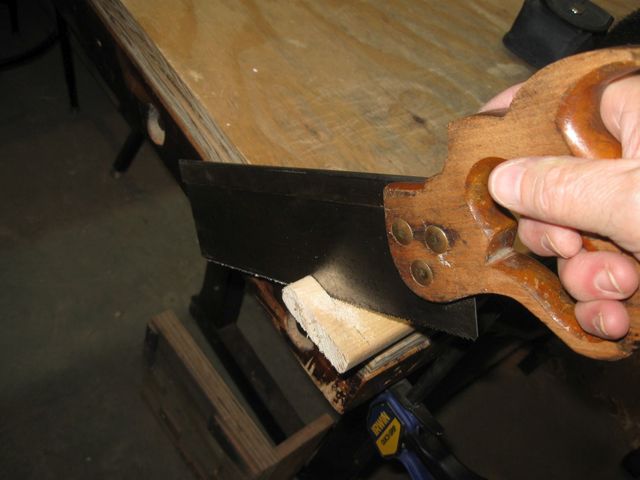
It Saws Well
It seems to be better. I sawed through the board easily, and it tracked the kerf well. There is some grime on on the blade somewhere, which you can see on the end of the board.
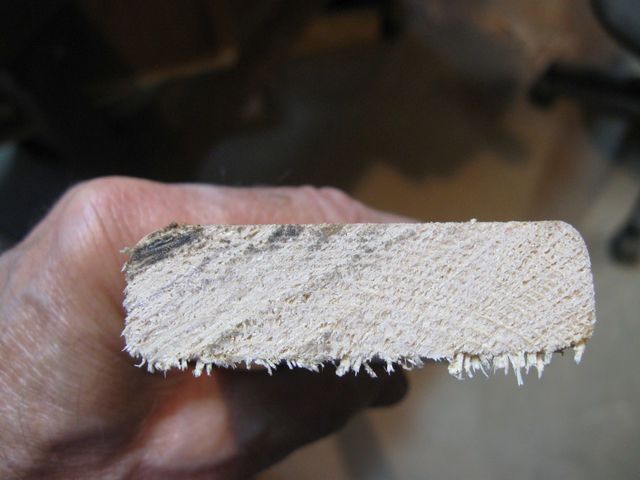
I Am Not Sure Where That Comes From
But all in all, the saw is better than it was before.
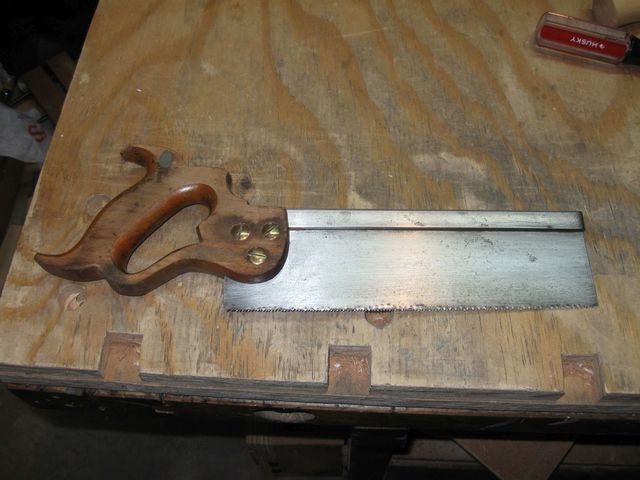
There It is.
This is becoming a solid little saw.
