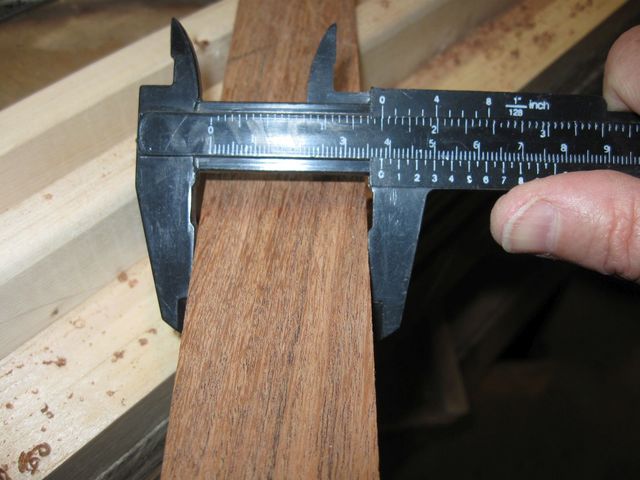
I need to cut the side boards down to their proper size and make sure that they are square. The last time I matched them up against a straightedge, they were mostly there, but not quite. I took the calipers and ran them down the length of the boards to see where the discrapancies were located.
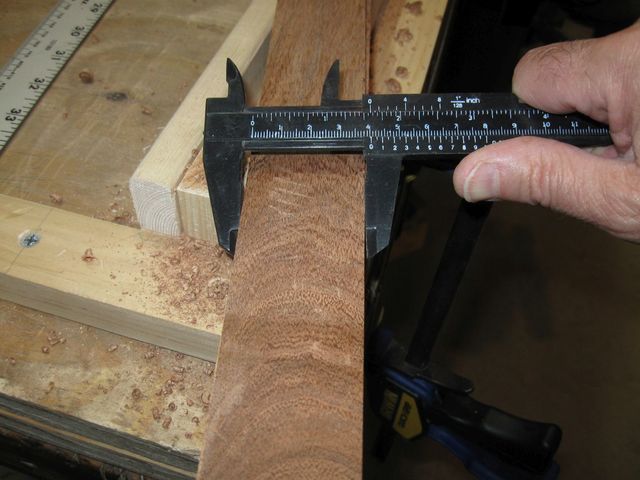
3/32" Too Wide
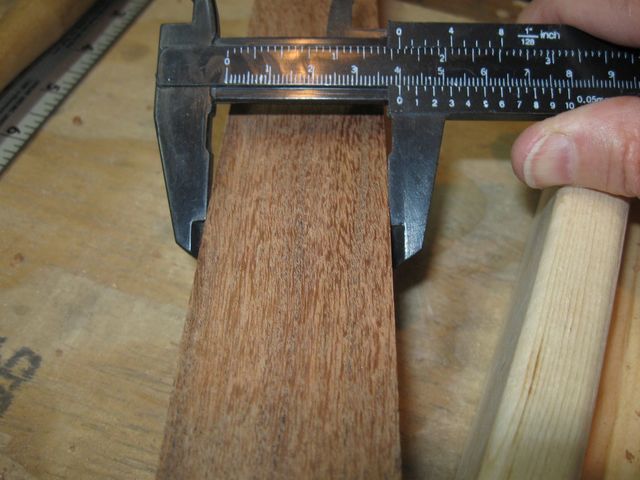
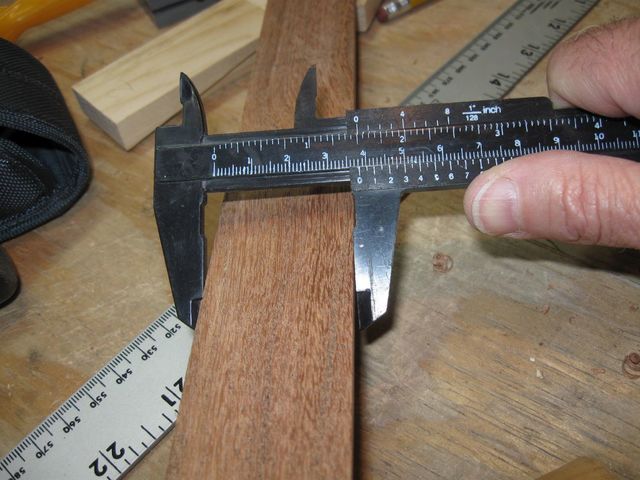
Just Over 1/16" Too Wide
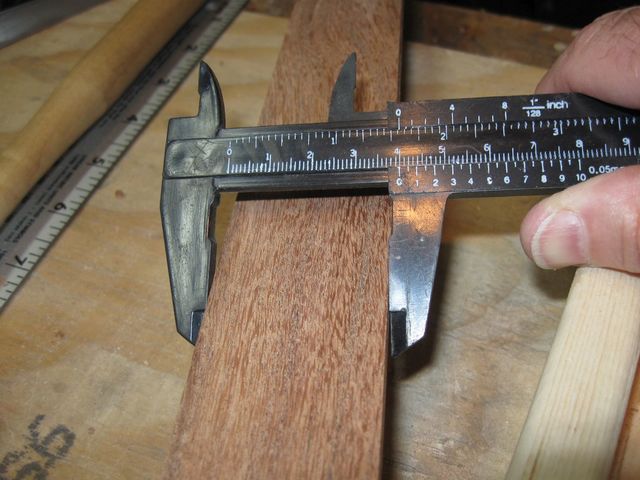
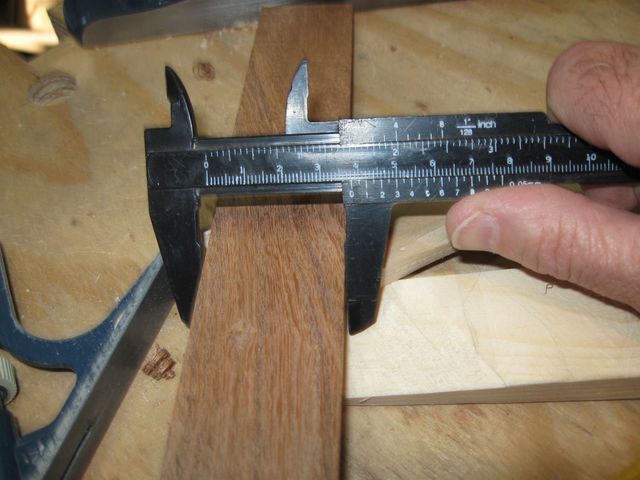
Same As Last Location
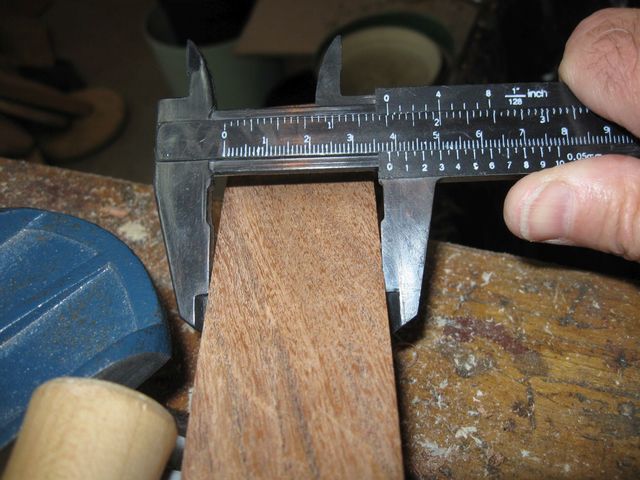
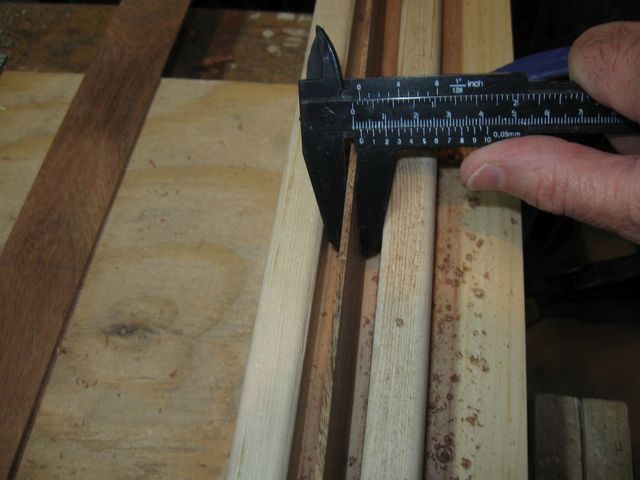
Almost Correct
Looks like this board has a taper from one end to the other. So I need to trim down one end, leaving the other end alone. The way to do that evenly is to start taking cuts at the wide end, then gradually back up the starting point and take another cut, etc.
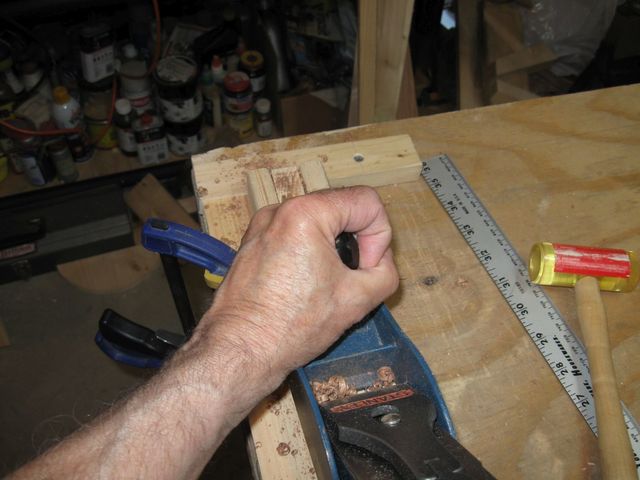
Take a Cut At The Wide End of the Board
Back up the starting point for the next cut, and take the cut to the end of the board.
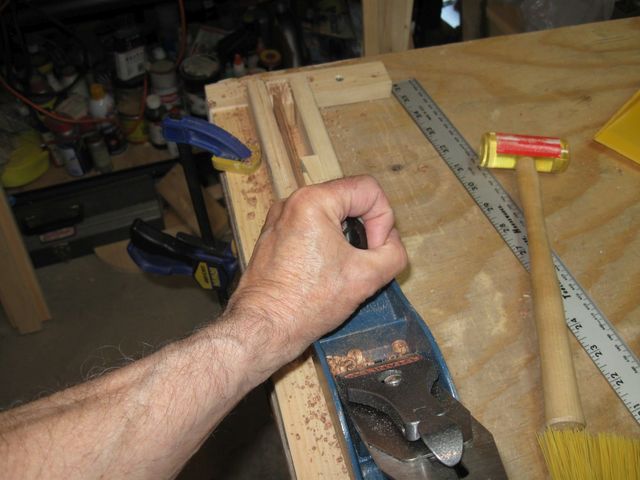
The Cut Goes From Here All the Way To The End
Back up again and take the next cut.
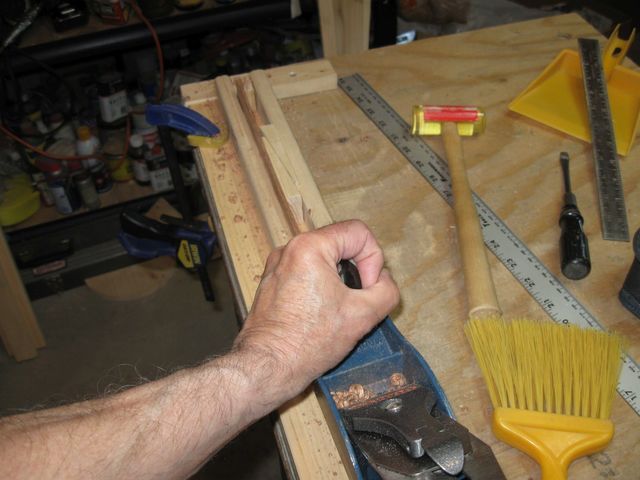
Take a Longer Cut All the Way To The End
Keep taking longer cuts until starting near the end that is narrow.
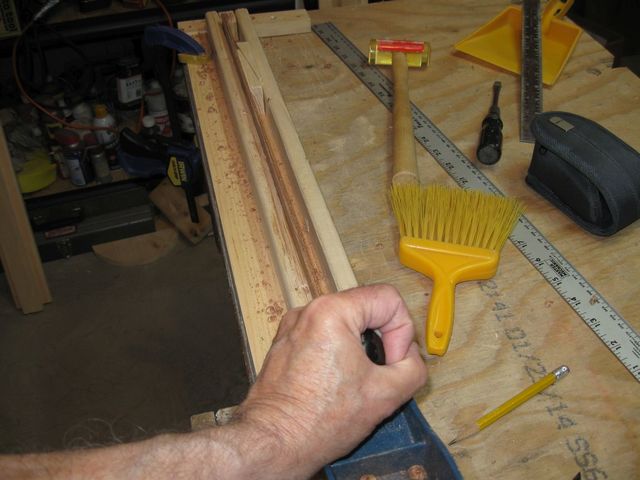
One More Time
You can see that the effect of this is that the very far end of the board will have multiple passes taken, whereas the nearer end will have fewer. That will remove more wood from the wider end and less wood from the near end. If done in a controlled fashion, this will create a consistent taper down the board. If there is already a taper in the wrong direction, this will remove it.
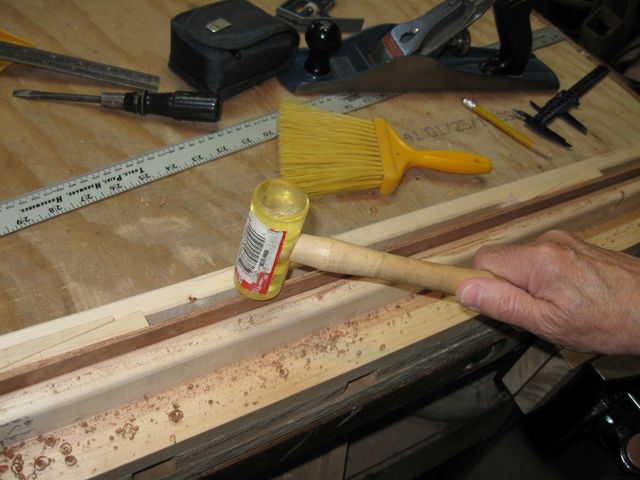
Each Time I Clamped the Boards, I Tapped Them Down
Each time I took out the boards and clamped them back in, I tapped the edges with the mallet to make sure that they were seated on the bottom of the jig.
Removing the wedges is pretty simple, I pushed down on the wide end of a wedge, and that tips up the point so that I can pull it out. The wedges don't need to be in so tightly that they are difficult to remove.
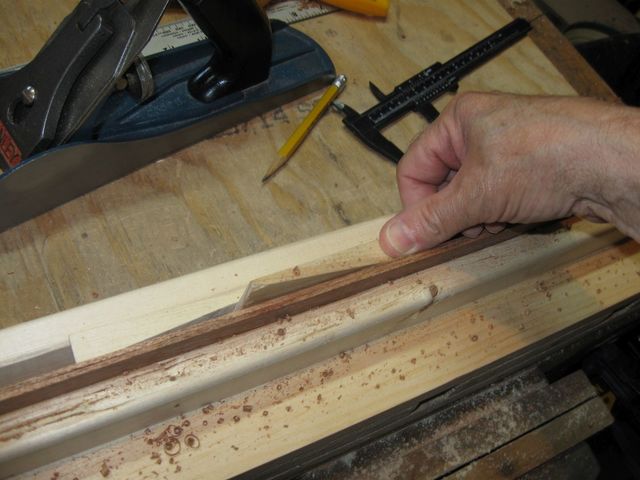
Removing the Wedges is Pretty Easy
Another precaution I took was to keep the channel free of the wood chips so that the boards will seat on the bottom of the channel, not on a piece of debris.
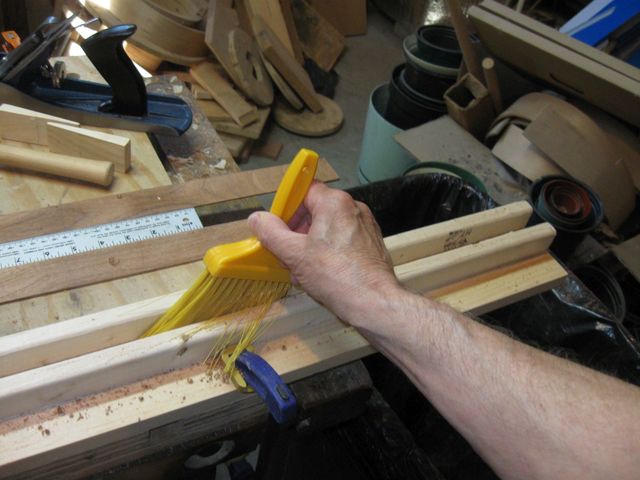
Turns Out I Have a Brush that is Exactly the Right Size
After eyeballing the boards a while, I measured them again with the calipers.
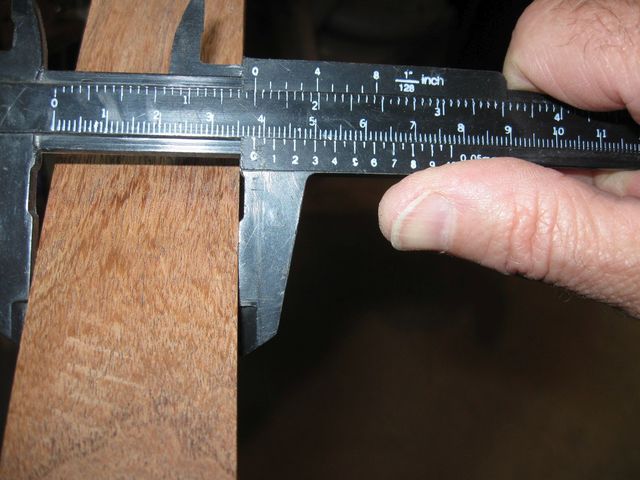
Right On
Yup
Yup Again
Hard To See
The last one is difficult to see because of the glare from the flash, but it was right on as well.
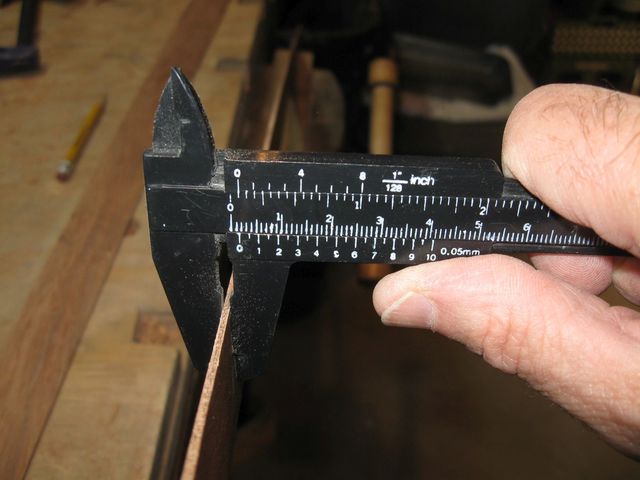
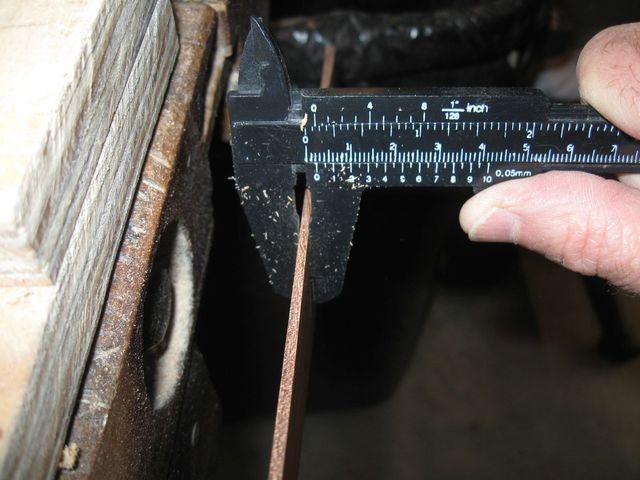
Then, I did a similar thing with the thickness of the boards, running the calipers down the length and looking for high spots. I was trying for 1/16" thickness down the entire length of the board.
Just A Tad Over 1/16" At This Point
The card scraper takes off a surprising amount of wood and lets me knock down the high points.
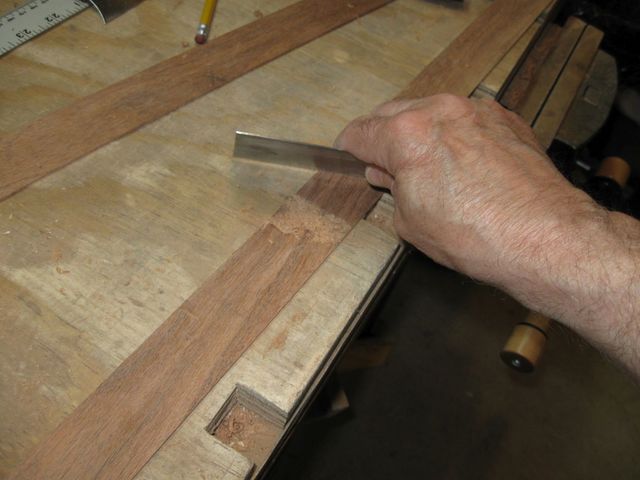
The Card Scraper In Action
I marked the boards so that I can arrange them the same way each time.
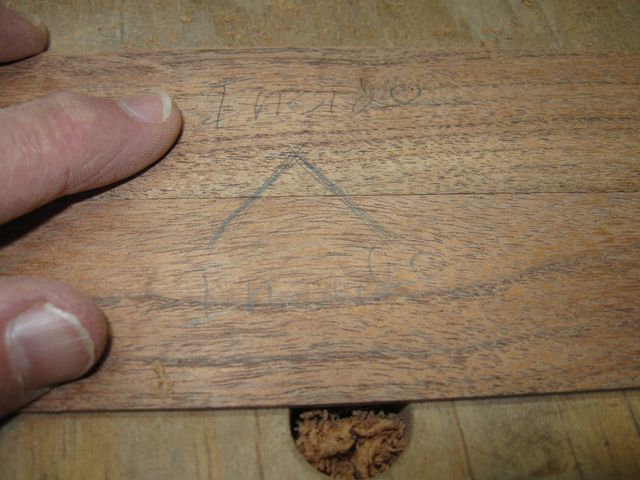
I Marked the Inside of the Boards And Their Alignment
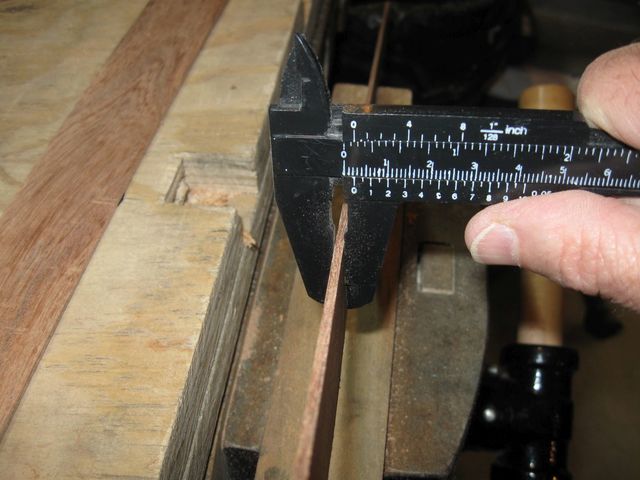
I trimmed the boards with the scraper until I got them down to nominally 1/16" all along their lengths.
Right On 1/16"
This Point Needs Work
Better, But Still A Bit Too Thick
Measure and cut; measure and cut; measure and cut. This is tedious, but not hard.
There they are.
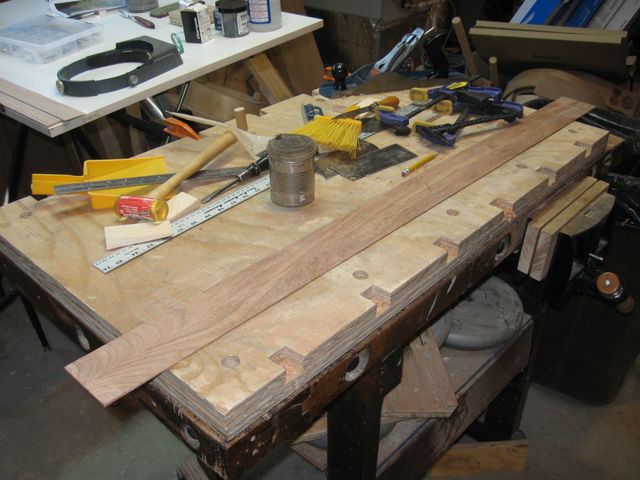
The Boards Are As Close As I Can Get Them
They are not perfect, but they are as close as I can get them. Now I have to go back to bending wood.
