After I made the new planing jig, I found out that the wedges I had hacked out of the plaster lath no longer worked. To continue on my quest to avoid messing up my Mesquite boards, I decided to make some more proper wedges. That will make the clamping of the thin boards more assured.
Wedges are often made with a 7 to 1 pitch, so I made mine using that pitch. The wedge is cut with 7" of length for each 1" of width. I cut my wedges out of some plain 1 X 2 pine board, which is in reality 3/4" by 1 1/2". I cut two wedges simultaneously out of one length of board. I marked the wedges with a line that leaves 1/8" at the point on each end. That leaves 1/2" between the two points for the run of the ramp. This will become clear when you see the photo below.
Since the horizontal run of the wedge is 1/2" instead of 1", I need to cut a length that is 1/2 of the 7" vertical run. I started by cutting off a length of 1 X 2 board that is 3 1/2" long.
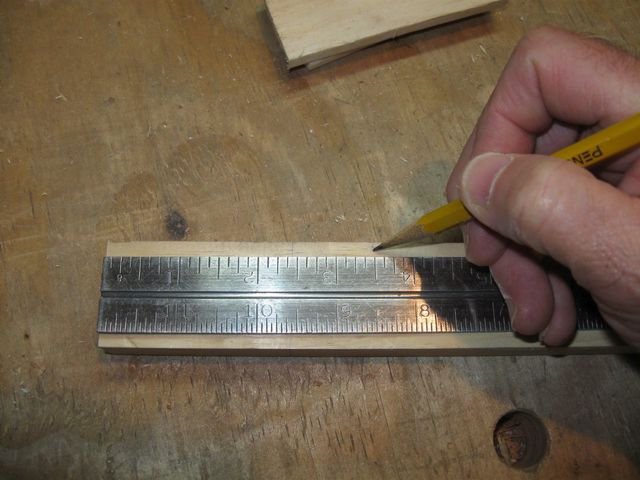
Mark off 3 1/2" Of the Board
I cut that piece off and marked it for the angled cut.
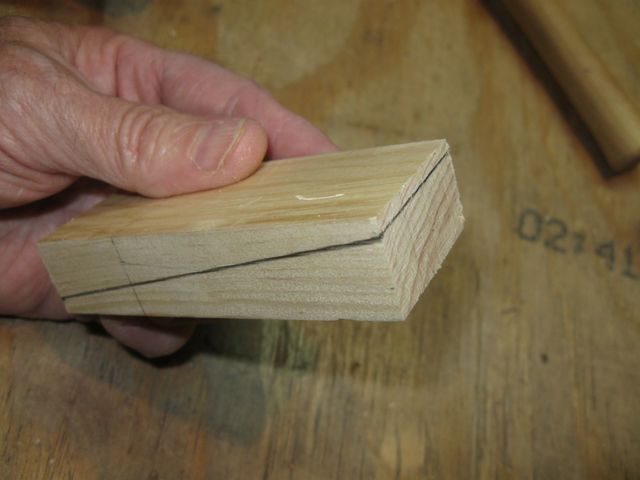
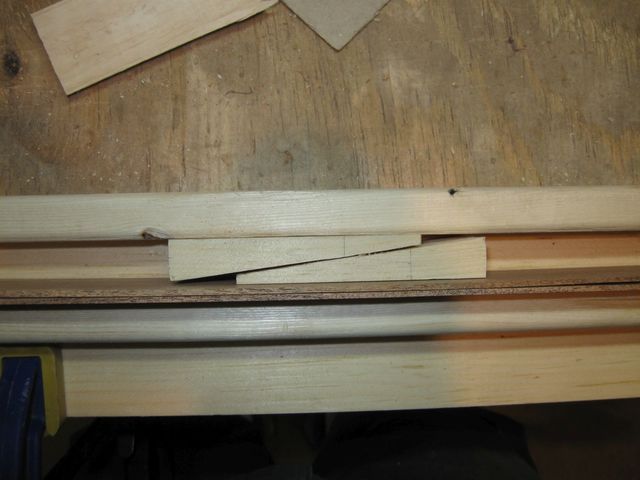
There is 1/8" Left for the Point of Each Wedge
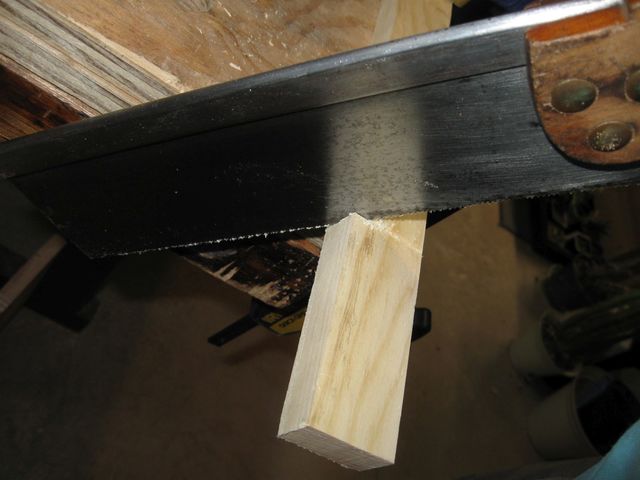
The distance between the point on the left and the point on the right is 1/2". I clamped the board in the vise and carefully cut along the pencil line, splitting the line.
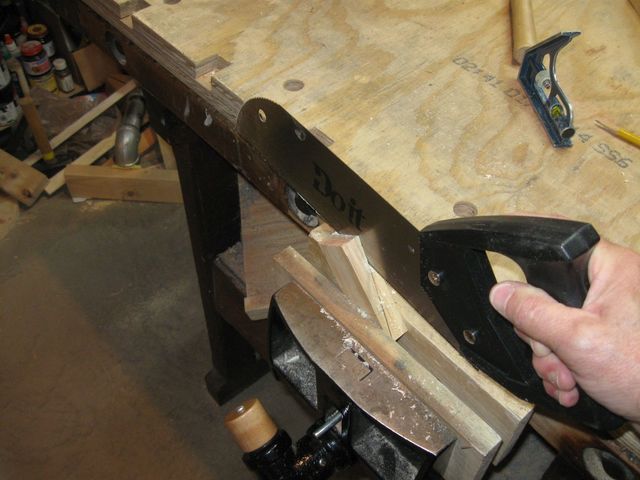
Cutting Down the Angled Line Takes Some Concentration
To avoid making more catastrophically bad cuts like I did while making the jig, I flipped the board in the vise often, making sure that the saw did not wander from the cut on either side. This is the same procedure that I followed when I was ripping the oak boards thin.
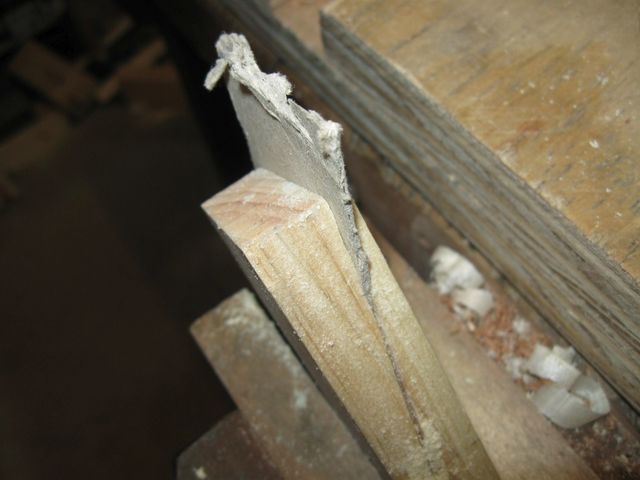
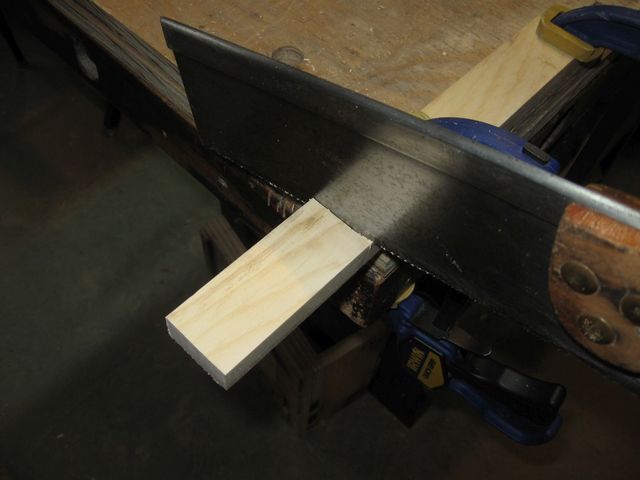
This Keeps the Kerf Open When Clamped in the Vise
After I had cut most of the way through the block, I put in a cardboard kerf keeper. After finishing the cut, I had two matching wedges.
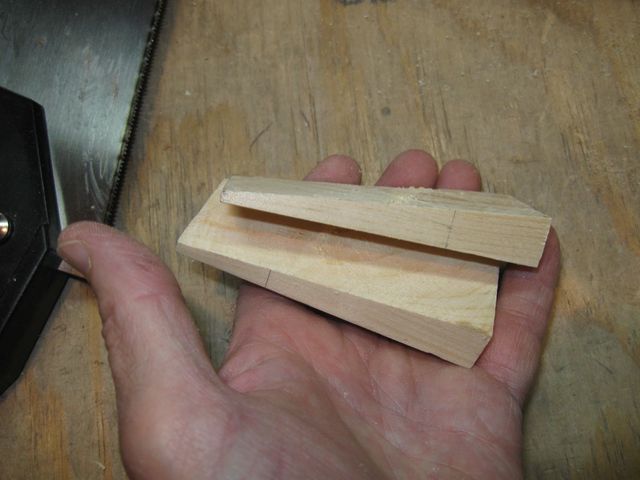
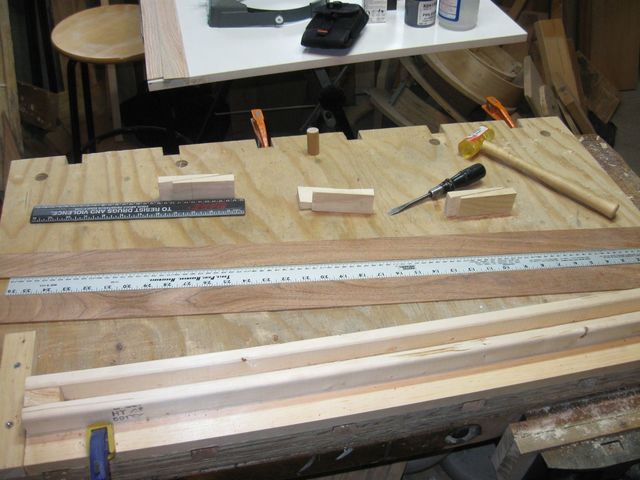
One Pair of Wedges, Completed
These wedges work great when tapped together in the jig.
The Two Boards are Firmly Clamped
I also figured out how to fix my disastrous square cuts that I made on the jig. This cut, is not too bad.
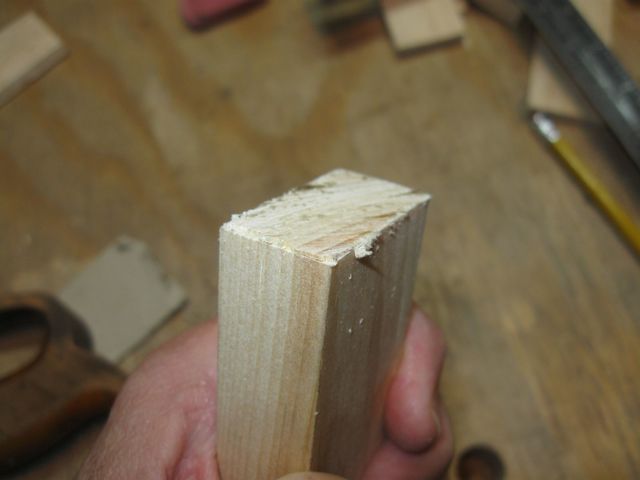
This Cut is Pretty Square Already
I did adjust it using the Shooting Board, but it was pretty square to start off.
This Was Done to Practice Using the Shooting Board
Here is the trick. Getting the square cut requires cutting the initial kerf up against the line in both directions. Once the initial kerf has been lined up properly, the saw will naturally follow the kerf on its own. To get the saw blade aligned along the knife cut in both directions simultaneously, do the two sides separately.
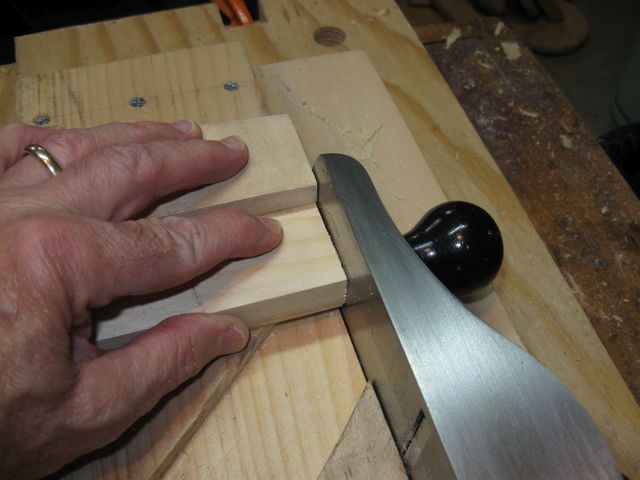
I started on the far side of the board. Notice that I am cutting mostly on the edge of the board. The blade is not penetrating very far into the face of the board at all.
Cut Down the Edge First
I applied my attention to getting the kerf perfectly aligned with the knife cut down the edge of the board. Then, I dropped the heel of the saw down to cut along the line on face of the board. Bring the blade down along the face of the board, ignoring the cut on the edge for now.
Drop the Saw to Align the Kerf With the Line on the Face
When you get done with that, your kerf will look something like this inside:
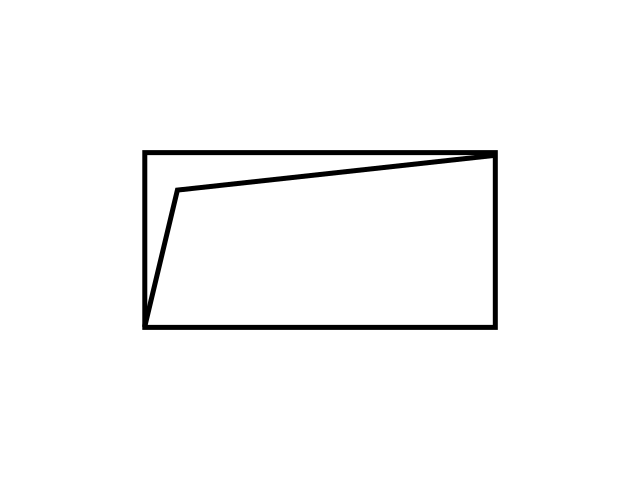
The Two Kerfs are Perfectly Aligned With the Two Knife Edges
Then, you rock your hand back up to a normal cutting angle and cut down the center to get this.
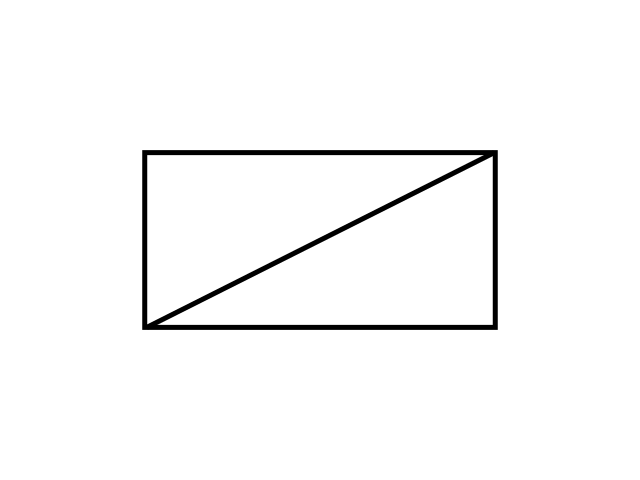
The Kerf is Fully Established
After that, the saw will dutifully follow the kerf, cutting the board square.
I made two more pairs of wedges, and used them to clamp my boards.
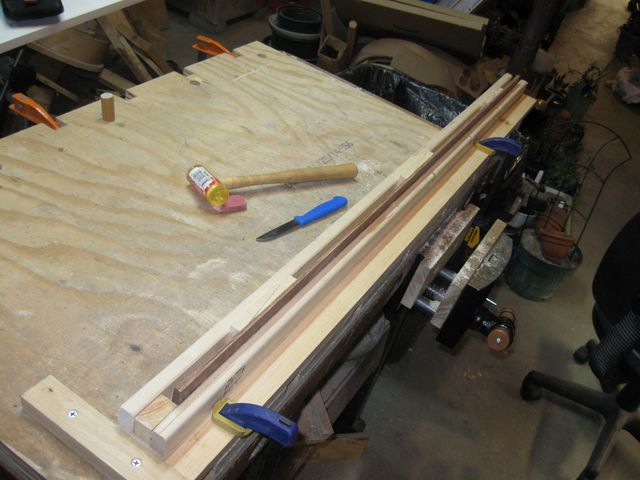
The Boards are Firmly Clamped in Place Their Full Length
Planing the edges is easy and controllable.
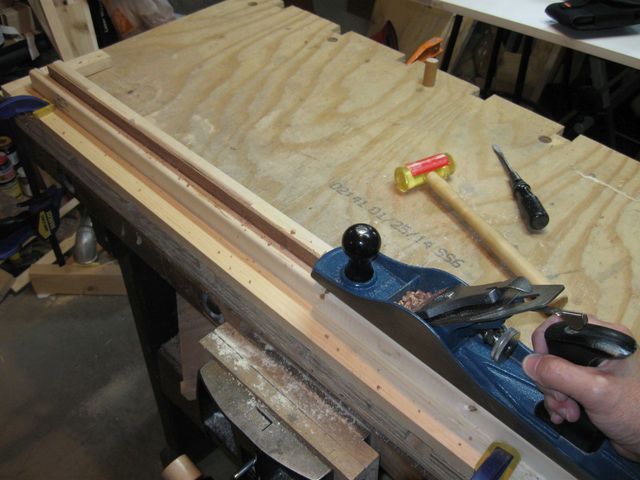
The Mesquite Cuts Easily and Evenly
At this point, the boards are still too wide. They are just over 1 3/4".
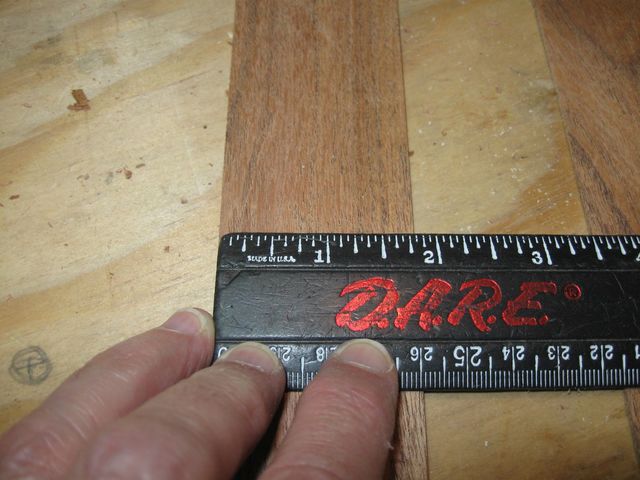
This is Too Wide
I need to plane them down to 1 1/2" and make sure that they are flat and square. I set them down next to each other to see how square they are.
They Look OK
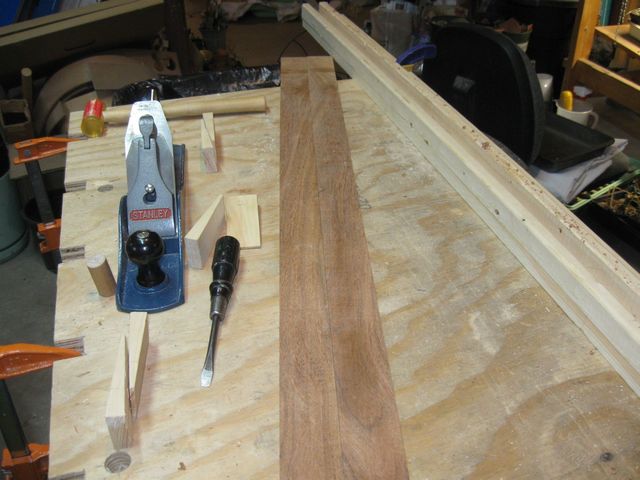
I also set them next to the straight edge to check.
The Rule Works as a Straight Edge
You can see that there is a small hollow on the upper board.
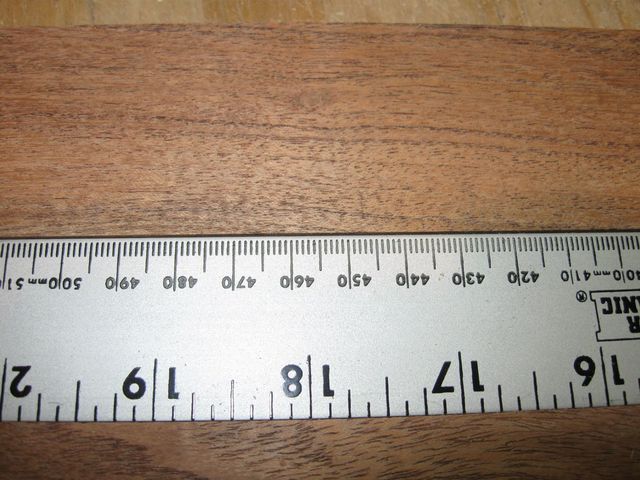
The Upper Board is Not Quite Flat Yet
That is OK. I have 1/4" of wood to plane off of the edges, and I will us that to square up the sides.
