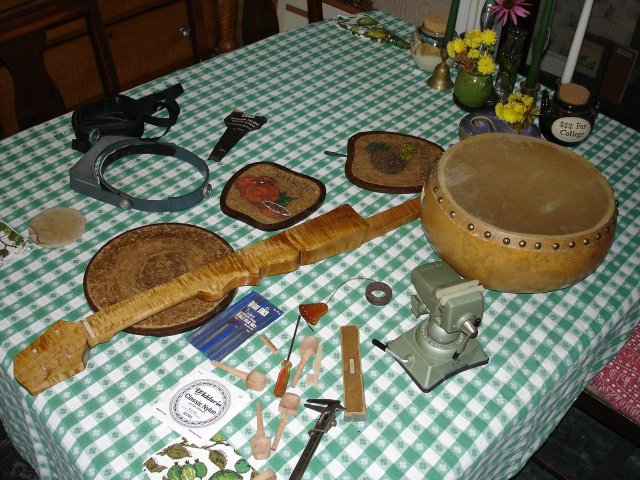
The day has finally come for me to do the final setup and put strings on the banjo. This is exciting. Here are all of the pieces and the tools I need to do the setup.
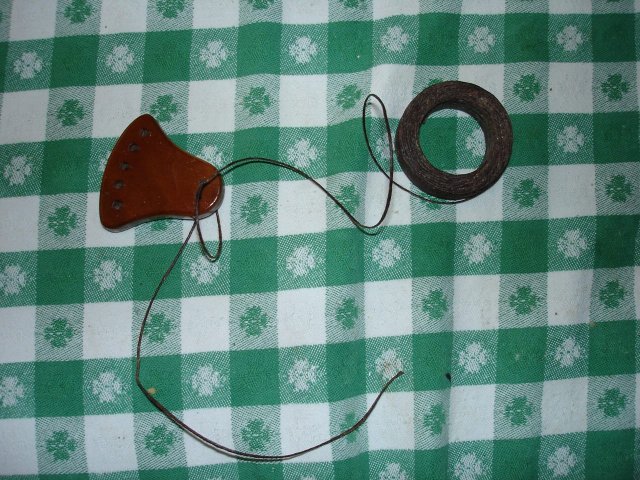
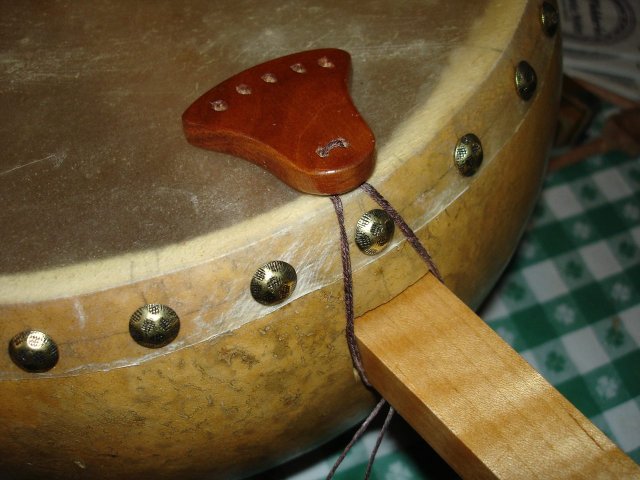
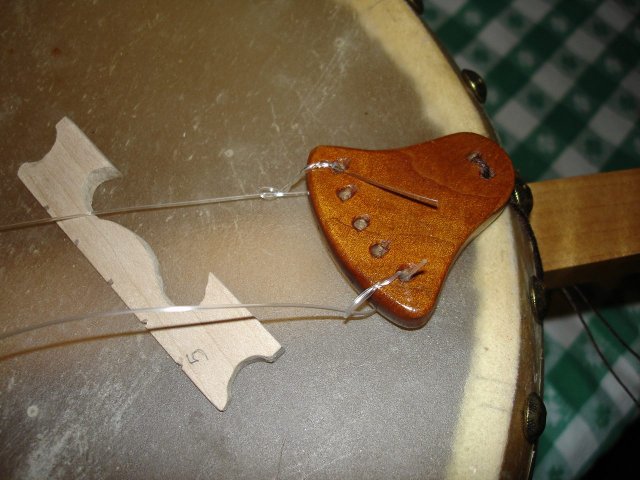
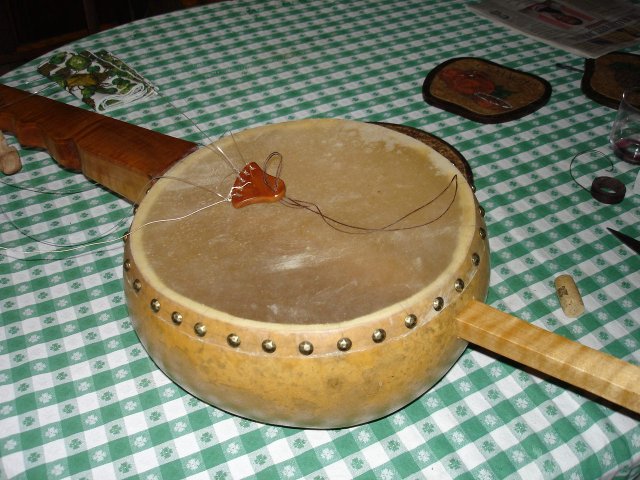
First I am going to tie on the tailpiece. In place of tailpiece gut I have decided to use some cord that is for sewing leather. The stuff is thin but strong, and it doesn't look too modern. Here it is with the tailpiece.
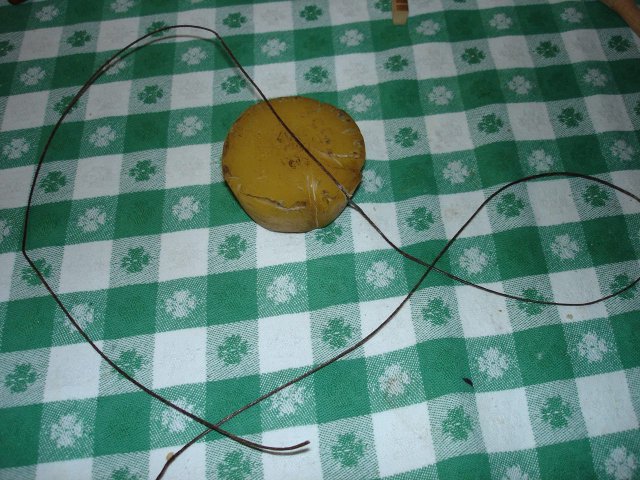
I have started to thread the cord through the holes in the back of the tailpiece. To make the knot hold better, I decided to put some bee's wax on the thread. That is normal when sewing leather with it. I have this stuff lying around from back when I was in to leather working as a hobby.
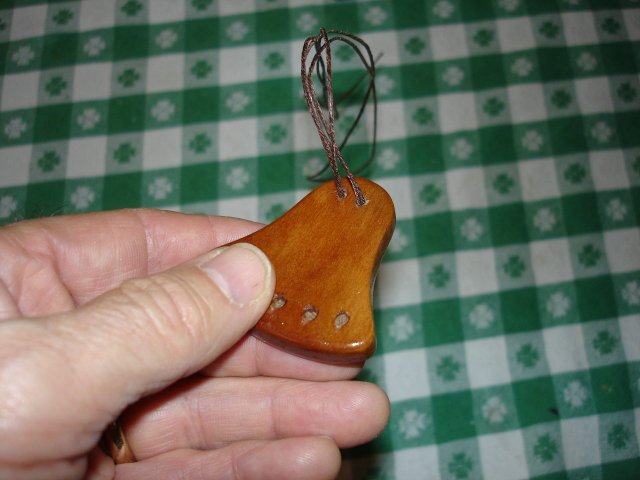
I threaded two strands of the cord up through the tailpiece and then back down through the hole next to it. It looks like this from the bottom.
I tied the two ends of the cord under the tailpiece using a couple of overhand knots. I tied the cord so that the end of the tailpiece is just sitting on the edge of the gourd. I figure that the string will stretch out a bit, leaving the tailpiece suspended above the head and the gourd.
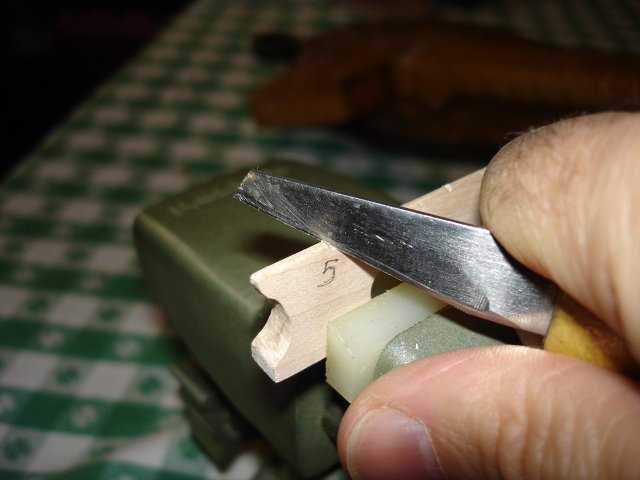
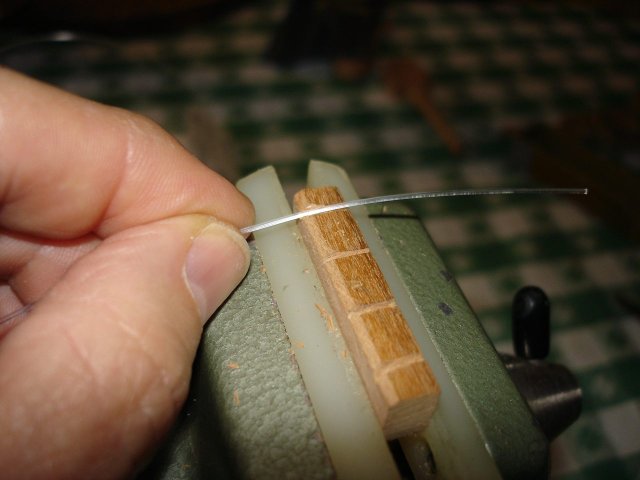
The next step is to cut the notches deeper into the bridge and fit them to the strings that must go through them. I just use my shop knive to cut the notches.
Here are the strings I am going to use.
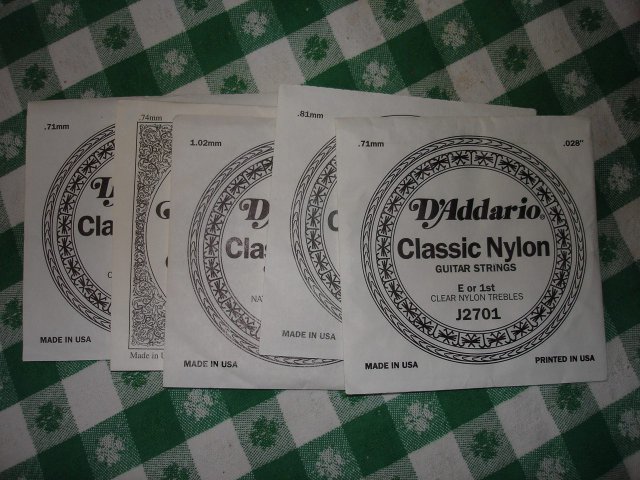
These are just some nylon guitar strings that came with my minstrel banjo kit. I put a set of gut strings on that banjo, so these have just been sitting around. Maybe you can see the gauges in the photo. Here they are anyway.
| String | Gauge mm | Gauge inches |
| 1st | .71 mm | .028 " |
| 2nd | .81 mm | .032 " |
| 3rd | 1.02 mm | .040 " |
| 4th (wound) | .74 mm | .029 " |
| 5th | .71 mm | .028 " |
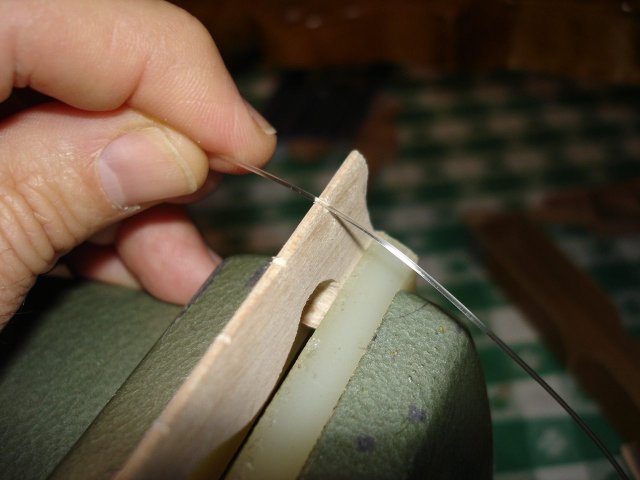
The way I set up a bridge is that I take my shop knive and I carve the notch in the bridge to fit the individual string. I don't use any of the fancy, standardized files and such. I just cut to fit, measuring with the string.
The slot is cut downward from the front of the bridge to the back. That makes it so that the string departs the bridge at the highest point of the notch so that it won't buzz against the bridge. I also angle the notch toward the tailpiece if the tailpiece is less wide than the bridge, as it is in this case. I also undercut the back side of the notch to keep the string from popping out of the slot under the sideward pressure.
I do the nut the same way, slanting the notches downward toward the peghead.
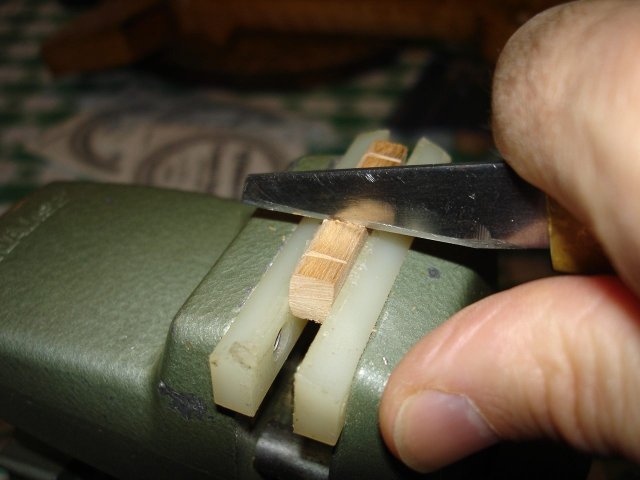
Once again, I measure it and eyeball it with the string to make each string fit into its notch.
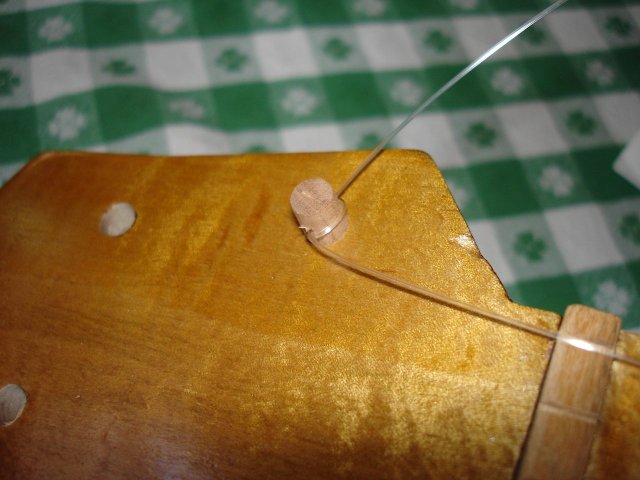
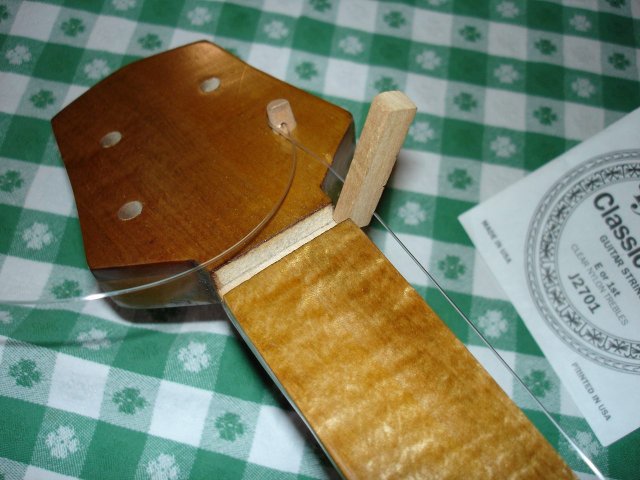
I put the nut into the nut slot on the neck and now it is time to put on the strings. I tied on the two end strings so that I could put tension on both sides of the tailpiece at once so that the tailpiece will remain centered. The knot I used to tie the nylon to the tailpiece is the same knot used to tie strings onto a classical guitar bridge.
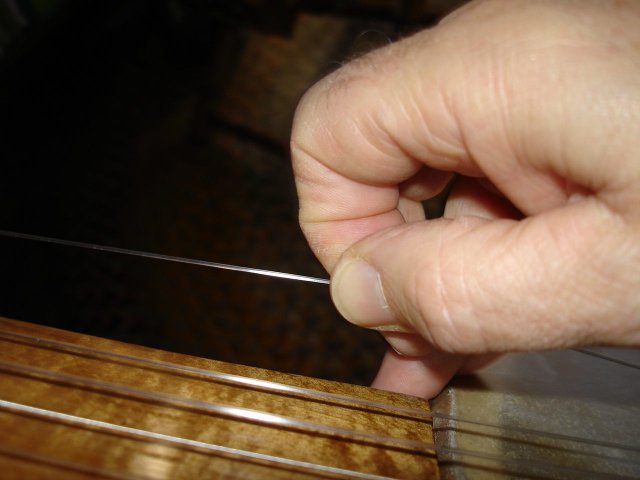
I tied the first string to the first string peg by passing the string through the peg hole twice to make a loop.
Then I tied the 5th string onto the 5th string peg using the same technique. Here is the loop before I tightened it up.
Then I just tightened them up with the pegs.
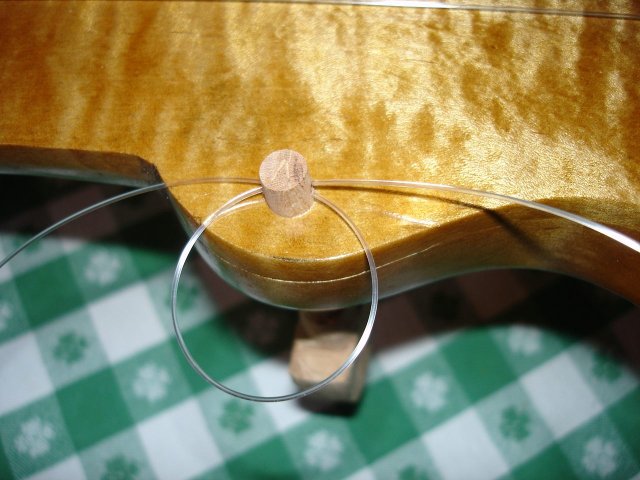
Dang! I forgot that the 4th string is the end string on the nut. The 5th string does not go all the way up to the nut. So the nut kind of took a leap on me.
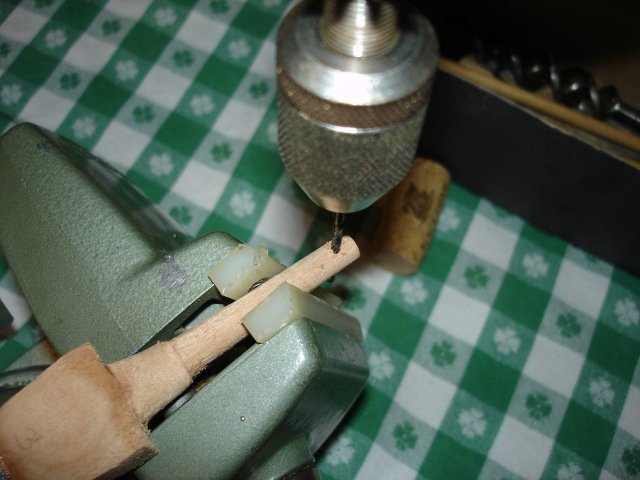
It jumped right out of its slot LOL. OK I just went ahead and tied all of the strings onto the tailpiece. I will just do it all at once. When I tried to tie the 3rd string onto its peg, I found out that the hole was too small to pass the 1.02 mm string through it twice. So I got out my drill again, and I enlarged the hole to 3/32 ".
Then I tightened them all up. Since nylon strings tend to be stretchy, I pulled on them a bit to see if I could shorten the settling-in time.
Here is the banjo with the strings on it.
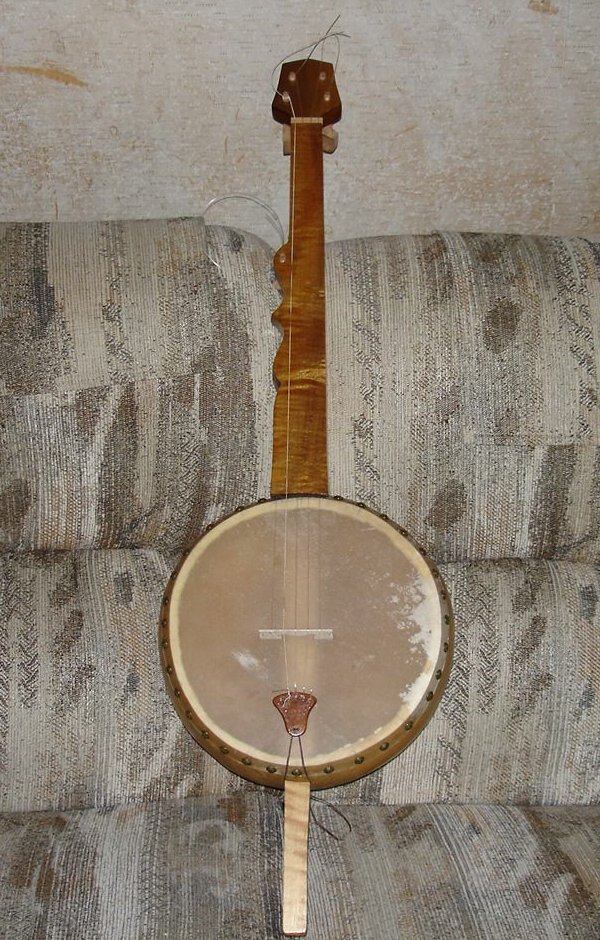
I then tuned the strings up to pitch. I tightened and they stretched, and I tightened and they stretched, and I tightened.....
I know that nylon strings are stretchy, but come on! After about a half hour of this, I noticed that the tailpiece was creeping up toward the peghead. Look at the photo above and you can see how far the tailpiece has moved. The string wasn't stretching; the knot in the cord was slipping. In fact, it had just about let go by the time I found this. I was lucky that the whole thing didn't just let loose and go flying across the room.
Back to the drawing board. I had to cut the tailpiece cord off since there was no way that I could untie the knot (even though it was slipping under string tension, go figure). Then I cut a new piece of cord and started over. I had to let all of the tension off of the banjo strings to do that.
Then I put some serious knots into the cord.
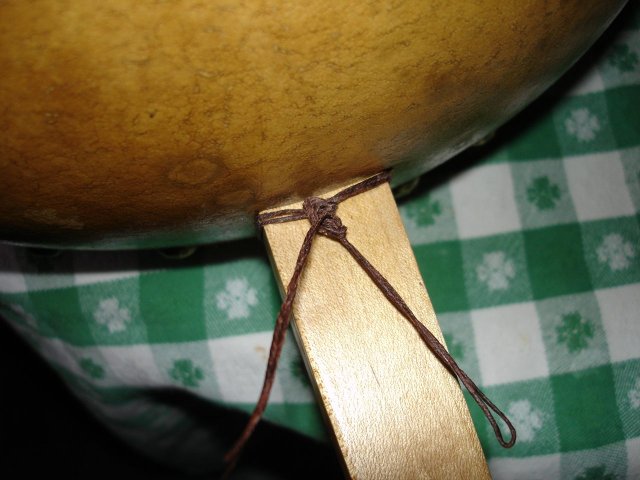
Now, that's a knot! Yeah, Baby. OK. Back to the strings. I brought the strings up to pitch again, and this time I got the normal stretchy strings. I tuned it, and then it went flat. So I tuned it again, and it went less flat. That is how it is done with nylon. I finally did get it to hold a tuning fairly well, although it will take days for it to really settle in and hold a tuning. The tailpiece stayed put this time!
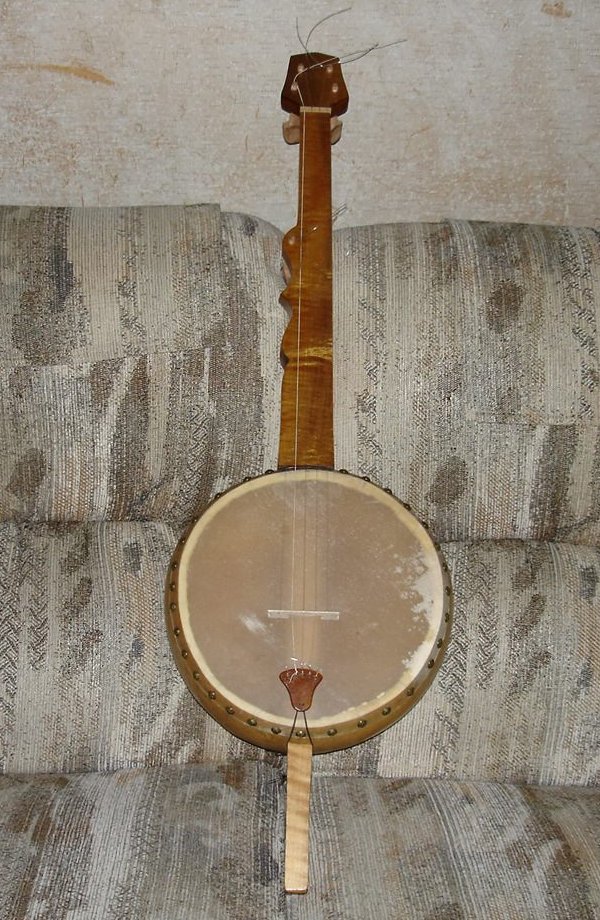
OK. Time for some photos of the banjo all set up.
Here is the front of the banjo. It is really kind of cool that you can see the dowel stick through the translucent head. To see the 3-D version, click on the 3-D link below the image.
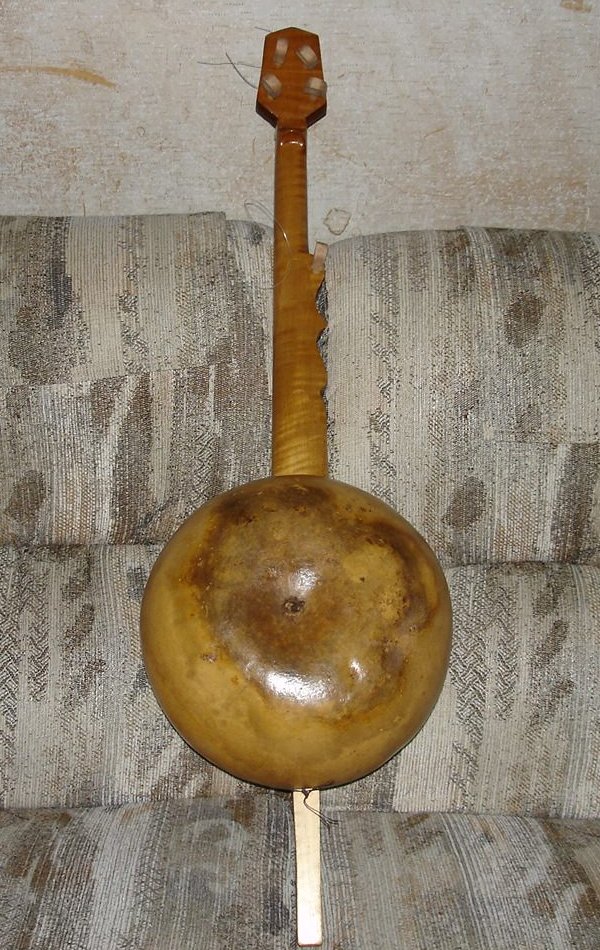
Here is the back of the banjo. To see the 3-D version, click on the 3-D link below the image.
When I started on this project I wondered what held the neck on the gourd. On a standard banjo there is hardware on the dowel stick or the co-ordinator rods to hold the neck tightly to the pot. On my minstrel there are two screws sunk into the heel through the pot. But on the gourd there is no way for me to get inside and secure the neck to the gourd. Well, it turns out that the tension of the strings pulling the tailpiece up toward the peghead holds the gourd up against the heel of the neck just fine. No problems.
That is all I had time for today. It isn't done quite yet because there are some buzzes on the 3rd and 4th strings. I must have made the neck angle a bit too steep because the action of the strings over the fingerboard is too low, and they buzz against the wood when I play them. The angle would be fine on a steel-strung banjo, but these nylon strings vibrate too wide and they buzz. I will have to make a taller bridge to take care of this because I cannot change the angle of the neck.
Other than the buzz, the banjo sounds pretty good. It is difficult to hold because of the roundness of the gourd. I will have to get used to that.
With all the stringing and stretching and restringing I spent about 3 hours on this today, but great progress was made. I am almost there.