
I am to the point where I need to do a bunch of small odds and ends to get the banjo ready for final setup. I need to trim the extra skin off the gourd, start the string slots in the nut and the bridge, ream out the peg holes, shave the pegs etc. So lets get started.
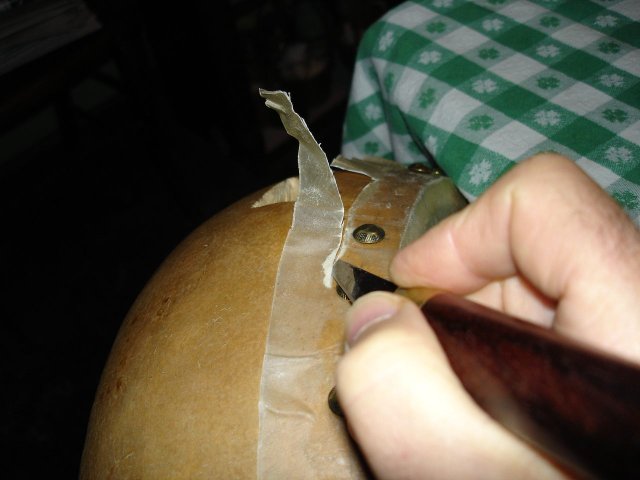
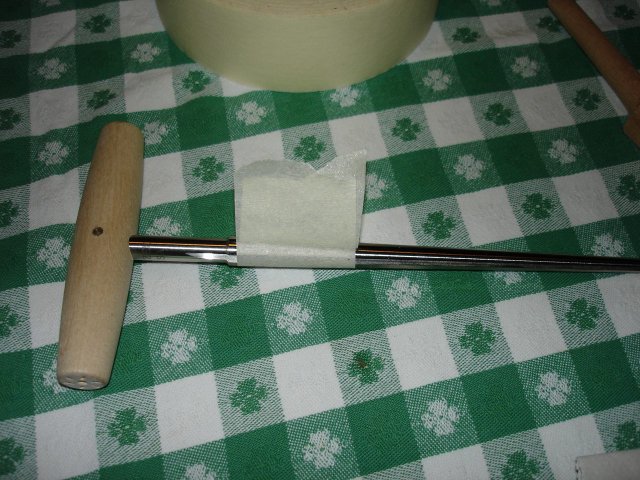
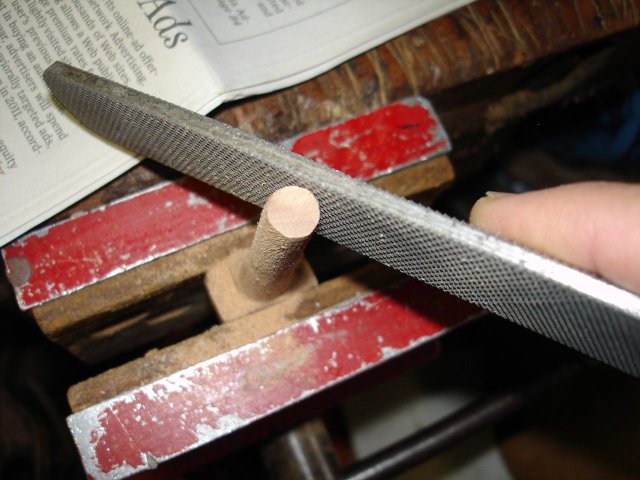
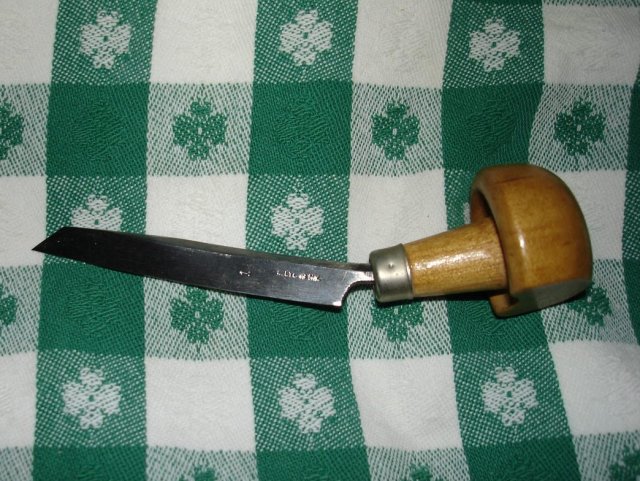
I started by trimming the extra skin from the gourd. To do that, I used my special shop knife, which I bought years ago. Here is a photo.
The point of the knife is very sharp and should make quick work of the skin. The one thing I must be very careful of is keeping the blade away from the stretched part of the skin. If the point even touches the stretched skin it could perforate it, and I would have to start over.
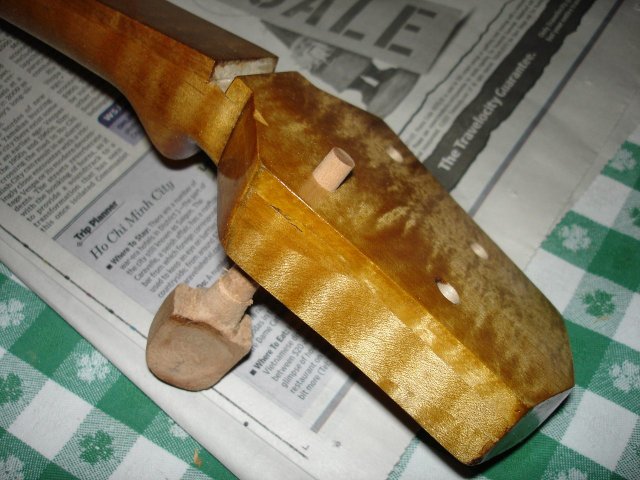
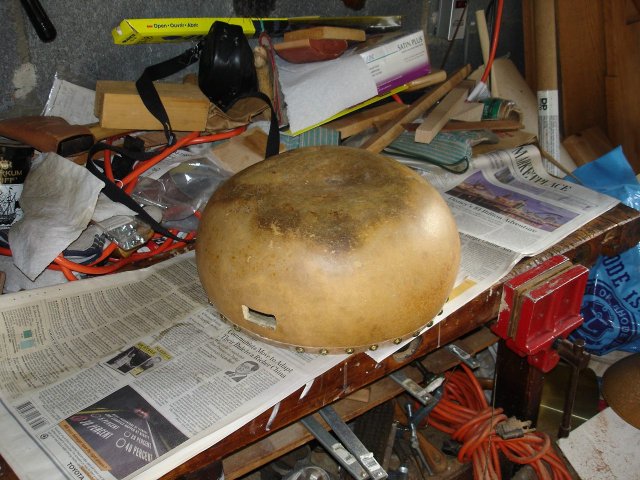
Here is how I left the gourd last time. It is completely dry now and tight as a .... uh.... a drum.
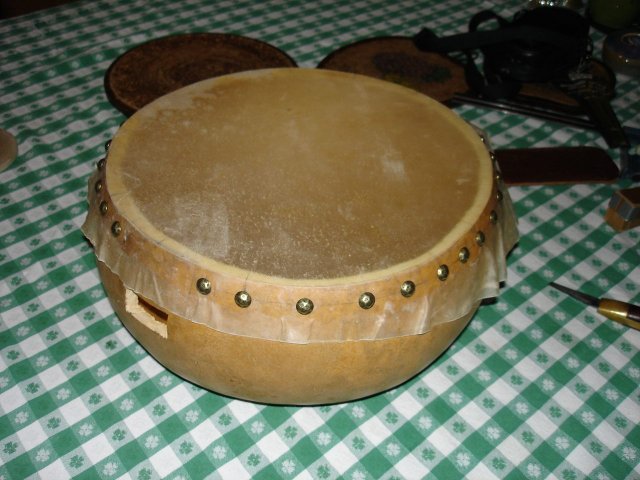
The problem is going to be controlling this thing while I cut. It is very round. What I did was I clamped the gourd between my left leg and the edge of the table. I could hold it pretty steady that way. Then I just started slicing the skin away just beneath the bottoms of the tacks.
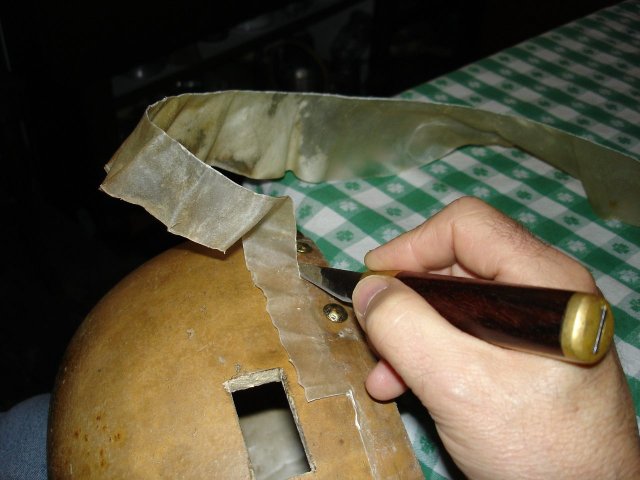
I took my time, going slowly around the gourd being very careful not to drop any thing or cut the head in the wrong place. It acutally took me about 20 minutes to go around the gourd inch by inch. Here is a photo when I was almost all the way around.
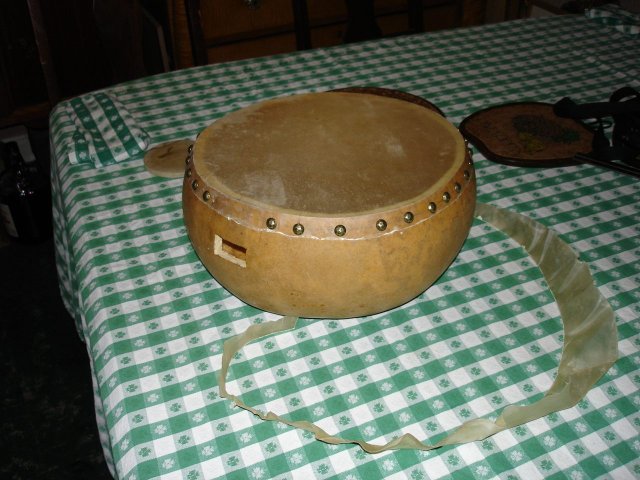
Here is a photo after I finished, showing the extra piece of skin that I cut off.
That went very well. So now on to the next step. I need to start the notches in the nut and the bridge. The final notches will be cut to fit the strings, but I need to mark them off now to have them ready to go for the final setup. I took a pencil and marked the locations for the slots on the nut.
Since the 5th string on the banjo is just a short one, the nut has slots for only four of the strings. I decided to put the strings 3/8 inch apart at the nut. That is a nice, spacing for playability. It leaves plenty of room at the edges for the 1st and 4th strings over the fingerboard. On my minstrel banjo I put those strings too close to the edge of the fingerboard, and it makes some tunes difficult to play properly.
I clamped the nut in my Multi Vise and used a tiny triangular file to start the notches.
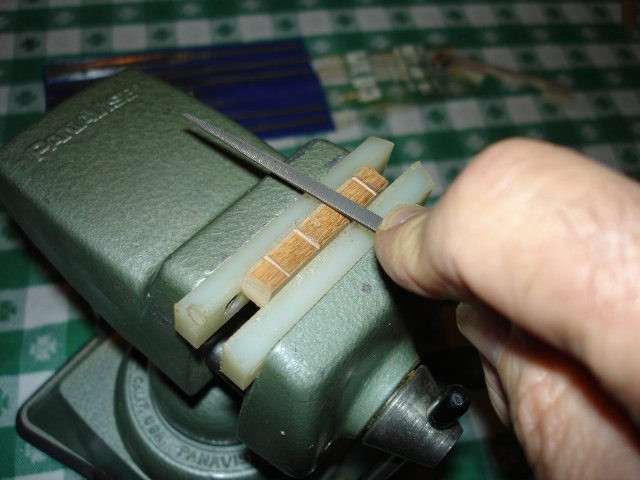
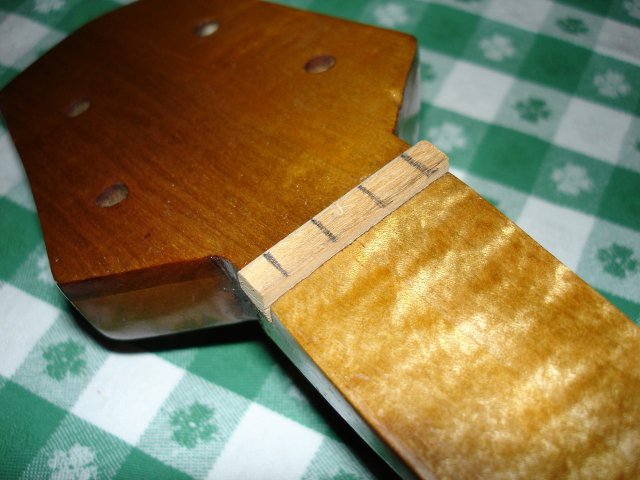
The part of the nut that goes toward the peghead is at the top of the photo. You may be able to see that I am slanting the file down in that direction. The slots should slant downward toward the pegs so that the string will not buzz against the nut when it is played. The highest point of the slot should be at the part where the string leaves the nut toward the tailpiece. I will refine the slots later when I first put on the strings, but I might as well start out right anyway.
I did the bridge next. I did it pretty much the same way, but the bridge has all five strings going across it, so I made five marks, with one in the center.
I filed the notches the same way as I did for the nut, except that they slant down the other way, toward the tailpiece. The reasoning is the same; the highest part of the notch should be where the strings leave the bridge going toward the peghead. You can see in the photo that I have put a small "5" where the 5th string will go. Since the slots will be cut to fit the sizes of the strings I need a way to keep straight which side of the bridge goes where.
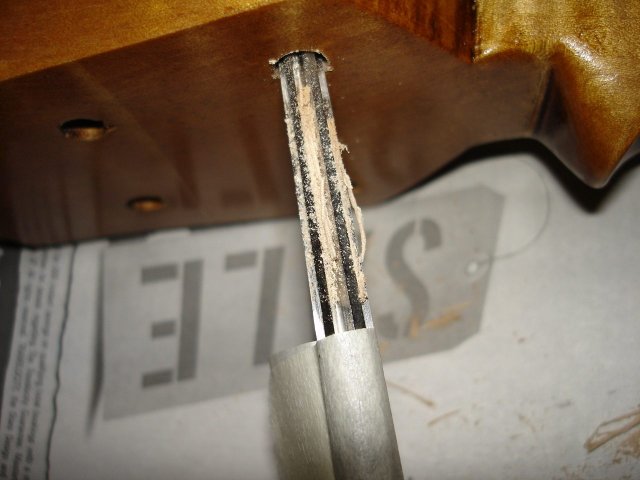
Well, that little project went well also. Now I continue on to the final fitting of the pegs to the peghead. This involves reaming out the peg holes to their final size and then shaving the pegs down to fit in the holes. I left the peg holes smaller than their final size so that I could cut out any stain or finish that might have gone into the holes. Here is a closeup photo of one of the holes.
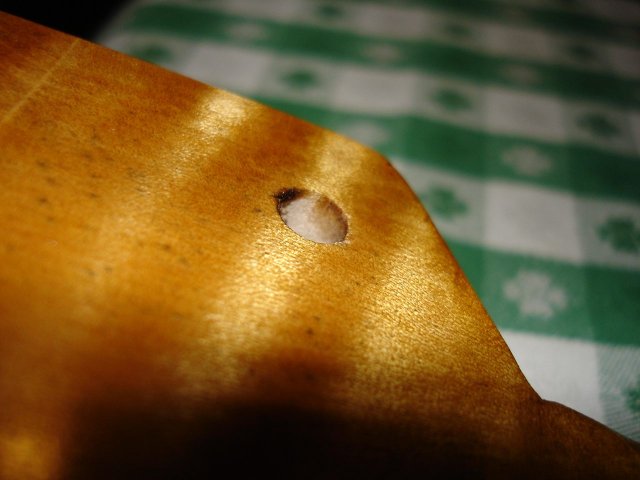
You can see that there is some stain and finish inside of the hole. I want to have wood against wood for the proper friction fit of the pegs, so I will ream out the hole to cut away that junk.
If you remember back when I was making the tailpiece, I measured how far down the reamer the holes were cut on my minstrel banjo. I plan on cutting them the same size on this banjo since I don't have a better idea. I measured the distance at 1 9/16 inch from the start of the blades. I measured that distance on my reamer again and put a flag on it so that I can find the place while I ream the holes.
Making sure that I was reaming from the proper side (reaming the holes backward would be a really bad mistake) I just put the reamer in and twisted it. This is really an easy tool to use. I just had to remember to take it out every couple of turns to get the chips out of it. Unlike a twist drill, there is no screw thread to move the chips out of the hole. Here is a closeup of the wood chips stuck in the blades.
I just went from hole to hole until all of the holes had been reamed down to the flag. Then I went to the 5th peg hole and did the same.
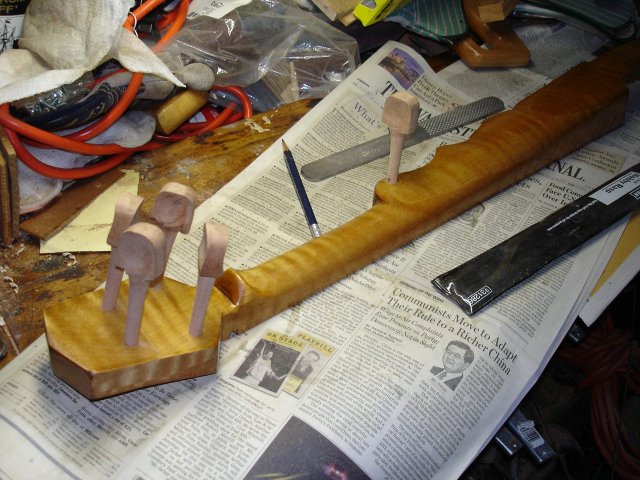
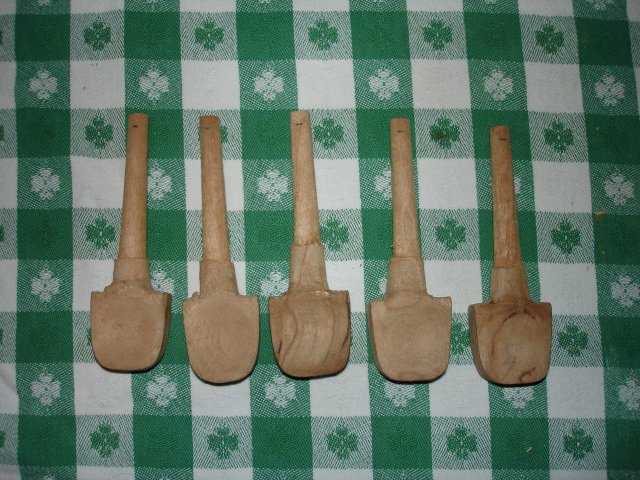
Pretty easy stuff. The next part, shaving the pegs, will be more challenging. I got the pegs out of the bag. Here they are:
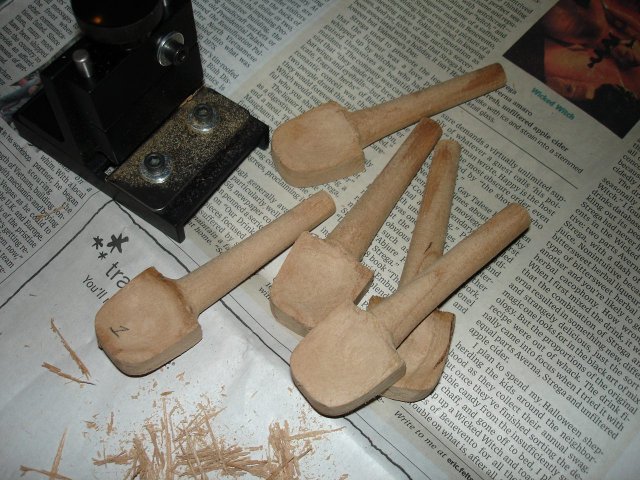
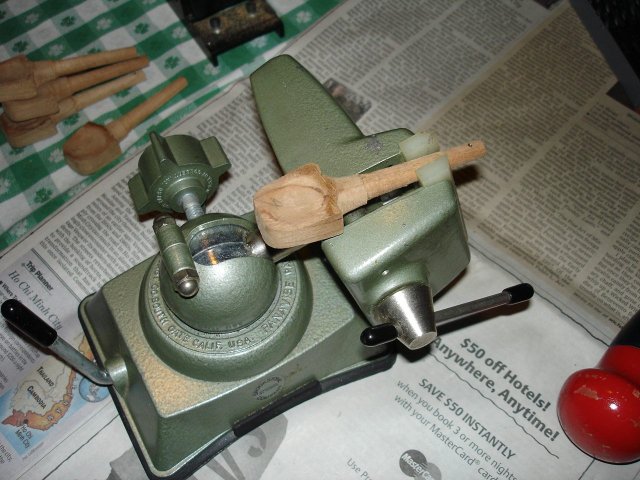
That is my peg shaver sitting next to them. Since each peg will be fitted into its own, individual hole, I marked each one with a number, 1 through 5. Then I took peg number 1 and started shaving it down to fit. I had left the shafts of the pegs large so that there would be wood to shave off for the final fitting. But I had left way too much wood, and shaving the pegs down using the shaver would take a long time. So I packed them up and went back out to the bench to cut them down closer to the proper size.
I clamped each one in my vise, and then I used the shoe rasp to cut the shaft down to size, eyeballing the angle of the taper.
I used the rasp and some 80 grit sandpaper to reduce the size of the shaft on each peg until it would just fit into the hole in the peghead. I could not have done this work earlier because the holes in the peghead were deliberately left small so that I could ream out the finish. Anyway, after a half hour or so I had all the pegs sized so that they would just barely stick into the holes.
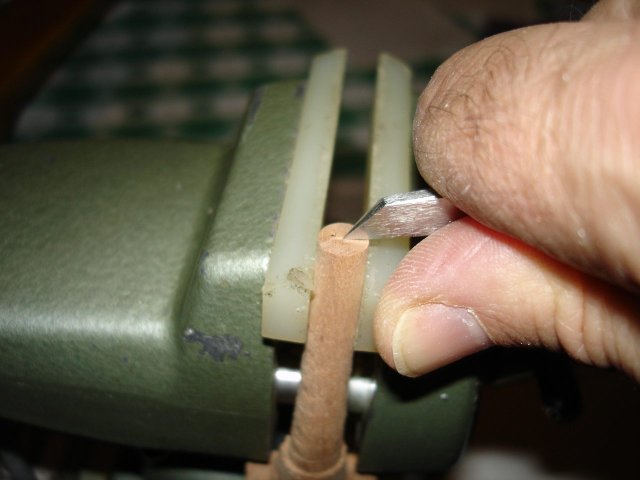
Back inside to my shaver. I am doing the final fitting in the house because the weather is raw and rainy today, and it is kind of cold in the garage. I took peg number one again and stuck it into the shaver with just the tip of the peg in it.
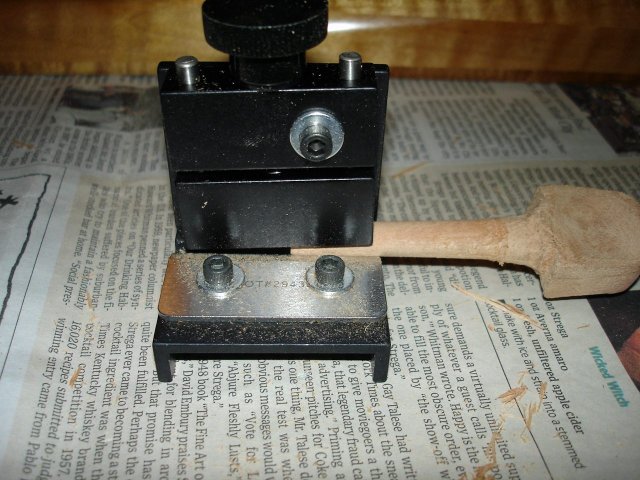
The knob on top of the shaver moves the block that sits on top of the peg up and down. The block rides on the two pins you can see on either side of the knob. By turning the knob, I can adjust the pressure of the block pusing the pin down on the blade, which you can see screwed to the base of the shaver with the two allen screws.
It is a little difficult to explain in words, but I found out that I could minimize the tearout on the pegs by moving the block up at the same time I twist the peg against the blade. I push the peg in while twisting it, and at the same time I turn the knob so that the force of the blade against the pin stays light as I push the pin into the shaver. I did it all by feel. As the pin advances into the shaver, the block of metal moves up until I have the peg all the way in, like this:
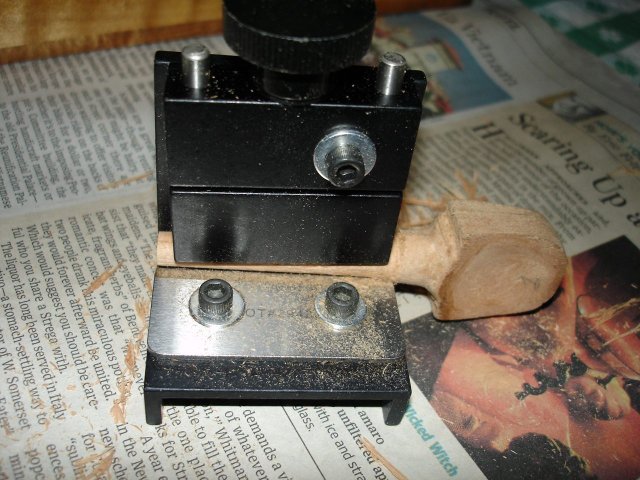
In the photo you can see that the metal block pushing against the peg has moved up a bit.
When I first tried to use the shaver, I just tried to screw the peg into the shaver, and the force against the blade was too much and the blade made a mess of the wood. Maybe it is because the cherry wood is too soft for pegs. But many violin pegs are made of ebony, and that is not much harder than the cherry. Anyway, this tool did not come with very good instructions about how to use it, so I made it up as I went.
I ran through this process several times with the peg, each time putting the peg into its hole to see how far it was going in. It was just another test of my patience, although it was not difficult to do. I gradually moved the peg upward until it protuded about 5/16 inch proud of the peghead face (once again, a measurement that I took from my minstrel banjo).
That is peg one finally fitted to hole one. Once each peg has been fitted to a hole, it will remain in that hole forever. The pegs are not interchangeable when done. So to make sure that I don't confuse the pegs, I marked each one permanently on the end. I used my wood engraver's burin to do the marking. Here is a photo of the tool:
This is a specialty tool that I bought back when I was trying out wood engraving as an art form. A wood engraver would have a large number of these tools in various sizes and shapes. The wood was glued up in blocks with the engrain up, and an image was cut into the endgrain of the blocks to make a print block. All of the images in the 19th century newspapers and the old Sears & Roebucks catalogs were done with wood engravings before the advent of photography. So the burin was invented to do the engraving in the endgrain of wood, which is exactly what I intend to do to the peg, so I used it. You could do just as well with a pocket knife.
I clamped the peg into my Multi Vise and just put a line in the end of it to represent a Roman numeral 1.
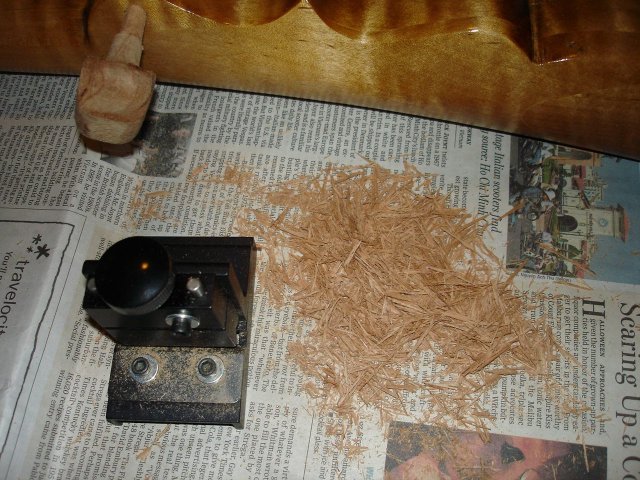
Repeat, four more times for pegs 2 through 5, and all the pegs are fitted. I marked them all with Roman numberals on their ends, I, II, III, IIII, and V. Here is the pile of wood chips that I made while fitting the pegs. I don't know what possessed me to take that photo.
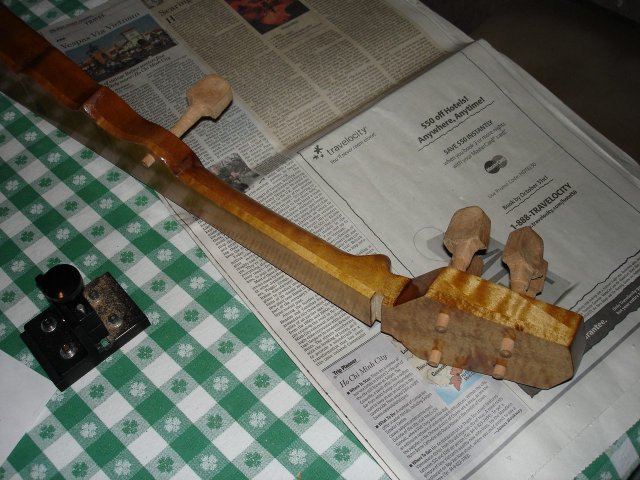
And here are all of the pegs set into their holes.
And here they are from the top side of the neck.
Now I need to put some holes in the ends of the pegs to receive the strings. I measured, once again, on my minstrel banjo where the holes are drilled, and it seems that they are 3/16 inches down from the end of the peg. So that is where I put them on these pegs. Here are the pegs marked for drilling.
I clamped them one by one in my Multi Vise and drilled them out with a 5/64 inch drill bit. I hope that is a big enough hole for the strings.
My Multi Vise is a real contorionist!
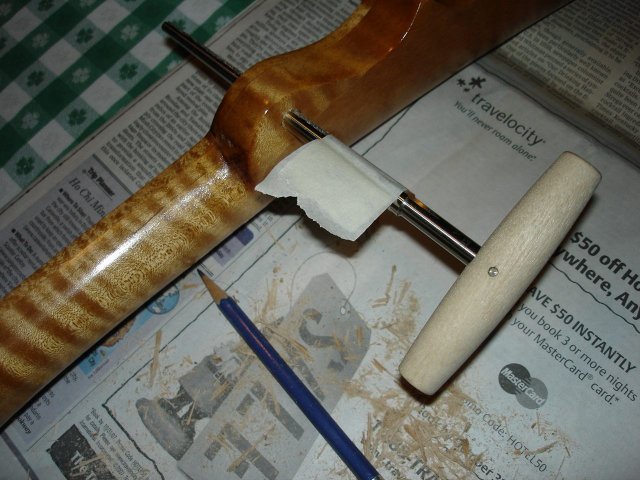
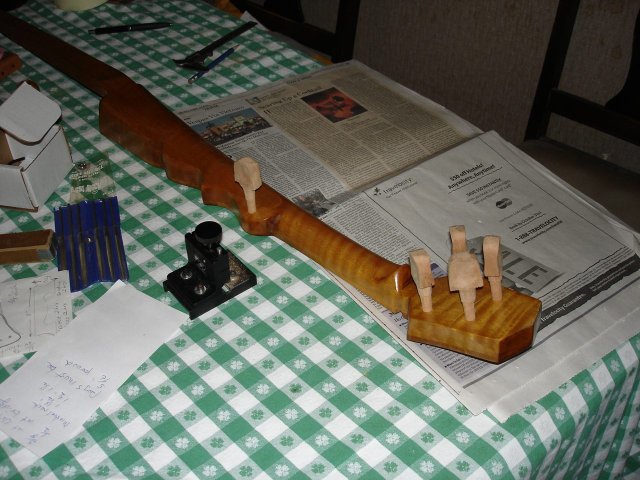
Finally, I put all the pieces together and took this photo of it.
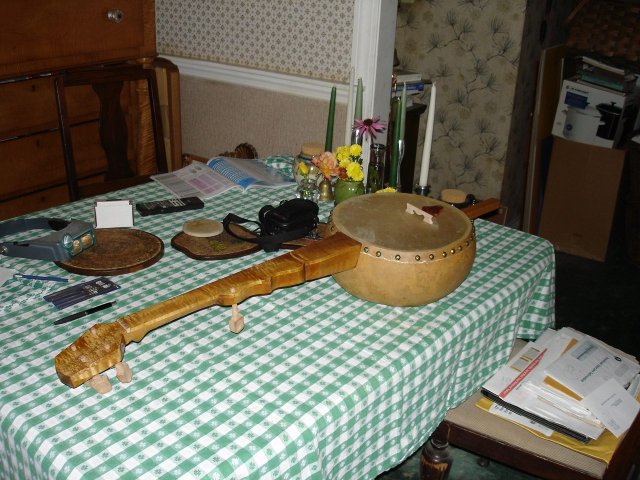
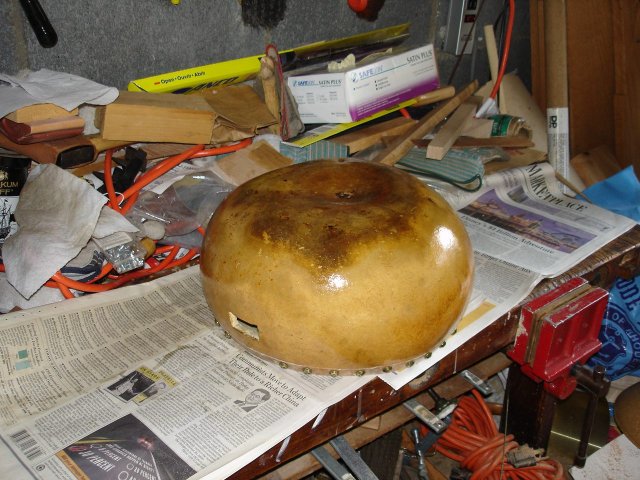
It is starting to look like a banjo. I decided to put a coat of finish on the gourd to keep water out of it and to darken it slightly. I took it out to the bench and put it face down to keep the finish from getting on the head.
I put one coat of Tru-Oil on it to seal it and darken it. Here it is after I put on the finish.
Whew! That was a long session. It took me about 3 1/2 hours to do all of these chores, but what else was I going to do on a rainy day?