I have finally arrived at one of the most interesting and frightening parts of the project, stretching the skin across the gourd. I have never done this before, and I will get only one shot at it, which is what makes it a bit frightening. Here is the plan.
I am going to drill some pilot holes for the tacks so that I will not have to struggle with them as I hurry to mount the head. The reason that I will have to hurry is that I must do this job while the skin is wet and also before the glue dries. The glue goes under the skin where the tacks are, and it is necessary to keep the tacks from ripping out under the tension of the skin. The glue is responsible for holding the head to the gourd once everything is dry.
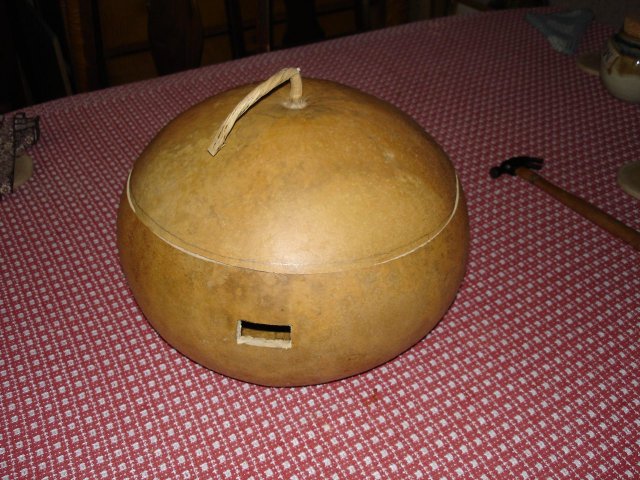
Looking back to the beginning of this project, here is a photo of my gourd with its lid set on it again. Remember those days? I actually saved the lid for this part.
I will be needing the lid, so I dug it out of the pile of rubble in the shop. Since I have never mounted a tackhead before I want to practice on something to minimize the screwups that will occur when I do the real head. I have no idea how hard or easy it is to put a tack into a gourd, so I will practice on its lid.
I plan on drilling pilot holes for the tacks, so I found a wire gauge drill bit in the hardware store. The smallest standard sized bit is 1/16 inch, and that is too large because it is larger than the shaft of the tacks. The tacks will be too loose to hold if I use that large of a bit. So I picked up this #54 bit to see if that will work.
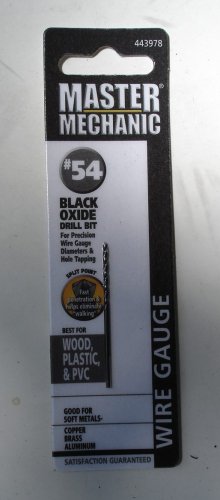
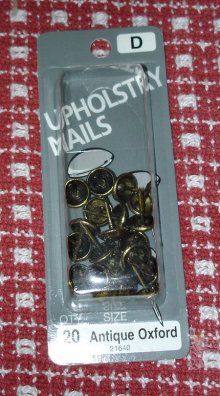
That is the smallest bit I could find in any hardware store. I hope it works. I bought tacks in the hardware store too. These are just plain upholstery tacks, nothing special.
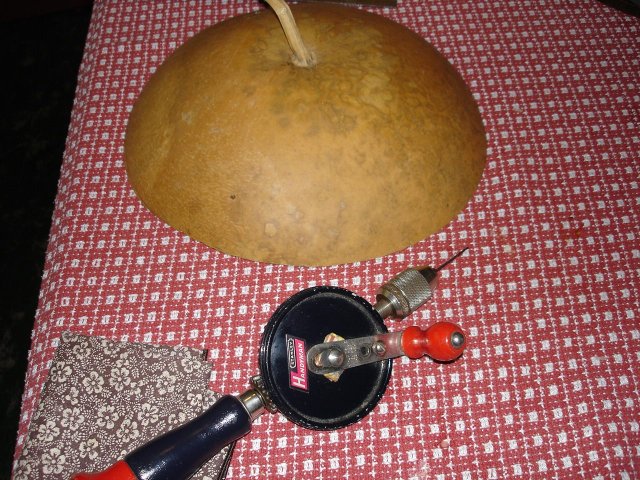
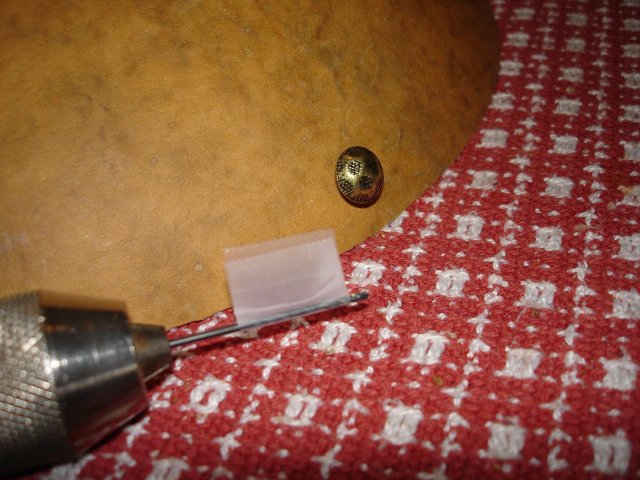
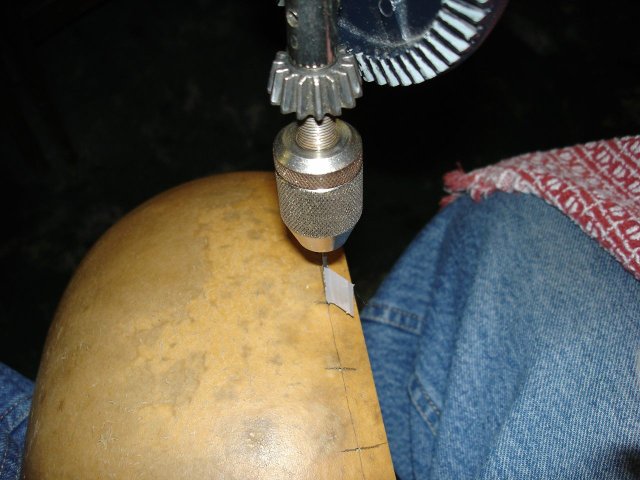
Here is my tiny drill bit in the drill, sitting next to the top of my gourd.
I drilled a little hole into the gourd, like this:
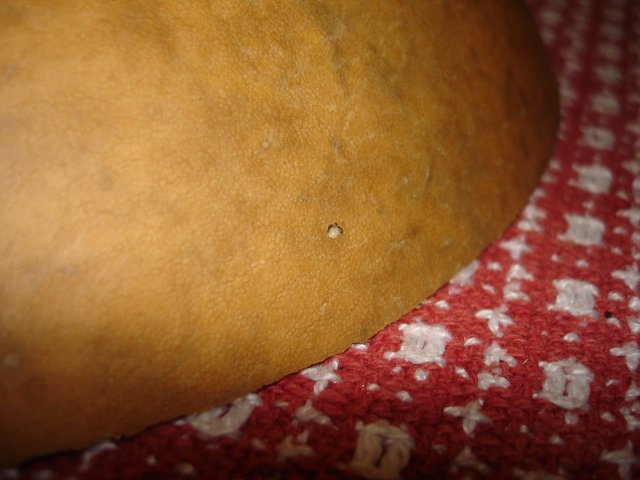
Then I pushed one of the tacks into it.
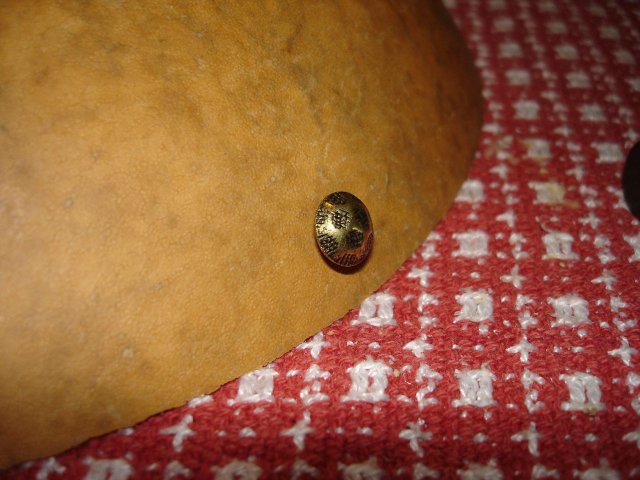
It went in a bit too easy for my taste. As I look at it, the material on the inside of the gourd is pretty soft, sort of the consistency of balsa wood. I think maybe I can easily push a tack through that stuff if I don't have to poke it through the outer skin of the gourd. So I decided to make a hole that just barely goes through the hard outer layer of the gourd. I put a flag on my drill so I know how deep to go.
I drilled the shallow hole and poked a tack into it. This one took a bit more effort, and it is in tighter, so I am going to go with that technique for the real deal.
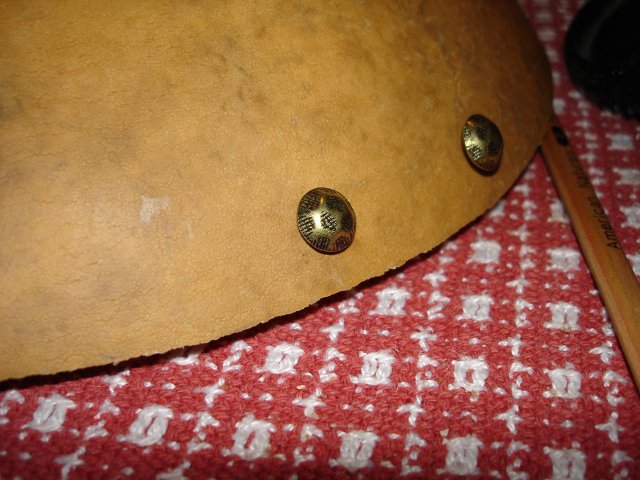
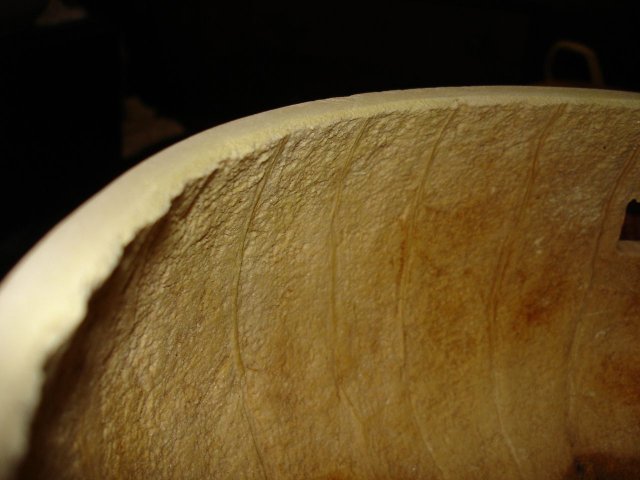
Before I mount the skin, I took my shoe rasp to the edge of the gourd again to slant it slightly away from the horizontal. That is to make sure that the skin will not buzz against the surface. I also took out a steeper angle on the very inside of the circle to keep any soft material on the inside of the gourd from touching the head. You can kind of see what I mean in the really rotten photo below.
On to the skin. I bought four skins from Mid-East Manufacturing, which is a company that imports skins for various purposes. Here is a link to their web site:
I have no relationship with Mid-East other than as a customer. I have read about them on various banjo sites, so I went with them for this project. I actually ordered these a while ago, and they came in decent time and in good order. I bought four medium thickness skins (which Mid-East says is nominally 0.015" thick) and 16 inches across. Skins, of course, are a natural product, so there is inconsistency in them. They cost me about $6.50 each on sale (in 2007 dollars, in case you are reading this in the far future). The skins are about twice that much when not on sale.
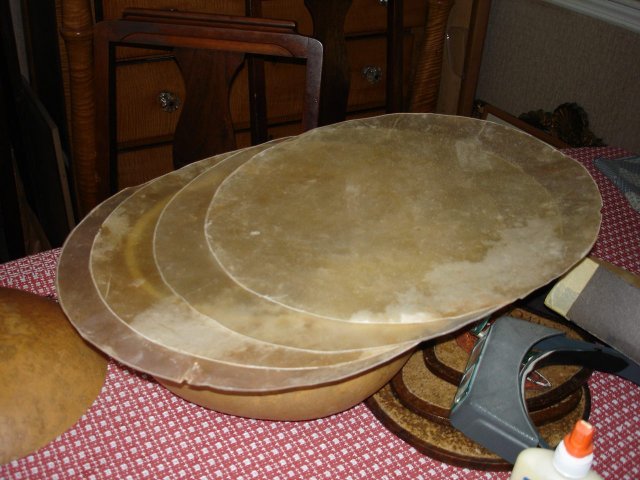
I picked them up one at a time and just chose one that looked like it had the most consistent thickness. They are all nicely translucent. Natural skins also have two differnt sides. One side is generally rougher than the other. I chose the smooth side to be the outside on the banjo. The choice is arbitrary, and makes no difference in the sound of the banjo. The next step is to mark where the tacks will go. To do this in a somewhat neat fashion I used a trick that I used on my Goldtone banjo. I found some mechanical pencil lead.
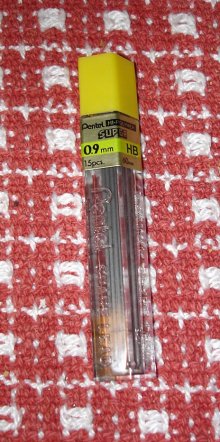
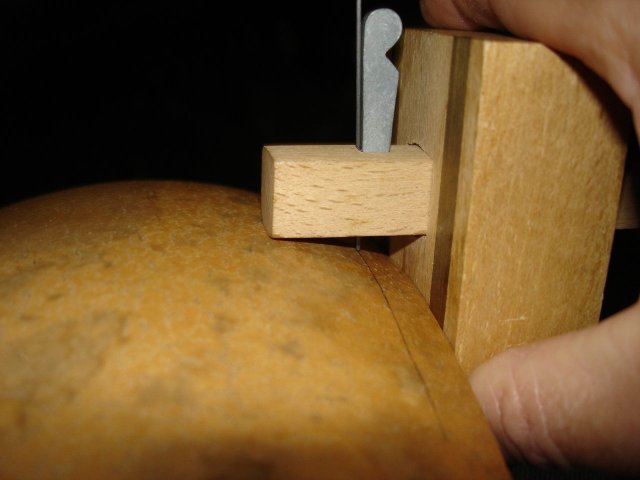
You can see that it is fairly thick lead, 0.9 mm. I am using thick lead because the way I use it, it has to support itself. I have a marking gauge which I bought years ago when I was into wordworking and nice tools. It usually has a little knife in it to mark a piece of wood with a scratch. I can see a pencil line better, so I put the pencil lead into the gauge and use it that way.
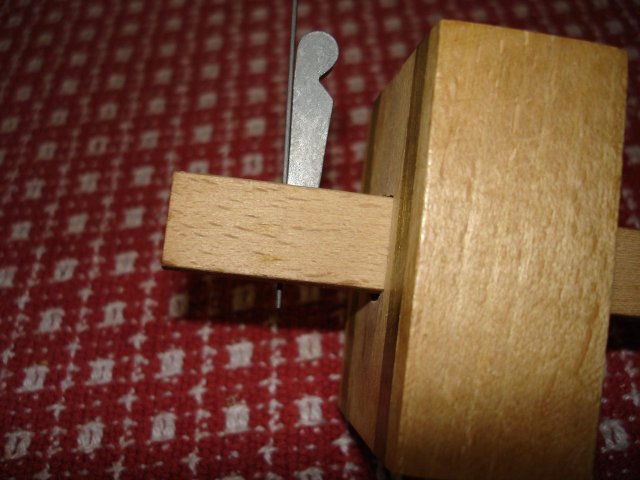
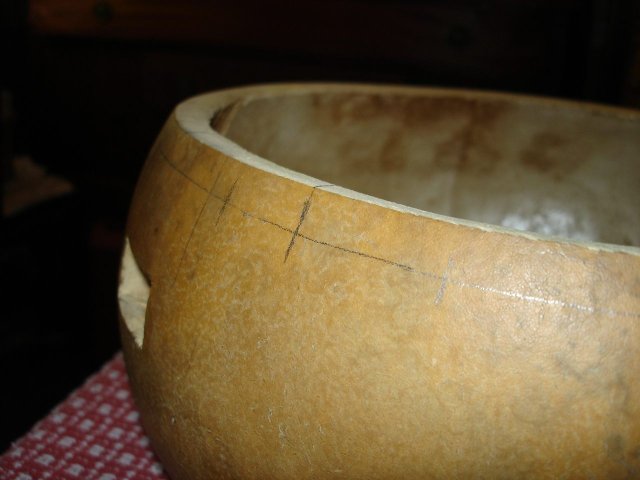
You can just see the tippy end of the pencil lead poking out beneath the arm of the gauge. I set the lead to be 1/2" from the side of the gauge to make the tacks go in 1/2" from the top of the gourd. That was just a guess. I have no idea what the ideal distance is for the tacks to be from the top of the gourd. So I eyeballed it. I rotated the gourd under the marking gauge and thus put a pencil mark 1/2" from the top of the gourd all the way around.
Here's the line. This was a touchy operation, and I actually broke the pencil lead a few times while doing this.
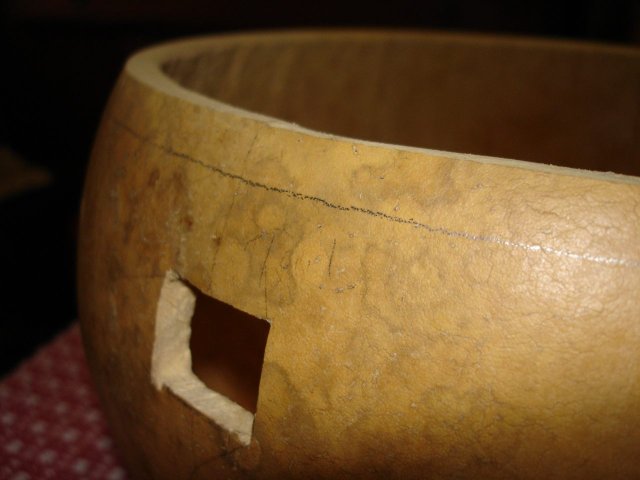
There is one other issue I have to address. There will be no room to put any tacks between the heel of the neck and the gourd. So I am going to mark off where the neck goes up against the gourd so that I won't put any tacks there. I slipped the tailpiece of the neck through the gourd and marked it on both sides.
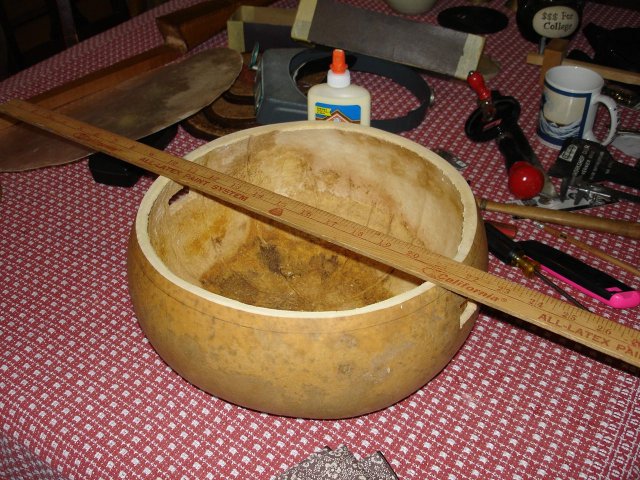
Once again, to keep the location of the tacks somewhat neat, I decided to subdivide the locations using a yardstick. I placed the yardstick across the middle of the gourd and marked a location on each side with a pencil.
Then, I droped the lines down from the edge to the line I made around the gourd.
To make the tacks evenely spaced, I went around the gourd dividing the distance between each existing line in half until the marks seemed close enough. I started by making four marks 90 degrees apart. Then I subdivided those marks by marking half way beteween them, making all the marks now 45 degrees apart. I continued until the marks were just over an inch apart. I ended up with 31 marks around the gourd. Of course, I made no marks where the neck is to go up against the gourd since there will be no tacks there.
Once the marks were made, I held the gourd between my knees and drilled out the pilot holes one at a time.
The gourd material is really soft, and it takes almost no effort at all to drill through it. The difficult thing is holding the gourd securely. It is very round and somewhat slippery.
Ok. Here is my glue setup. I am going to put a line of glue all around the gourd right where the tacks go.

The sponge is there for whatever I might need it for. I might have to use it to wet down the head, or I might need it to clean up the spills.... I don't have a very good track record on the spills so far.
To stretch the skin, I first have to get it wet. The skin is rawhide and is quite stiff. It is like a piece of cardboard. When it gets wet, it gets supple again. So I put it into the kitchen sink and ran some warm water over it.
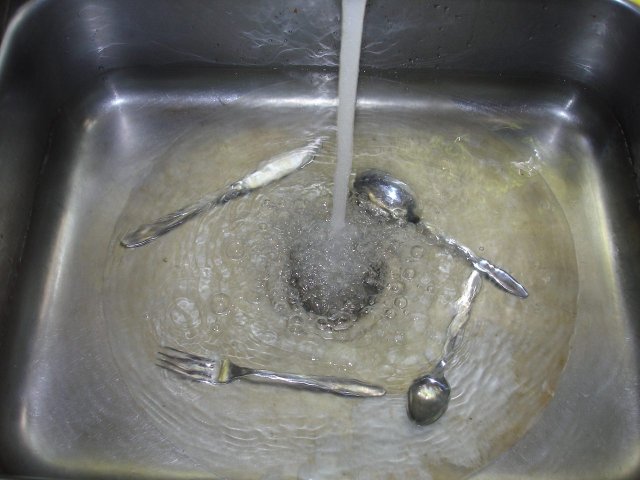
The purpose of the flatware is to hold the skin under the water while it soaks. The reason that there is one of each type of flatware is to procure good mojo for this operation. If you want an explanation of how flatware relates to good mojo, you will have to read about my previous experience with mounting a skin head on my minstrel banjo, here:
http://www.thekimerers.net/brian/minstrel/head.shtml
It is too difficult to explain here, and it ain't pretty.
I set a timer for 10 minutes. The head has to stay in the water long enough to become supple, but not too long. If the head gets too wet, it will bloat up and become thick and ungainly. If that happens, all you can do is let it dry out and try again on a different day. So I set a timer for 10 minutes... max. While the head was soaking, I took the paintbrush and painted bead of glue all around the gourd.
I meant to have a lot more photos of the process in here, but I got a bit....... um... busy. I had glue all over my fingers, and the skin was supple in 5 minutes, not 10, so I got rushed. I pulled the skin out of the water and wrapped it in a towel to keep it moist, but not soaking wet. I finished putting the glue on the gourd and then started stretching the skin.
I wish I had some photos of this, but a verbal description will have to suffice. I centered the skin on top of the gourd. With a 16 inch skin on the 11 inch gourd, there is plenty of overlap to grab for stretching. I bent the edge of the skin over the side of the gourd at one of the locations 90 degrees off from the direction of the tailpiece and pushed a tack through it. Then, I pulled the skin tight directly across the gourd and put a tack through it into the pilot hole on that side.
That left a large wrinkle across the top of the gourd, but no worries; I will stretch that out easily. Years ago I used to stretch artist's canvas on frames, so I know how to get the wrinkles out.
After stretching the skin directly across the gourd, I pulled on it 90 degrees to the big wrinkle on top and tacked it there. Then I tacked it opposite that tack. I now had four tacks in the skin at 90 degrees to one another. The 90 degree thing is not exactly true because there is no tack in the spot where the neck goes, but I used one or another just off to the side of theneck. Just like when I was marking the locations for the tacks, I then subdivided the distance between two of the tacks and stretched the skin there, placing tacks opposite each other across the gourd.
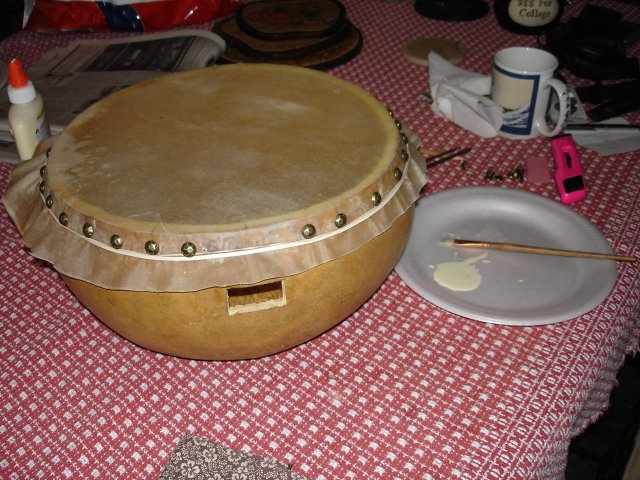
Going around the gourd, I then had 8 tacks in it that were 45 degrees apart. By that time, most of the wrinkles were out of the head. I did stop to take one photograph at about that point.
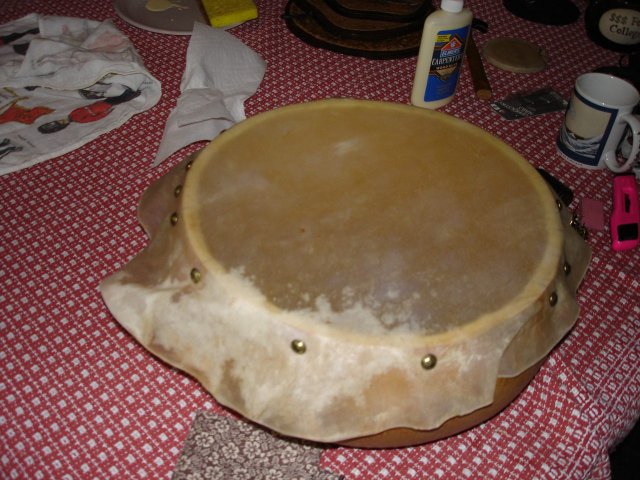
The photograph is out of focus because I was, well, busy. I had to get the skin stretched before the glue got too tacky to stick and before the head dried out. At one point I did take my sponge and wet the head down again.
The translucent nature of the skin turned out to be a good thing. I could see my marks through the skin to find the holes. On one side of the skin it was more opaque than the other, and I had a heck of a time locating the pilot holes. I also found that I should have marked the radial locations of the holes on the top edge of the gourd as well as on the side since it was easier to see the marks on the top than it was on the side. For some of the tacks I could not see any mark through the skin, so I just took a guess and drove the tack into the gourd with my wife's little girly hammer. Live and learn.
Once I had all of the tacks in, it was apparent that the glue had not worked out as well as planned. The head was not sticking to it, so I took my paintbrush and pushed some more glue between the head and the gourd between each of the tacks. I also added some extra glue where the neck goes since there are no tacks there at all.
In the end, I had to run around the house to find a large rubber band to hold down the head. It would just not stick to the glue. I stretched a couple of rubber bands (I broke one too) over the gourd to hold the skin down to the glue.
Next time I will have some large rubber bands ready to go. I think this is going to be OK. The tacks went in with some resistance, so they should hold pretty well. I don't see any obvious wrinkles in the head. The tension on the head is not a whole lot, but then it is still wet. It is easy to depress the head a half inch or so. I have read that you don't want to make the head too tight because it will tighten up as it dries. I have read about cases where a stretched head crushed the gourd as it dried because the gourd could not handle the extra tension. I will just have to wait and see what happens. If the gourd fails, I will have to start over with a new gourd.
Also, that little #54 drill bit was not as important as I thought it would be. Since I only used it to break through the outer skin of the gourd, I could just as well have used the 1/16 inch bit. Go figure. In fact, I could have simply pounded the tacks into the gourd using the hammer and not used the pilot holes at all. Having the pilot holes allowed me to push the tacks in with my thumb so it was a little quicker than it would have been just using the hammer.
As I was pulling on the head to stretch it, I was not pulling very hard. I could feel the head stretch just a bit as I pulled, but I certainly was not stretching it as far as it would go. So I guess I would say that I put a moderate amount of tension on it. It was not a finger-busting sort of pull.
At one point I realized that I had put one of the tacks near the neck into the wrong place. Instead of putting it on the mark where the tack was to go, I put it on the mark where the edge of the neck is. This would not work since the tack would make it impossible to seat the neck against the gourd, so I pulled it out and moved it over. In the photo above, the offending tack is the one just to the left of the hole. I don't know if you can see it or not, but there is a little hole in the head just to the right of the tack. It should be OK because the glue should hold it down.
You can also see in the photos that my careful centering of the head on the gourd did not go well either. One side of the gourd has several inches of skin to cut off, and the other has just a fraction of an inch. I guess I got in such a hurry that I didn't notice. That also will not matter because after I trim off the extra you will not be able to tell that I messed it up. By the way, holding onto the gourd during all of this was challenging.
To make sure that I had not messed up the tacks in some other way, I got the neck out of the garage and stuck it through the gourd. Here it is:
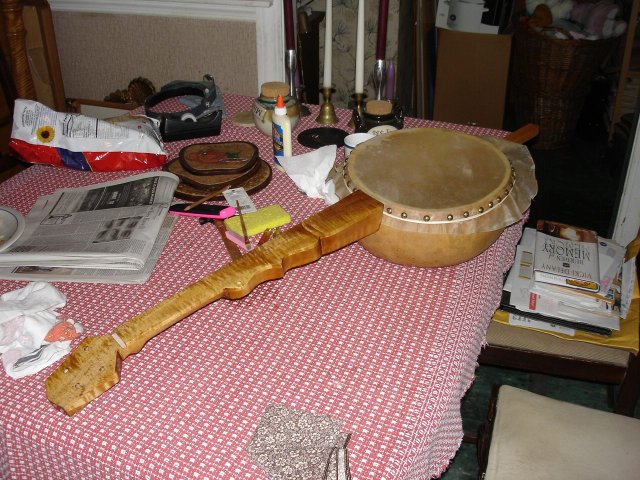
Now I have to put it all aside for a few days to let it dry out. I have stretched the skin on a fairly wet day for Autumn here in New England. It is October, but the humidity is about 65% today. That is a good thing since I don't want the head to sag too much in the Summer. If I stretched it on a really dry day, I would have to make it tighter since the humidity would be much higher in the Summer.
It took me about 2 hours to stretch the skin on the gourd. It seems that everything I do on this project takes me about 2 hours.