Today I fixed some of the problems on the banjo that I built last year. Why would I stop now and fix that other banjo? Well, I need to do it sometime, preferably before I start finishing the new neck, and I also wanted to try out my idea for a new tailpiece system to see if it will work. So I have to go back to the old banjo to get ready to continue on the future banjo.
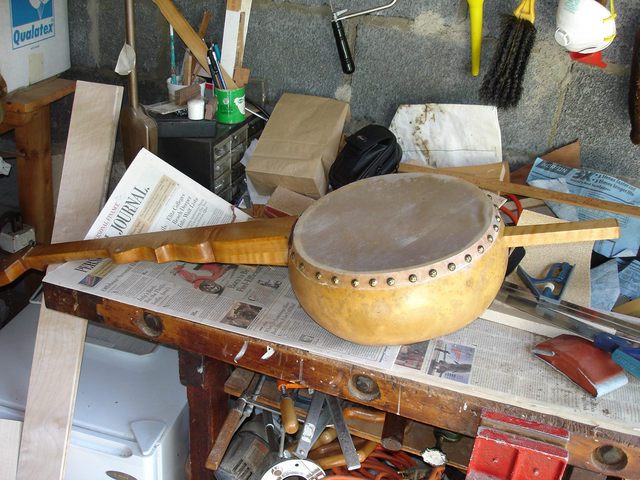
If you remember, last time I worked on the new banjo I discovered that the tailpiece on the other banjo had crushed the gourd and wrinkled the head. Here is a photo of the other banjo.
I have field stripped it, meaning that all of the pegs and strings and the tailpiece and bridge are gone. I stashed those away while I worked on the neck and the new tailpiece. I am going to make a new wooden piece that will fit over the dowel stick that will hopefully take the stress of the string tension instead of applying it to the gourd. I needed to decide how big to make the piece of wood, so I measured it.
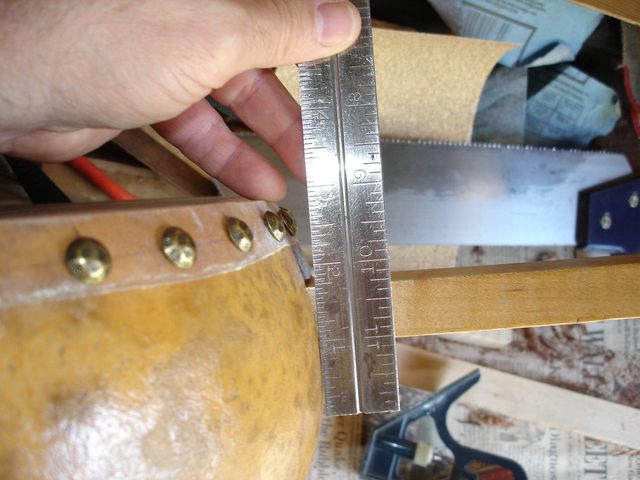
If I leave 3/4" of wood beneath the dowel stick, it looks like I will need a piece about 3" tall to bring the top of it just above the level of the head. I also measured the width.
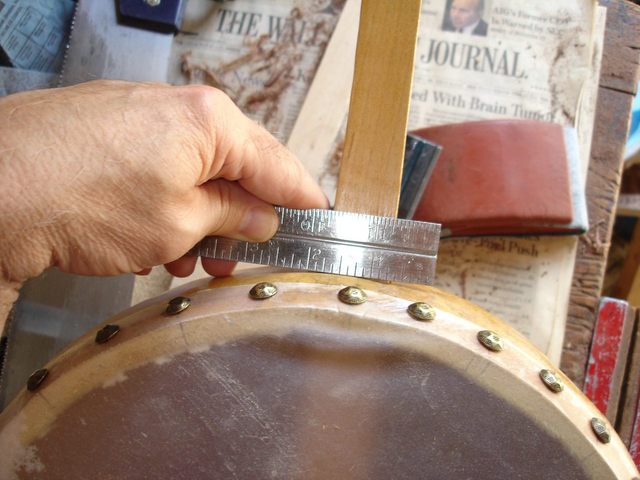
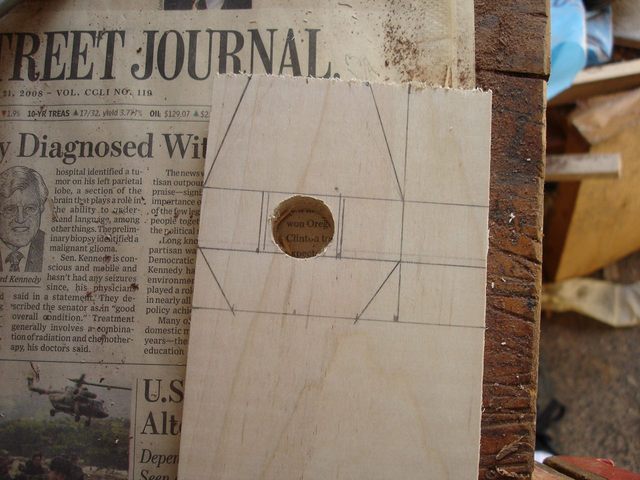
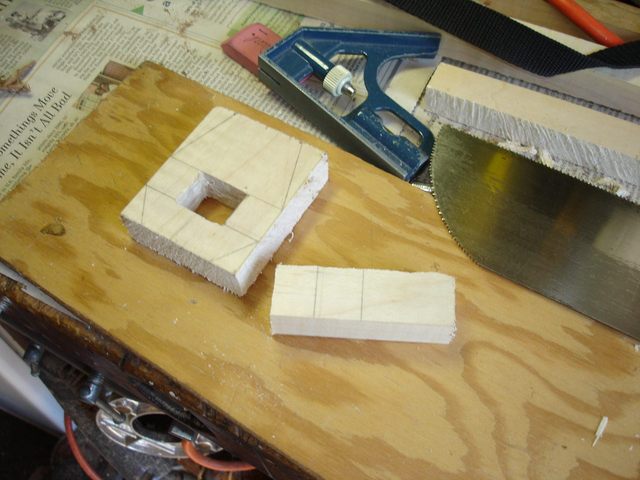
The dowel is 1" wide at the point where it exits the gourd. If I leave 3/4" of wood on either side of the dowel, my piece of wood will be 2 1/2" wide. I drew out the basic design on the end of some maple.
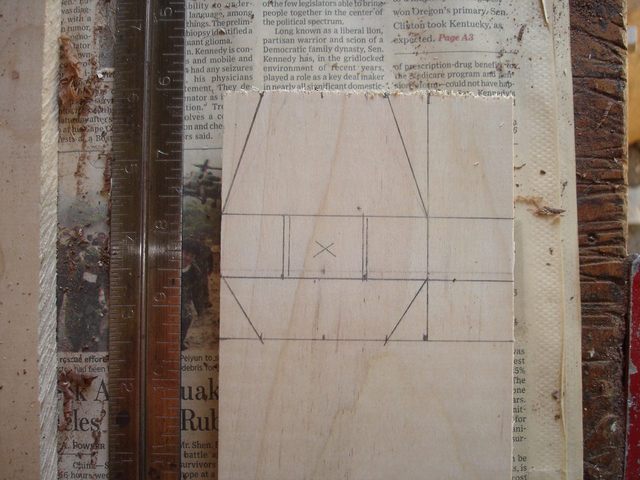
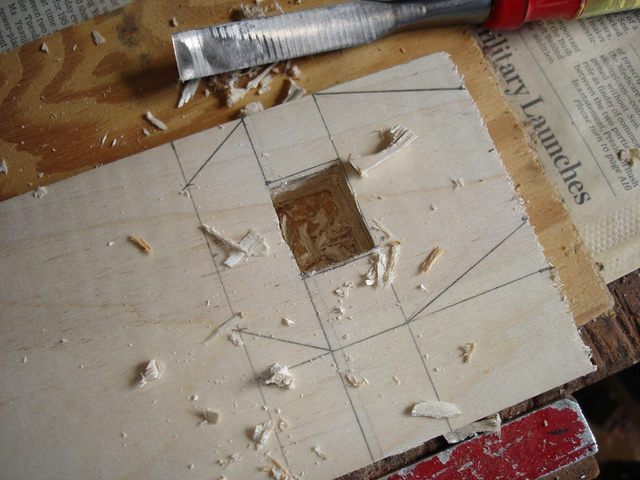
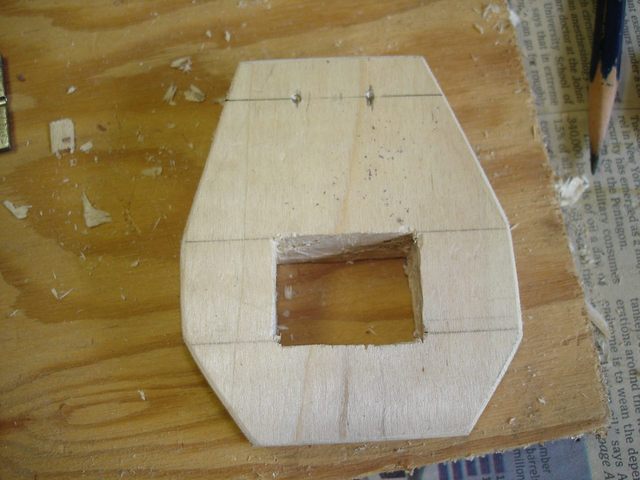
The top and bottom edges are 1 1/2" wide with the sides angled into them to make the shape more interesting than just a rectangle. The hole in the center is a rectangle that is 3/4" high and 1" wide to fit the dowel where it comes out of the gourd. I have also drawn some lines just inside of the rectangle on the sides. I plan to make my first cuts so that the hole is smaller than the final size and then pare the rectangular hole to the proper size as I fit the part onto the dowel.
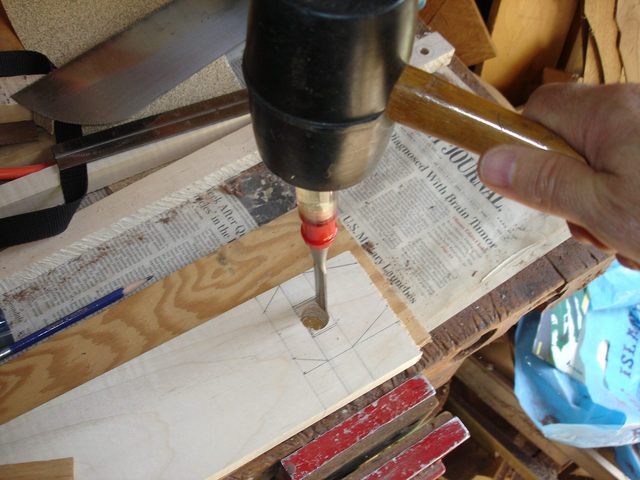
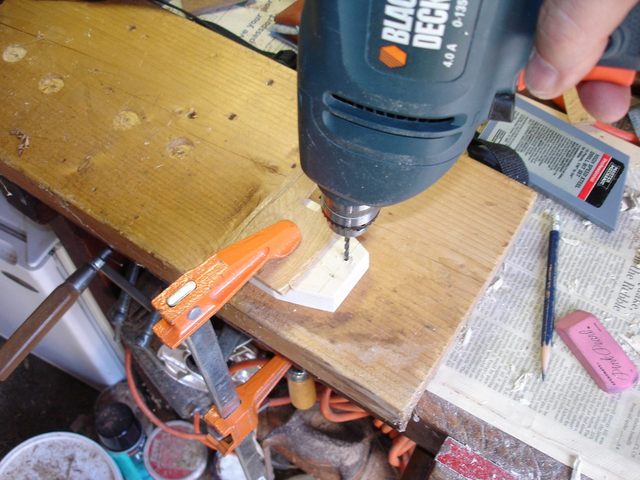
I put an X in the middle of the hole to mark the spot where the hole will be drilled out. Just like with the gourd holes, I used my 3/4" brace and bit to start the hole.
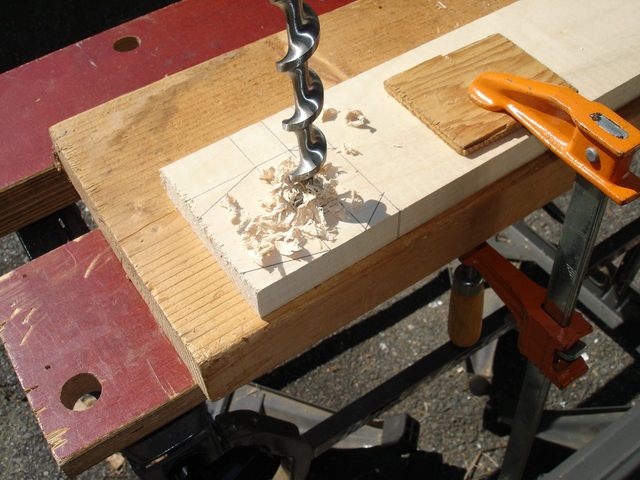
I clamped the board down to the bench with a 2-by beneath it and drilled. The bit cuts very quickly. Those old-timers knew how to design hand tools. Here is the hole. Most of the wood has been removed. I just need to square up the corners.
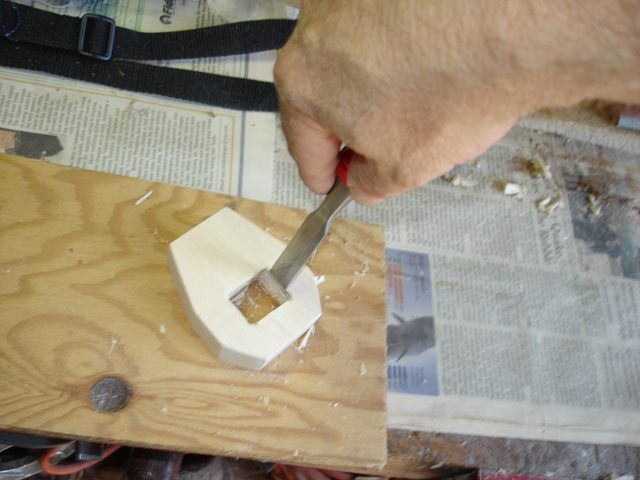
I was trying really hard not to split out the wood like I did before. I made sure to tap the chisel around all of the edges with my mallet before prying out the waste wood.
I took out really small pieces to avoid having the big chunk come flying off and ruin the piece (again). Slowly I worked my way down the hole.
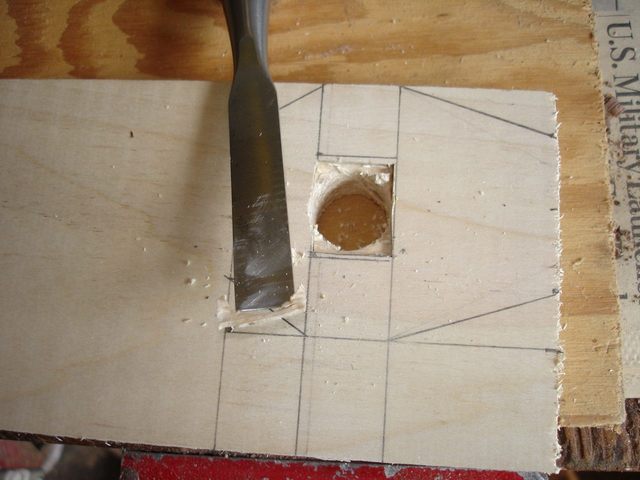
Here it is all roughed in.
I turned it over to look at the back side (I have found some ugly surprises on the back side in the past).
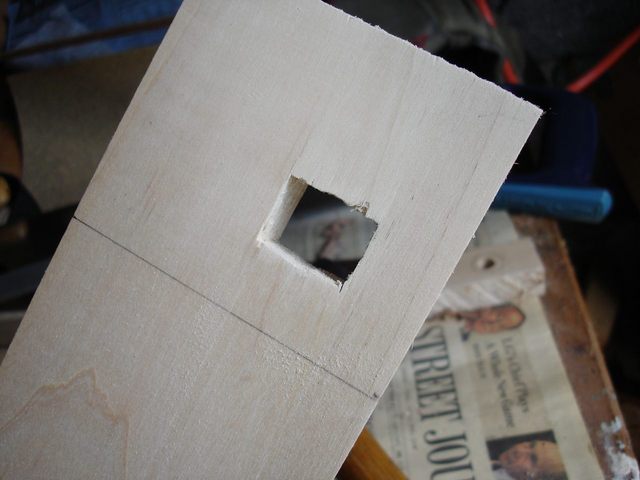
Hmmmm. Not too bad. I've done worse. Let's see if the neck will fit into the hole.
Not bad for a start. Now I need to pare the sides away slowly to make the piece move up the dowel toward the gourd. After a while, it looks like this.
Finally, it got close enough to the gourd that I had to stop and cut it off. I will finish cutting the hole to size after I cut the piece off.
|
|
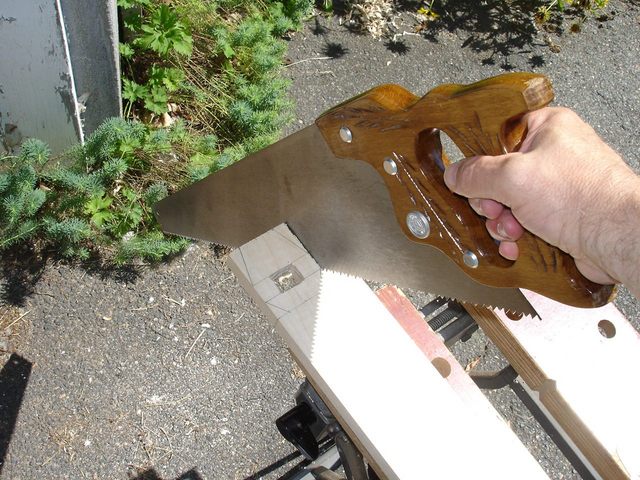
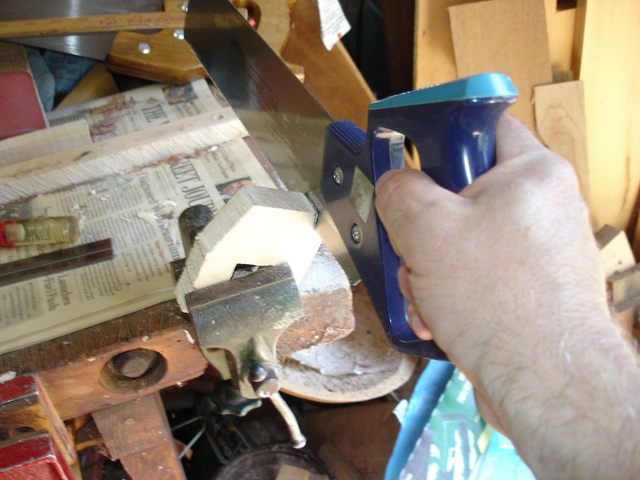
Cutting the piece off was surprisingly easy. The rip saw cut the wood very quickly.
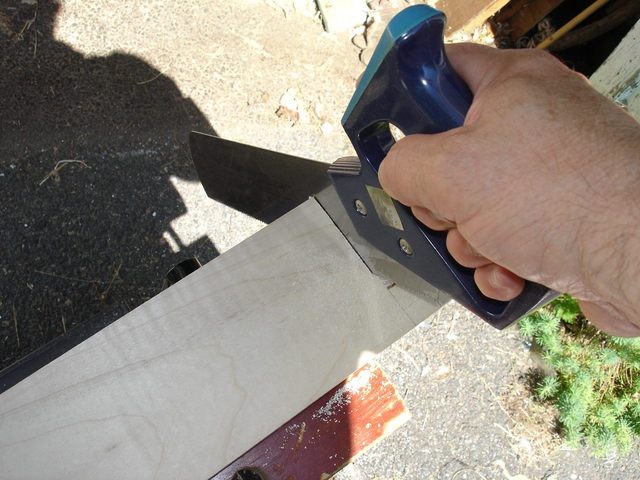
Then I cut off the end with my panel saw.
Here it is.
The little extra piece, it turns out, is the perfect size to make a couple of bridges, so I threw it into the bag with the other small parts. I cut the corners off with the panel saw.
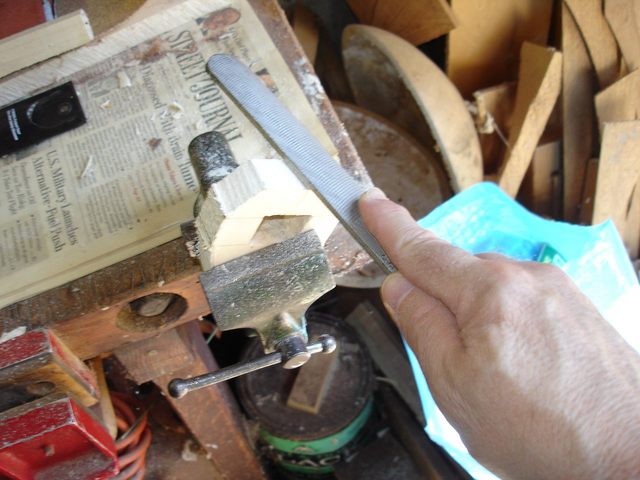
I smoothed the surfaces with the shoe rasp and some 60 grit sandpaper. Then I chamfered the edges just slightly with the sandpaper.
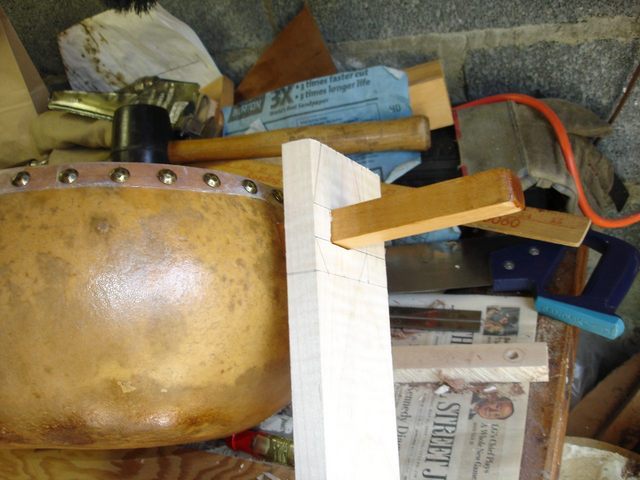
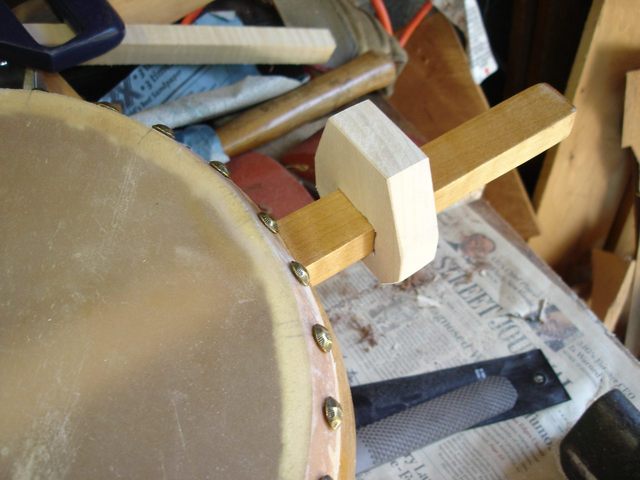
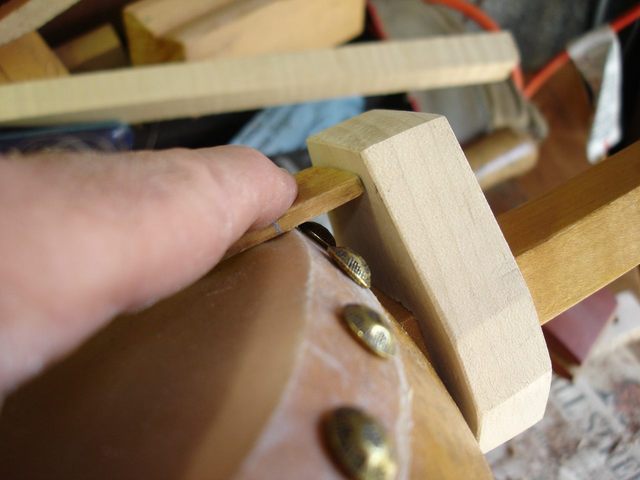
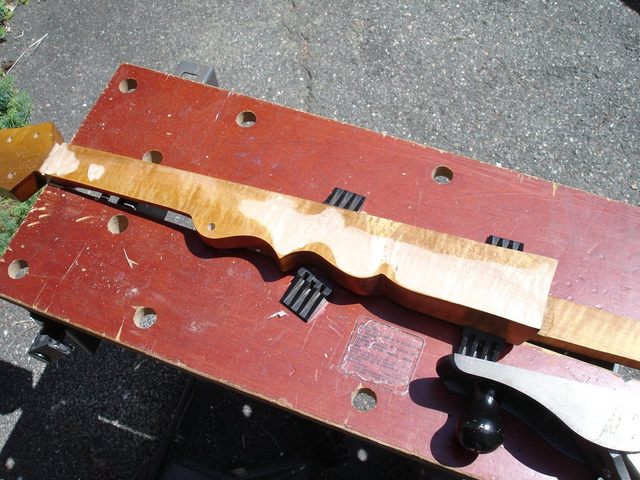
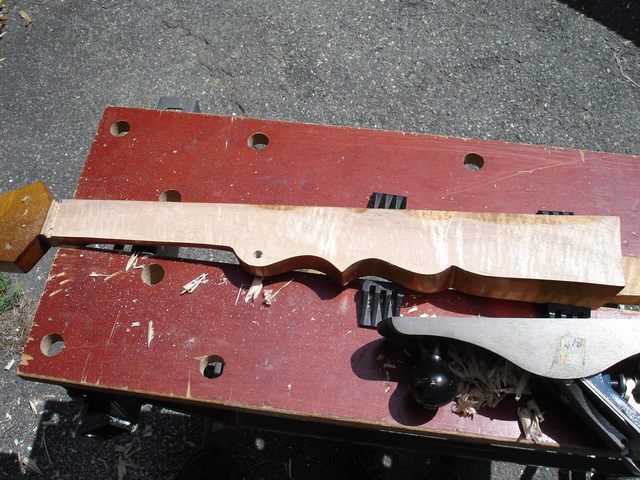
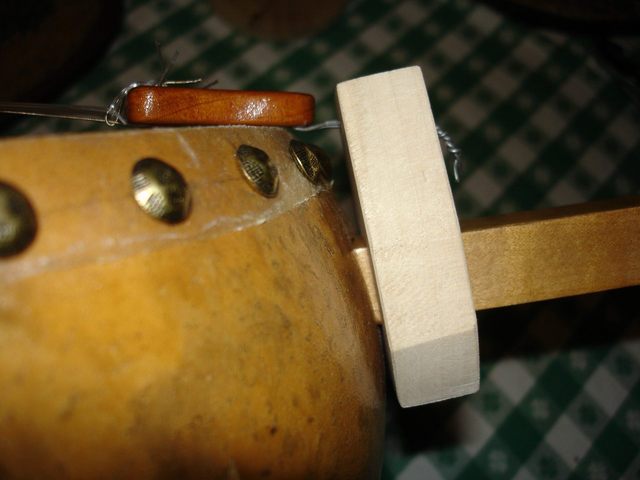
There it is on the dowel stick as far as it goes. Now the hole needs to be cut to its finished size.
|
|
I slowly pared the sides outward and tried it on the dowel. Cut and fit cut and fit cut and fit.
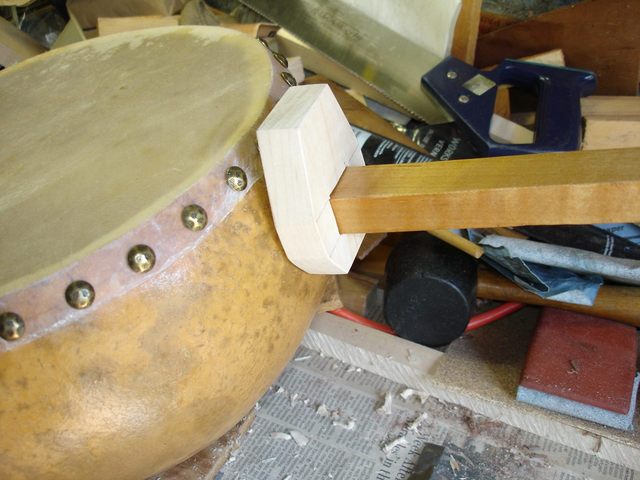
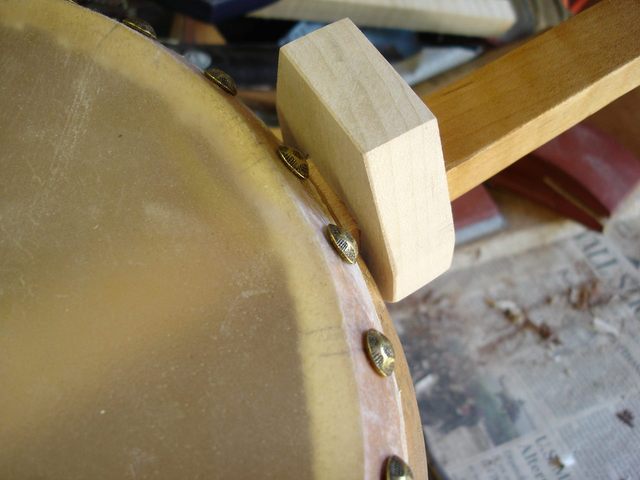
Finally it fits right up against the gourd.
|
|
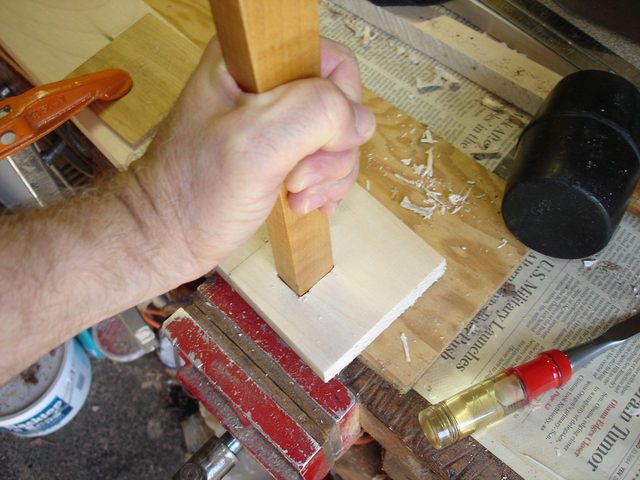
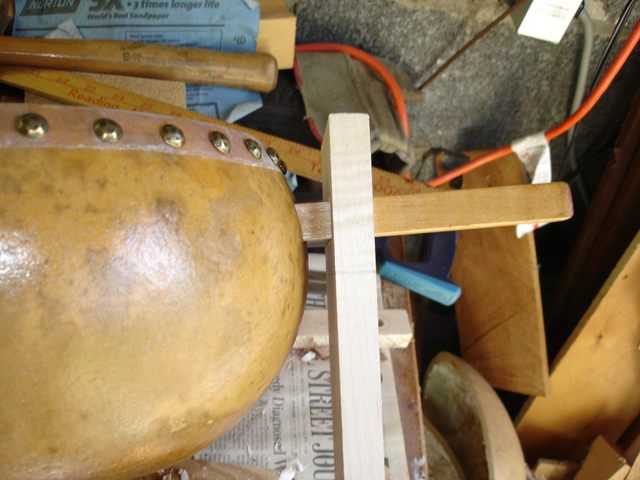
To mark where I need to put the holes I placed the yardstick across the top of the gourd and up against the piece. Then I marked a line under the edge of the ruler.
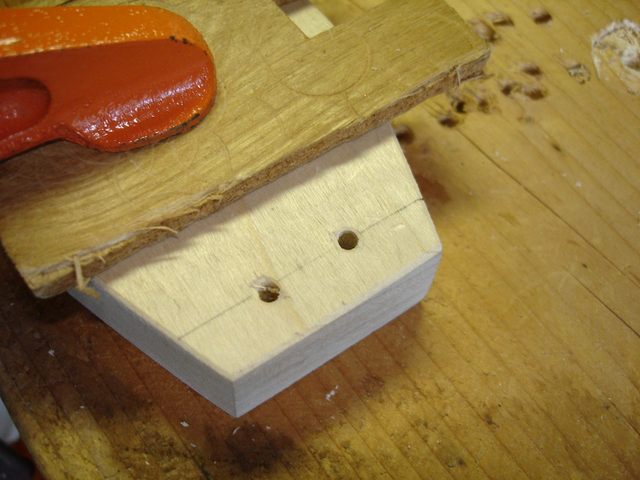
I put two marks 1/2" apart on the line and punched them with my center punch. The height of the holes above the dowel stick is important, but their horizontal position is not so important.
I drilled out both holes using a 1/8" drill.
Then I chamfered them a little using a 1/4" drill. I was careful this time not to go too deep with the 1/4" drill. Sometimes I learn from my mistakes. I just barely touched the drill bit to the wood to do this.
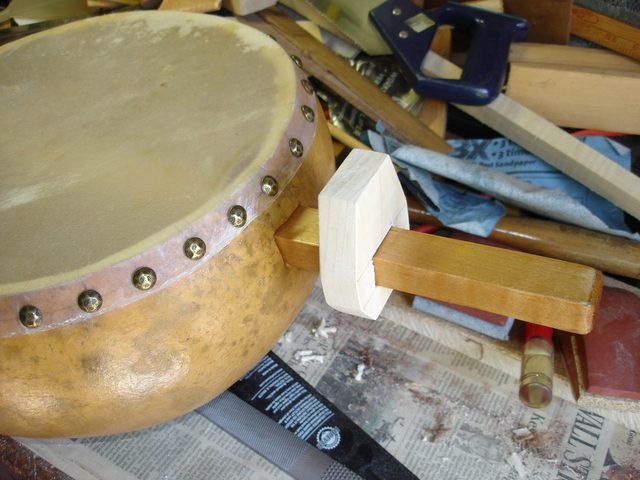
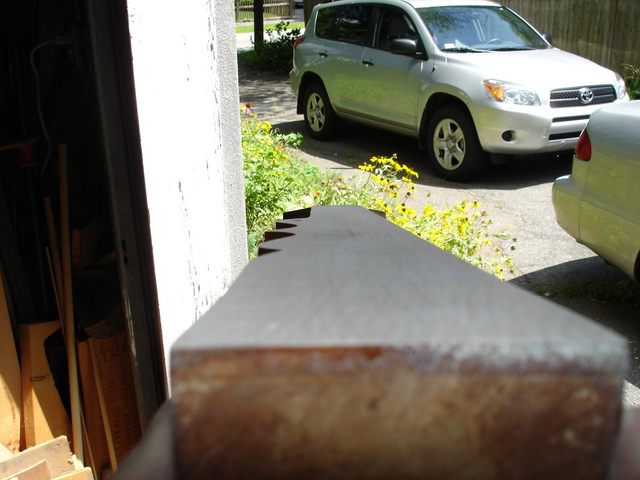
Here it is. All done. You might notice the similarity of the shape to something that might be visible in the background.
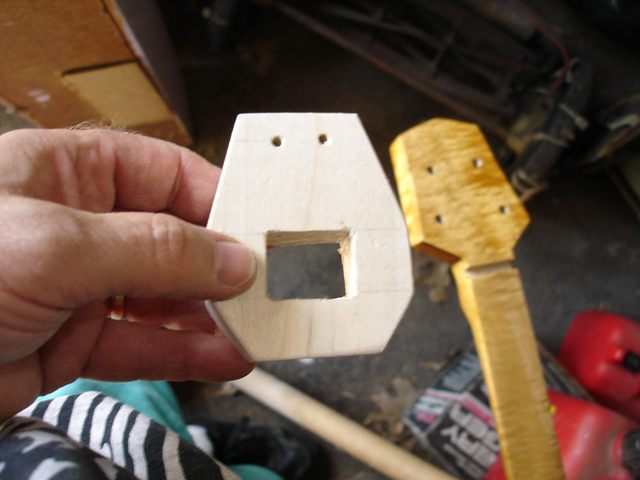
If you see the pattern here, you can guess what shape I will use when I make the piece for the new banjo. If I were ambitious, I might redesign the tailpiece and the pegs for this banjo to follow the pattern. But that is for another day.
Since there were some hours left in the day, and the weather was fine, I decided to fix up the finger board as well. The finger board on this banjo is not flat enough to make it playable.
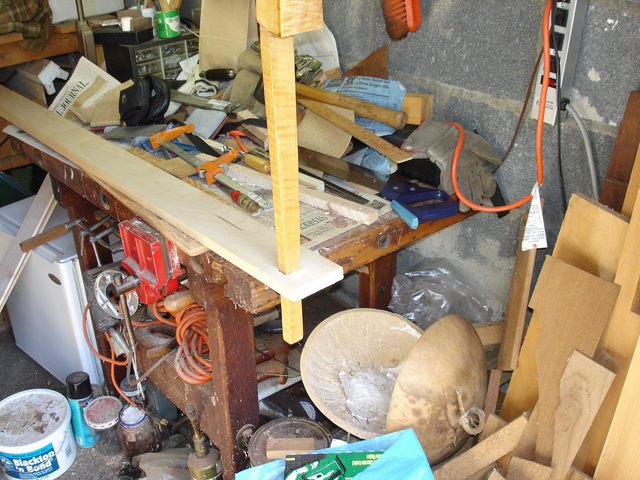
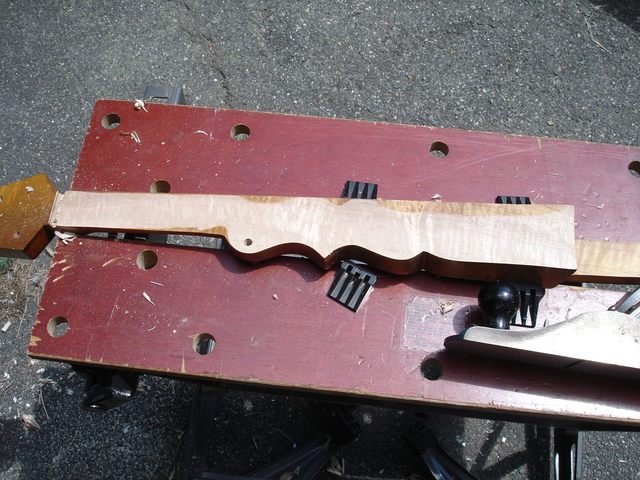
Here is the neck shot from an angle to allow you to see the surface of the finger board.
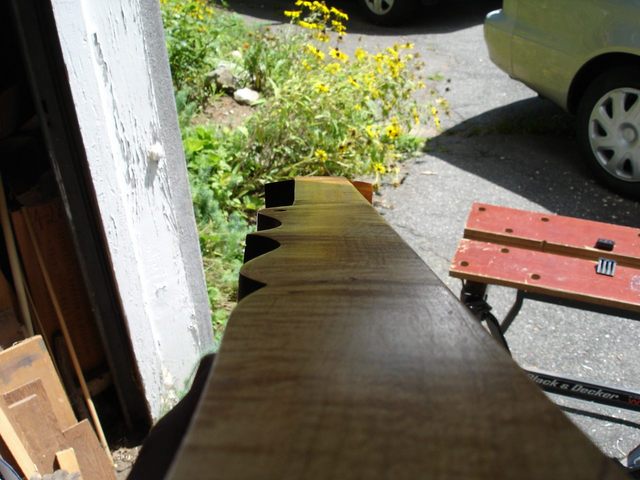
You can see the irregular surface, the rolling waves and bumps and valleys. I really did a lousy job on surfacing the finger board. The last time I planed it flat, I went ahead and used my cabinet scraper to finish the surface. You can see that episode here:
It turned out that was not a very good idea. The problem with the cabinet scraper is that it will follow the curves of the grain in the wood because it has no sole. When using a cabinet scraper on highly figured wood, it is difficult to keep the surface flat. The scraper will cut away more wood on the softer grain and less on the harder grain, leaving an uneven surface like the one you see in the photo above.
You may not be able to see it in the photo, but there is an indentation in the finger board just above the bump where the 5th string peg is located. Every time I played a note in that location the string would buzz against the elevated part of the finger board behind it. That is a very common note to play since I often scoop the 4th string into that note, which is the same note as the open 3rd string. Anyway, the buzz makes the banjo unplayable, so I need to fix it.
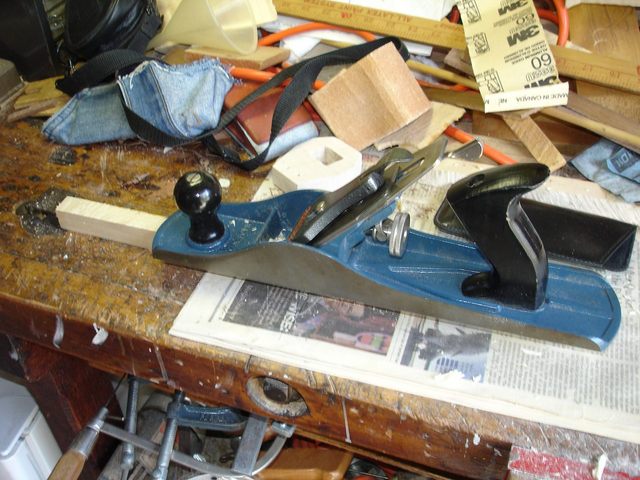
So my plan was to plane the finger board flat again, sacrificing the beautiful finish (sob!), and then sand it down using a sanding block.... and leave the cabinet scraper in the drawer. I sharpened my Stanley® jack plane and then set the iron for a very thin cut.
I set the blade by trying it on a piece of scrap before I applied it to the neck. I want to take off very thin shavings to keep from tearing out the wood. Figured wood is very hard to plane without causing tearout. As I planed the finger board, you can see the beautiful finish come off (sob!) where the plane iron has cut off the high spots. After a few swipes it looked like this:
A few more swipes and it looked like this.
I kept cutting tiny shavings off of the neck, slowly making progress. When the finger board is flat, all of the finish will be gone (sob!).
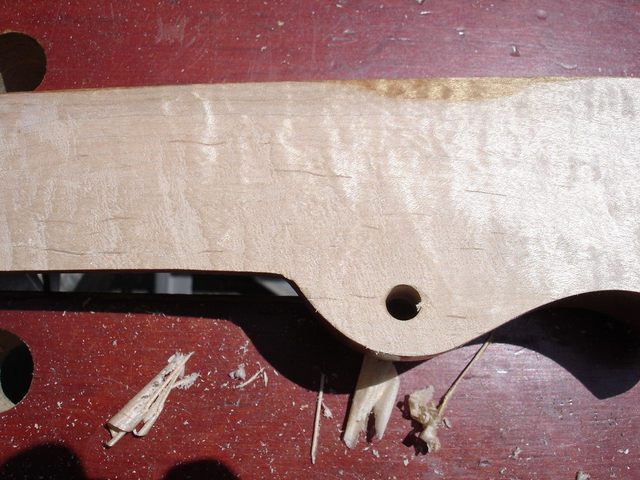
Here is that nasty indentation just above the 5th string bump.
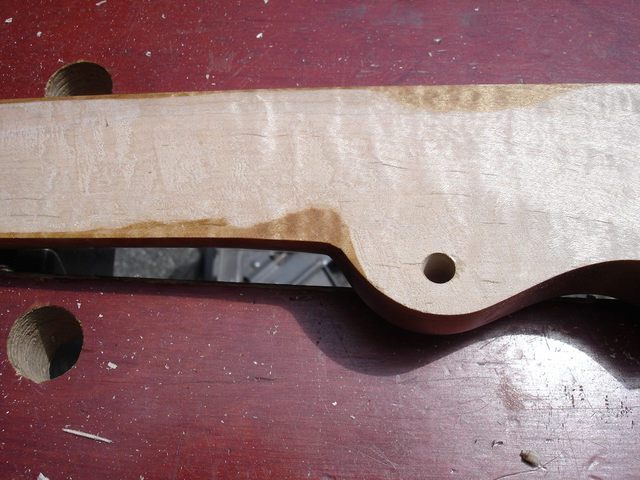
When my finger went into that hole, the string would buzz like crazy. I have to plane the finger board flat until that hole is gone. A few minutes later, here is what I have.
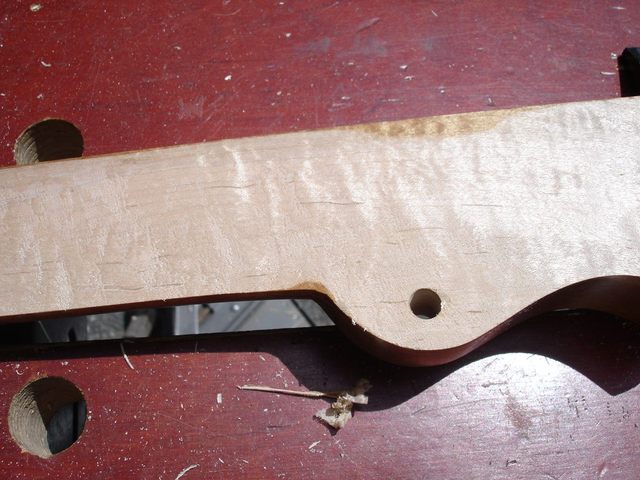
Finally, I have removed enough wood that the board is almost completely flat.
The hole is gone.
I did the rest of the work with 60 grit sandpaper on my sanding block. That removed the plane marks. The plane worked out very well this time. There was very little tearout. I will have to remember the trick of setting the blade using a piece of scrap.
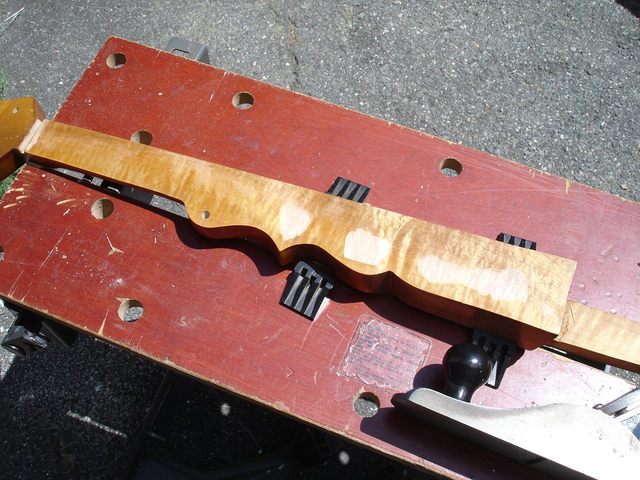
Here is an angled view of the new neck.
It is not quite so easy to see as before because the finish is gone (sob!). But the neck is now flat. It looks flat and it feels flat. Yay! I took all the pieces inside, and I strung them up using the old strings, still attached to the tailpiece.
|
|
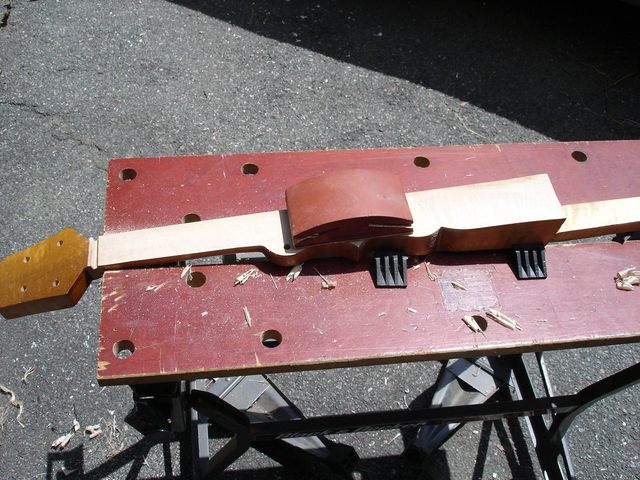
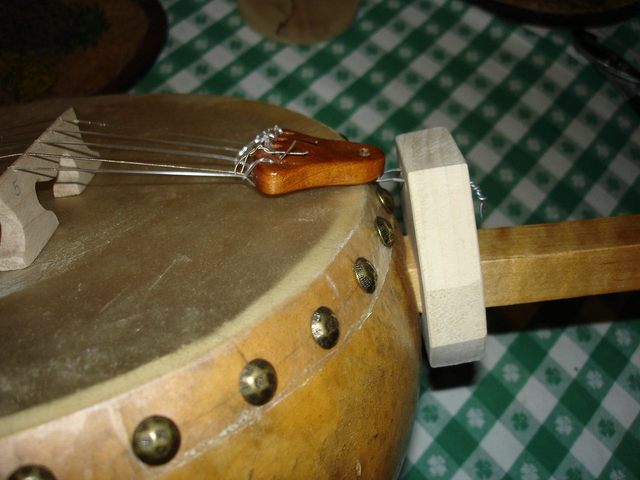
If you look carefully you can see in the photos that the new piece is not actually touching the gourd, and the tailpiece is also not quite touching the gourd. The wood on the dowel binds against the dowel when the tension of the strings is applied at the top. The holes in that piece are situated to keep the tailpiece just above the head. So, there is no pressure on the gourd other than the downward pressure of the strings pressing the bridge into the head. Here is the banjo all strung up and ready to play.
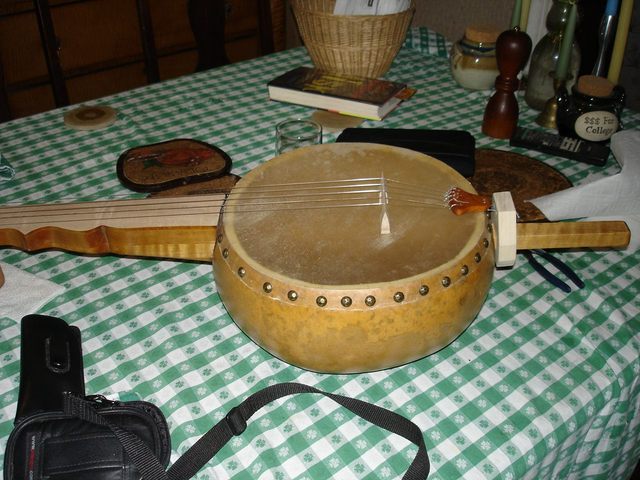
That is it! The new piece seems to be working. I still have to stretch out those nylon strings some more, but I was very pleased with the sound of the banjo. In fact, I recorded a short piece with me fooling around with Cripple Creek so you can hear it. You can download it by clicking on this link:
or you can also find a link to the file on my music page. It is a bit more resonant now than it was. The buzzing at the fifth fret position on the 4th string is totally gone. I think this banjo is going to be a lot more playable now. I will put a new finish on the fingerboard when I finish the new neck.
That is it for today. I spent about two and a half hours making the new tailpiece part and about an hour and a half reworking the finger board. That is a total of 4 glorious hours. This was a fun one.
Original post date August 10, 2008