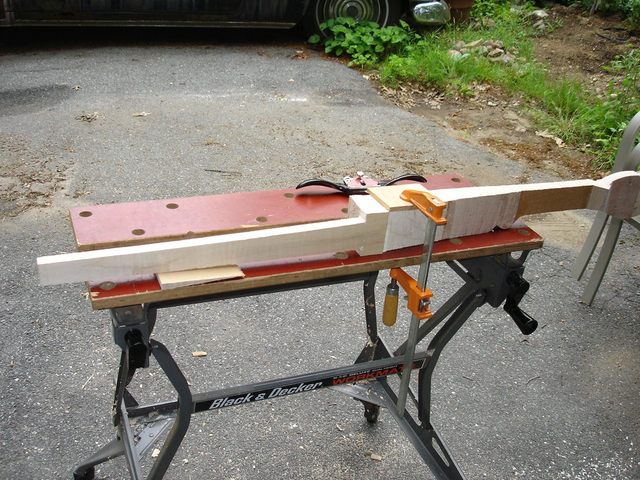
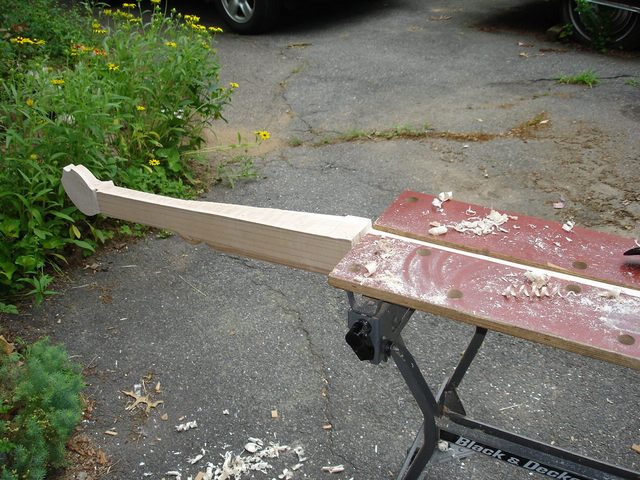
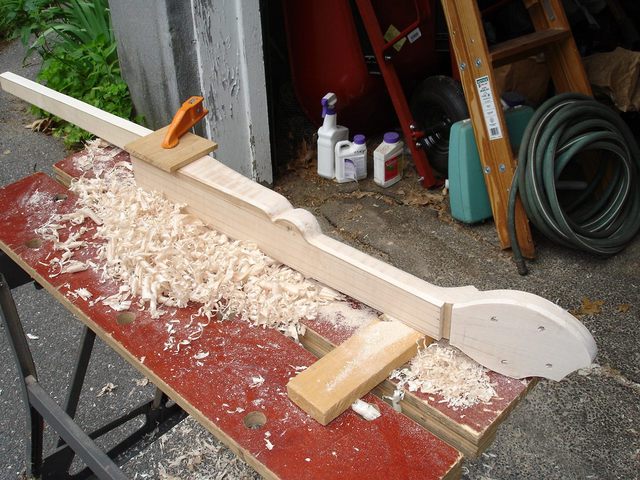
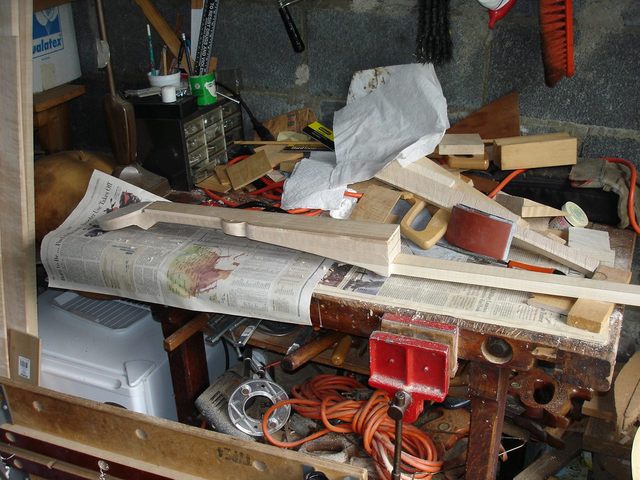
It is time to start carving the neck to its final shape. For this job I am going to use my new flat bottom spokeshave. You can see the shave in the photo sitting next to the neck.
I have clamped the neck down to the bench to make it easier to cut the wood. Clamping the neck is becoming more difficult now that it is no longer square and flat on the sides. I still have not figured out how to clamp it properly once it is round.
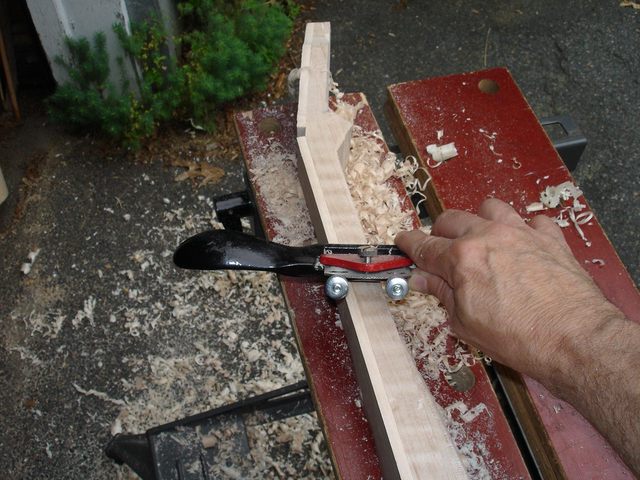
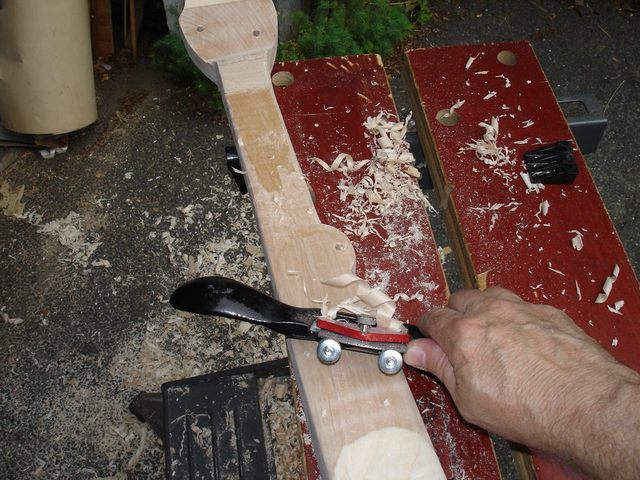
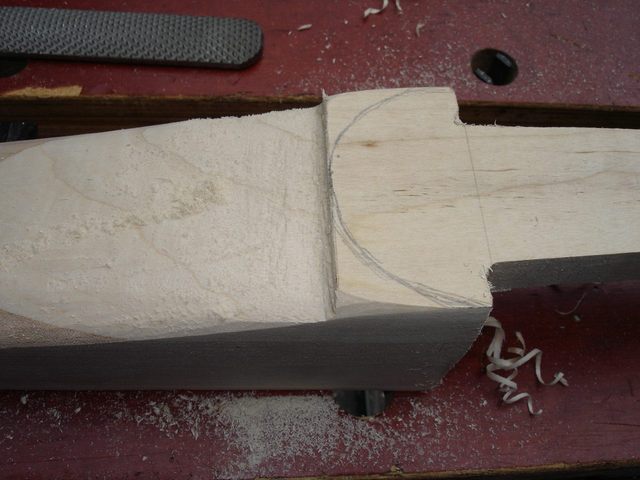
The first thing I did was to cut the dowel piece down to the pencil line, smoothing out the rough saw cut. Here is how the spokeshave is used.
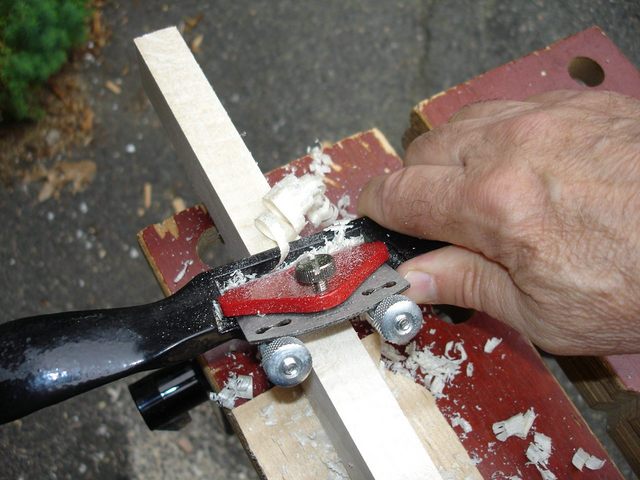
In the photo I have stopped and taken my left hand off of the shave to snap the picture. I take all of these photos myself. When I am actually using the shave, one hand goes on each handle.
While building my previous banjo I tried to use a round bottom spokeshave and the results were disastrous. But this flatbottom shave is sweet. Once I get the iron set up properly it cuts nice curls from the wood with a light touch.
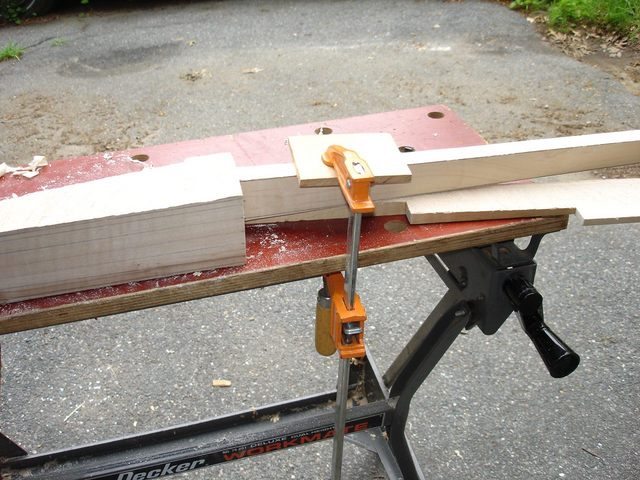
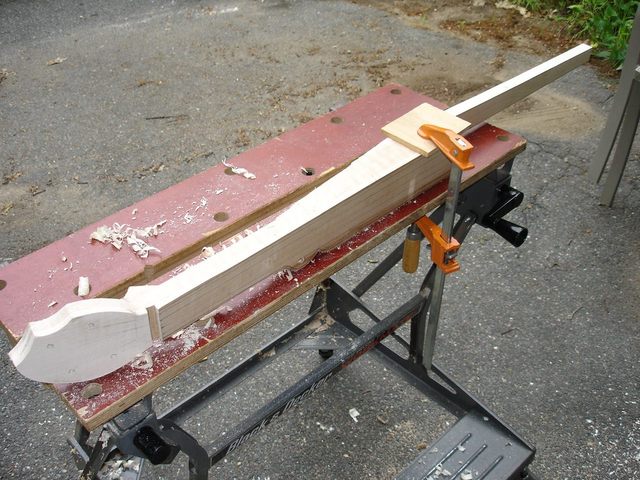
Once I had both sides of the dowel piece cut to the line the next step was to start carving the neck proper. Clamping this crooked piece of wood is a pain in the neck....heh.... that really was accidental. Anyway, here are some of the rigs I tried:
|
|
|
|
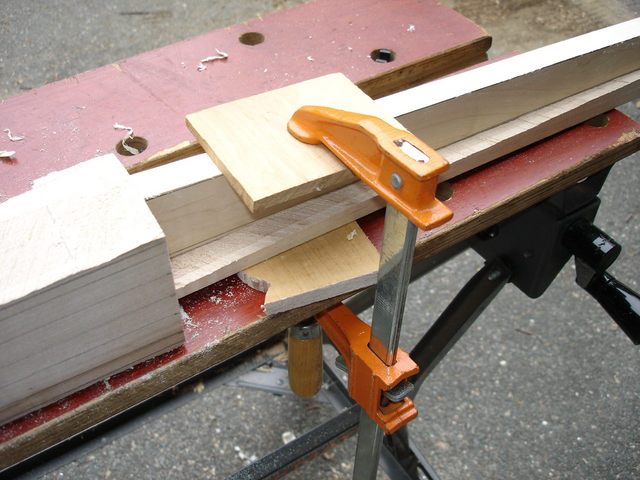
The one in the lower right is the one I finally stuck with since it was the only stable one. I just had to do the carving in two parts since the clamp is positioned on part of the neck. I used the shave to carve the side of the neck down to the line.
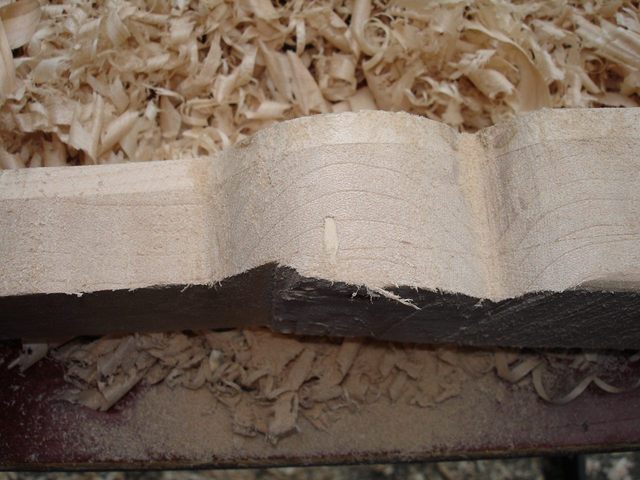
It is important to take the wood all the way down to the pencil line since that is what determines the width of the neck in its final form. The width of the neck at the nut is an important part of what makes the banjo playable. After I carved the neck up by the nut I moved the clamp and started carving down by the heel. While I was carving, look what I ran into:
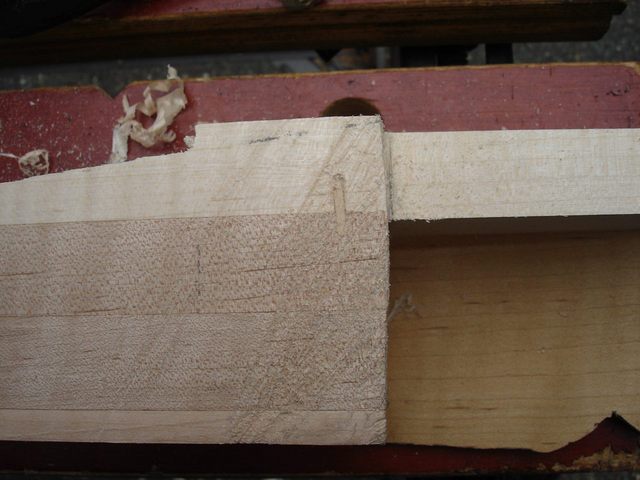
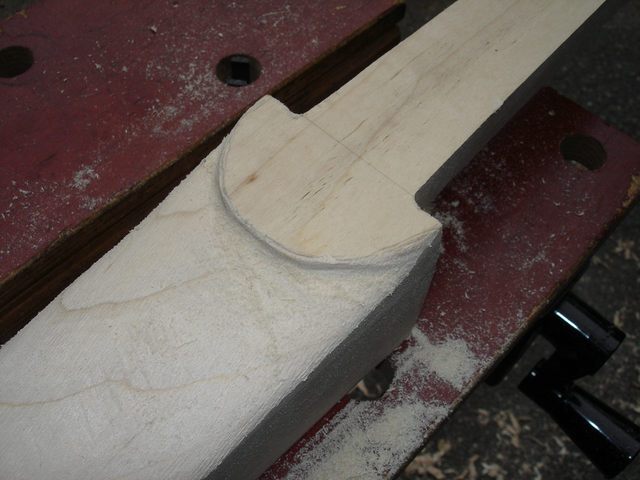
That is one of the little wooden pegs that I used to keep the wood aligned while I was gluing the laminations together. I plan on carving away enough of the wood that the peg will be gone when I am done. I am glad I did not leave the metal pegs in there. And then, when I was carving the bump that goes around the 5th string peg I found another one.
I am starting to get some nice curves on the neck. While I was cutting the wood down to the line, I was also taking the sharp corners off of it to make it round. Look at all the shavings!
After a while I turned the neck over onto its finger board so that I could carve the bottom of the neck round. I have to smooth that rough saw cut into a nice, continuous curve from the heel to the peghead.
Here I am cutting the bottom of the neck to shape with the shave.
The spokeshave makes this part fun. I have to stop and sharpen the edge every now and then, but that just takes a couple dozen strokes on the fine and extra-fine hones. I have sharpened the iron using a double bevel, so it does not take long to get the edge back. The second bevel on the edge is very small, and sharpening it takes very little effort.
Here is the extra piece that I left at the heel.
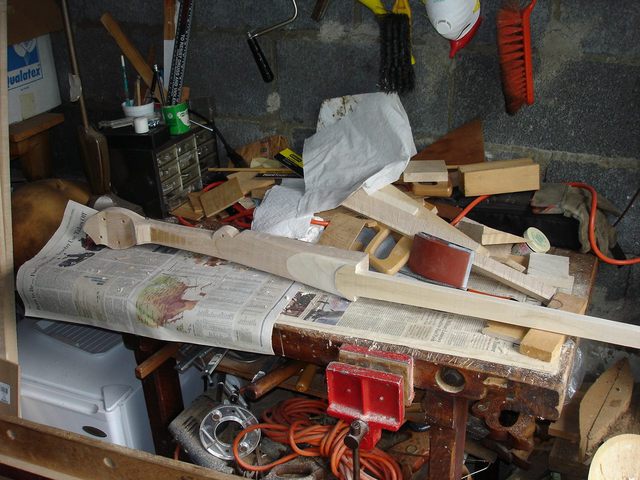
I will cut that part round with my panel saw and then carve it with the rasp. Here it is roughed in.
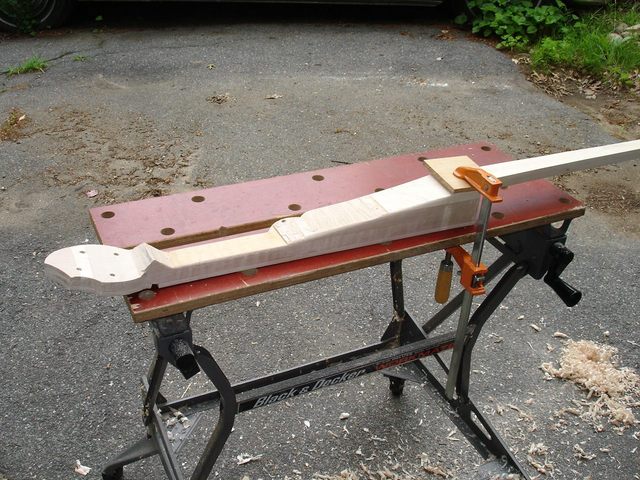
Here is the neck so far. It is starting to look like a real banjo neck.
|
|
That is it for today. I spent 3 1/2 hours on this, but the time went by fast. Next time I will continue carving the neck to shape and maybe put some of the final shape on the handstop.
Original post date July 4, 2008