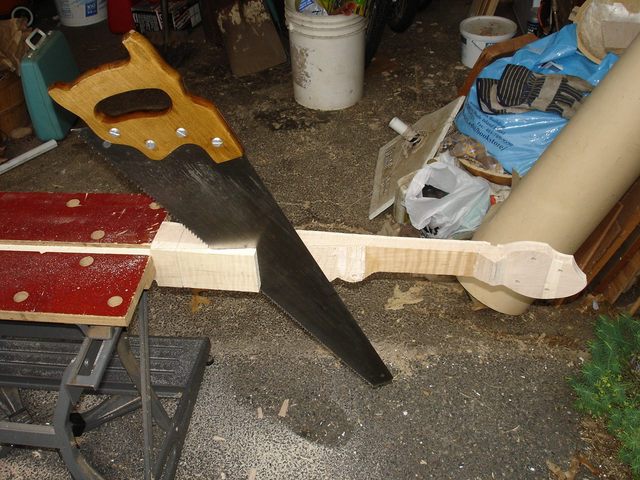
Today I drilled the peg holes. In order to do that, I had to address the problem of the back side of the peghead. You might remember that I had cut a deep gouge in it with the saw. I cannot leave it like that, but I think I can cut enough wood away from the peghead to remove the gouge. I also have to make the back of the peghead flat at the same time.
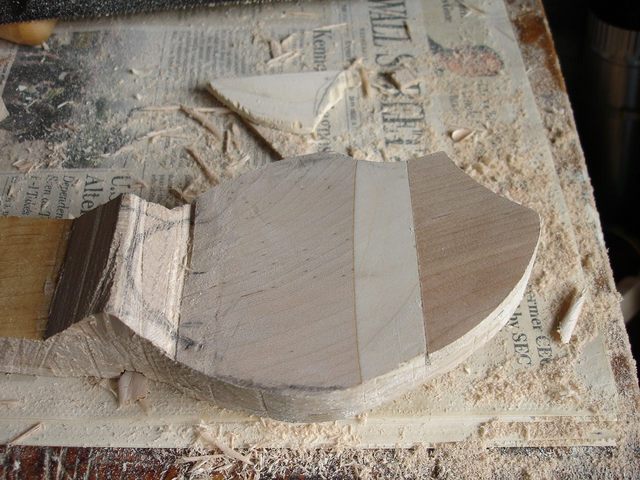
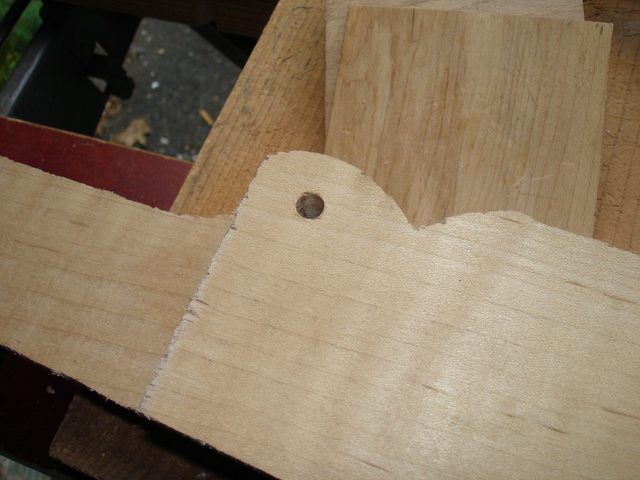
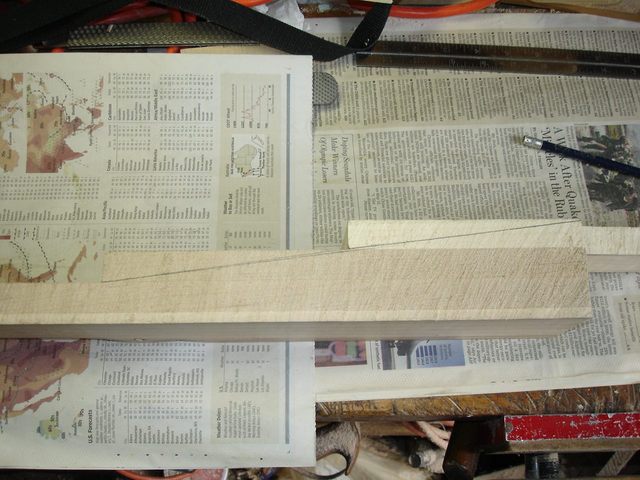
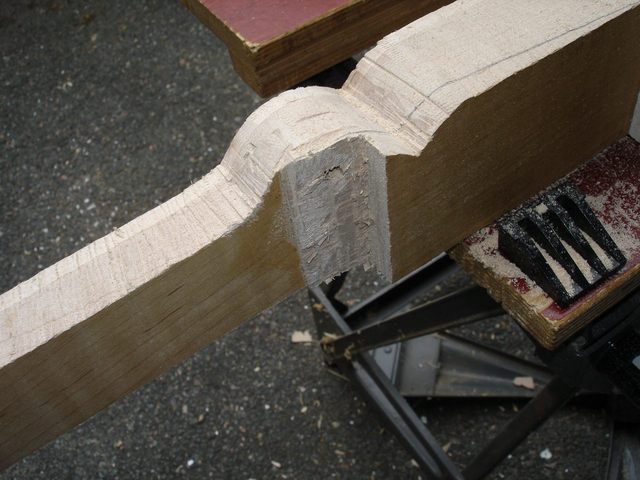
Here is the way I left the peghead:
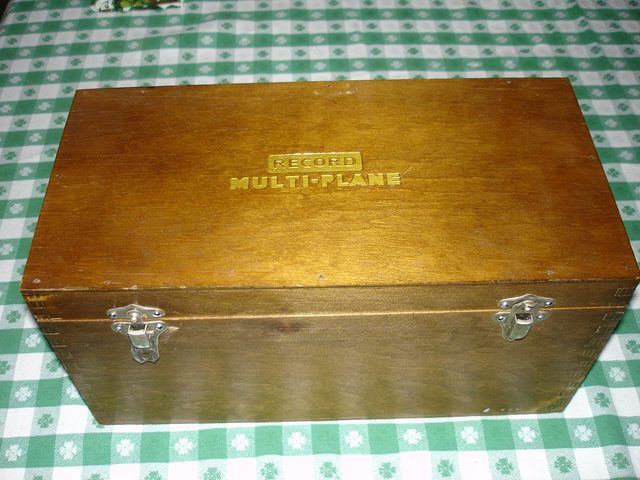
You can see the ugly gouge in the photo. I realized that in order to cut the surface of the peghead all the way into the corner by the handstop I would need something like a rabbet plane. On all my other planes the iron does not go all the way to the edge of the plane sole. Then I remembered my Record Multi-Plane, which I bought years ago on a whim. Just for grins, I will take a little side trip here to show it to you. Here is the nice, wooden box it is stored in.
After I open it and take out the irons, here is what is inside:
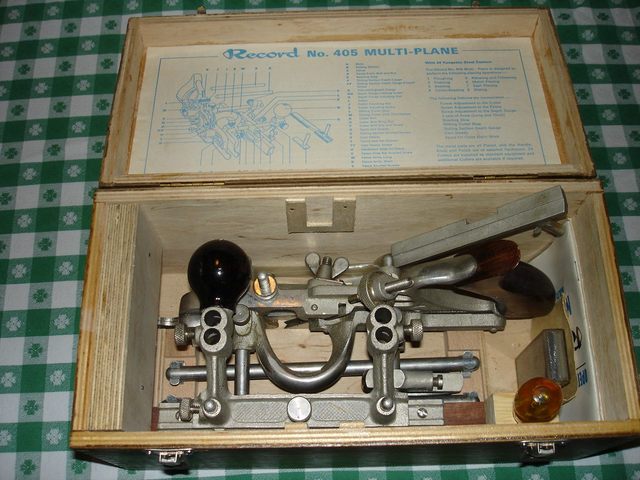
Wow! That is a 19th century vision fer sure! In fact, the Record 405 is a close copy of the old Stanley 45 Combination plane, which Stanley made from 1884 until 1962. The Record 405 started in 1933 and stopped in 1982. I bought mine at Woodcraft just before the Record company stopped making it.
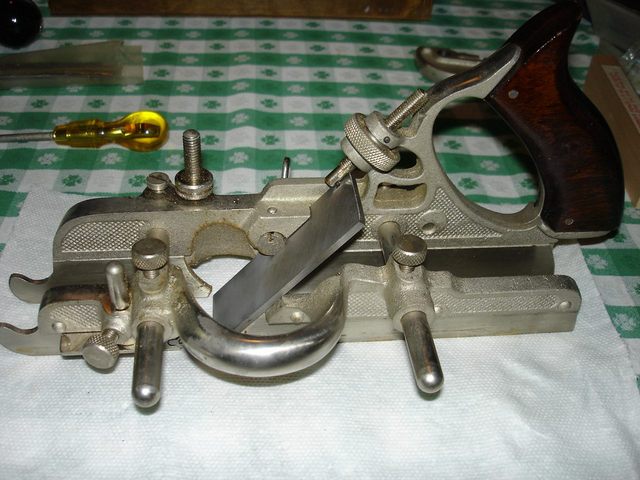
The plane has a single body and a wooden fence and a whole bunch of irons. In fact, in the photo below I have taken the parts out of the box and spread them out on the table.
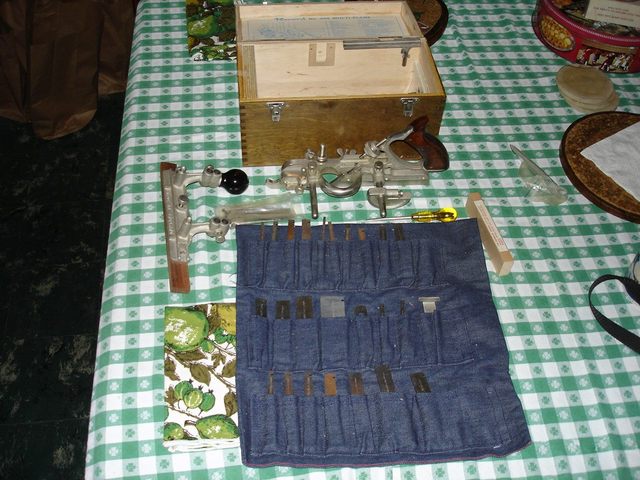
The irons are in the denim tote that my wife made for them oh so many years ago. There are about 25 or 30 irons in all shapes and sizes. I even have a set of fluting irons, which were an optional addition that did not come with the plane. A British friend of mine picked them up for me on one of his trips back to his home town.
You probably do not have one of these lying around the house. I paid about $275 for mine 27 years ago, so buying one now would probably cost you enough to buy a bunch of power tools to do the same job I am going to attempt to do with this plane. I thought I would get it out today and set it up. It has been several years since I have taken it out of the box.
I chose the widest blade I have, which is a 1 1/4" straight iron and put an edge on it. Then I set the iron up in the plane body to use as a wide rabbet plane.
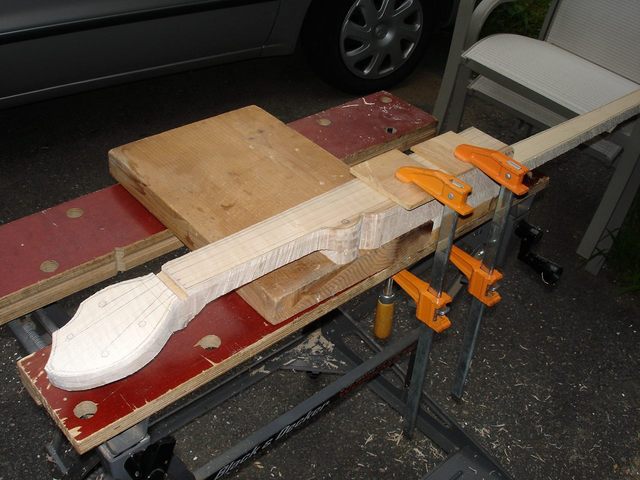
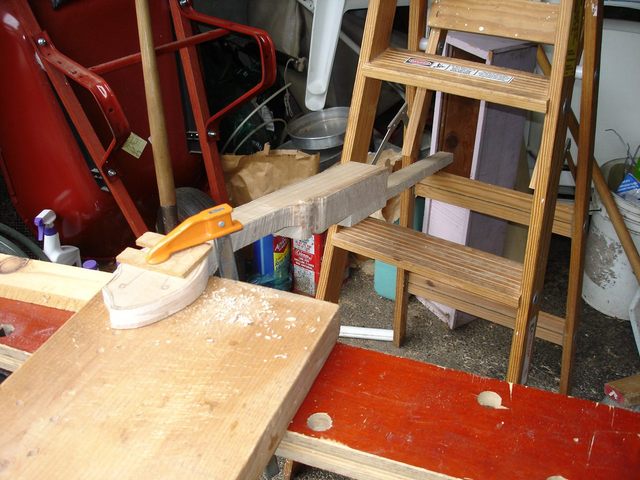
I clamped the neck onto my bench and cut away some of the back of the peghead, trying to make it flat and to eradicate the gouge.
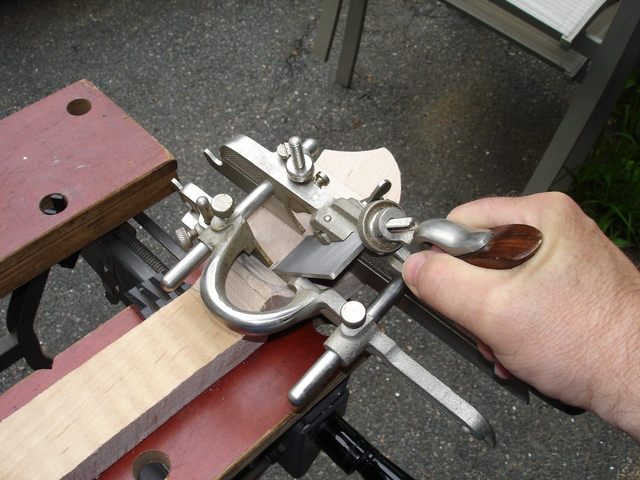
The plane worked for some of the work, but it started to tear up the wood since I was using it cross-grain. So I got out my cabinet scraper to finish up.
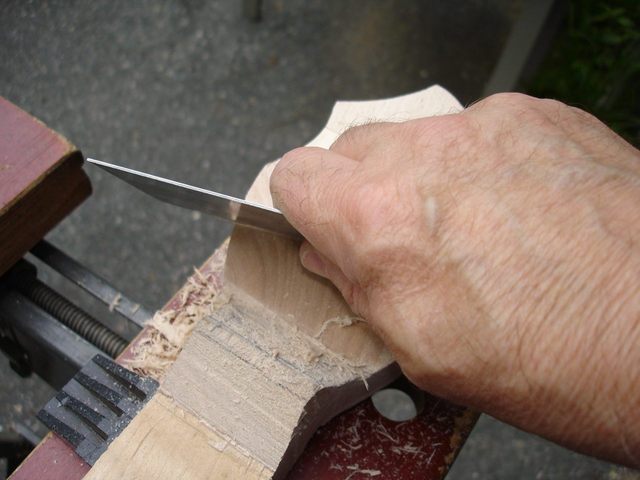
Here is the challenge I was facing. The back of the peghead has to be flat so that when I drill the peg holes there will be no tearout.
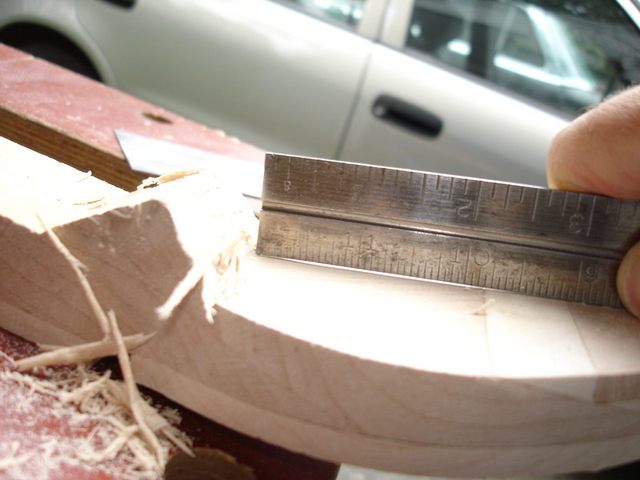
You can see that the wood is not flat by the light that appears beneath the steel ruler.
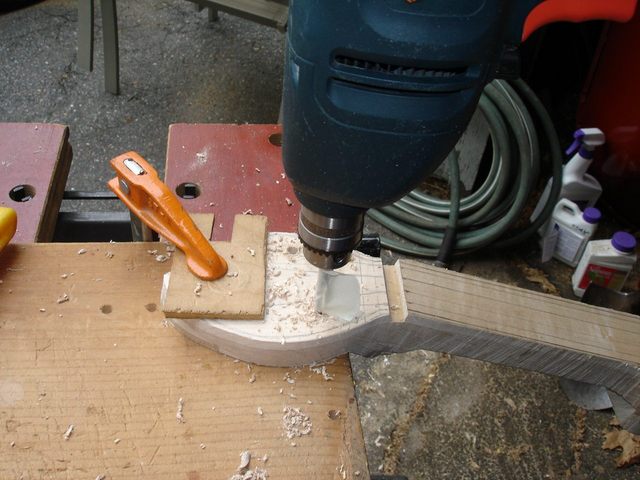
I worked the wood until there was no light under the ruler. I got it as flat as I could using my hand tools. Then I clamped it up on the bench to start drilling the holes. Since I had not used my pilot point drills before, I decided to attempt the 5th string peg hole first. A lot of the wood beneath that hole will be cut away when I carve the neck, so if I really screw it up it won't matter.
That is a 2 by 12 under the place where the drill will come out while drilling the peg hole. I made a small dent using my center punch.
Then I eyeballed a vertical position of the drill and drilled it out.
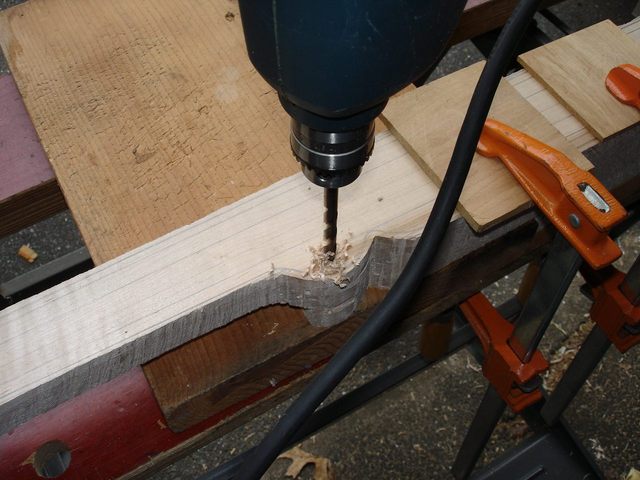
I do not have a drill press to ensure that the hole will be exactly vertical, so I line it up by eyeball and try to keep from tilting the drill. All I can do in this case is to take my best stance, suck it up, and drill it. He who hesitates is lost. For better or worse, here's the hole.
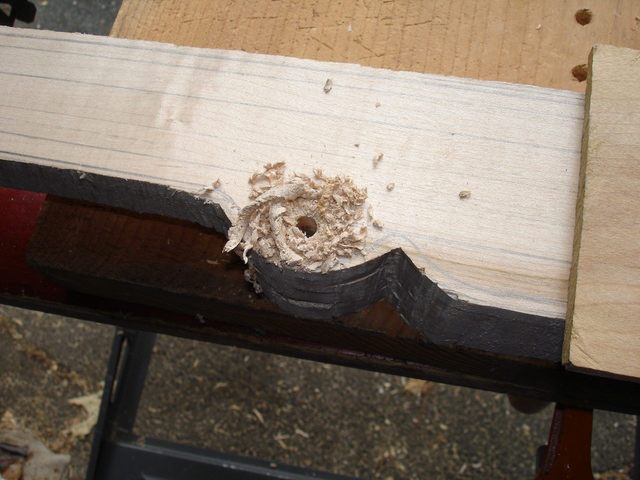
To see how I did, I turned it over. Here's the result.
Wow! No tearout at all! I hope I can do as well on the peghead.
I clamped the peghead down to the 2 by 12 and supported the tail with my stepladder.
Here's a closeup.

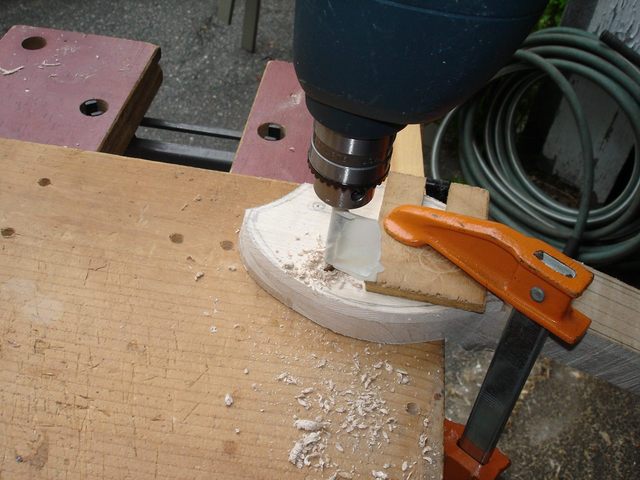
The idea here is to clamp the peghead down tight to the board so that the drill bit will cut cleanly and not cause any tearout on the back. Here goes.

I put a flag on my drill bit so that I will know when I have gone deep enough that the bit as gone through the entire peghead. I marked each hole with the center punch then sucked it up and drilled.
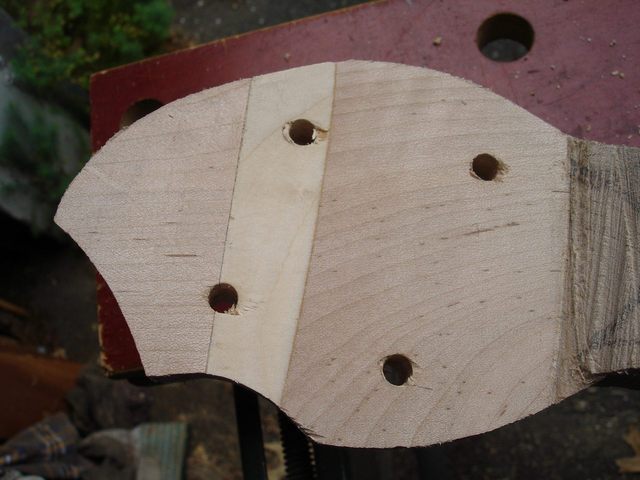
Here's the first two holes done.
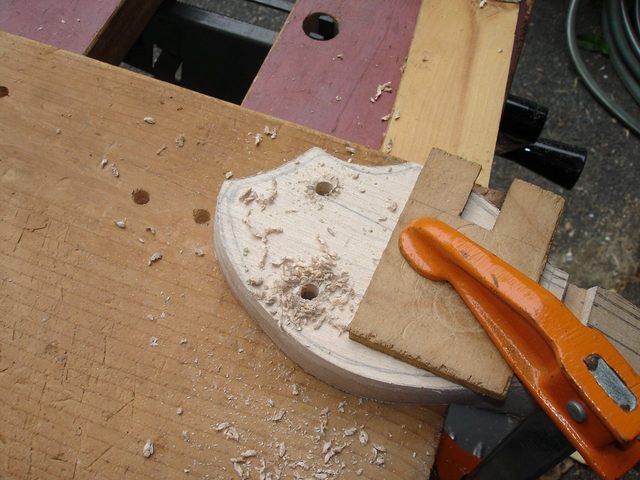
I moved the clamp and drilled out the bottom two holes.
Two more holes are drilled.
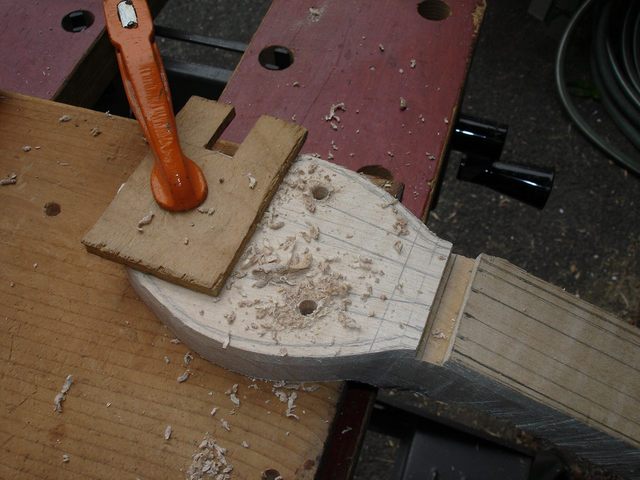
I turned it over to take a look at the damage.
Hmmm. I guess the back wasn't as flat as I thought it was. There is some tearout here. It doesn't look too bad. I have done a lot worse than that in the past. Since I will be scraping and sanding the peghead down a little more and reaming out the holes for the pegs, I think most of this will be cut away. Here's hoping.
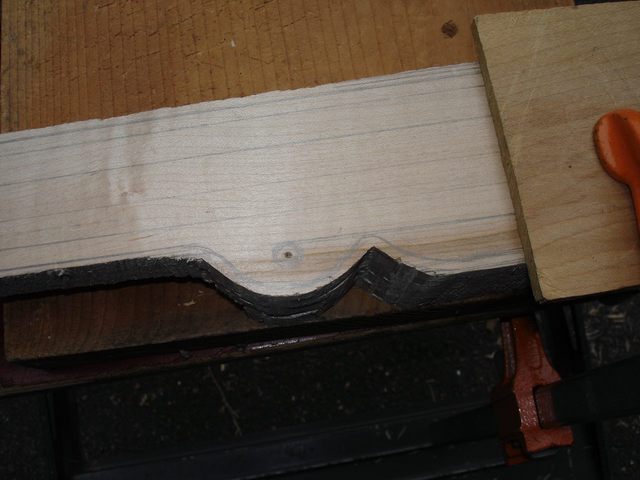
I took my rattail file to the notch where the gouge is to try and eradicate it some more. I will eventually carve that joint into a smooth curve of the peghead into the handstop. I should be able to get rid of it completely when I do that.

Here it is cleaned up.
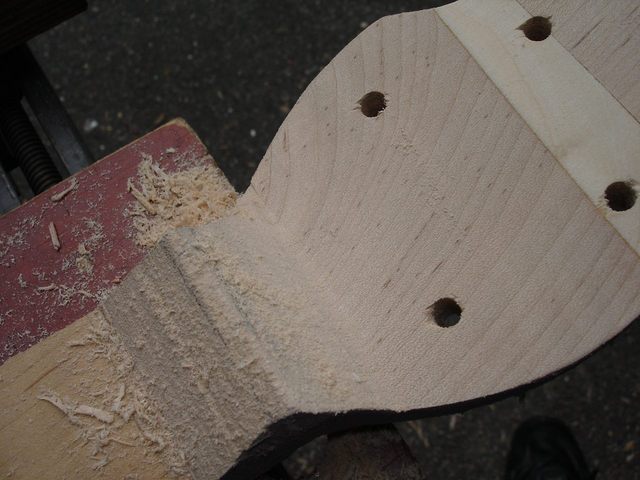
I think that I will leave it like that and finish it off when I carve the hollow in the handstop. This could still work out OK.
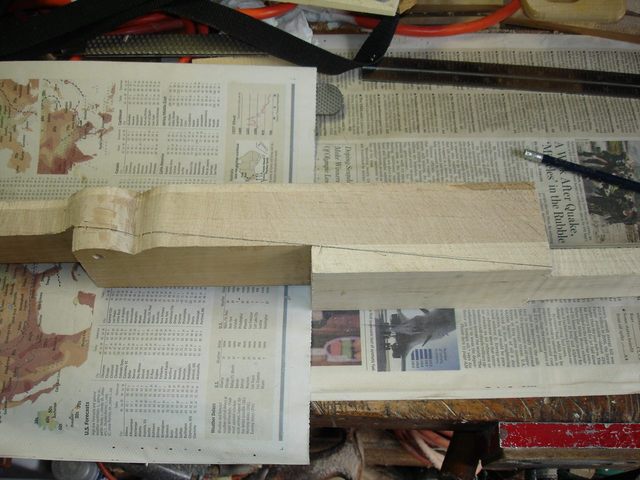
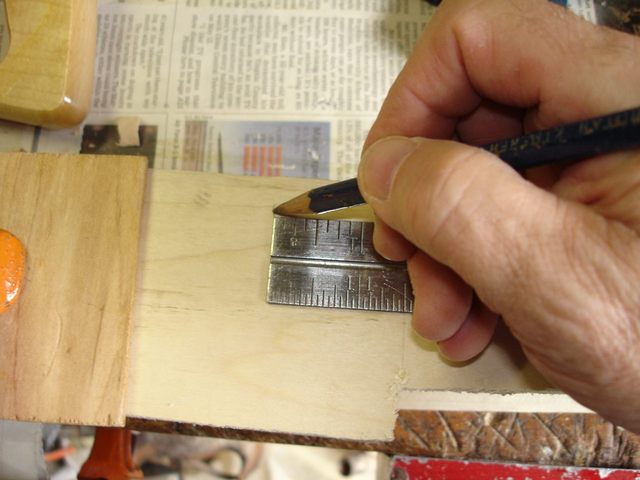
I have some time left today, so I thought that I would cut the back of the neck to shape. First, I marked where I am going to cut using my ruler.
I am going to cut it along a straight line and then use the spokeshave and rasp to put the curves on it. Here is the other side of the neck, similarly marked.
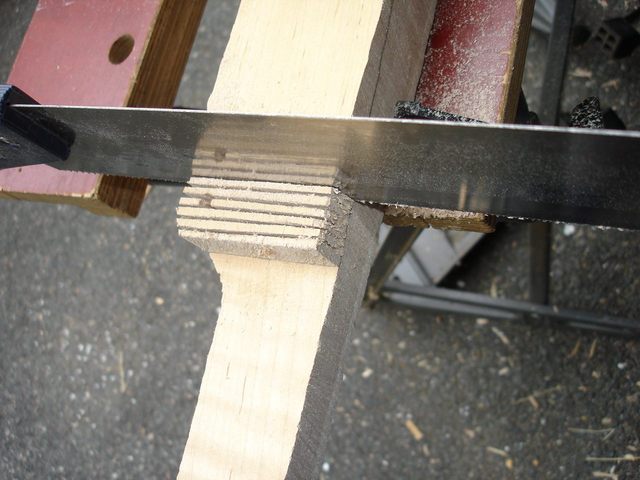
In order to get some room to fit my compass saw I have to remove some of the wood up by the top of the neck. I did that the same way I hogged out the rest of the neck. I cut some kerfs up to the line.
Here's a closeup.
And here it is after I chiseled the waste wood away.
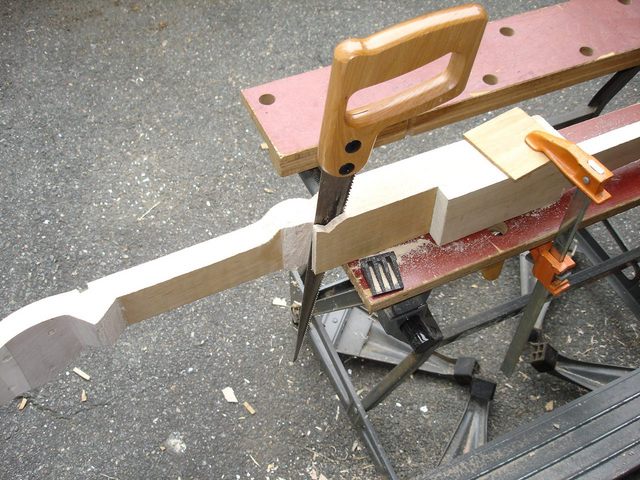
Now my compass saw will fit in the notch so I can just rip the piece off of the neck.
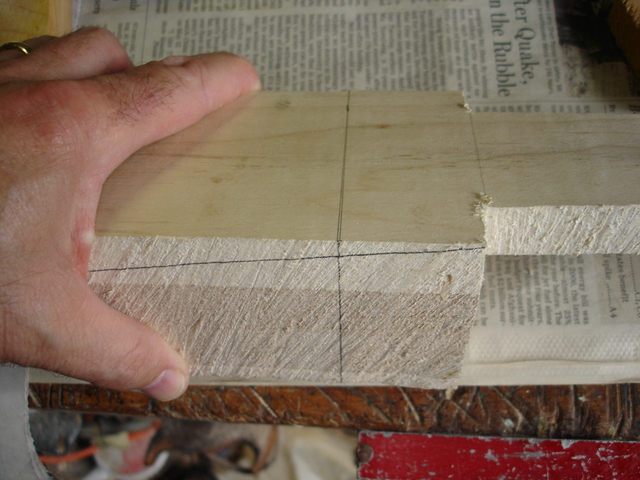
After I cut that piece off I started looking at the neck again and thinking how I will fit it to the gourd. The last time I built a banjo neck like this cut the angle all the way up to the dowel stick and that caused problems. When I carved the heel into a curve to fit the neck to the gourd I ended up with the stick curving up. This time I have changed the design a bit and will leave a small heel at the end so that part of the neck will be straight. I marked off about 1 1/2" at the heel.
Then I took my try square and dropped the lines across the neck and down the sides.
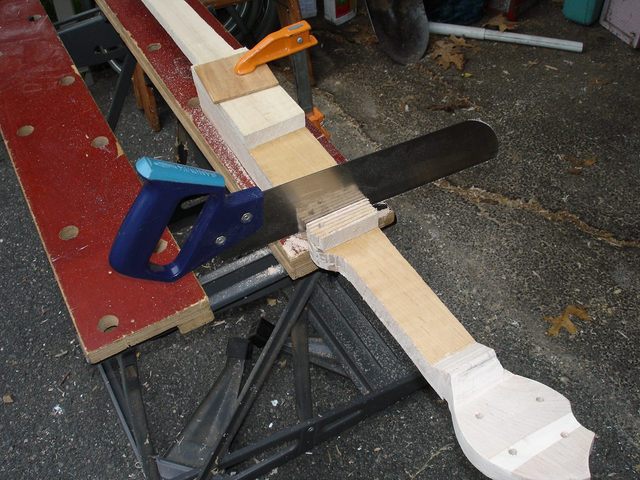
That is where I will stop the angled cut. I used my big rip saw for the next cut because it will cut faster than the compass saw, and now there is room for it.
When I got up to the mark on the heel I stopped sawing oh so carefully... hey maybe I can learn to do this after all. Then I cut the piece off with my panel saw, and there you go.

There it is with the back cut off. This thing is starting to look like a banjo neck. I spent about 3 1/2 hours doing this work today, but there were no real disasters, and it was a fine day, so I had a lot of fun.
Next I will start carving the neck shape for real.
Original post date July 2, 2008