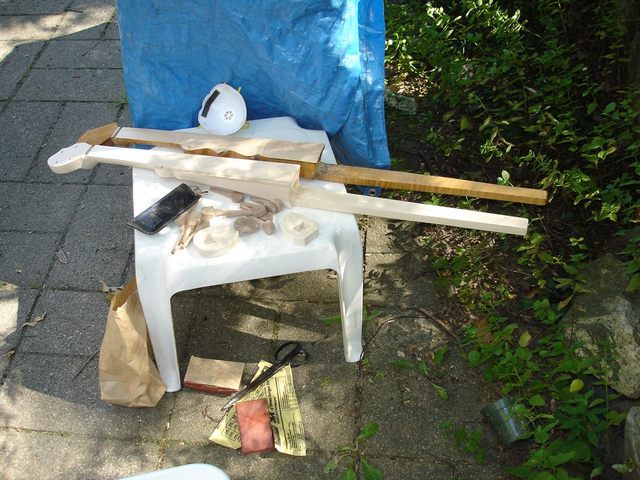
It is time to stain the neck. Before I could put the stain on the neck, I had to sand it to its final shape and then sand it smooth. Since I was getting the stain and sandpaper out for the new neck, I decided to stain the new finger board of the old neck at the same time. So I disassembled the old banjo again. I also decided to finish up those pegs on the other banjo as well. I had left them unfinished last year because the weather got cold before I could get to it. Here are the two necks and all of the other pieces ready to go.
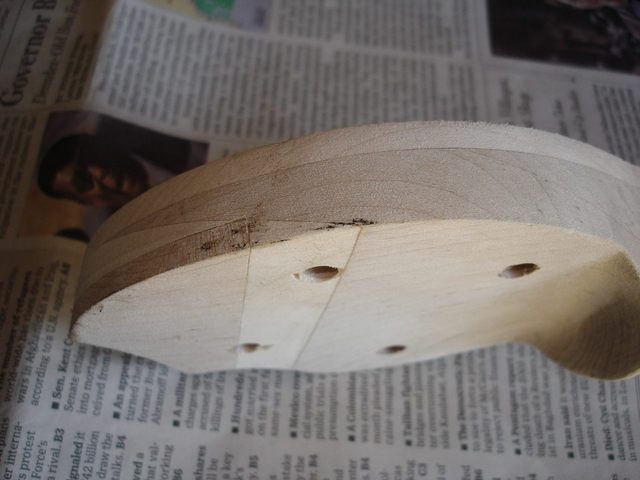
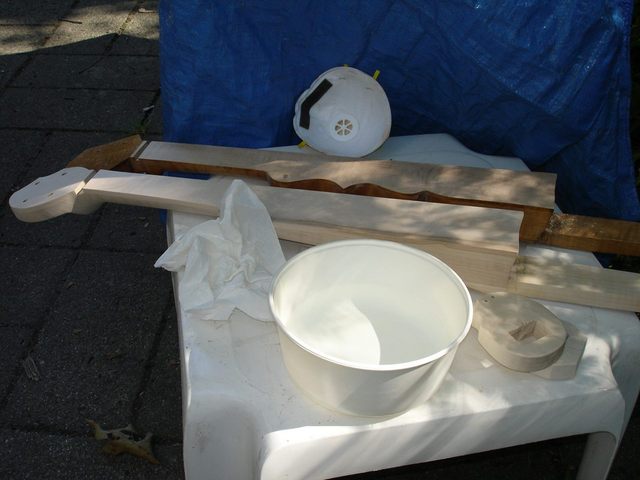
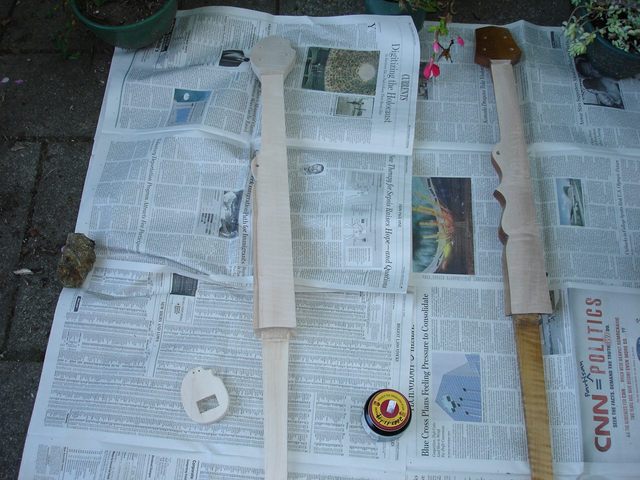
While I had the banjo necks side by side I thought I would photograph a design change that I made when I cut out the new neck. If you remember, I added a small boat heel to the new neck that was not on the old one. That allowed me to keep the dowel straight when I carved it to fit the curve of the gourd. A photo will make the problem clear.

You can see that on the old neck (top) I had not left a straight heel under the dowel. As I carved the heel of the neck to fit the shape of the gourd, I had to angle the top of the dowel up in order to keep it thick enough to fit the hole. It was a difficult job to do, and it made the neck a bit weaker at that joint.
On the new neck, I left a bit of a heel beneath the dowel instead of tapering the neck right up to the end. You can see in the photo that I could fit the heel to the gourd and still keep the dowel straight. This is a better design, and I suspect I will keep it if/when I make my next neck.
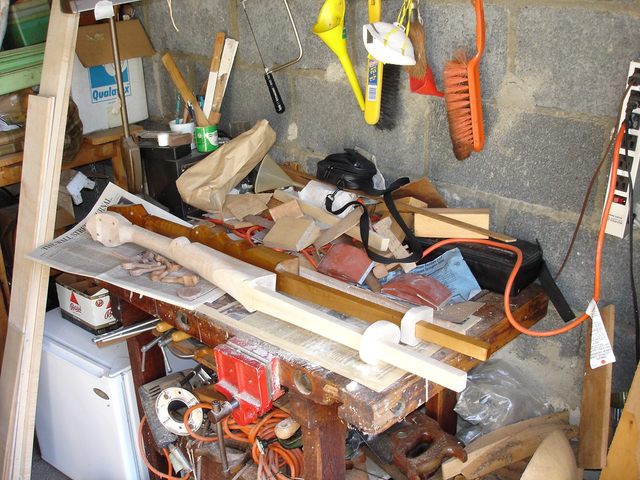
Oh, and one more thing before getting to the sanding. Here is why you need to keep your workbench clean, unlike mine.
Yuk! Dirt and grease on my peghead. I use that bench for everything from making banjos to sharpening the lawn mower blade. Ick. Don't do that. I will have to sand that stuff off.
OK enough of that. On to the sanding.
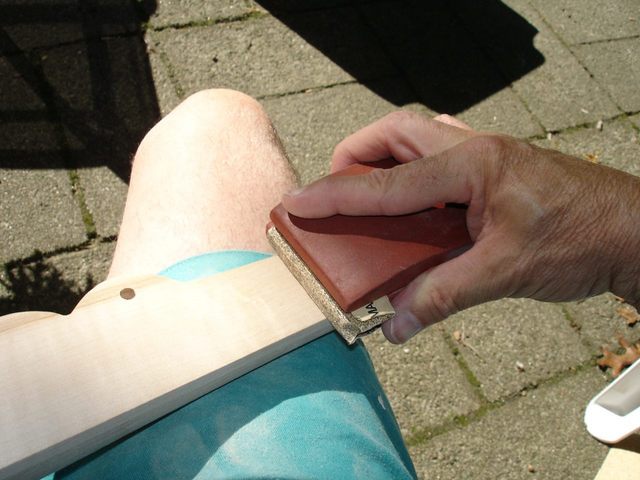
There are a lot of banjo pieces to deal with, so this is going to take a while. Fortunately, the weather today was grand, and I needed and excuse to sit on the patio all day anyway. So I did.
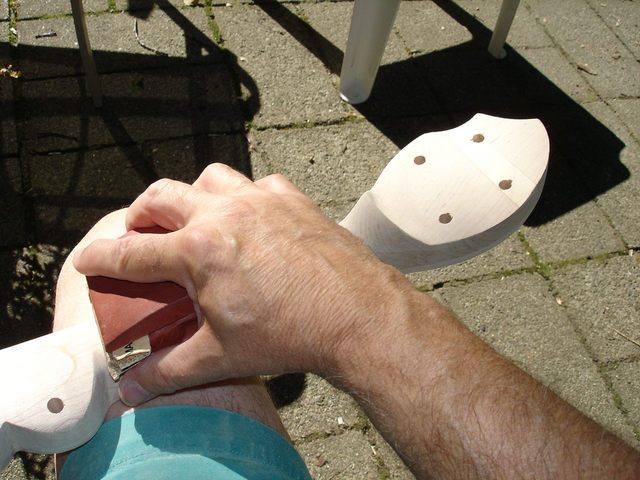
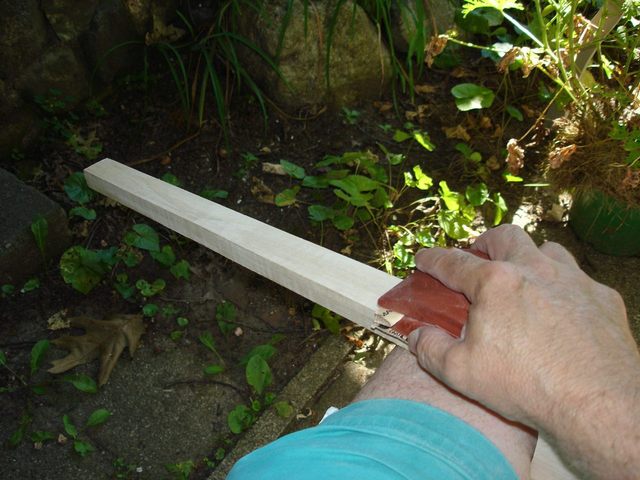
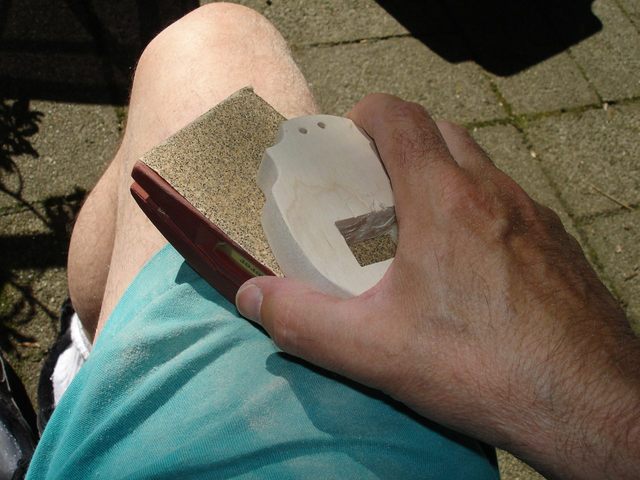
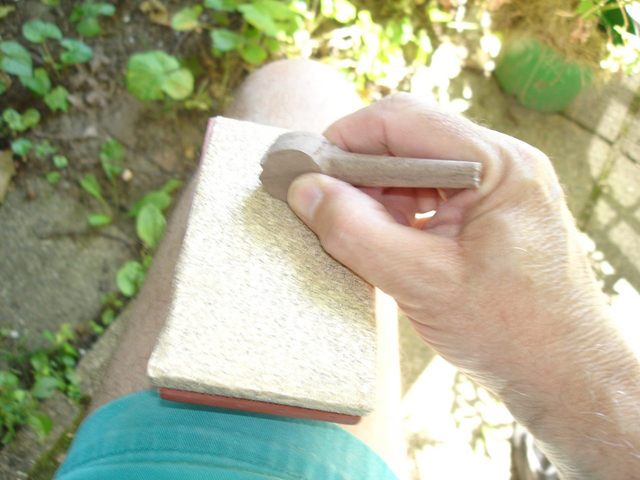
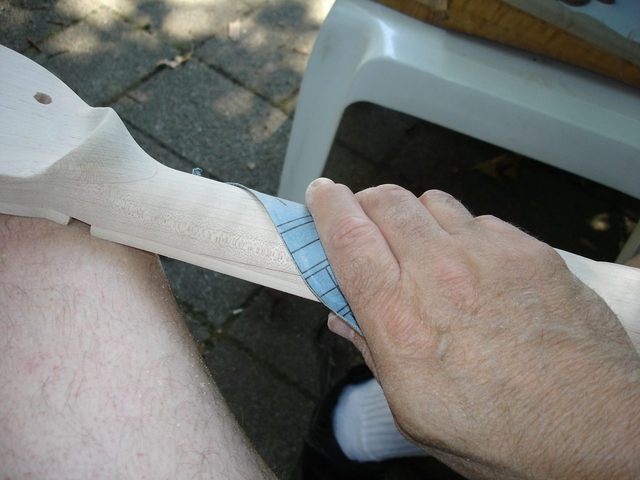
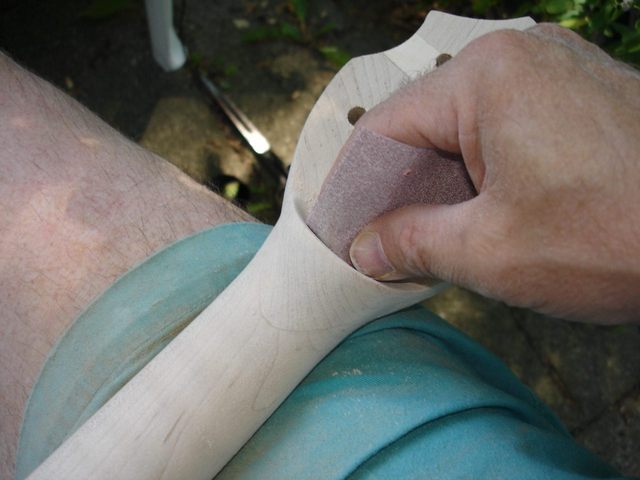
I got out the sandpaper and my sanding blocks and went to it. I won't bore you wih the details, but here is a montage of the activities of the day.
|
|
|
|
|
|
|
|
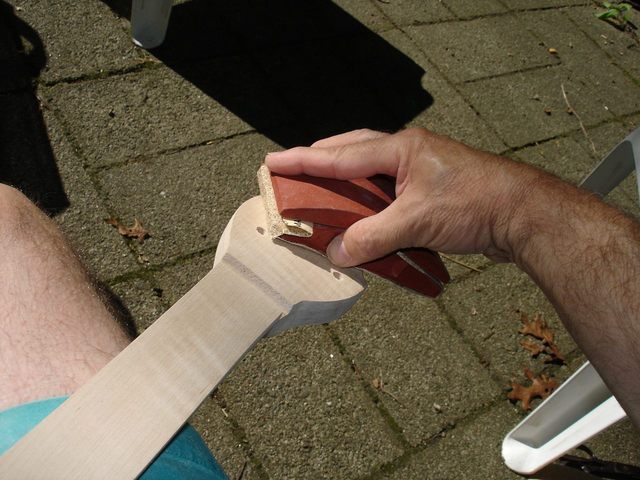
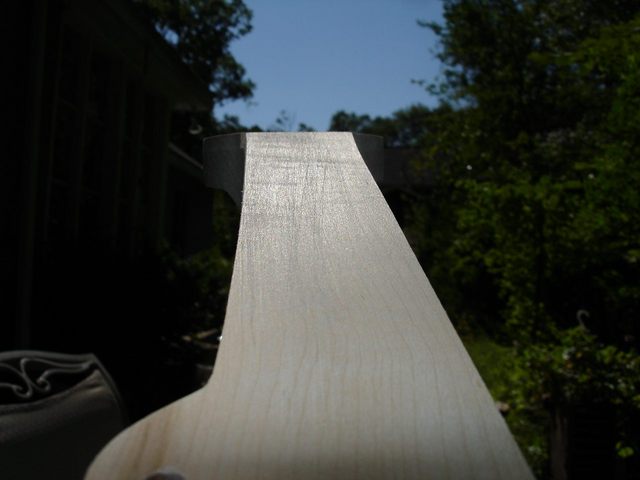
After about six hours (yeah... six hours) of sanding, I had it done. Sanding is slow. It is also a visual job the way I do it. The way I approach sanding is that I use each grit of sandpaper as an eraser to erase the marks left by the previous, coarser grit. To see the marks, I hold the neck up to the sky and let the light glance off of it, like this.
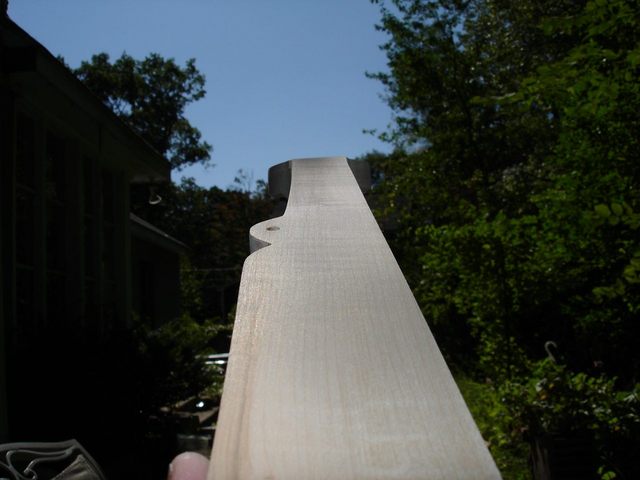
Here is a closeup. You can see the scratches on the finger board in the photo.
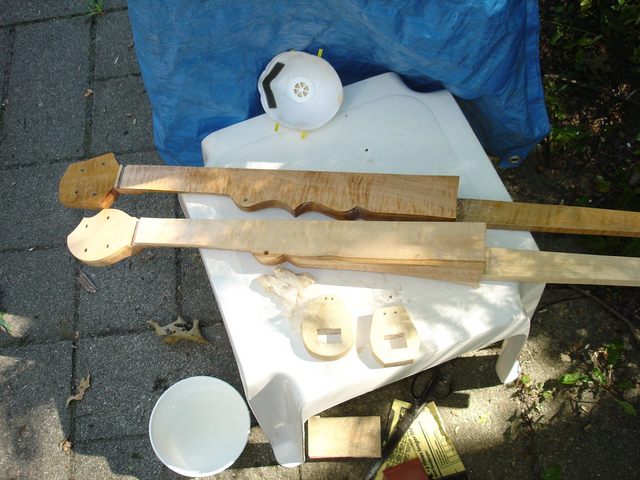
I sand until I have earased all of those marks, and then I move to the next grit and use it to erase the smaller marks. Here are all the pieces after the sanding is done. You can't tell the difference in the photos, but it is there.
Here are the grits of sandpaper that I used:
It took about one hour to sand all of the parts using each grit. That is why it took all day to do the sanding. There are a lot of parts, i.e.
Then, after I had sanded all the parts through all of the grits, I had to wet-sand the new maple parts. The stain I put on is water based stain. When the water hits the wood, it raises the grain which makes it necessary to sand the wood again. To avoid a lot of sanding after the stain is applied, I wet the wood with plain water a few times and then sand it down until the water no longer raises the grain. Here is my tub of water and a paper towel.
After swabbing down the necks with water, they look like this.
I wet the necks and tail pieces down twice and sanded with the 220 grit paper. After the second wetting the grain was not raised very much, so I figured that would be enough. I had to wait a half hour after wetting the neck before I could sand it, so that added some time.
OK. Ready to stain. Here is my stain.
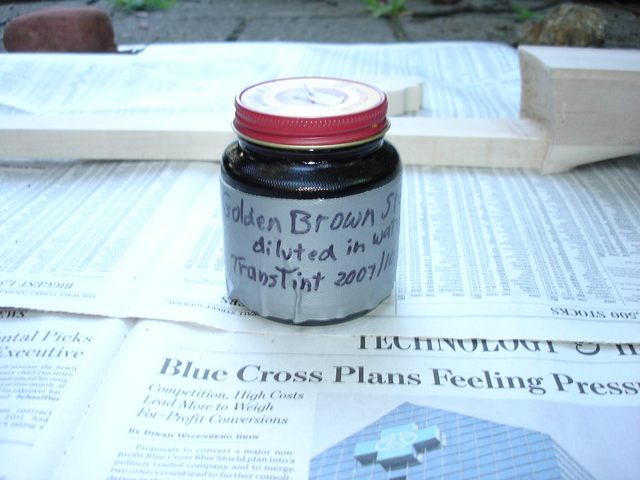
I mixed up the stain last year. The date on the jar is October 20, 2008, so I am a ahead of schedule this year. You can see how I mixed the stain on my other page here . Scroll down to the bottom of the page for the part where I mixed the stain. I had lots left over last year because I didn't know how much to make. I always wear rubber gloves when I work with the stain or the finish so that I won't get my hands messy. Here is my equipment ready to go.
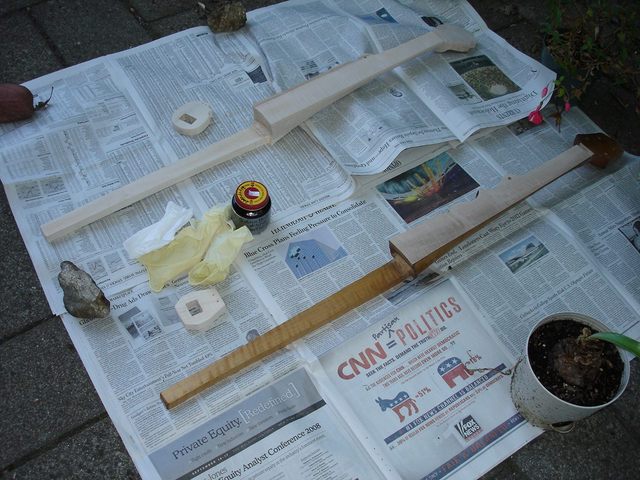
Here is a shot of the unstained wood for comparison later.
I worked quickly to keep the stain even. I did not get any photos of the actual process because I did not want to pick up the camera with the stain on my hands. When I finished I pulled off my gloves and look what I found.
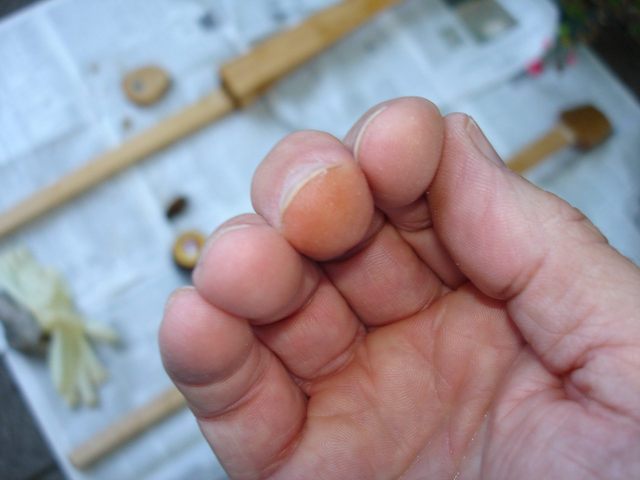
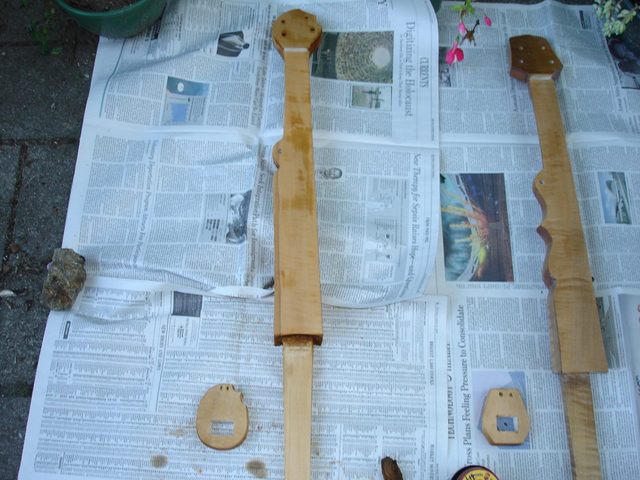
I stained one of my fingers anyway! I guess I wore a hole in the glove or something. I will be wearing that stain for a while. Shoot! Oh well, here is a photo of the necks all stained.
That was a good day's work. I spent 8 hours on this part of the project, but I'm not complaining. I spent the time sitting on my patio in the cool almost-autumn air in the dappled sunshine and had a blast. It beats watching T.V. or hanging out at the mall.
Next up is putting a finish on it.
Original post date September 1, 2008