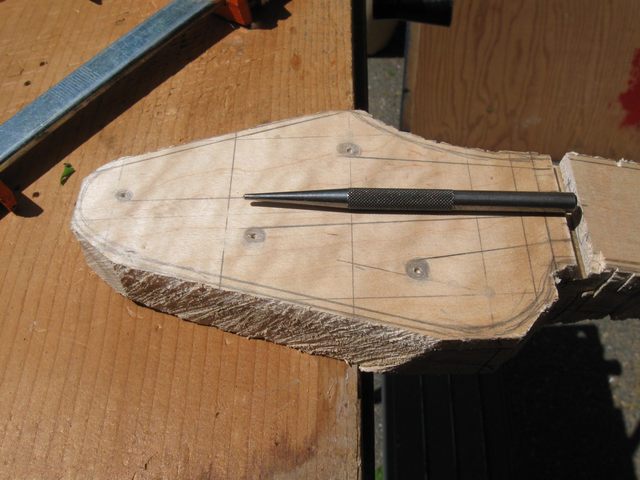
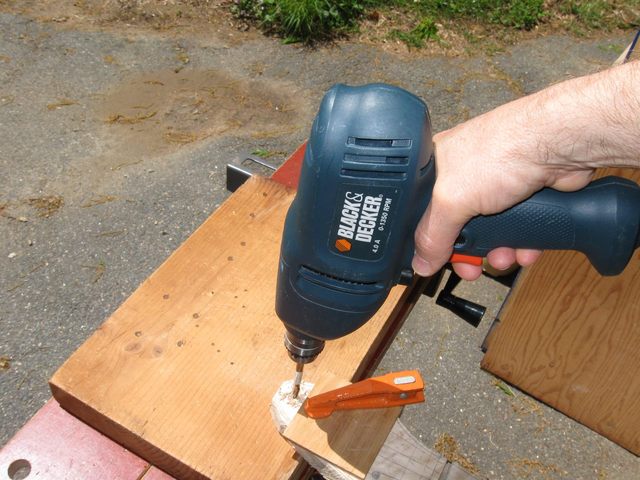
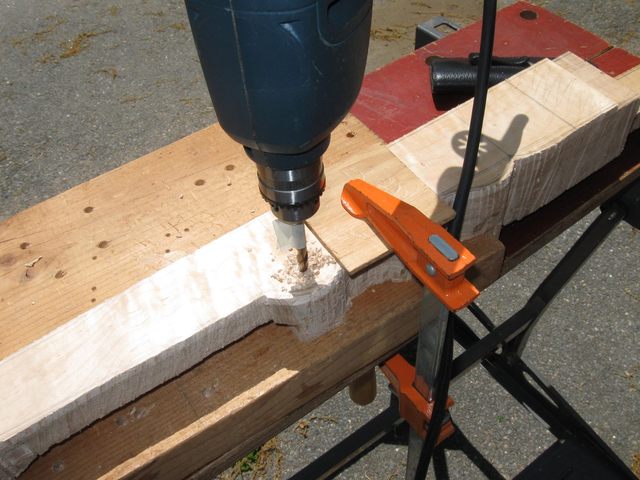
Before I got too far along shaping the neck I wanted to drill the peg holes. It is better if I drill the holes before I do the final shaping and surfacing of the peghead. I center punched the locations of the holes according to the drawing.
I use a "brad point" drill bit to drill the peg holes in order to minimize the tearout on the back side of the peghead. This is a 1/4" drill.
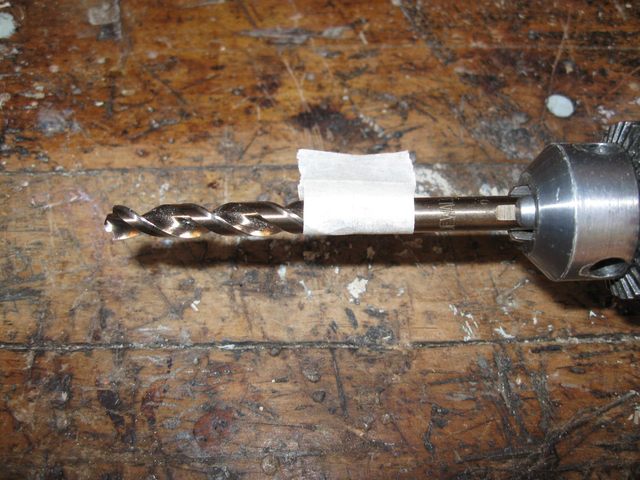
I put a masking tape flag on the bit so that I will know that I have drilled all the way through the peghead. The trick to preventing tearout on the back of the hole is to clamp the wood tightly down to a backing surface. Clamping the neck is a tricky business because of the odd angles and shapes on the neck. I used a step on my stepladder to support the dowel stick.
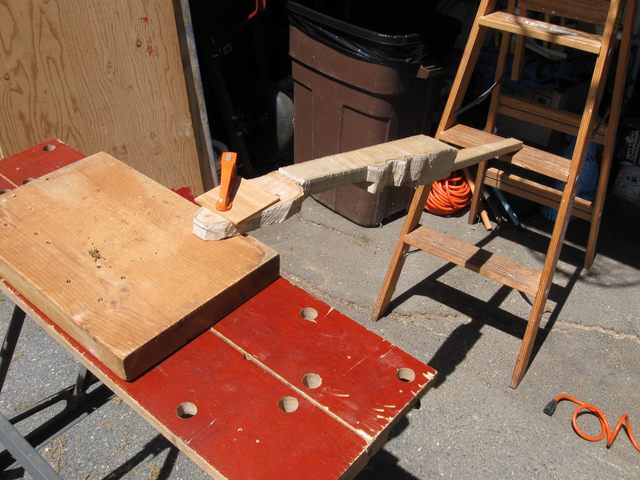
Here is a closeup of the peghead clamped to a 2 by 12, ready for drilling.
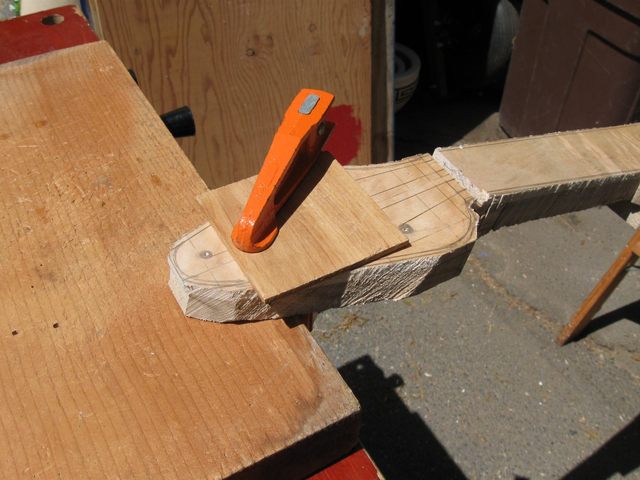
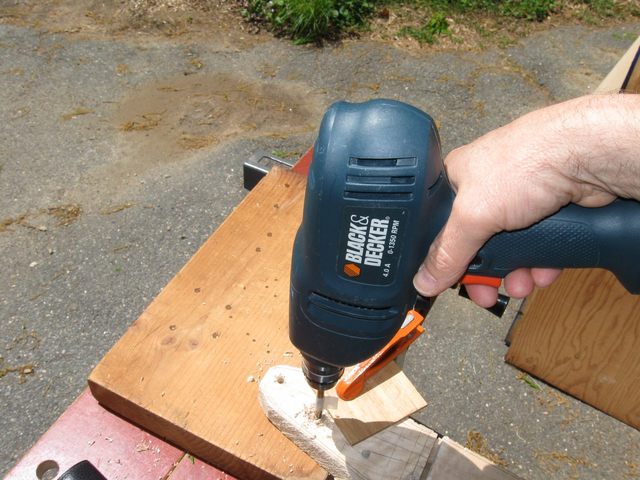
Because of the unevenness of the back side of the peghead I put the clamp in a different place for each of the holes and cranked it down to make the surface of the peghead and the backing board as close together as possible. Then I drilled it out, keeping the drill as close to vertical as I could.
Here is the second hole.
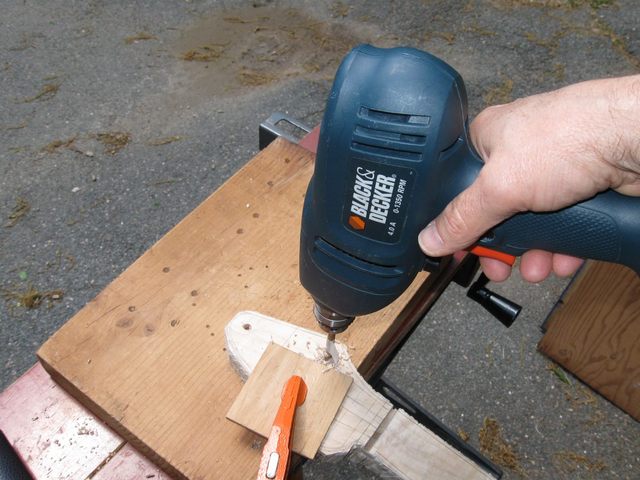
And the other two; you get the idea.
|
|
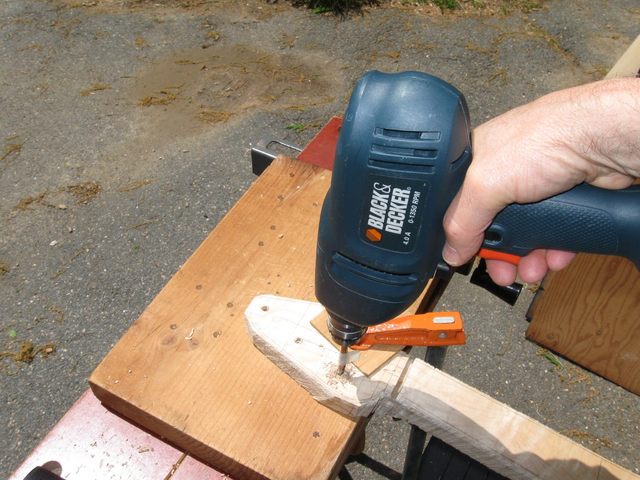
Finally, I drilled the 5th string peg hole.
Let's see how we did on the tearout this time. I turned the blank over.

Hey! Not bad. Here is the worst one up close.
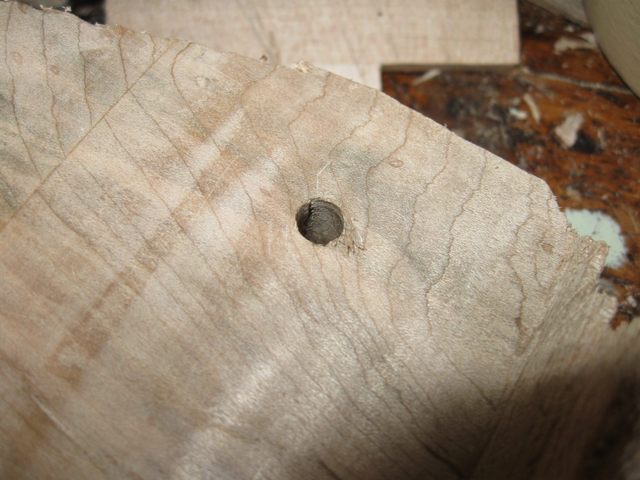
I will deal with that when I put the final surface on the back of the peghead. A lot of it will go away when I ream out the holes too. OK. Back to shaping the neck. I am going to put a boat heel on this neck. I drew an outline freehand on the back of the heel.
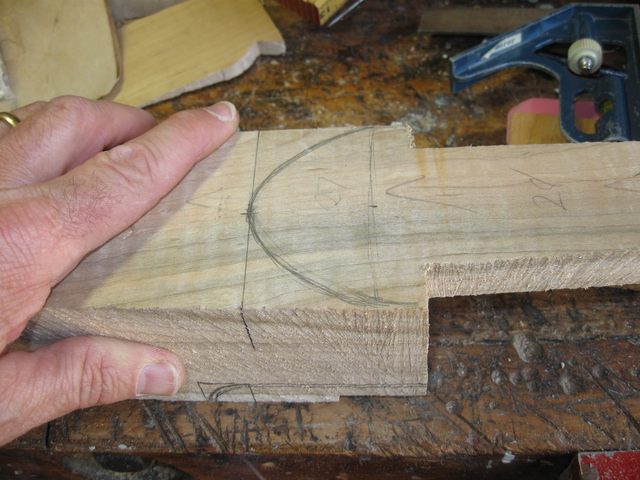
Part of the fun of making a banjo this way is that I am not tied down to an exact plan. I am simply making it up as I go so a lot of it is simply drawn freehand. I did the same thing with the frailing scoop.
To make it a bit easier to cut I duplicated the drawing on the other side of the heel.
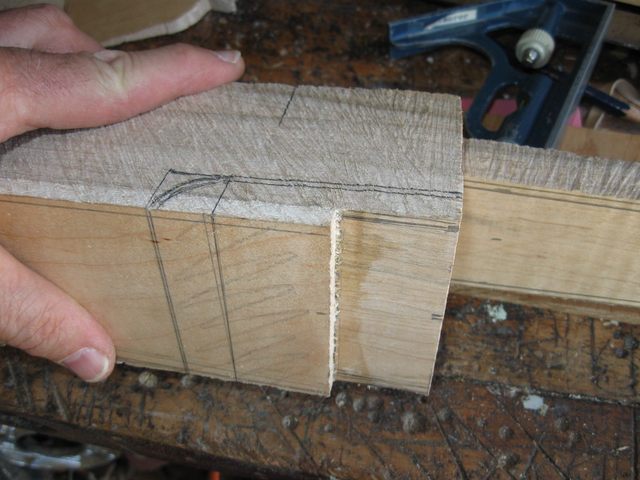
The frailing scoop is 3" long and the boat heel is 2" long. Those lengths are not critical, they just looked good.
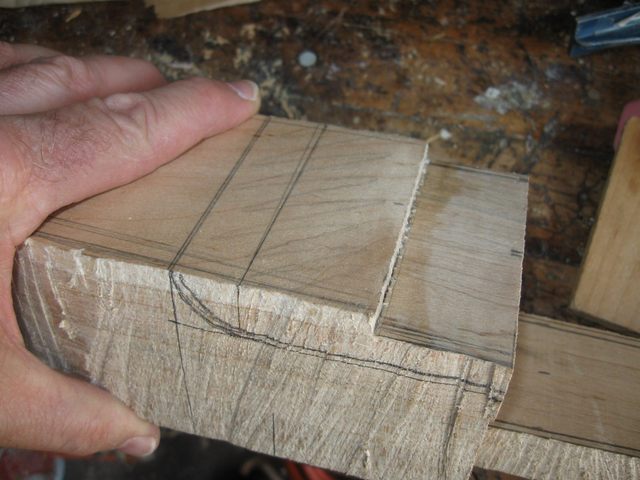
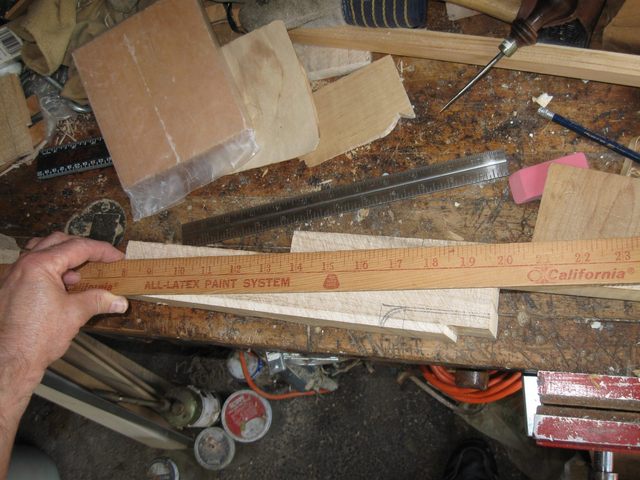
I measured the angle of the neck using a straightedge. I sawed it out straight, and any curves in it will be put in using the spokeshave.
Here is the line.

Notice that I did not draw the line from the nut all the way to the heel. I started it where the double thickness of the neck starts and ended it before the boat heel.
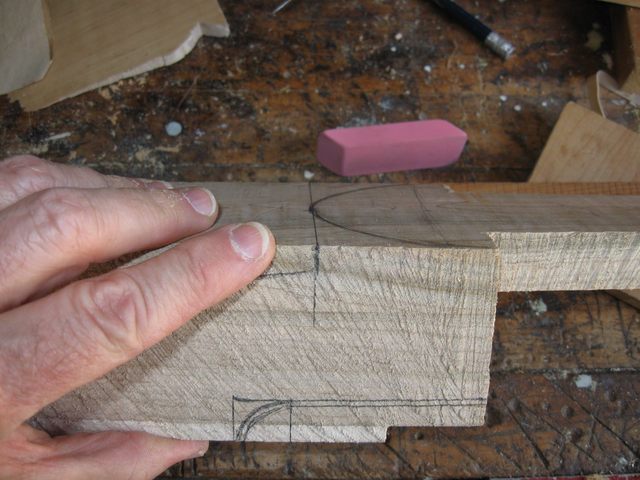
To ease the cutting I duplicated the line on the other side of the neck.
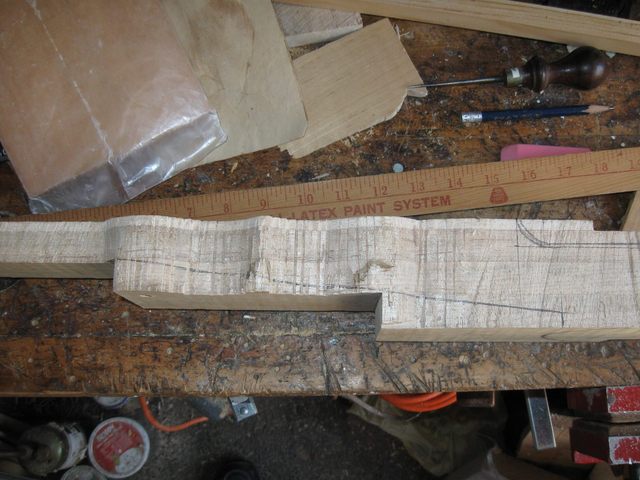
The next step was to cut away the marked parts to shape the neck. I started on the angled line and used the same technique of cutting many kerfs up to the line, then breaking away the waste wood with chisels. I had to hog out some wood that way on the bottom of the neck in order to make room for the saw.
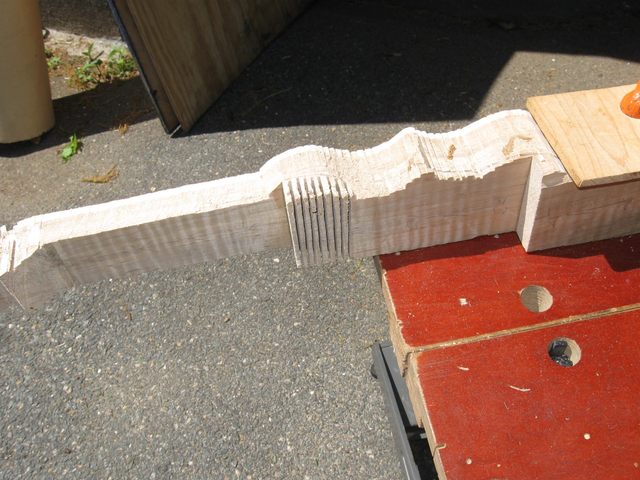
I cut kerfs in the space for the frailing scoop as well.
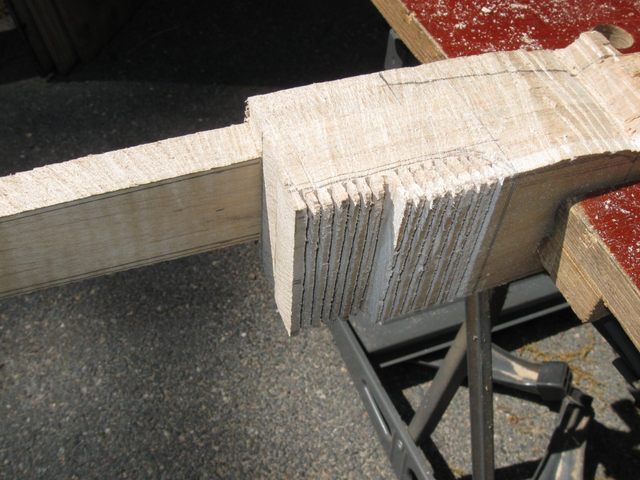
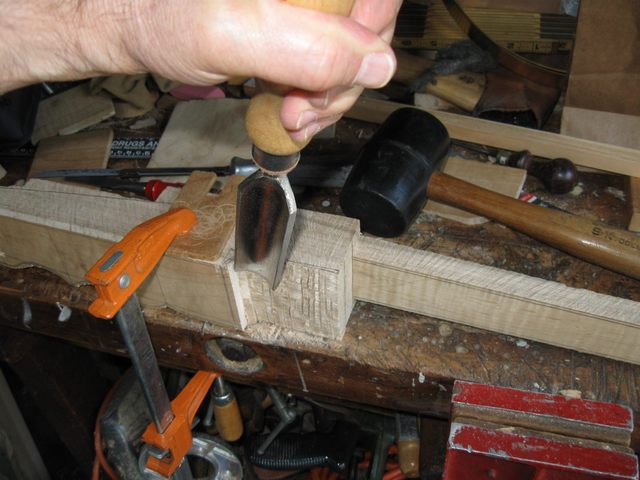
The chisel breaks away the waste wood easily.
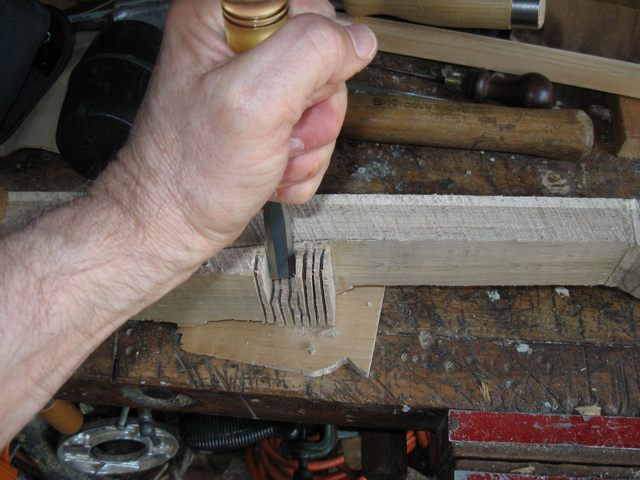
Same thing with the frailing scoop.
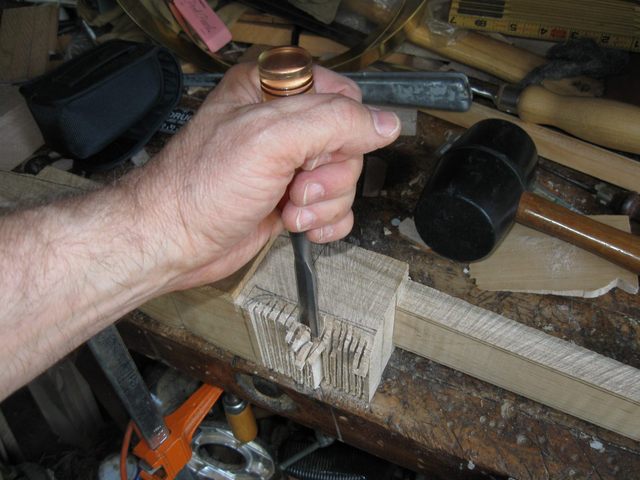
The gouge helps cut the round part of the frailing scoop.
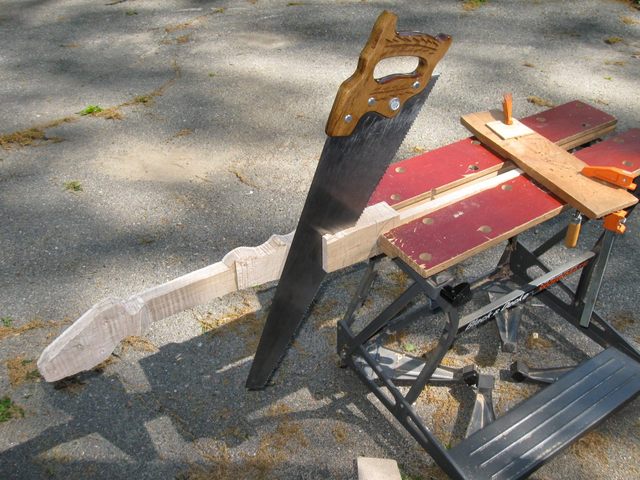
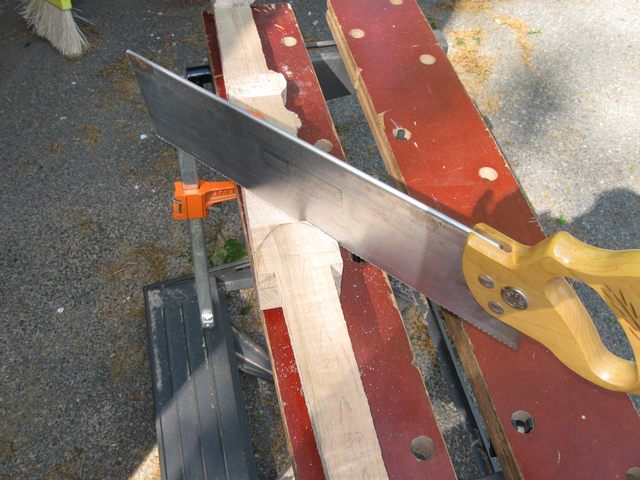
Once I had some space on the bottom of the neck I used the compass saw to cut away the bottom of the neck along the line. I used the compass saw because the blade is narrow.
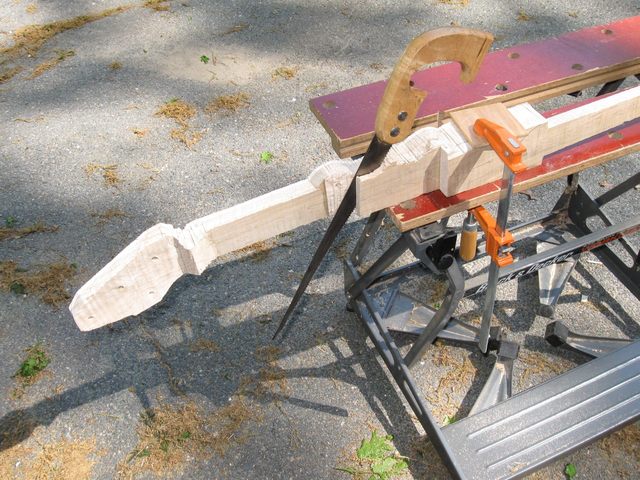
After the first block fell off, there was room enough for the rip saw, which cuts faster.
I stopped the cut short of the boat heel. You can see in the next photo the edge I left. It is on the left hand side of the picture.
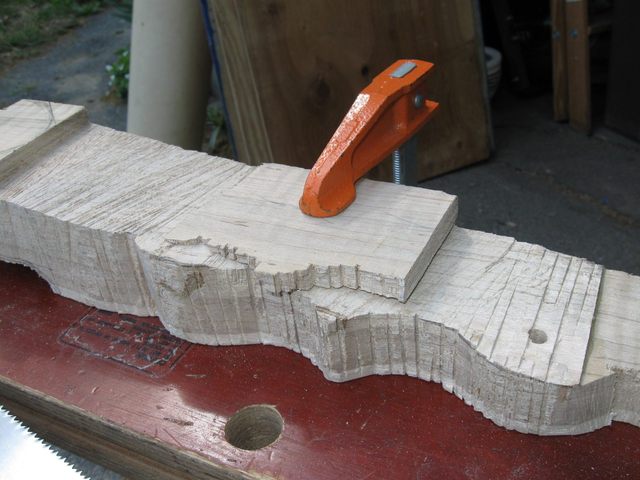
By the way, don't throw out the funny little wedges that get sawed off the blank. I used one as a caul when clamping the neck for the next cuts. The angle of it is perfect for the job since it came off the neck.
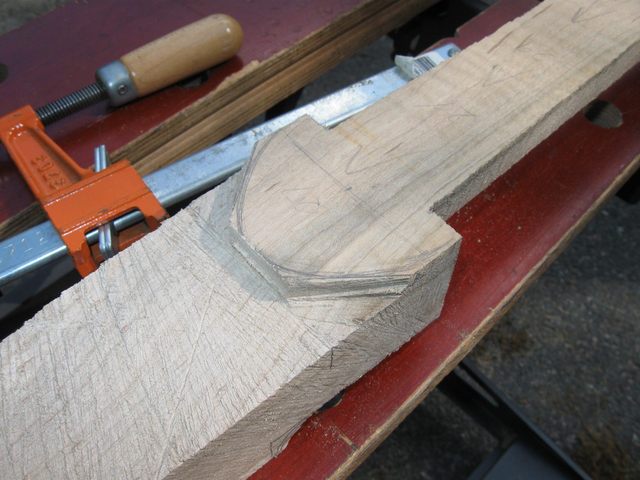
I used the back saw to saw off the corners of the boat heel.
Here it is; square, but looking somewhat like a boat heel.
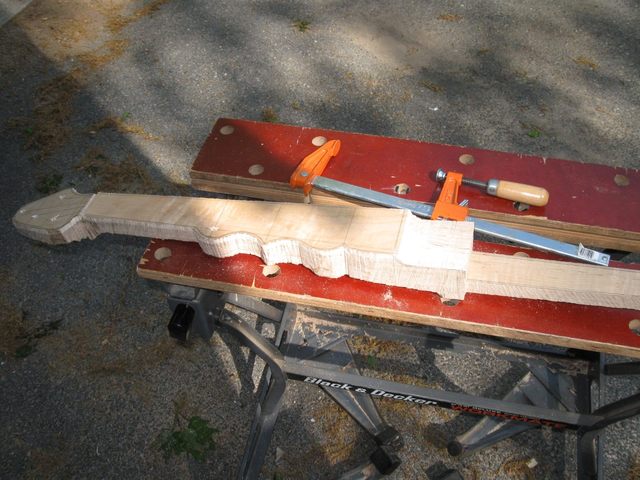
Here is the neck all roughed in.
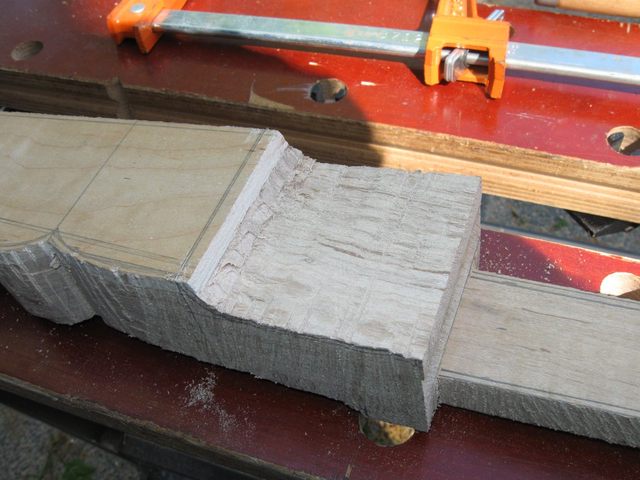
Here is a closeup of the frailing scoop. I will clean that up later.
That's it for today. The neck blank is starting to look like a banjo neck.
I spent a half hour drilling the holes and 2 1/2 hours cutting the shape of the neck. I am logging 3 hours today. It was a gorgeous day to be out sawing on a banjo neck. It doesn't get any better than this.
Original post date May 11, 2009