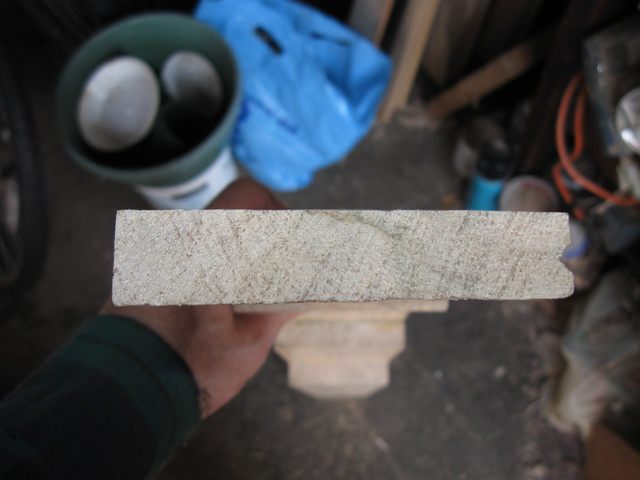
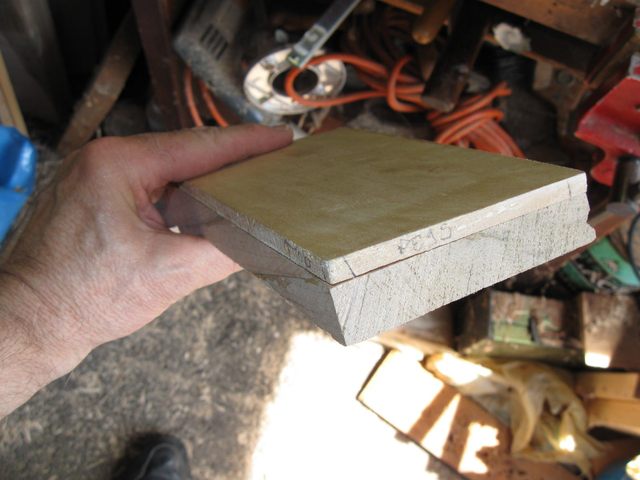
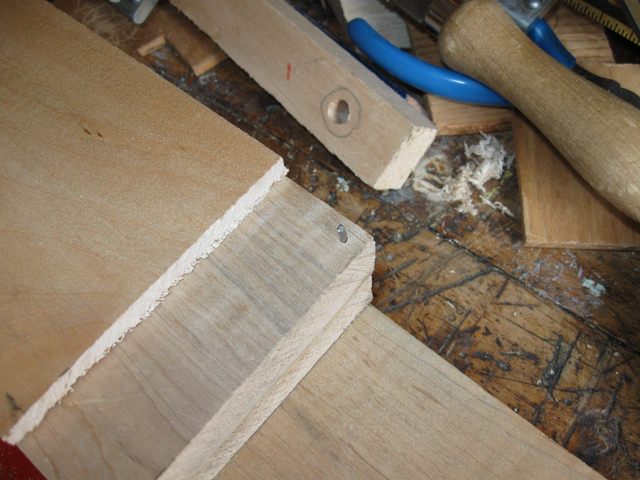
Yesterday I cut the peghead angle into the neck blank. Today I glued down the peghead overlay and the finger board. The first thing I discovered was that the peghead was not very even or flat. Look at this shot of the end of the peghead.
You can see that it is thicker on the left hand side than it is on the right hand side. The chip out of the peghead on the right side will not be a problem because that part will be cut off when I shape the peghead. To figure out how to fix the uneven peghead thickness I put my try square against the side.
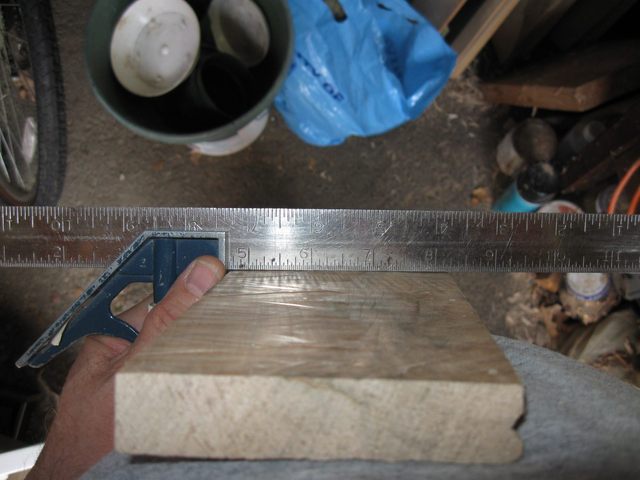
You probably cannot see it in the photo, but the surface is actually higher on the left side and slopes downward toward the right. It is also a bit thicker in the middle.
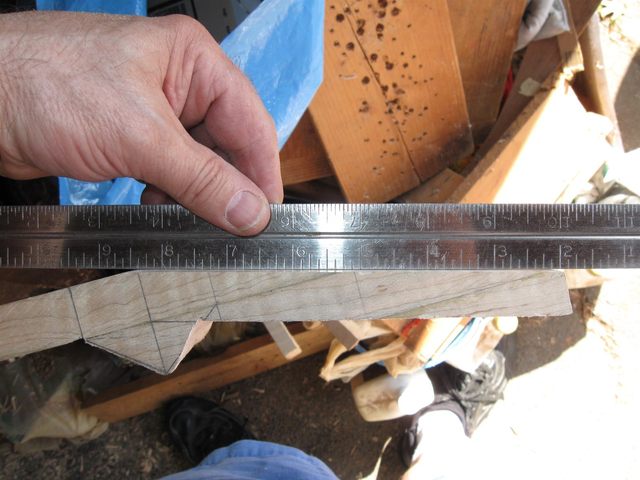
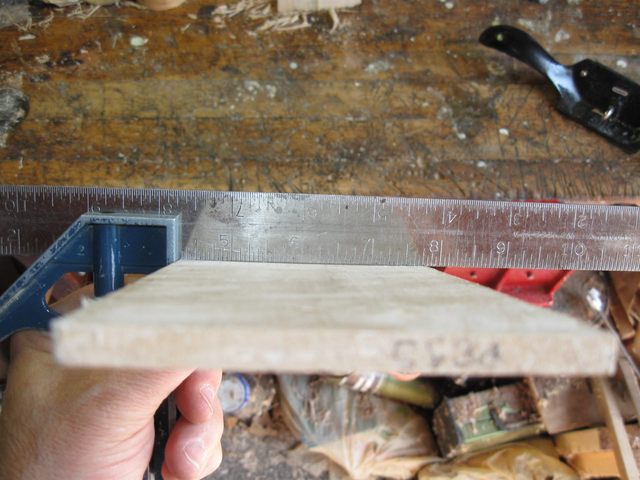
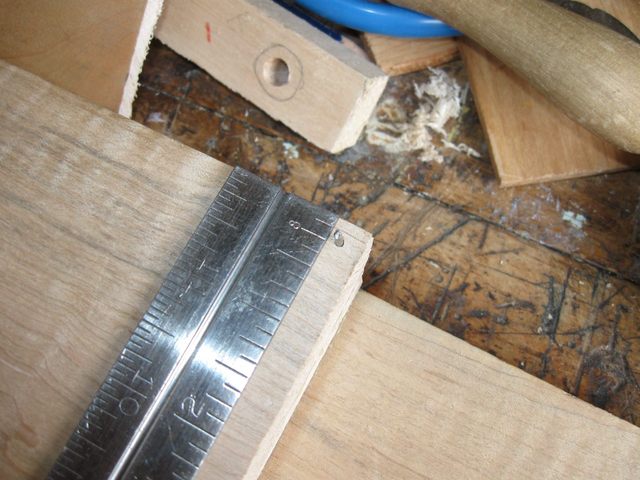
The surface has to be flat front to back as well as side to side, so I used the ruler to check that out as well.

You can see that there is light under the edge of the ruler. The top surface must be very flat so that I can glue the overlay to it. Flatness is not so important on the bottom side.
I tried flattening the bottom surface with my card scraper. The problem with the bottom surface is that it is difficult to get a tool like a plane in around the hand stop and the neck etc.

The top surface was a bit easier because there is nothing in the way of the tools. I tried out my new cabinet scraper for the top.
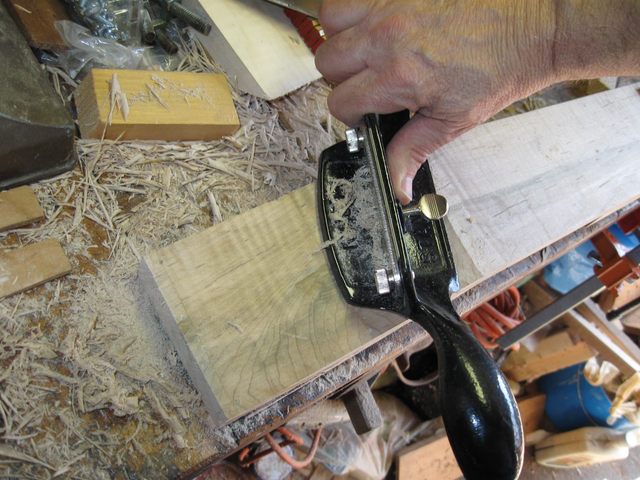
Wow! I have found my tool! The cabinet scraper works great. It is easier to sharpen than the card scraper because of the 45° bevel, and it is dead easy to set up. Adjusting the bite is just a turn of the screw. This work went fast. Here is the flattened surface.
I was having so much fun with the scraper that I tried it on the neck as well, just in case the top of the neck blank is not quite flat. I plan on using this scraper to put the final finish on the finger board, avoiding sandpaper altogether. So I might as well practice now.
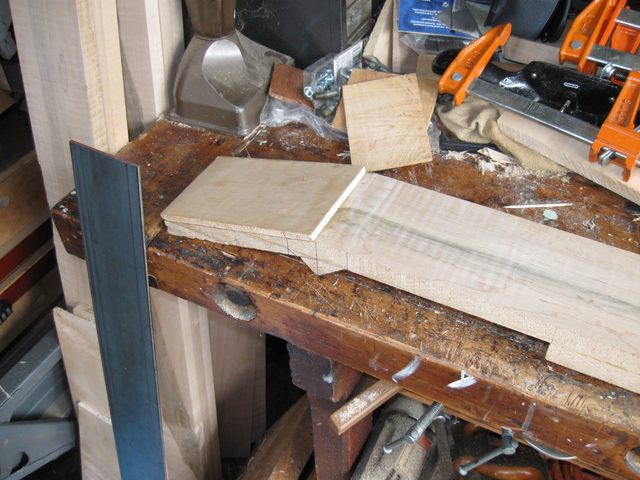
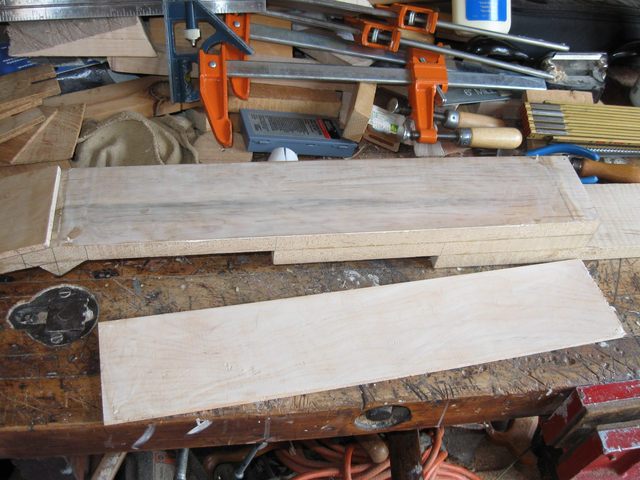
Time to move on. I cut the finger board wood in half, giving me a 2 foot length. This is from the board that I had to flatten earlier with the steam iron.
It looks like the wood is still pretty flat.
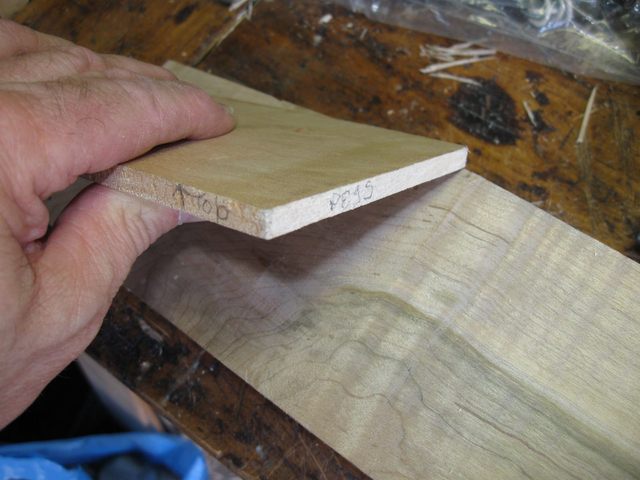
You can barely see in the photo that I have written "pegs" on the end of the board to identify which end goes on the pegs end of the blank. This is to keep the figure and grain going the same way like I did on the rest of the blank.
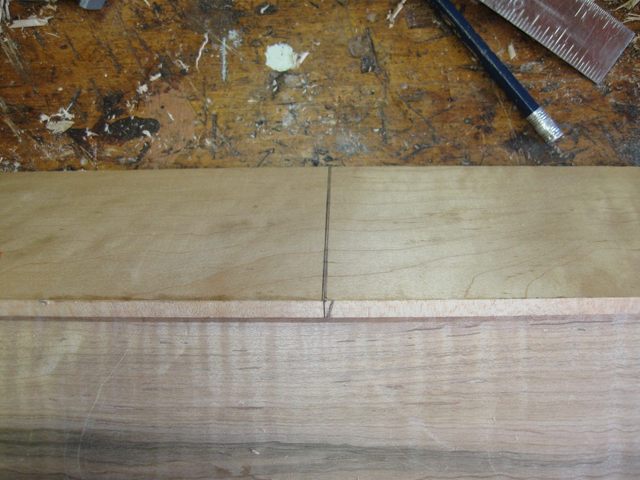
To get the proper length for the peghead overlay I marked it directly from the neck blank.
I made the mark vertical on the edge of the board so that I would not be cutting on a diagonal.
I pounded two pins into the wood at opposite corners.
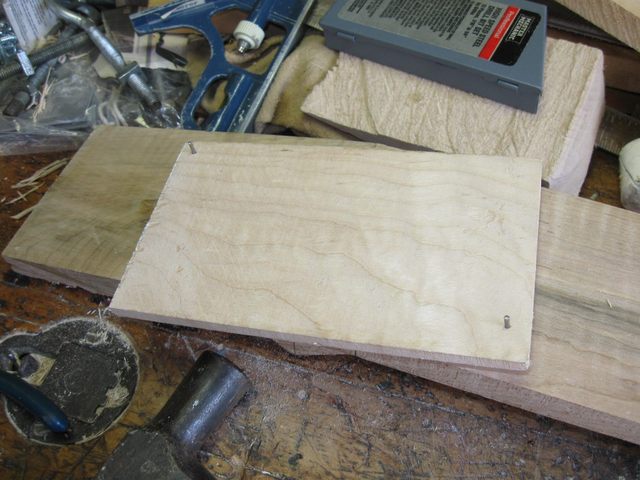
Once it was drilled out for the wooden pegs, I thought I would try it to see how it lines up. Here is what I found.
Sometimes "stupid" trumps "careful". The end marked "pegs" is not at the peg end of this. I don't know how that happened. But I decided to fix it by starting over marking the pegs. I made holes in the opposite corners of the overlay for some new pins and marked them with a circle so that I won't get confused about which ones to use.
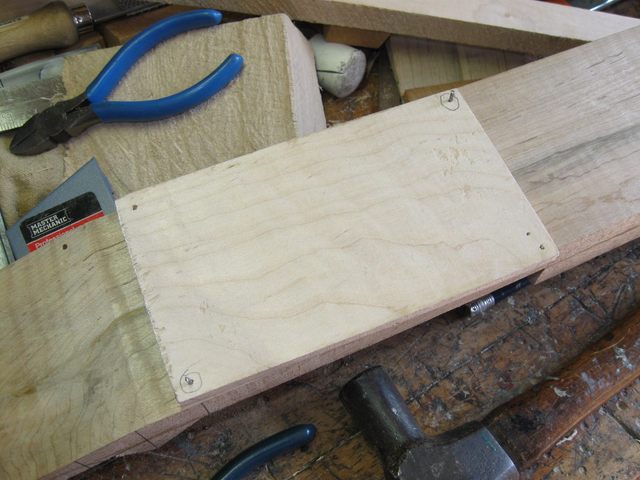
That ought to do it. Here it is dry-fit to make sure that I have not messed it up again.
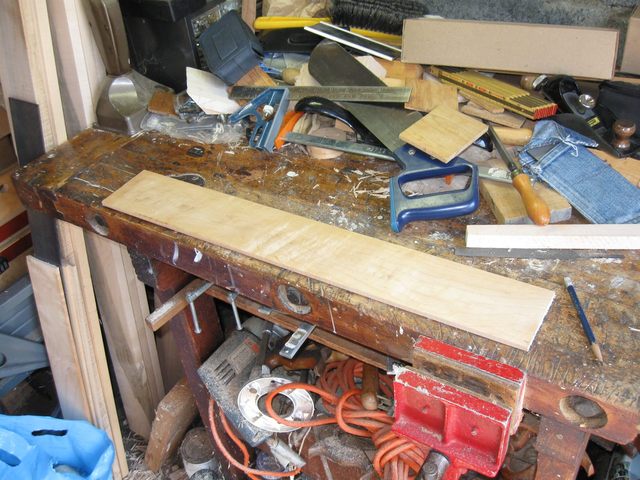
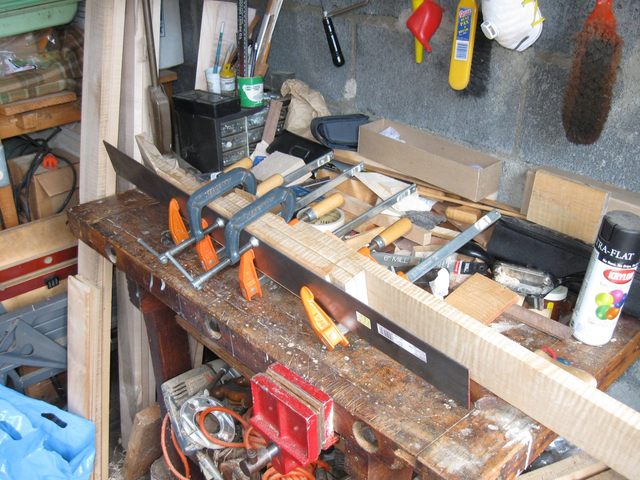
I glued it and clamped it and here it is.
But when I looked more closely at it, look what I found!
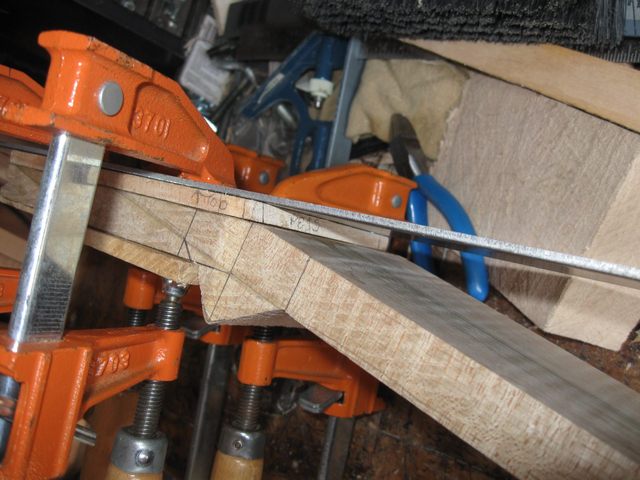
Dang! That end says "pegs" and it is not at the pegs end of the blank! I guess sometimes "stupid" really does trump "careful". I have no idea how that happened. Well that board is not going to come off of there, so I am stuck with it. I let it dry and here it is.
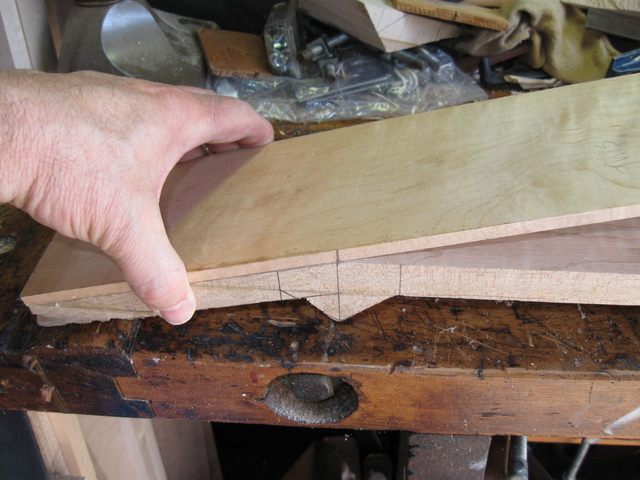
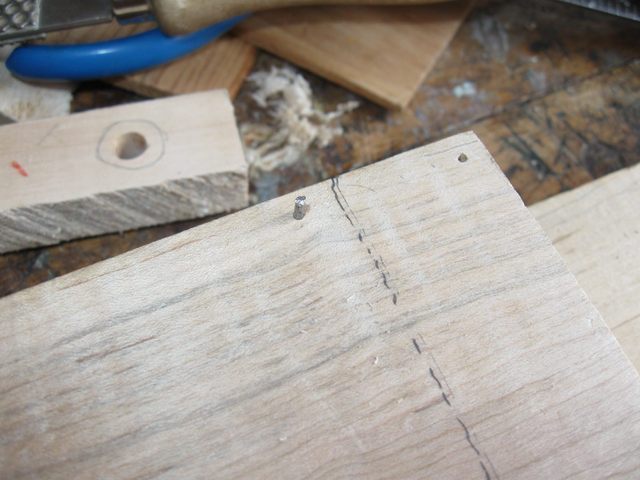
On to the finger board. On my previous banjo neck I put the pin too far in toward the center and it was visible after I shaped the neck. This time I am being very careful to keep the peg less than 1/4" from the edge.
Ha! No such luck! I had forgotten that this finger board is shorter than the neck. I am going to put a frailing scoop on it. The pin does not even touch the board. I am having a lot of extra "stupid" today.
I drew a line at the end of the board and then pounded the pin into a new location, making sure that it is still about 1/4" in from the edge.
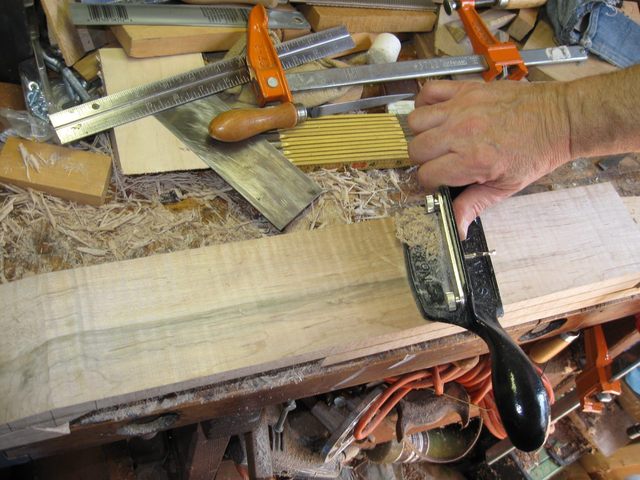
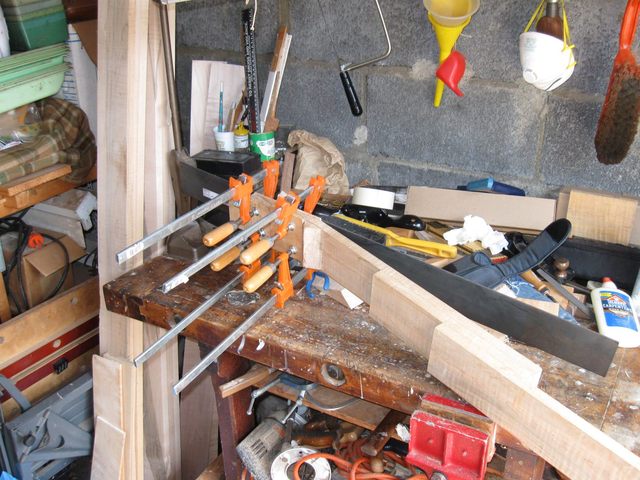
I spread an even coat of glue over both surfaces.
Then I clamped it all together using my steel caul.
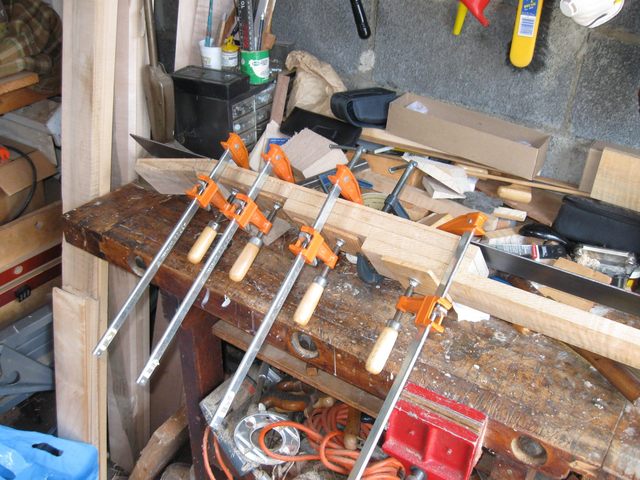
|
|
That is it for today. Now we let the glue dry and see how we did.
I spent an hour and a half just making the peghead and neck wood flat. Whew! Then it took me about half an hour to glue down the overlay and another half hour to glue down the finger board. So I am adding in 2 1/2 hours of work today.
Original post date April 29, 2009