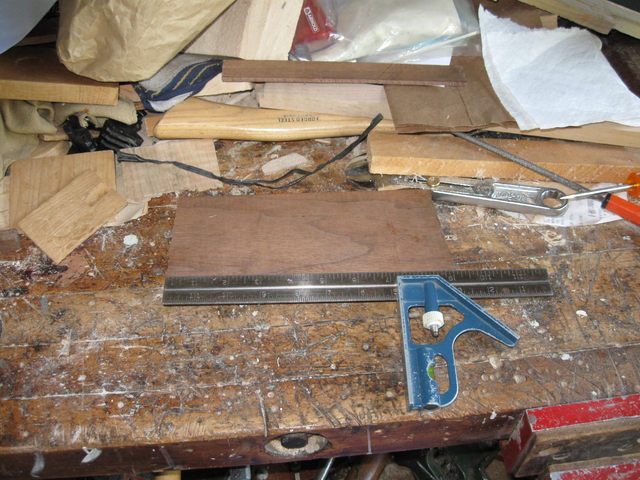
Today I made the tuning pegs. They are made from black walnut wood. I am making all the accessories for this banjo from black walnut, and I have a small board of it left over from last year to use for the pegs.
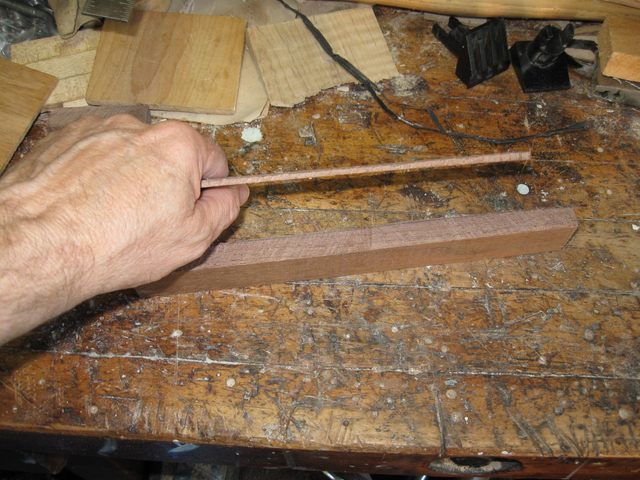
The board is about 4" by 8". I have to convert it into small pieces that are 3 1/4" long and 1" by 1/2" in cross section. That size worked well for me last time so I used it again. I marked off a 1" width the length of the board and sawed it off.
Clamping a board that small is challenging. There is very little room to put the clamp, so I had to clamp it on one end, cut half way through the board, then turn it around, clamp it on the other end and cut the other half. It is a pain in the neck, but it gets the job done. I did that three times and here are the three strips.
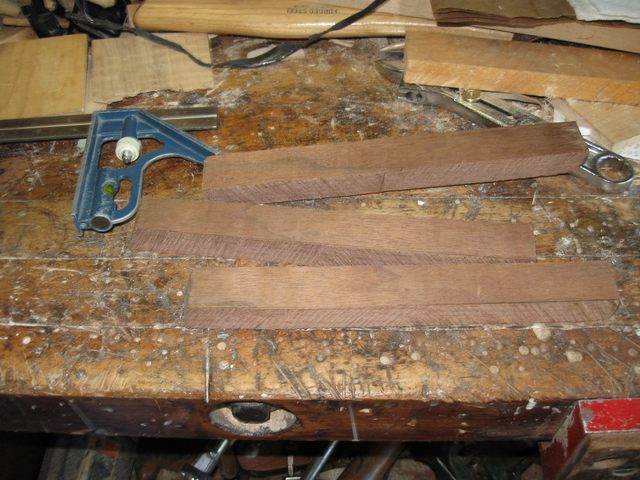
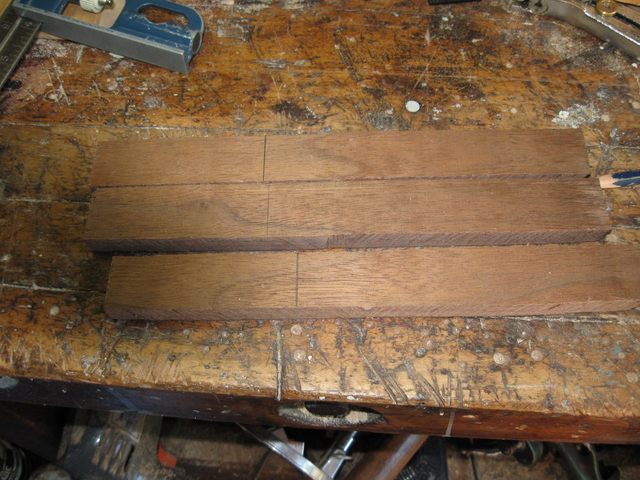
I should be able to get six peg blanks out of the three strips. The wood I use is 3/4" thick so I needed to resaw it down to 1/2". I marked the 1/2" thickness on the wood and sawed it the same way I did before.
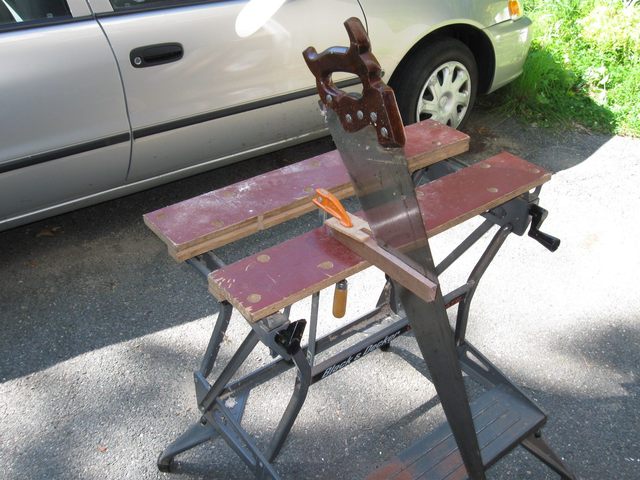
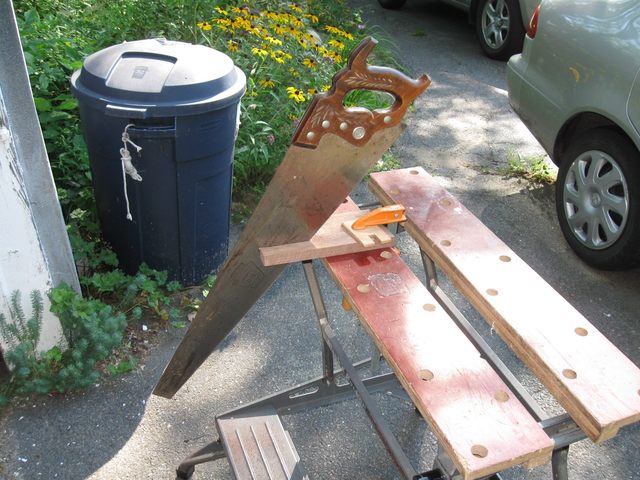
I used to do this kind of job with my panel saw, but the last time I sharpened it I could not set the teeth properly and it binds in the kerf. So I am using that huge carpenter's saw instead. It is a challenge to control such a large saw for this fine work. Here is the result of resawing one of the boards down from 3/4" to 1/2".
In the photo I am holding the waste piece that came off the wood. Look how thin that strip of wood is! I can't believe I just sawed that off using a carpenter's saw.
After resawing all three strips I marked them at 3 1/4" for cutting into blanks.
I ended up with six blanks.
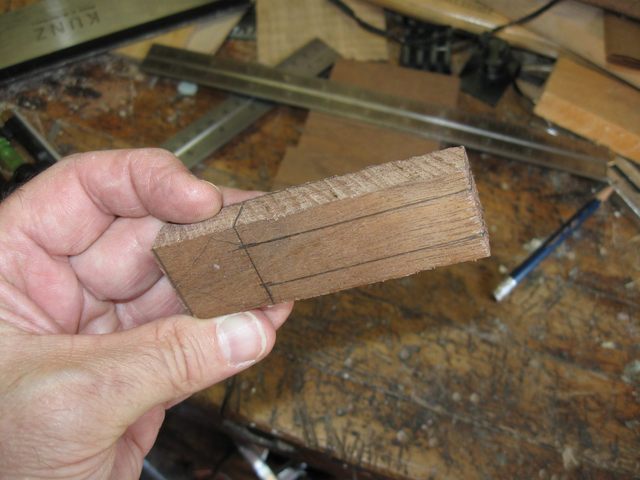
Next, I marked off buttons that are 1" square and a shaft that is 1/2" square on each of the blanks.
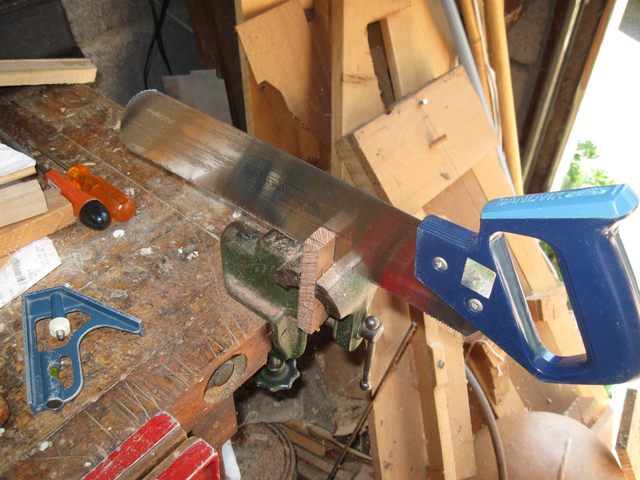
I really miss my panel saw. I would normally use it to cut these blanks. I thought maybe I could use my dovetail saw but it doesn't have the height beneath the back strap to do the whole cut.
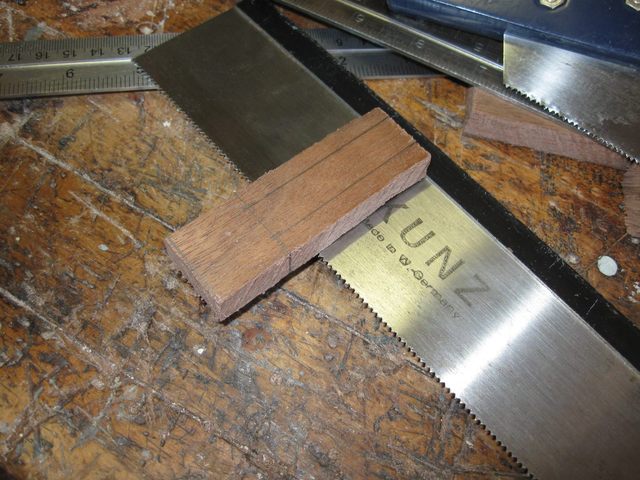
I finally gave up and used the panel saw anyway. It is a pain in the neck because it binds so much, but I managed to get it to work. The good thing about the panel saw is that it does not have a back strap, so the cut can go as deep as I want it to.
Well, here is the first blank.
Do it the same way five more times, and here are all the peg blanks ready to be shaped.
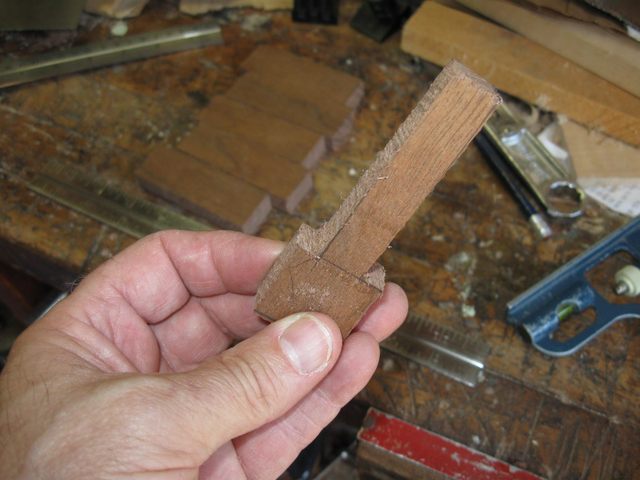
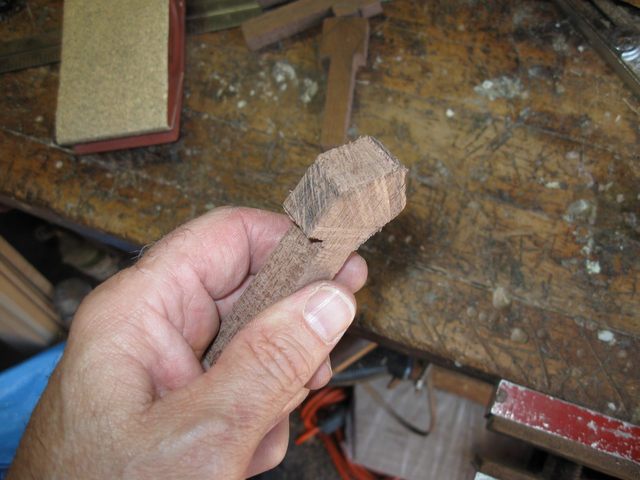
The buttons are shaped in a way that is similar to the shape of the peghead. I did that on my previous banjo and really liked the idea so I decided to do it again. I sketched out the button shape on a peg blank.
The shape will be asymmetrical like the peghead, so I used my pencil to mark the corner of the button that I will not cut off. You can see the colored area in the photo. Then I clamped the blank in the vise and cut the shape of the button using the panel saw.
I basically just cut off three corners of the blank and left the colored corner there. Here is what it looked like after sawing.
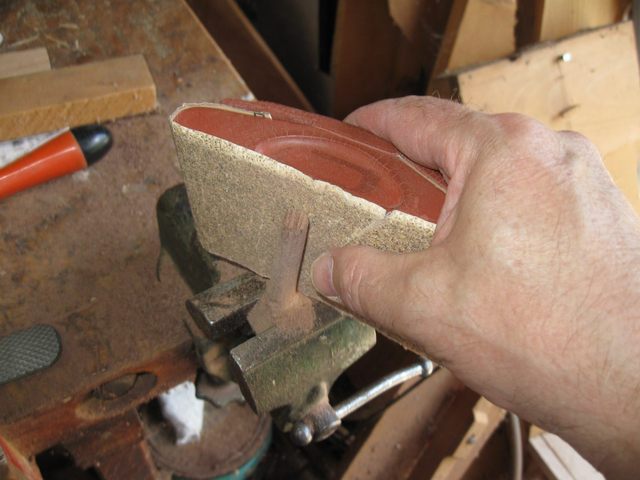
I took the rattail file to one of the inside corners to make a concave curve.
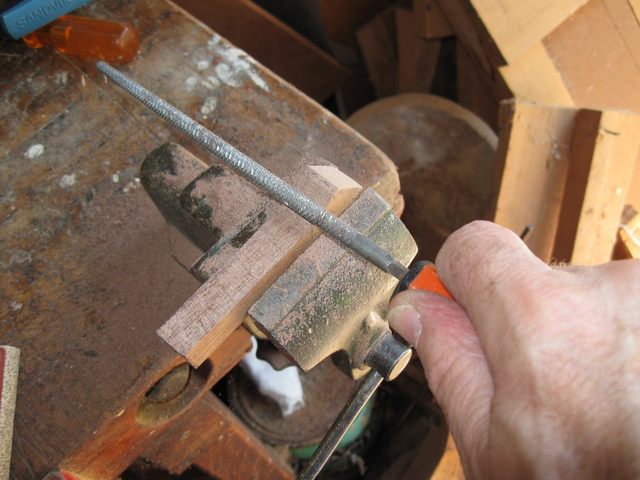
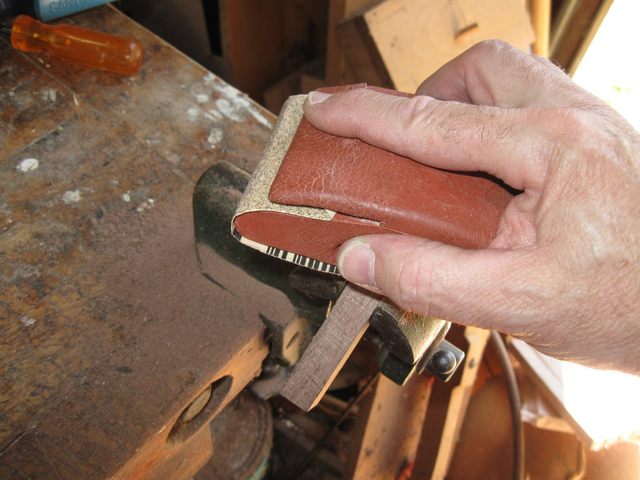
I used 60 grit sandpaper on the flat outside corners.
On the convex curve I used the shoe rasp.
And here it is.
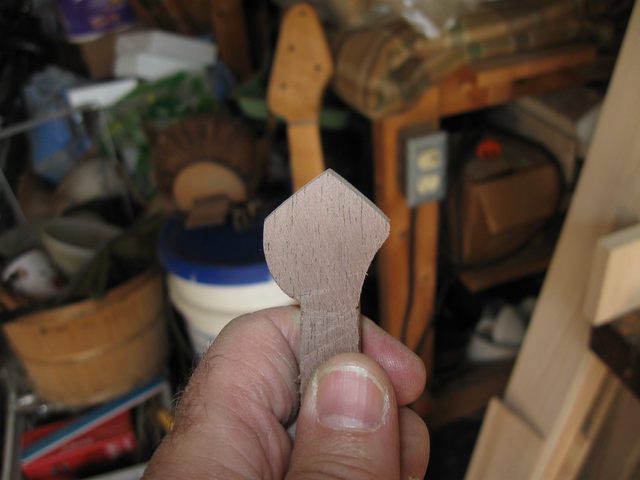
You can see the peghead in the background. The two shapes are not identical, but there is a similarity there.
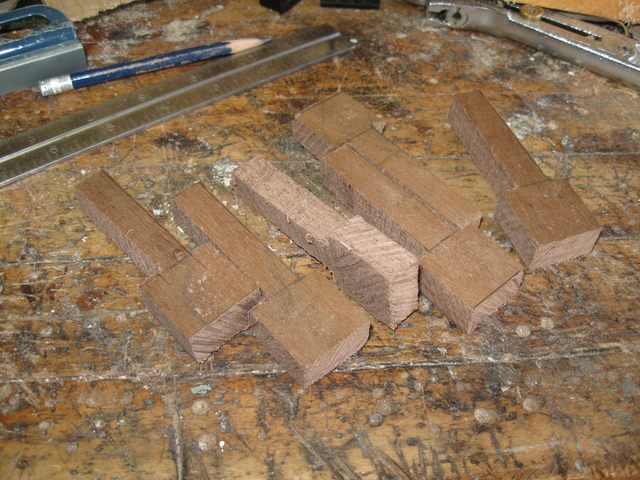
OK. So then I did it 5 more times and here are the pegs.
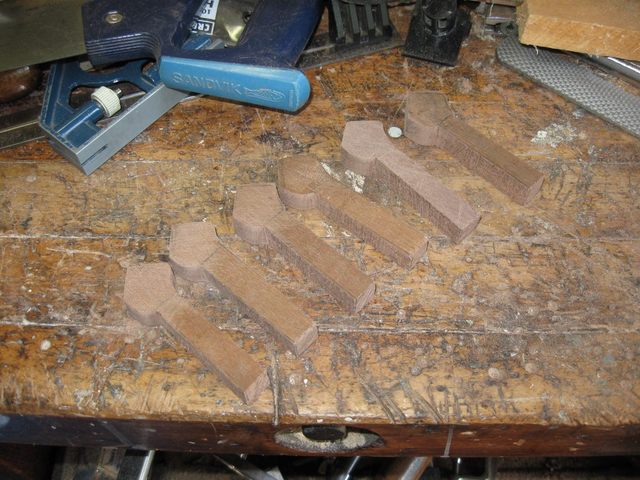
Whew! It gets repetitive. I am glad I don't make pianos where you have to do everything 88 times.
The next step was to round off the peg shafts and carve them to an approximate taper to fit into the peg holes. I do this by hand up to a point and then, when I install them in the peghead, I use the peg shaver to achieve the final shape. I started with the rough end of the shoe rasp.
I use the round side of the rasp because it cuts quicker than the flat side. I just cut off the corners of the shaft, eyeballing the shape into a taper. Once I get it close, I turn the rasp over and use the flat side to get a straighter shaft.
Next is the flat side of the rasp using the fine end of it.
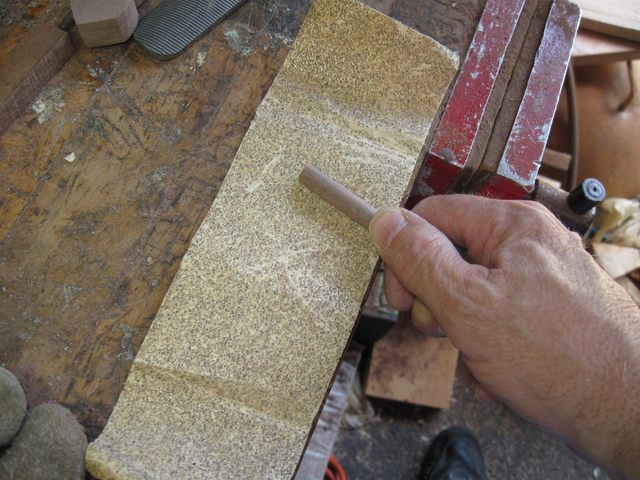
Then I move to the 60 grit sandpaper on the sanding block
Finally, to get the shaft as straight as I can, I put the sandpaper down on the bench and scrape the peg shaft along it.
To get rid of any flat facets on the shafts I wrap the sandpaper around the peg and twist the peg in it.
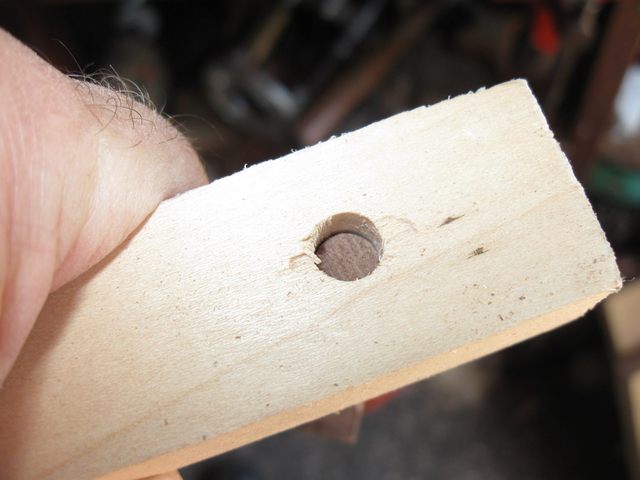
During the last stages of this I was constantly trying the fit of the peg shaft in the fitting hole.
On my previous banjos I reduced the size of the shaft until the point of it just barely fit into the hole. Unfortunately that left me with a lot of shaving to do on the peg shaver in order to get the shaft small enough to project above the peghead. So this time I was a little more aggressive and cut the shafts down much smaller by hand. That way the final shaping of the shafts will go more quickly. I cut the shaft down until it almost went all the way through the practice hole.
Do that to 5 more pegs and here you are:
I really am glad that I don't build pianos.
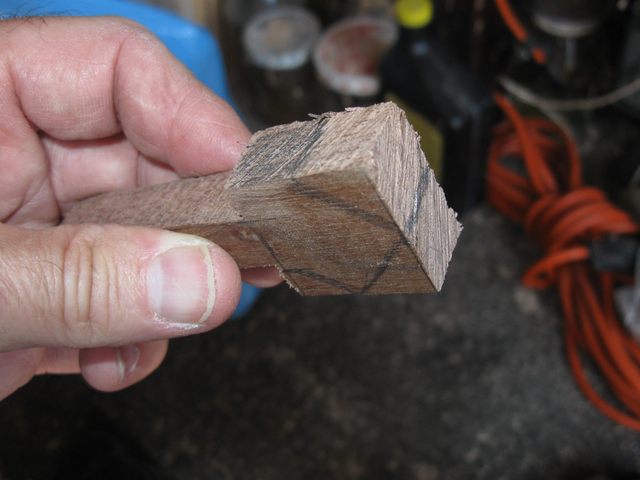
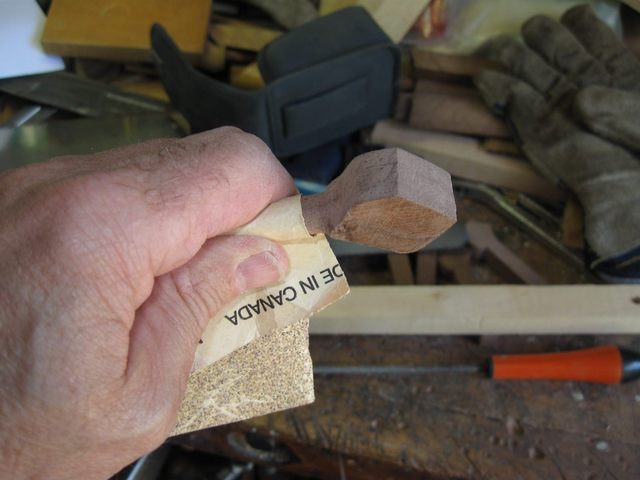
Here is a close up shot of one of the pegs. These pegs are ready for final sanding and installation on the instrument.
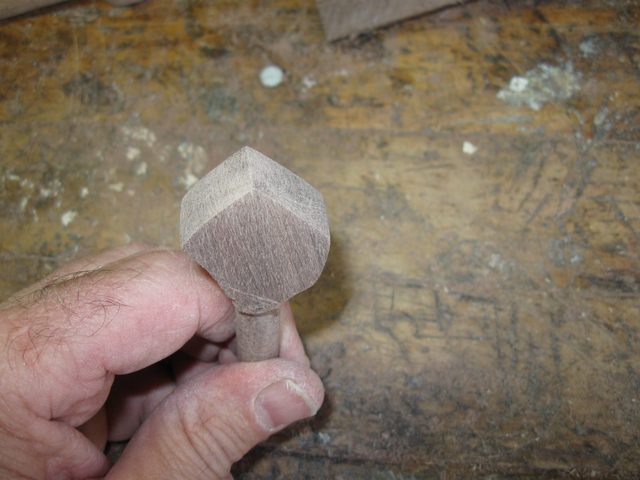
Not bad. It is a little funky looking, but I want it to be unique. I could buy plain old violin pegs if I wanted this to look like all the other banjos out there. I like my strange little pegs, and the others I have made work better than the store-bought violin pegs. They stick and squeak less.
I spent 3 1/2 hours in the morning doing this work and 1 1/2 in the afternoon. It seems like a long time to spend (5 hours) just making the pegs, but that averages out to less than one hour per peg. So it isn't that bad.
Oh, and BTW I made six pegs in order to have a spare one in case I mess one up. It is easier to do that now than it is to wait until I need one and then have to get out all the tools again... and my track record on messing up is not too good.
Original post date July 20, 2009