The first thing I did was to put the pot together. I did the pot first because I wanted to have the head and the hardware mounted on it when I aligned the neck.
The instructions said to put the tension ring around the pot just below the line which marks the height of the holes to be drilled for the shoe bolts. Unfortunately, there was no line drawn on the pot. So, I made a quick call to Goldtone, and they told me to drill the holes so that the tops of the shoes will be 1/4 inch down from the bottom of the tone ring.
I measured 1/4 inch down from the bottom of the tone ring. Then, on the shoe, I measured the distance from the top of the shoe to the hole where the bolt screws in. I added the two numbers together. This gave me the location on the pot where I needed to draw the line.
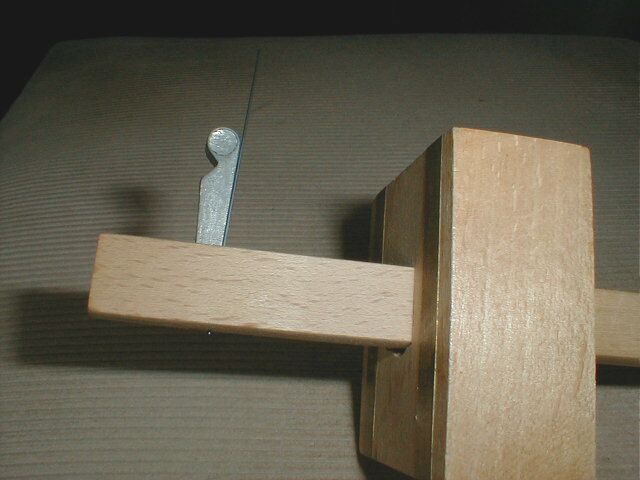
To keep this as precise as possible, I rigged up a marking device using my scribing tool. This tool normally has a knife edge wedged into it for marking wood for a saw cut. But I did not want to cut into the veneer between the holes. So, I replaced the knife edge with a length of pencil lead removed from a mechanical pencil. You can see the arrangement in the following photo.
If you turn up the brightness on your monitor, you should be able to see the pencil lead sticking out of the top of the arm, under the wedge. You can also see just the tippy end of the lead protruding from under the arm of the gauge.
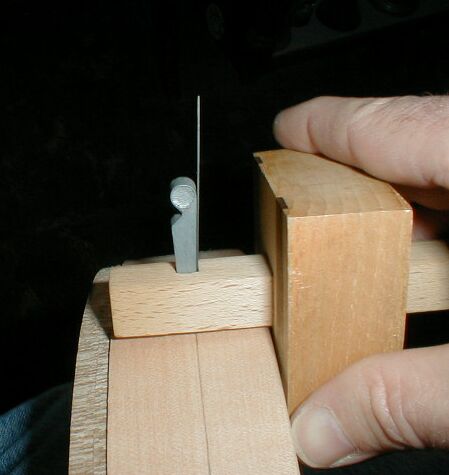
Here is a photo of me marking the line around the perimeter of the pot.
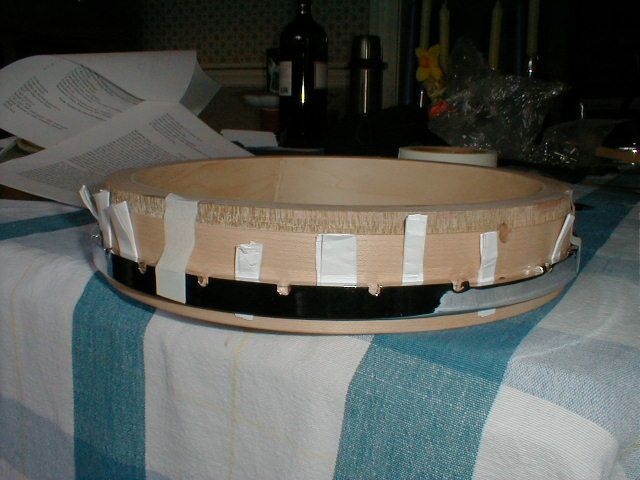
Once I had the line drawn around the pot, I followed the instructions to place the tension hoop around the pot so that I could mark the locations of the shoe bolt holes. In order to keep the hoop centered on the pot, I stuffed folded pieces of paper between the ring and the pot. Then, I used masking tape to hold the hoop up so that the line was visible through the notches in the hoop. Here is a photo:
This arrangement allowed me to put a mark across the line in the middle of each notch where each hook was to be located. Once the marks were made, I disassembled the whole thing and went out to my "bench" to do the drilling. My bench is just an old B&D Workmate; pretty crude for doing this kind of precise work. I also have a stationary bench in the garage, but that bench does not have a clamp that is suitable for clamping up large pieces. So I used the Workmate for this job.
Here is the setup:
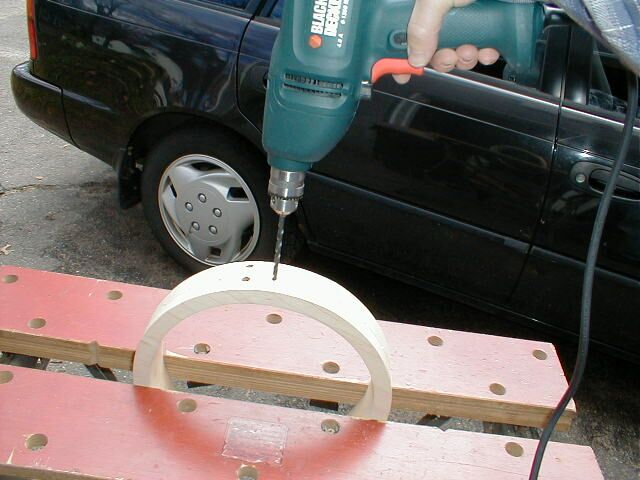
I have found that I can make fairly perpendicular holes in things by going slowly and looking at the drill from two different directions. So, I visually aligned the drill to point directly to the center of the pot looking at it from the viewpoint shown in the photo. Then, I swung myself around 90 degrees to the right to sight down the length of the pot. In that position, I was looking right down the line I had drawn on the pot, and I aligned the drill bit vertically, using the line as a gauge. Then, I swung back around to make sure that I had not tilted the drill in the other direction to move it off center from the hoop diameter. By going back and forth, I was able to drill the holes perpendicular to the tangent of the pot. This process is more difficult to describe than it is to do. It does take some practice, and it is not as accurate as a drill press, but I am doing this with no special tools, so this is the way I did it.
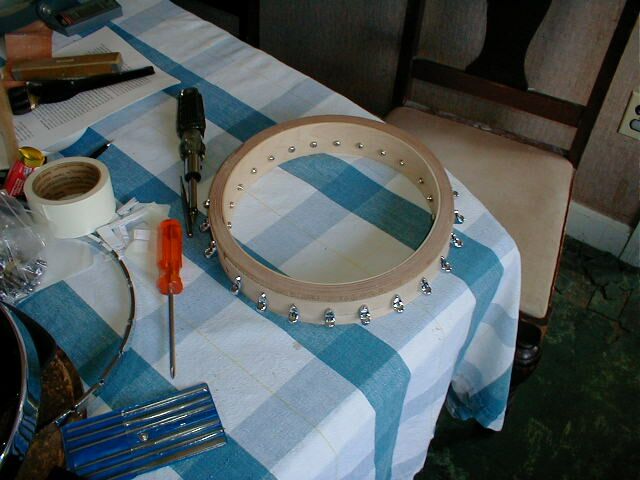
Look in the Disasters section to read about what happened next. But first, I want to show you the final assembly of the pot. Here is a photo of the pot with the shoes all mounted on it.
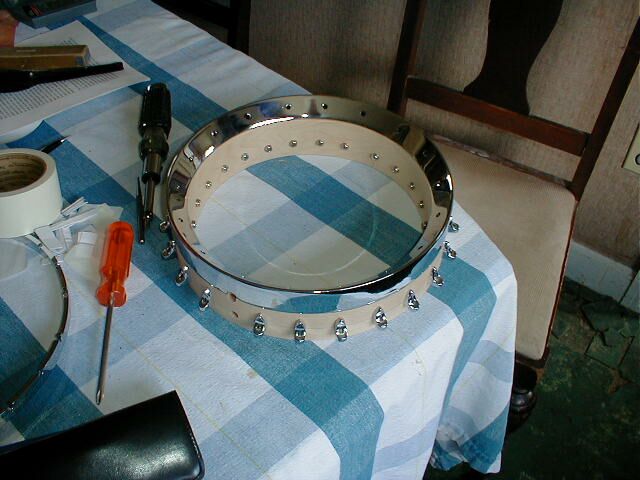
And here is the same pot with the tone ring mounted on it.
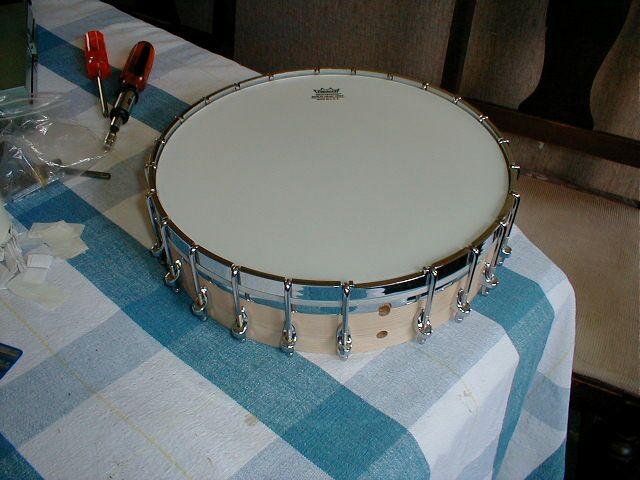
And finally, with the head and the tension hoop installed.
After drilling the first hole, I loosened the grip that the Workmate bench had on the pot without thinking it through completely.........basically, I was not holding onto the pot. It fell through to the ground, and it bounced around underneath the bench like a drunken sailor during a hurricane. Since the surface under the bench was asphalt, my new pot got some nasty dents in it from the impacts.
So, lesson learned, I was very careful from then on to hang onto the pot while moving it around in the clamp.
Duh.
I think I can steam out most of the dents before I finish it.
I plan on fixing this by procuring some flat washers to put under the supplied lock washers. That should provide just enough extra thickness to the pot to avoid the problem.
Another problem I had was tearout on the inside of the pot. The veneer around the inside of the holes was fairly well splintered by the time I was done with it. If anyone knows how to avoid this, I would appreciate finding out. I suppose that one could make a block to clamp onto the inside of the pot and drill into that, but that seems really tedious since it would have to be curved in order to have any beneficial effect. This was not a disaster because the washers on the inside will cover most of the damage. But, nevertheless..........
Also, next time I would not worry about it so much.