The resonator has four wooden blocks stapled into the inside of the resonator wall to provide space for drilling the holes.
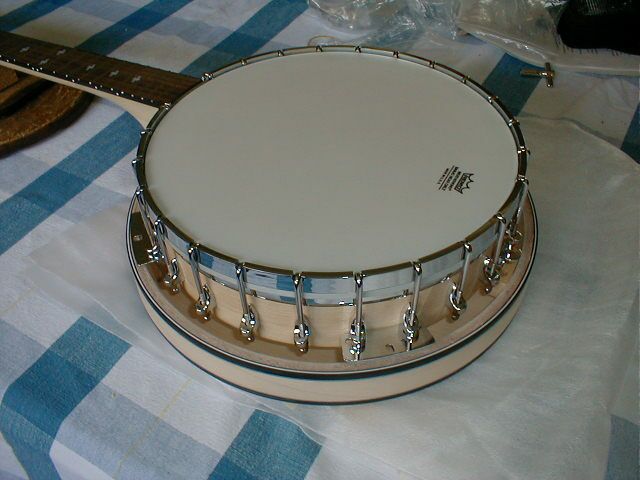
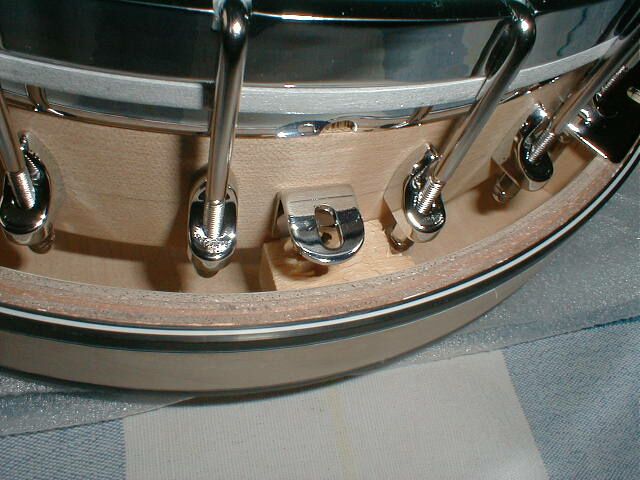
To begin mounting the resonator, I put the pot inside of the resonator to see how things are aligned. The goal is to line up the holes in the mounting plates with the wooden blocks inside of the resonator. Here it is:
For the most part, the wooden mounting blocks lined up just fine. However, there is a small block of wood under the tailpiece that did not align perfectly. In fact, it sits right under one of the bracket nuts, preventing the pot from settling down into the resonator properly. Here is a photo:
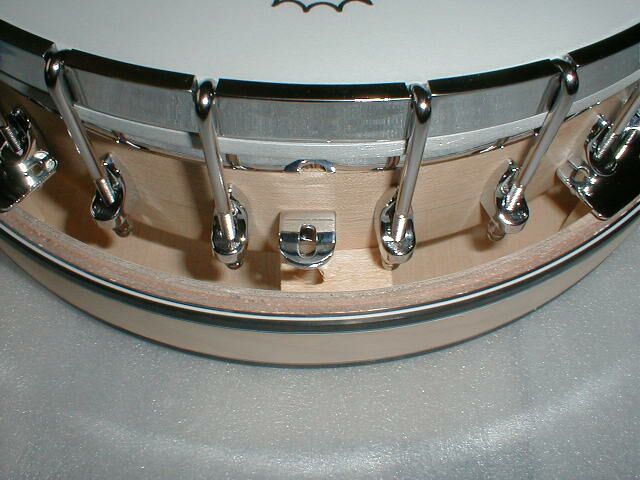
The need for the wooden block down at the tailpiece is not obvious at first. It got in the way, and it was not connected to anything. However, once the resonator had been installed it became obvious that the block rests between the resonator and the bottom edge of the pot. This will serve to keep the resonator from being crushed if the banjo is set down on its tail.
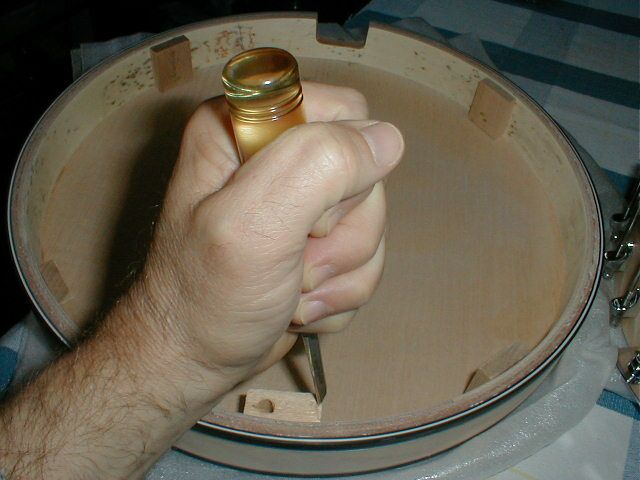
So I got out my trusty chisel and cut off a small piece of it. You can also see in this photo the four wooden blocks stapled to the inside of the resonator.
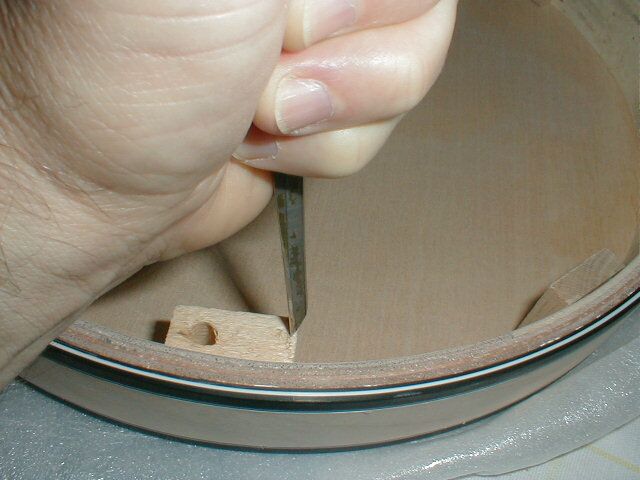
It did not take much; an eighth of an inch or so. Here is a closer view of it.
Then, I put the pot back inside of the resonator and it dropped right into place.
Next, I made a pencil mark in the middle of the holes in the mounting plates to indicate where to drill for the brass inserts:
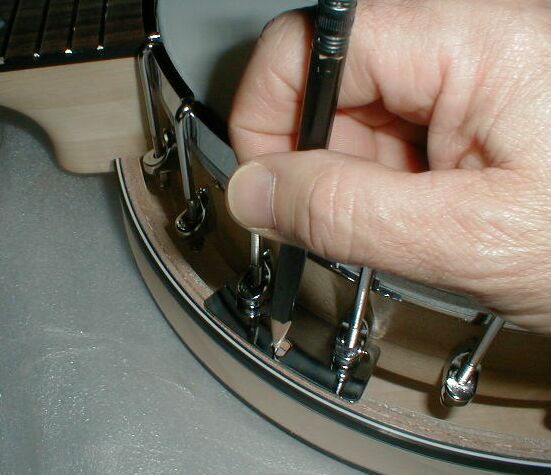
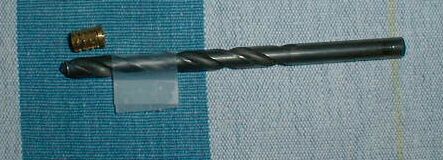
I put the flag on the 1/4 inch drill in a position to make sure that the hole will be deep enough to keep the insert from bottoming out before it is seated. There is a lip on the top of the insert to keep it from going down farther than the top of the wood. I also wanted to make sure that there was enough space inside of the wood for the tip of the screw in case it went all the way through the insert. In this case, I wanted to err on the side of making the hole a bit deeper than necessary rather than too shallow.
I eyeballed the holes in the same way that I eyeballed all of the other holes, hoping to keep them perpendicular to the surface. Here is the result:
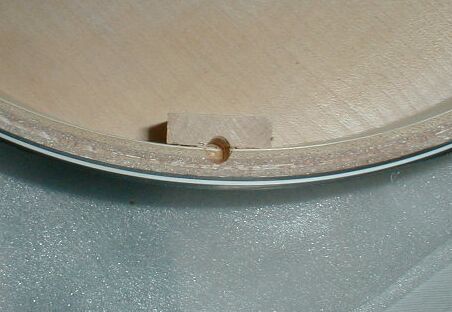
Notice that the hole is half on the hardwood block and half on the shell of the resonator. It was a bit tricky keeping the drill from wandering since the block is made of harder wood than the resonator shell. This hole must be cut cleanly so that the brass insert will stay in it properly. If you wobble around and make the hole too big, the insert might pop out later.
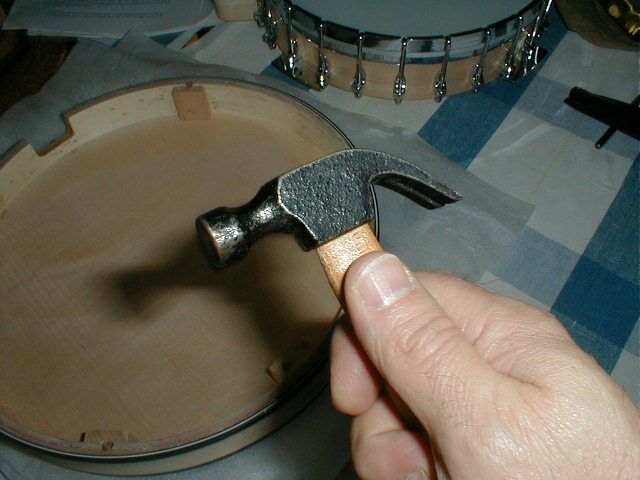
I seated the inserts into the wood using my wife's little girly hammer.
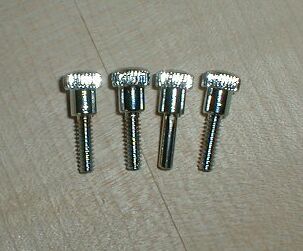
One of these things is not like the others.
One of the bolts has no threads on it! Who would have guessed that when I was counting all the little parts I should also have checked that all the screws had threads?
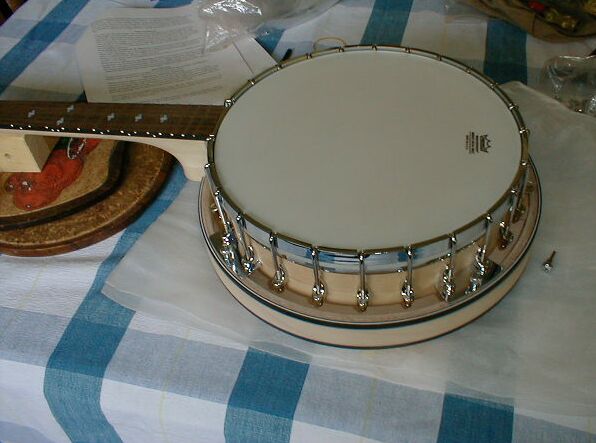
So I assembled the banjo using my three good screws to see what it looked like.
And from the back....
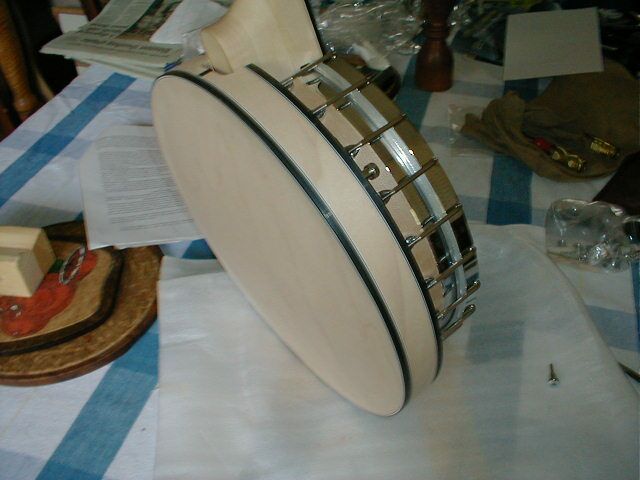
And from the side....

And then I called Goldtone and they sent me a new screw.