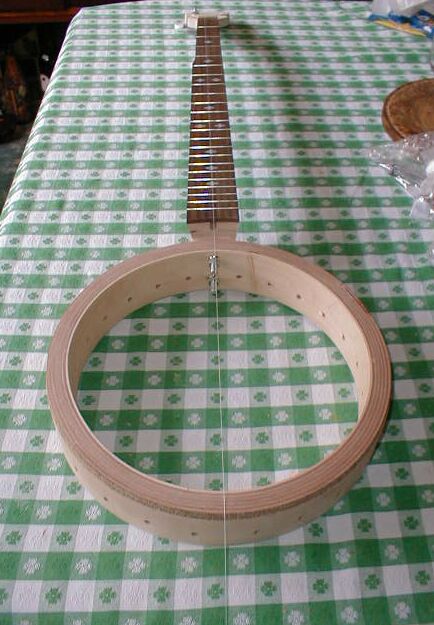
To align the holes I attached the tuner for the third string temporarily. The third string goes down the center of the neck. Then, I tied a string to the tuner shaft and stretched it down the center of the neck. Here is a photo:
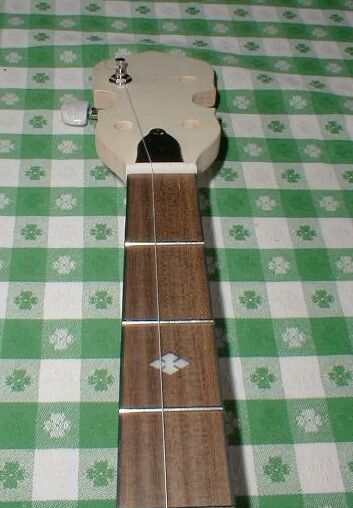
Do not align the center of the nut with the center of the neck heel. I did that on one banjo and the neck was misaligned. The string must go through the 3rd string slot in the nut, which is the true center of the neck. It looks off center because the full width of the neck does not go all the way up to the nut. A notch has been cut out of it to make room for the 5th string peg. Here is a closer picture of the way I tied the string to the tuning peg and passed it through the nut slot. It looks off center, but it is not. The nut and peghead are off center.
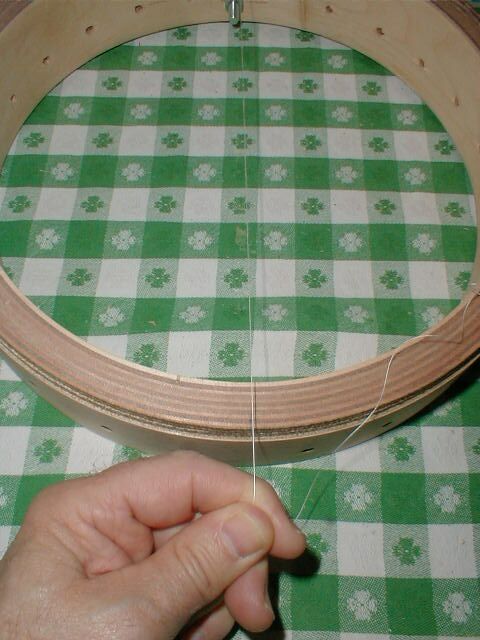
I marked on the pot where the string passed over it. You may be able to see the pencil mark under the string in this photo.
I used a try square to drop a vertical line down from the pencil mark on both the inside and the outside of the pot. The holes need to be drilled in the same vertical location as the ones on the neck side of the pot. I measured to the centers of the holes on the neck side of the pot.
The top hole, the one nearest the head, was 7/16th inch down from the top of the pot. The bottom hole was 5/8th inch up from the bottom of the pot. So I measured those locations on the tailpiece side of the pot and marked the locations on the vertical lines that I had made earlier. I marked the lower hole position on the outside of the pot and the upper hole position on the inside of the pot since those are the sides where the two holes must be drilled.
Drilling the bottom hole was fairly easy. I just took the 5/16th inch drill bit that I had used to mark the neck hanger bolts and drilled the hole through the pot from the outside to the inside.
Drilling the upper hole was a bit more of a challenge. The upper hole has to be drilled from the inside of the pot out, but not all the way through. This hole is just a pocket for the tail of the upper co-ordinator rod to sit in. It took me a while to figure out the solution to the problem of how to do this. I found it in the hardware store in the form of a 12 inch long drill bit. Here is a photo of it:
Notice the flag on the bit to make sure that I do not drill all the way through the pot. The instructions say to drill only half way through, so I set the flag at 3/8th inch up on the drill. Then, I simply clamped up the pot and stuck the drill bit right through the hanger bolt hole and drilled out the pocket. Like this:
Finally, I was ready to mount the neck onto the pot and secure it with the co-ordinator rods. The sequence of events that I needed to go through to get the lower co-ordinator rod into the pot was fairly complex. It is too long to just work it in there because it has to stick out the back for the tailpiece bracket to screw onto. Here is how I did it.
At that point, the lower rod is in position to screw it onto the lower hanger bolt.
The upper rod is simple; just drop the tail into the pocket and drop the rod into the pot.
Now the hanger bolts can be put into their pot holes and carefully screwed into the inner threads of the co-ordinator rods. The grommets are pressed into the hanger bolt holes and then the hanger bolts are eased into the holes and screwed into the co-ordinator rods. Because there is little play between the ends of the rods and the rim of the pot, I had to gradually move the neck into the pot while I screwed the rods onto the bolts.
I could not get the hanger bolts into the holes because they were not parallel. What to do? Well, here is something that I am not very proud of:
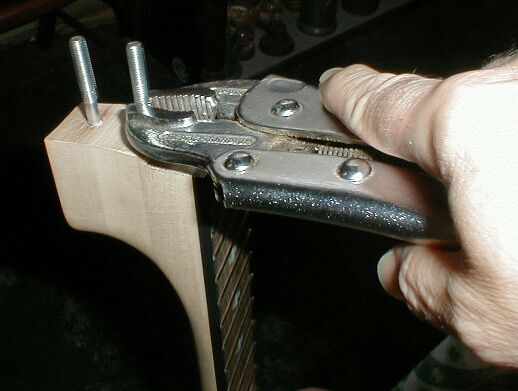
I just took my Vise Grips and bent the crooked one until it lined up. They were not very far off, so I was able to tweak the bolt just enough to make them parallel and go through the holes. After that, the neck went in pretty smoothly.
Once I had the neck mounted on the pot, I found that the neck was once again canted to the left very slightly. So I took it all apart and made the lower hanger bolt hole a bit more oval. After that, I could twist the neck level and tighten down the co-ordinator rods to keep it in place.
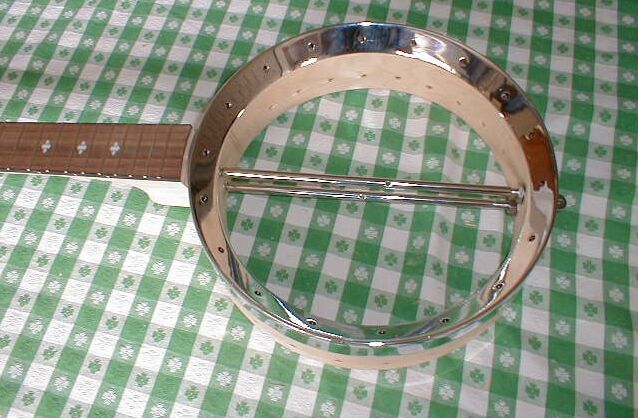
Here is a photo of the neck and pot bolted together. Screwing the nuts on the tail ends of the co-ordiator rods down snug with the inside of the pot finished the job.
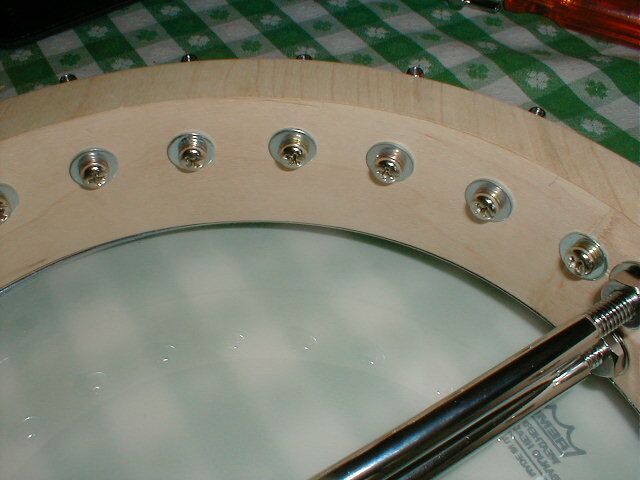
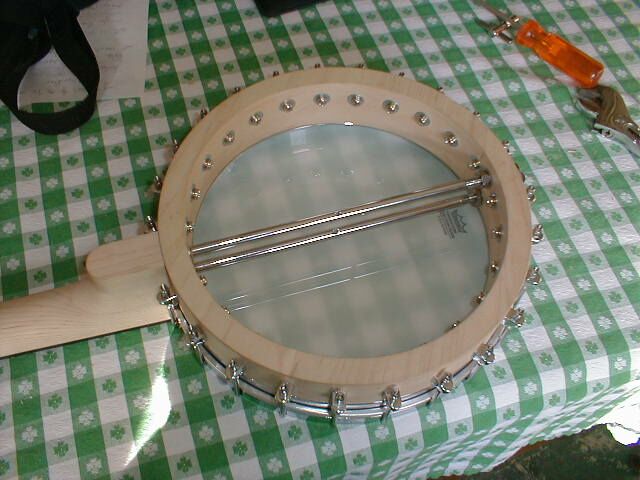
... and one picture from the bottom after the head was installed ........
Here is a closeup of the inside of the pot showing the new washers that I added to make the shoe bolts a little shorter inside of the shoes. This trick worked perfectly and the all hooks pass through the shoes without any binding.