I have redesigned the bracket that holds the tail end of the hoop wood in the form. I am going to screw together the tops of the two angle irons to keep them from separating when I push on the wood. In order to do that, I need to have more of the irons sticking up above the top of the form. So I have upgraded the size of the irons again from 4" angle brackets to 5" angle brackets.
Upgrade From 4" Brackets to 5" Brackets
The larger brackets are wider and thicker as well as longer. So they don't fit in the recesses that I made for the 4" brackets. I need to adjust the notch in the plate.
The 5" Angle Bracket Does Not Fit
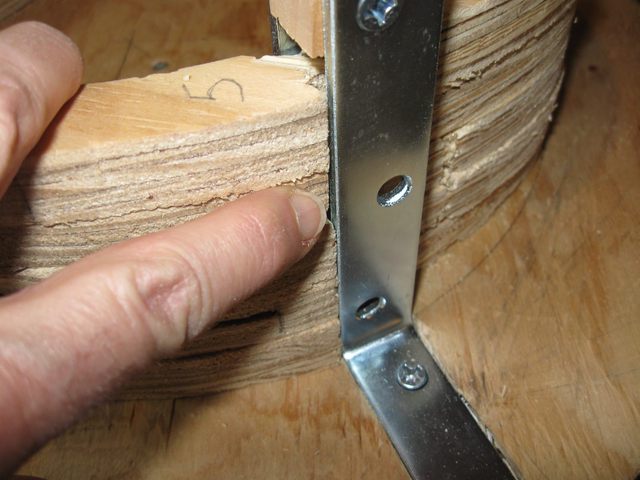
I still need to deal with that cavity in the plywood. To make the angle bracket sit level I have put some cardboard shims in the hole. Fortunately, the 5" bracket has an extra hole in it, and that hole is right over some solid wood. You can see the new screw hole in the photo below.
Cardboard Shims and the New Screw Hole
The shims have been installed, and now I need to make a block to go between the tops of the two brackets to hold them together. Since I made the thickness of the ring 3/4", a standard one inch board will just fit between them.... since a one inch board is 3/4" thick.... go figure.
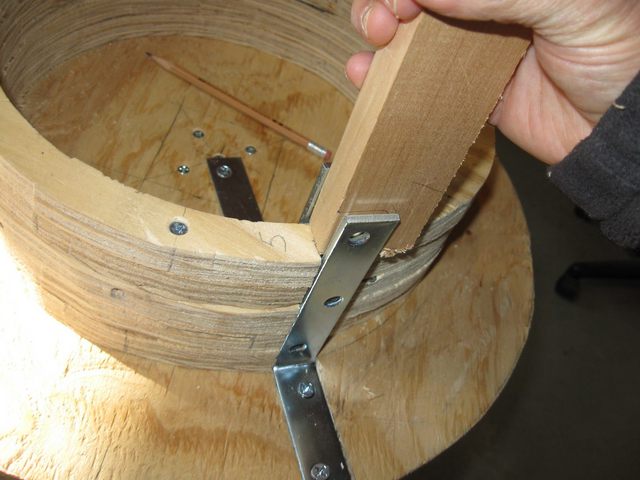
The One Inch Board Just Fits the 3/4" Space
Gotta Love Standard Sizes
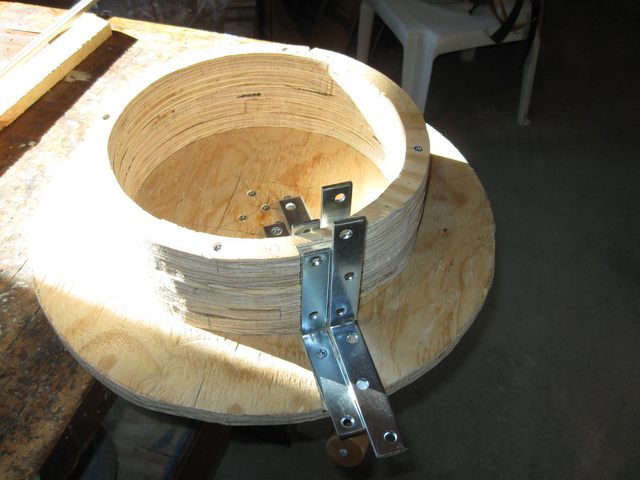
I cut off a small chunk of the board and screwed it between the tops of the two brackets. Here is a neat outcome. Since the outside bracket is recessed into the plate, and the inside bracket is not, the two holes in the two brackets do not line up. The inside hole is higher. So when I screwed them both to the block, the two screws went past each other in the wooden block and did not interfere with each other. I wish I could say that I planned it that way, but this time it was Lady Luck smiling for a change.
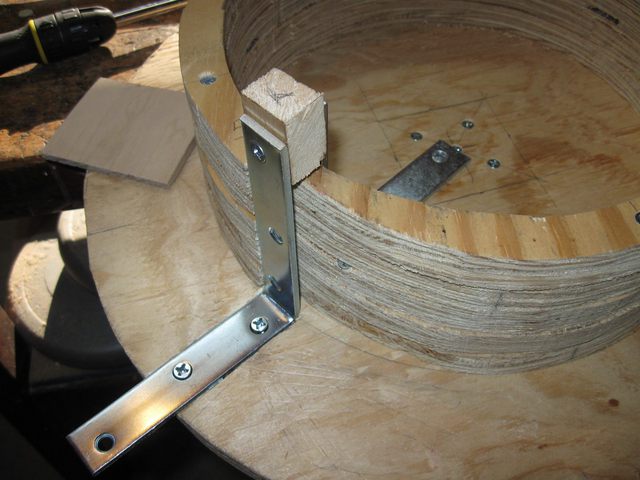
The Two Angle Brackets Secured to Each Other
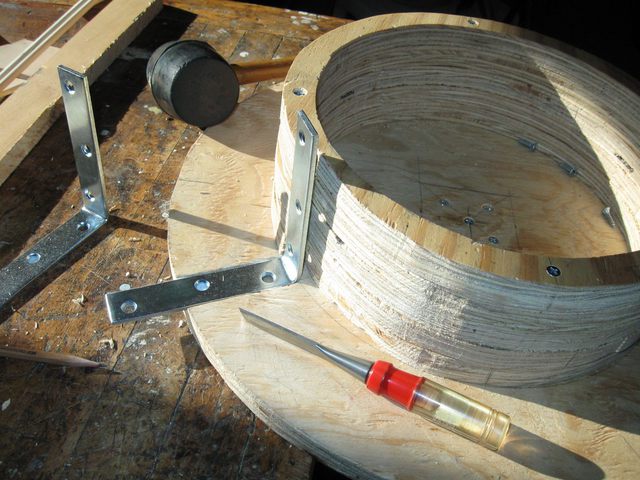
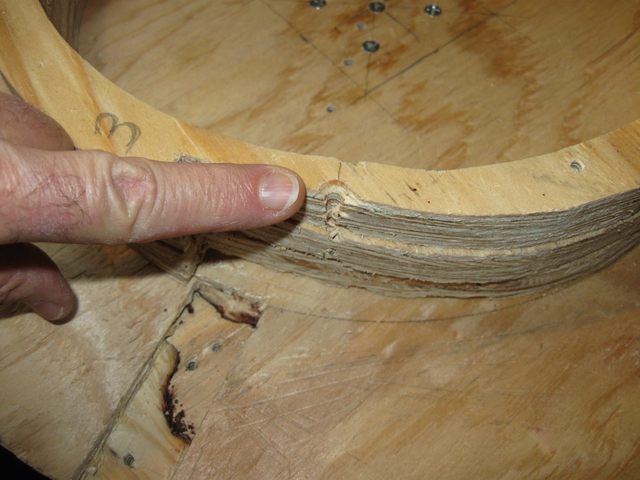
However, that is where the good luck ended. The new 5" bracket is thicker than the old 4" bracket, so now there is not enough room in the slot to fit the board. The tail of the board won't go in the slot anymore.
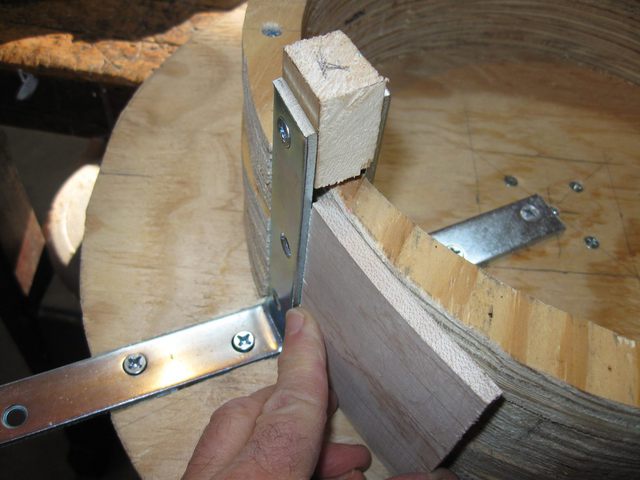
The Slot is Now Too Small for the Board
I need to make the notch deeper. But then, there is that pesky screw again. That thing will have to come out this time.
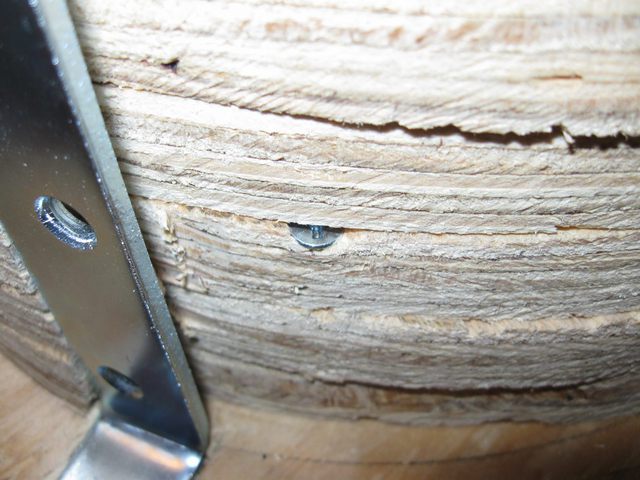
The Pesky Screw is Now Really In The Way
I took the whole thing apart again and used my Surform®* plane to cut down the inside part of the notch to make it deeper.
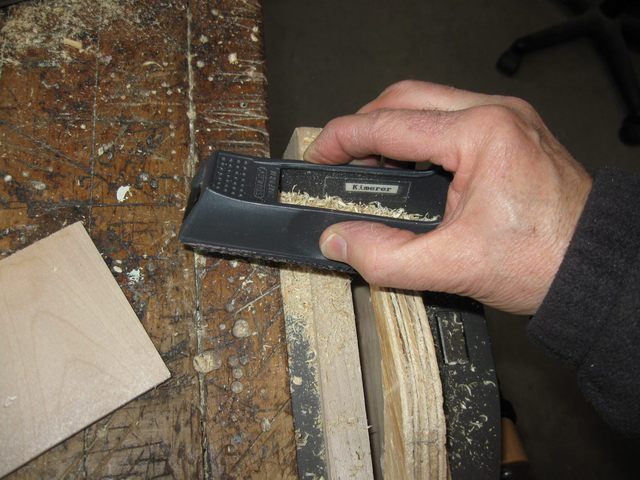
Making The Notch Deeper
OK, yeah. That screw is gone now fer sure.
The Screw is Now Gone Fer Sure
After I screwed all of the rings back together, I used the plane to clean up the inside of the notch and make all of them even.
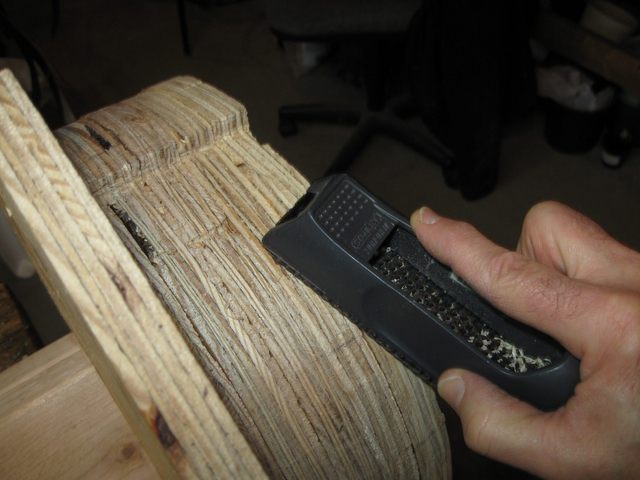
Cleaning Up the Inside of the Notch
The brackets are secured at the top. The board fits. I think this one is going to work.
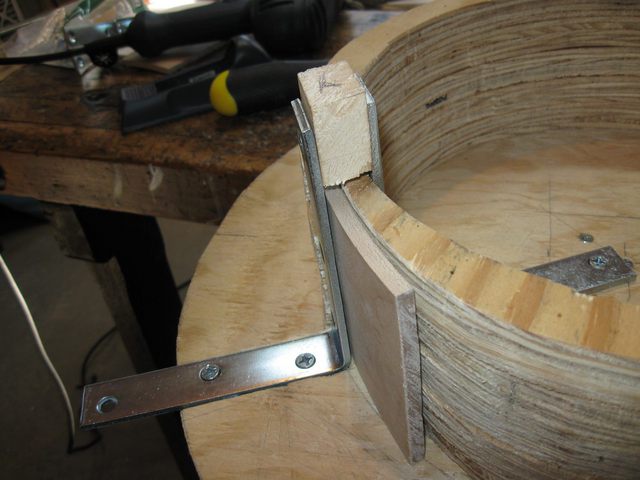
The Brackets Are Done
The outside bracket sticks out a little bit on the side, but I am not going to worry about it.
The Bracket is Not Quite Flush
Tomorrow, I am going to start making a steam box that ought to be better than the PVC pipe I tried last time.