I have one more board that has been bent for a hoop. I bent that board on April 7th. If you remember, that is the one that I steamed for 40 minutes instead of 30 minutes. It wrapped tighter around the form than the ones that were steamed for less time. Today I am going to make it into a hoop and see what comes out.
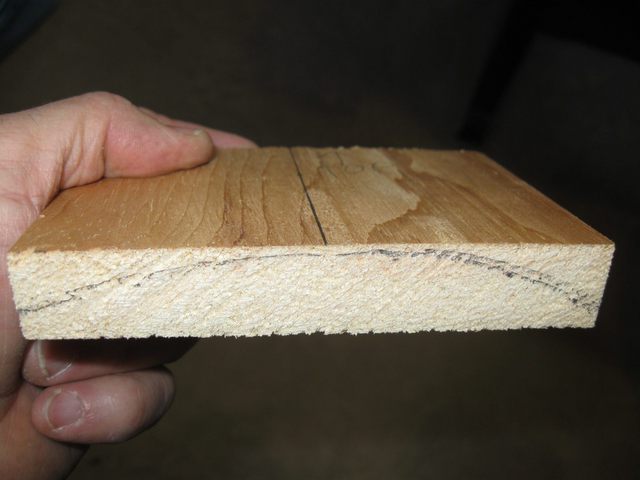
On the other two hoops, I was not totally pleased with the way the joint between the two ends came out. The trick is to cut the wood at the correct place so that the curvatures at the two ends match and I get a smooth transition across the joint. In the other two cases it was not optimal. So I measured the depth of the notch in the bending form.
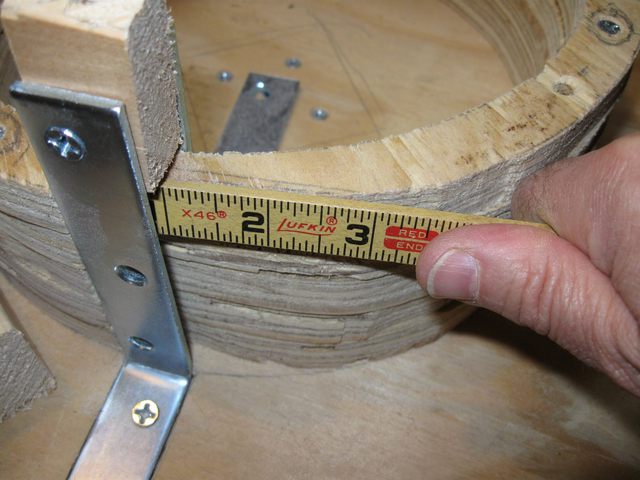
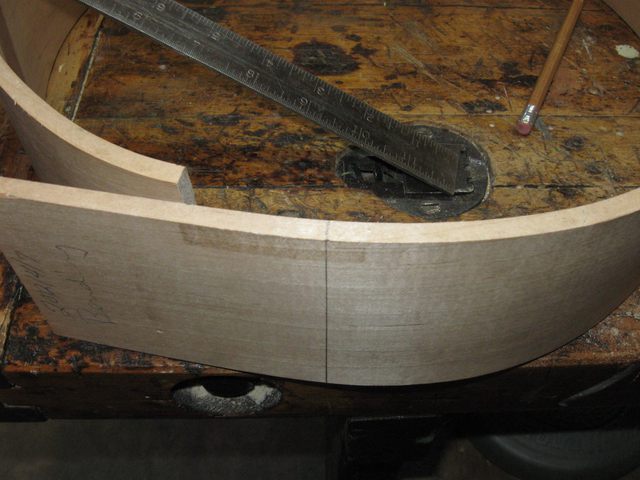
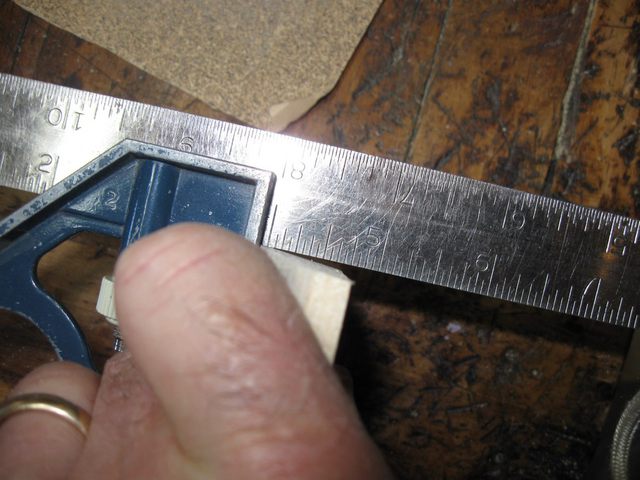
The Notch is About 2 3/4" Deep
Looks like 2 3/4"
On the first two hoops I cut that end of the wood off at 2 7/8" by eyeballing the curvature of the wood. This time I am going to cut the wood at the measured location where it comes out of the notch, 2 3/4". I want to keep the length of the hoop at 41" so that the diameter of the hoop will still be 13.0507053335". So I need to cut off 4 1/4" of wood on the other end instead of 4 1/8".
I measured off 2 3/4" on the inside end.
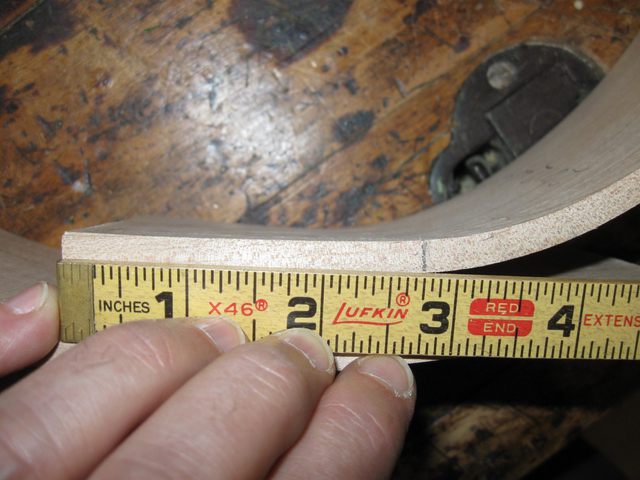
Mark the Wood at 2 3/4"
I measured 4 1/4" on the other end.
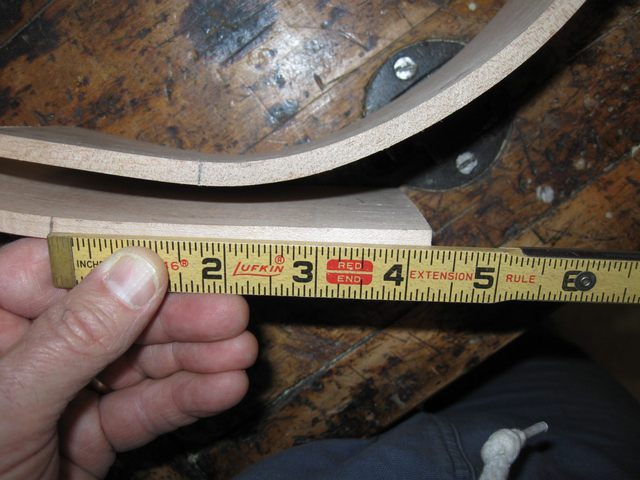
The Outside End is Marked at 4 1/4"
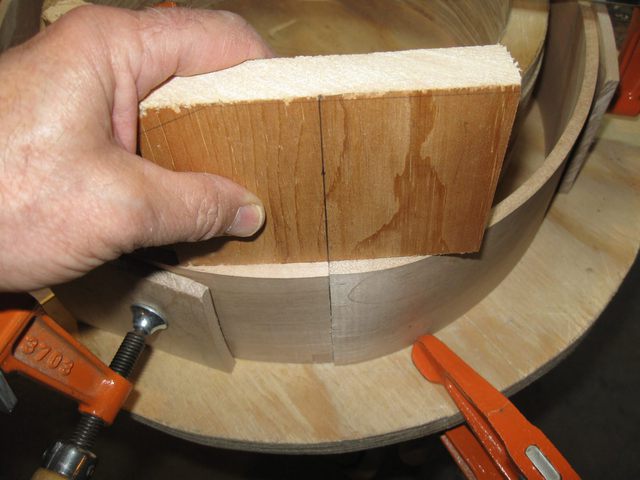
I squeezed the two ends together to see how it looks. It is hard to tell whether this is going to be better or worse than the previous hoops.
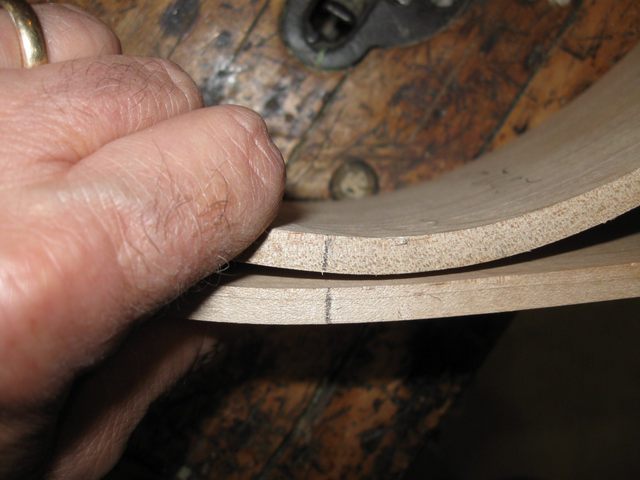
I Can't Really Tell if This is Better
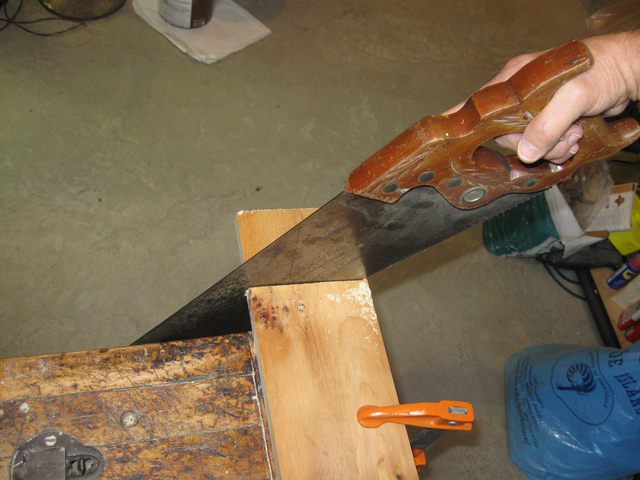
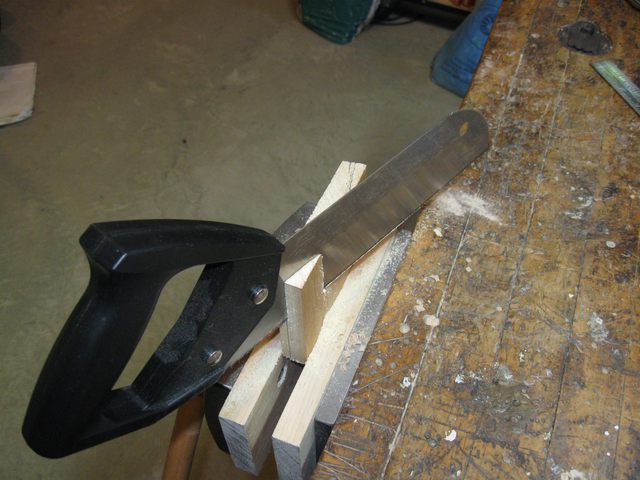
The only way to find out is to make the hoop and see what happens. So out comes the panel saw, and I cut the inside end off.
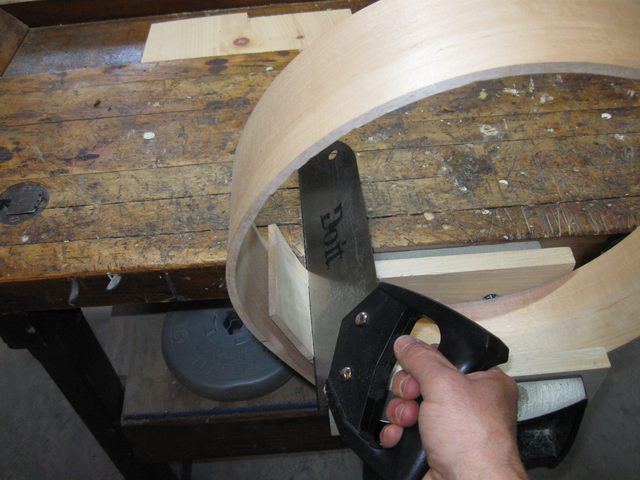
I Cut Off the Inside End
Dang!
It came out crooked again. I can't seem to saw to a line anymore.
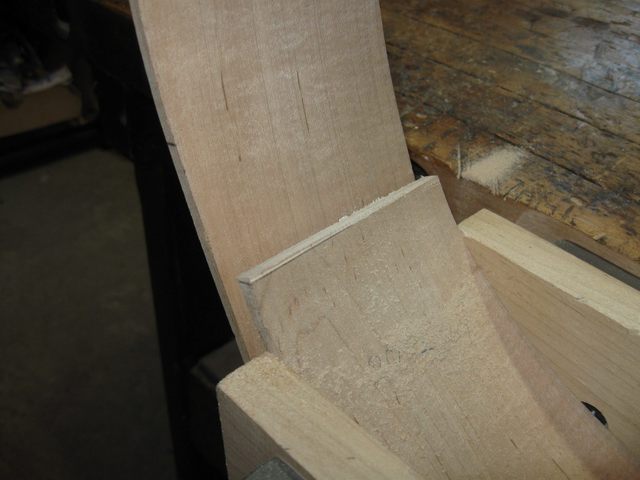
The Cut is Still Not Square to the Board
The way I get the line square is to drop the marked location down the board using my try square.
The Try Square Makes The Line Perpendicular
Here is the line on the other end of the board, guaranteed to be perpendicular to the edge of the board.
The Line is Perpendicular to the Side
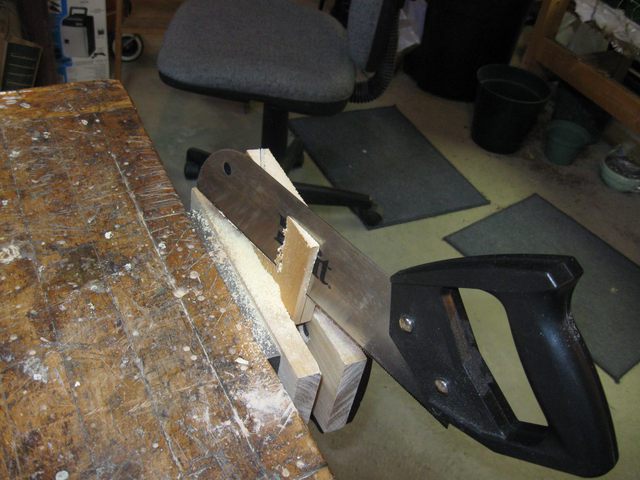
Put it back into the vise and cut this one off.
I Cut Off the Second End of the Board
Now I square off the ends of the board using the block plane. At least, I tried to square off the ends using the plane. This hoop was bent tighter than the others, so the two ends are closer to each other, and the plane doesn't fit between the ends.
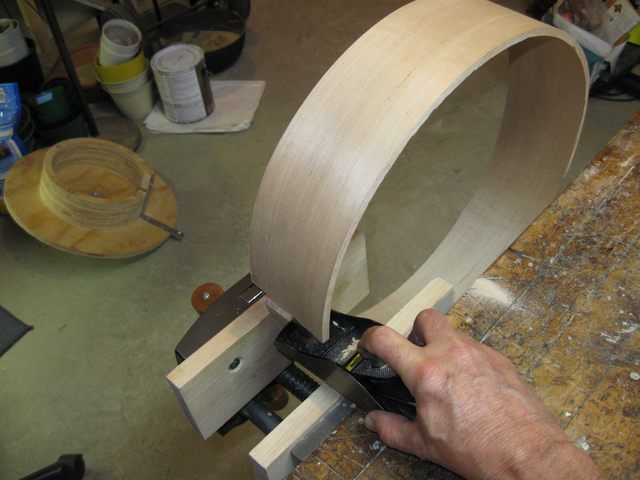
Alas, the Plane Does Not Fit Between the Ends
I was reduced to using my shoe rasp to square up the ends of the board (which worked fine).
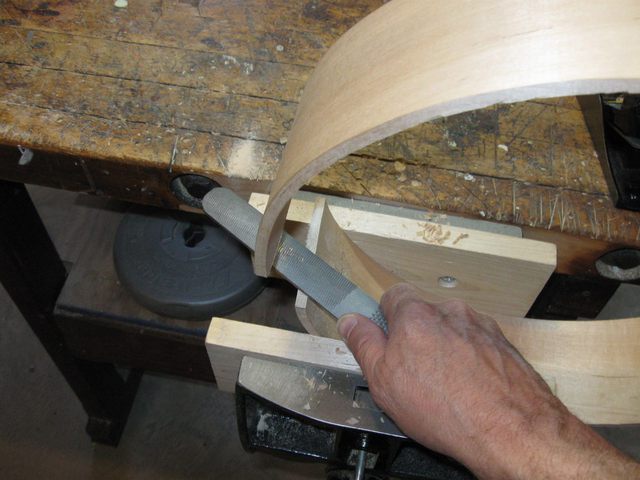
Shoe Rasp to the Rescue
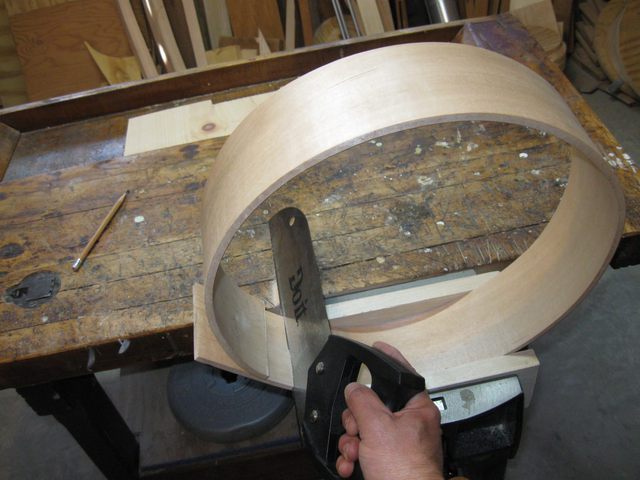
OK that is done. I clamped the hoop to the form and brought the two ends together using the bar clamps.
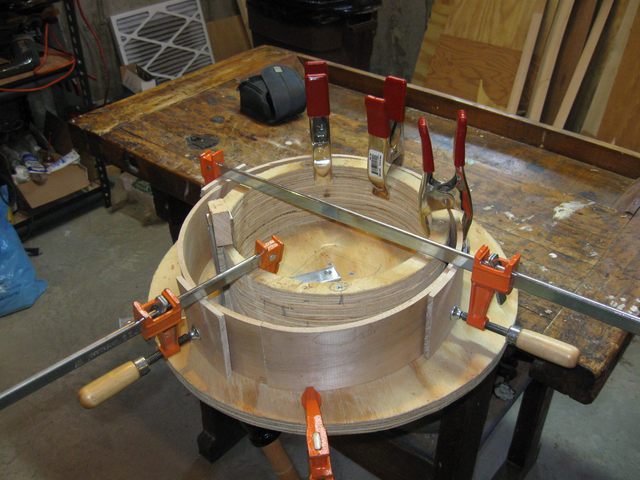
The Hoop is Clamped to the Bending Form
Once again I changed the way I clamped the hoop in an effort to align the ends better and keep it all stable while I screw it to the heel block. I have put the second bar clamp between the inside of the form and the outside of the hoop. That arrangement is pretty stable, and it allows me to draw in that end of the board with good control. That end of the board is the one that overlapped the other end, so it sticks out farther.
I have also put a bar clamp on the base plate next to the inside end of the hoop to help keep that end in place.
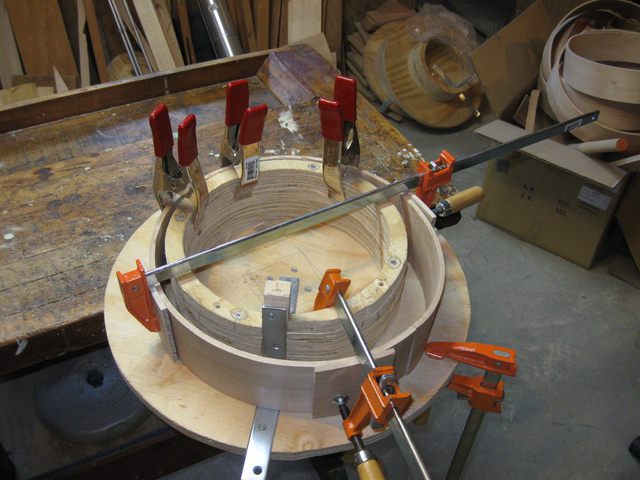
Three Clamps Give Better Control
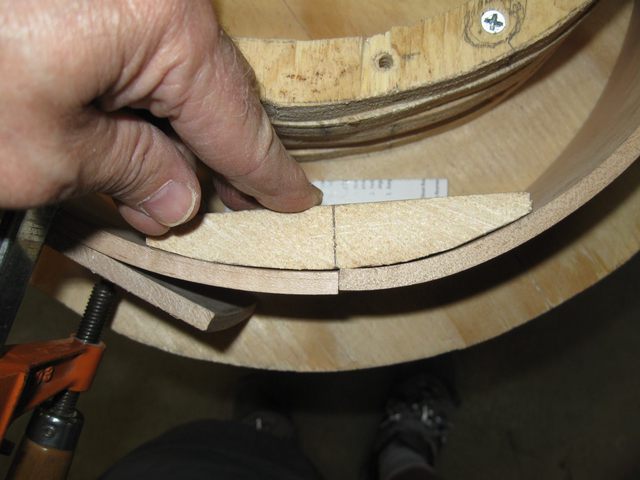
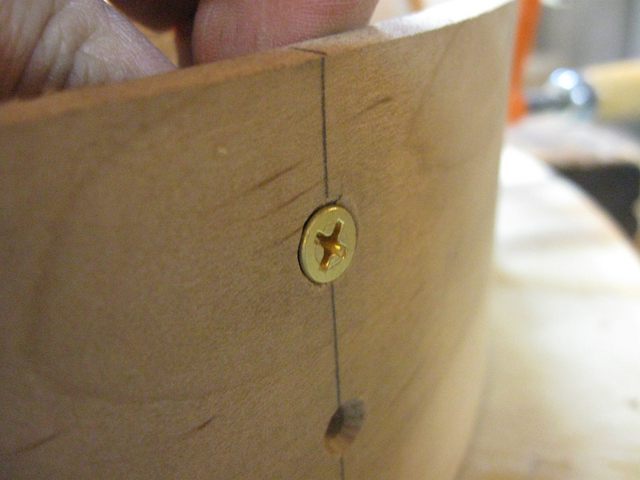
Here is a closeup of the joined ends.
That joint is not looking terribly great. The alignment is not all that good. But we will press on and see what happens.
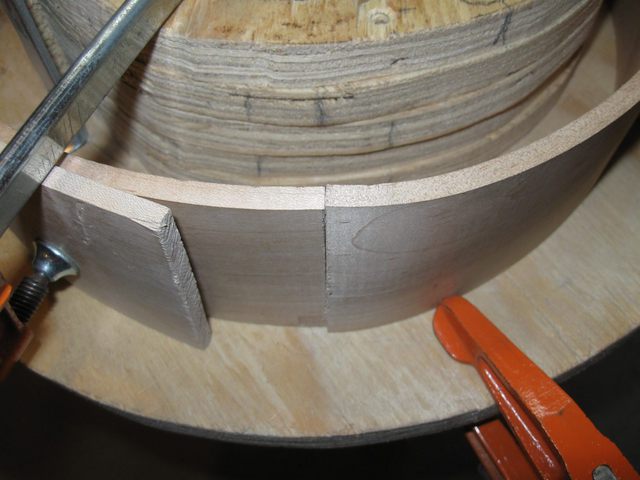
This Does Not Look Too Great
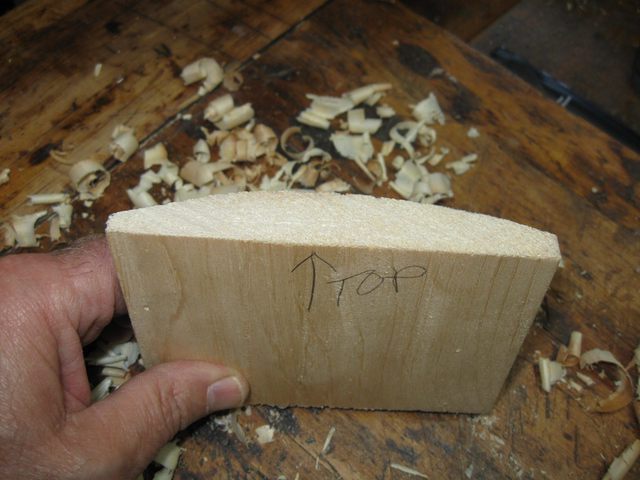
I cut off another 3 1/4" heel block.
Cutting Yet Another Heel Block
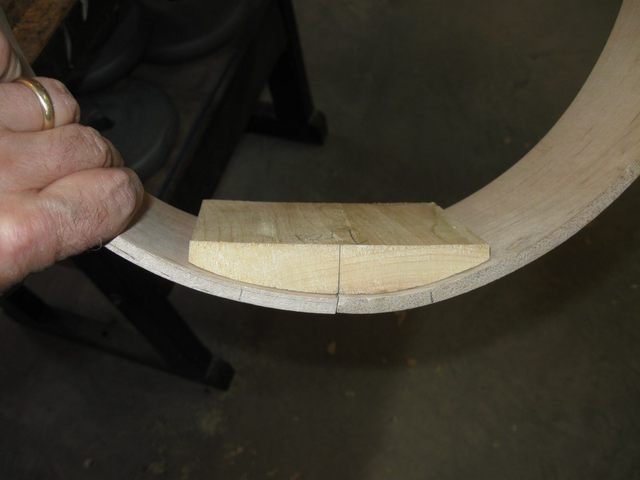
I set it on top of the hoop to mark the curvature of the hoop onto the end grain of the block.
Mark the Curve of the Hoop Onto the Block
Here is the curve of the hoop.
The Curve of the Hoop at the Joint
I drew the tangents, dropped the lines down the side, and cut away the waste with the panel saw.
Cut Away Most of the Waste Using the Panel Saw
Cut the other side.
Cut the Other Side
To keep the kerf open when I clamp it in the vise I put pieces of cardboard in it.
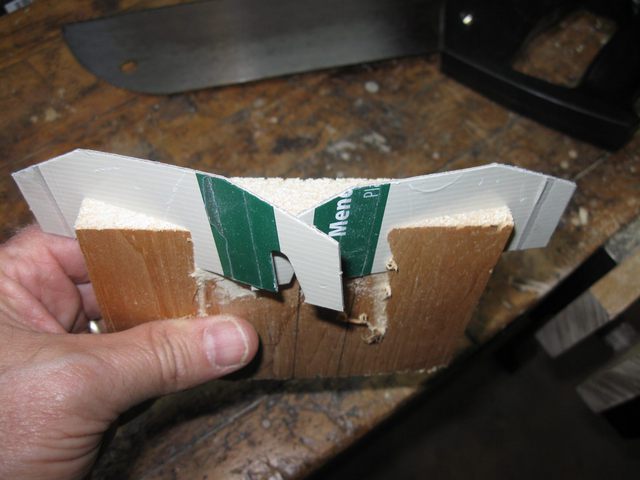
The Cardboard Keeps the Kerf Open
Then I clamp it back in the vise and cut the other end.

Cutting the Other End of the Block
Well, OK. There's an ugly cut. The saw has totally wandered off of the desired line. My sawing skills have gone downhill over the months.
Not My Finest Cutting Job
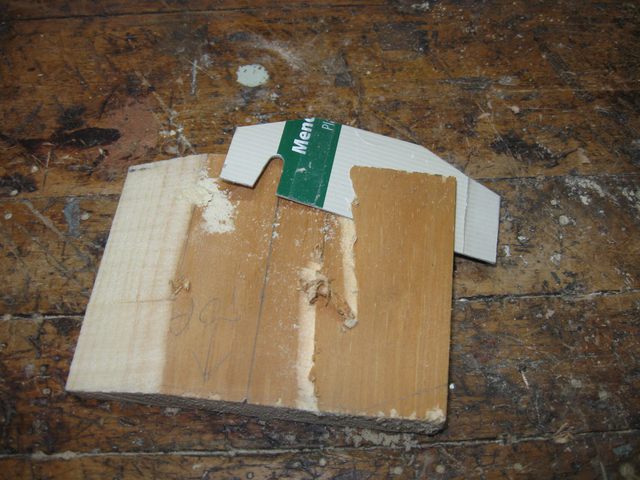
I did manage to get the piece cut off, but that is one ugly cut.
That is One Ugly Cut
I put it on the bench and carved out the curve with the block plane anyway.
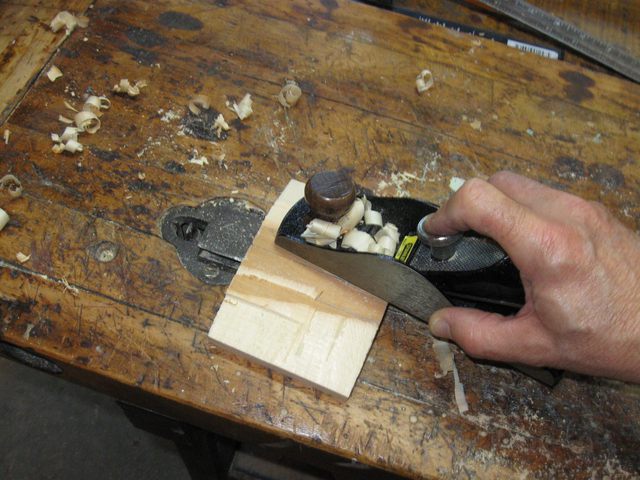
The Ugly Cut Goes Away With the Plane
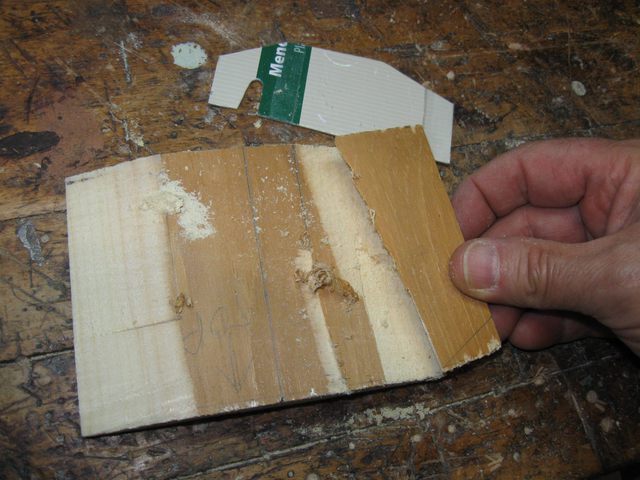
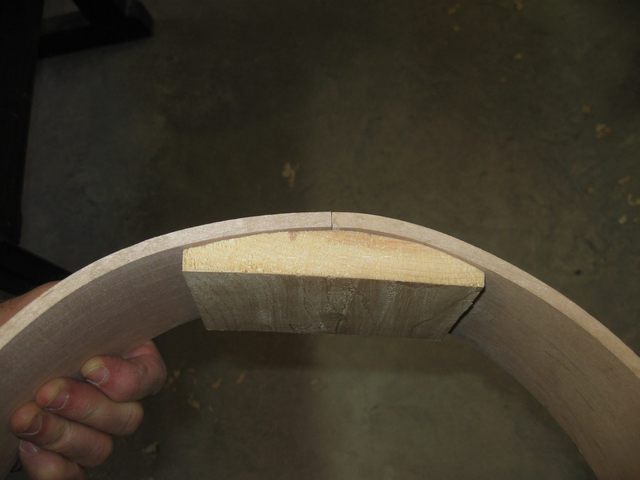
Here is the cleaned up block. Looks OK after all.
The Heel Block is All Better Now
It doesn't fit all that great yet, so I need to get out the sandpaper again.
I Need to Fit the Curve to the Hoop
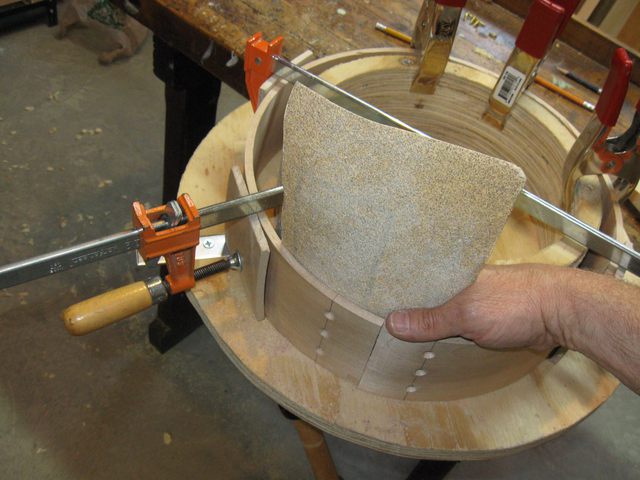
I put the sandpaper on the bench and sanded down the curve by trial and error... cut and fit.
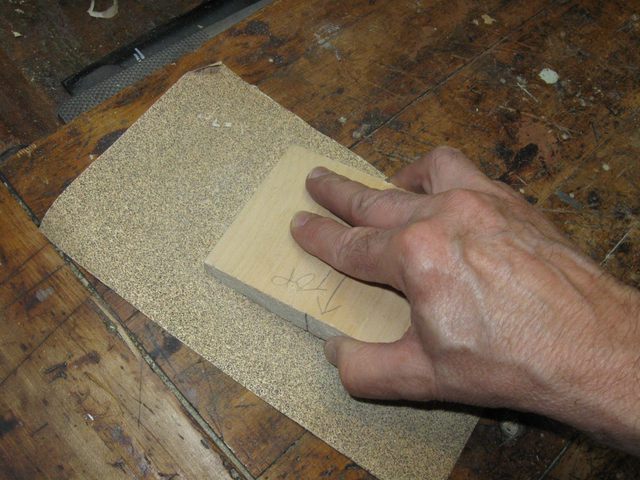
Sand the Block; Fit to Hoop; Repeat
I used the plane to angle the front of the heel block down in order to avoid contact with the head. Here is the angle of the cut.
Angle the Front of the Block
The locations of the screws have been marked, and I used a punch to center the drill when I drill out the screw holes. You might feel a little verigo looking at this photo because it was taken looking down and kind of sideways.

I Mark the Holes Using a Punch
With the heel block removed, I drill the 11/64" pilot holes all the way through the hoop.
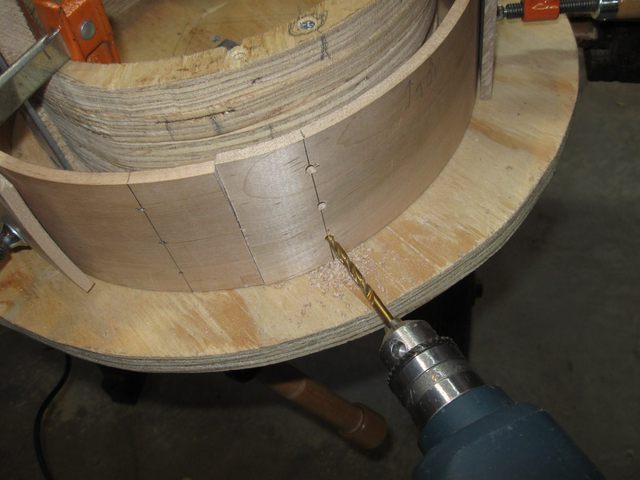
Drill 11/64" Holes for the Screws
Then I chamfer the holes so that the flat head screws will be flush with the surface of the hoop. Here is the tool that I use to make the chamfer.
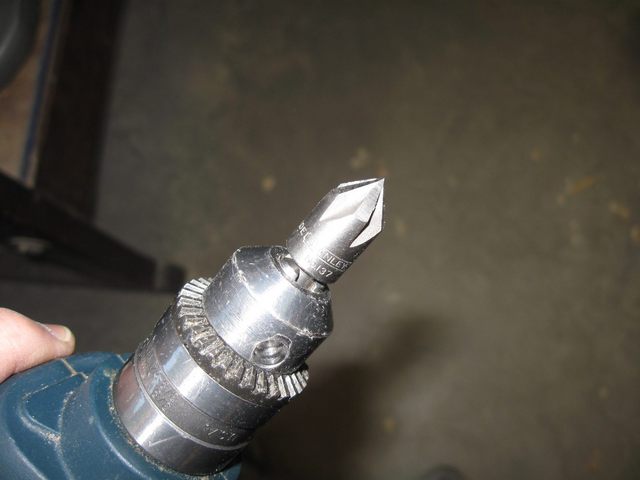
This Tool Recesses the Screw Heads
I just put the the tool in the hole and do a couple of quick bursts with the drill. It is very easy to make the recessed hole too deep, so I do it in stages.
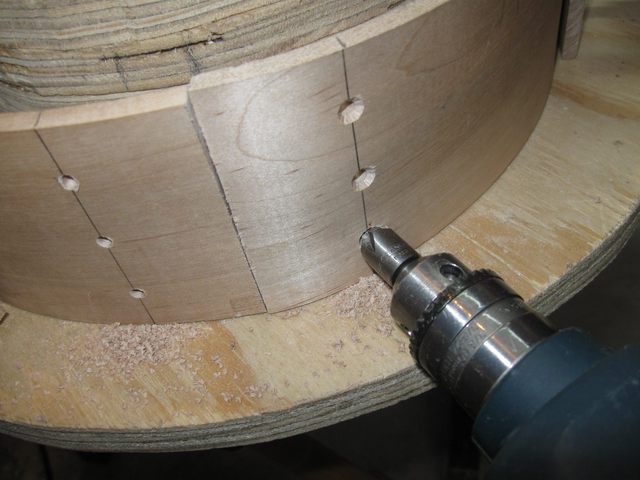
Recessing the Flat Head Screws
Here is a screw where I did not recess the head deep enough.
This Screw is not Recessed Enough
So I reapplied the chamfer tool, and it is better.

The Screw is Closer
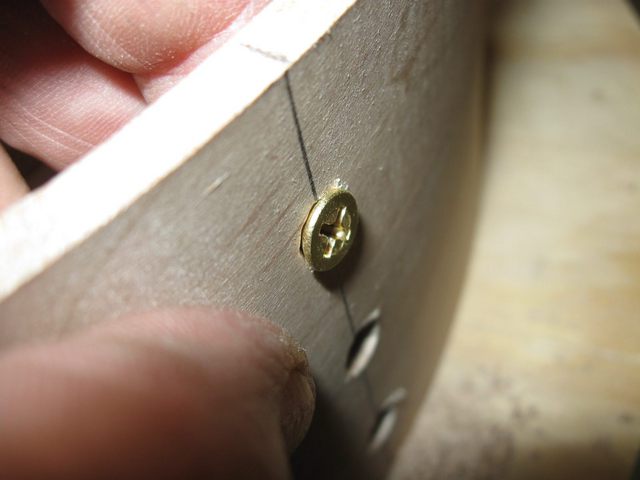
Finally, I have the screw head flush with the surface of the wood. The screw is just stuck into the hole; it is not screwed into the heel block yet. I set up all of the screws before attaching the heel block so that when I do screw it together I won't be taking it apart to mess with the screws.
The Top of the Screw is Flush With the Wood
The drilling of the through holes left some tearout on the inside of the hoop.
Tearout on the Inside of the Hoop
That problem is quickly addressed with my sandpaper.
Sandpaper Removes the Tearout
That's better.
The Tearout is Gone
To drill the small pilot holes in the heel block, I put a flag on the 7/64" drill bit 3/4" up from the end. I use the screw itself to measure where to put the flag. This allows me to know how deep to drill and to avoid drilling all the way through the heel block.
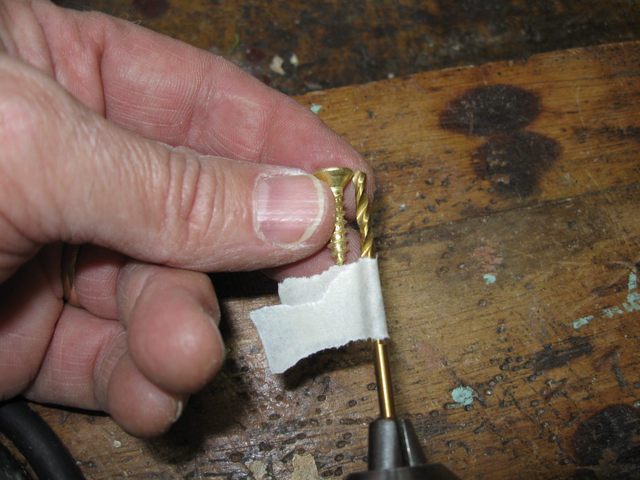
I Put a Flag on the Drill Bit Using Masking Tape
I clamped the heel block into its final place (with the cardboard under it to keep it slightly above the bottom of the hoop) and drilled the small pilot holes.

The Block Will Be Secured Permanently Where it is
I drill out all of the holes, and seat the screws.
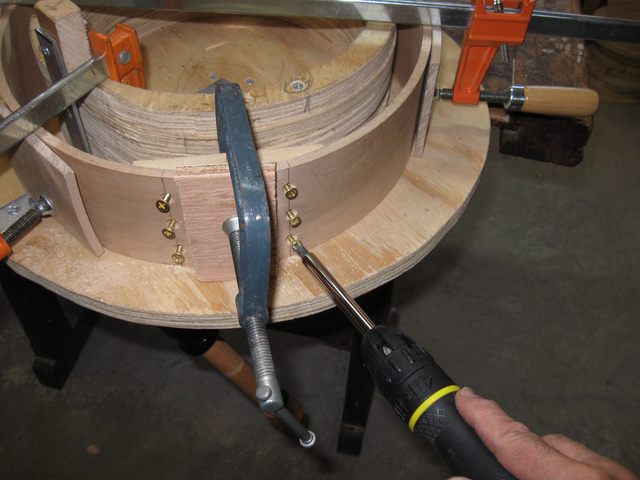
The Screws are Put Into Place
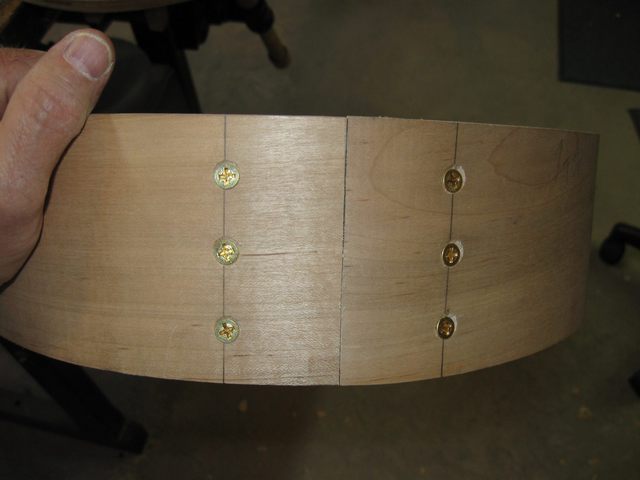
And here is the hoop.
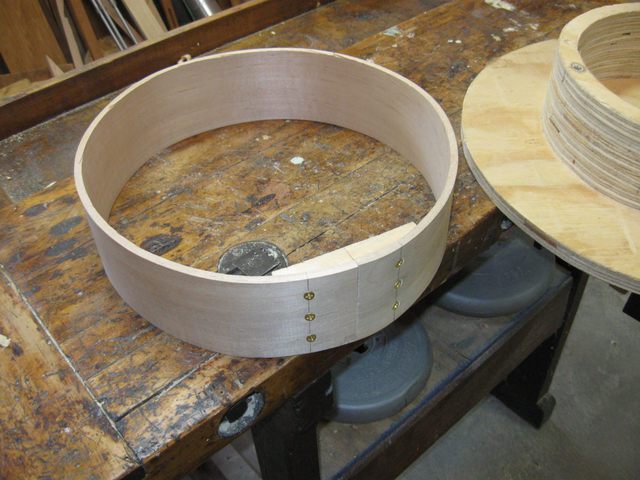
The Hoop is Done
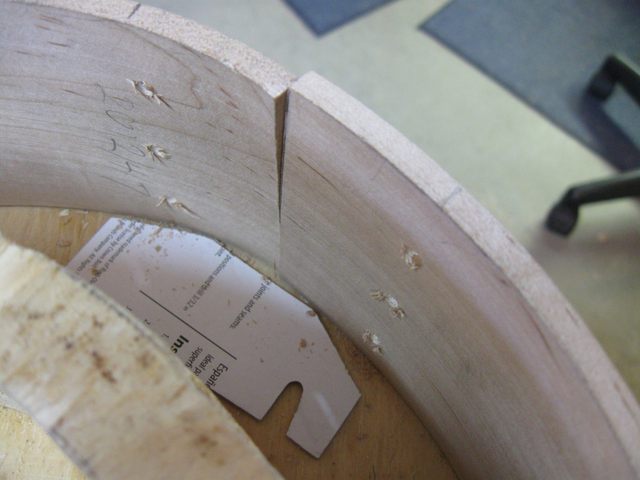
Here is another angle on the joint at the back.
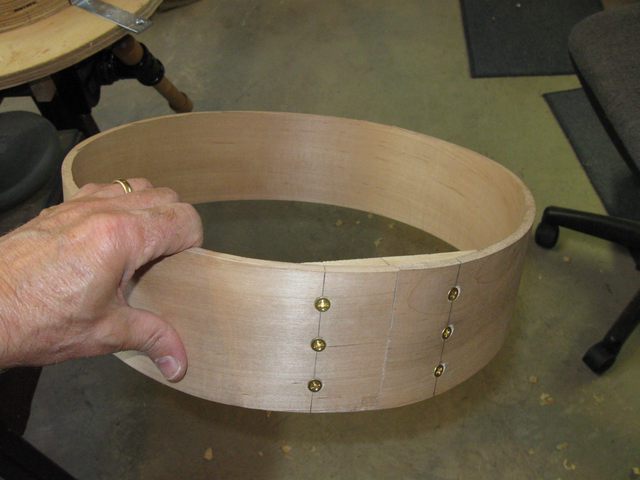
Another Angle on the Joint
A closer look reveals that the joint looks better than the other two that I made.
A Closeup Shows a Pretty Good Joint
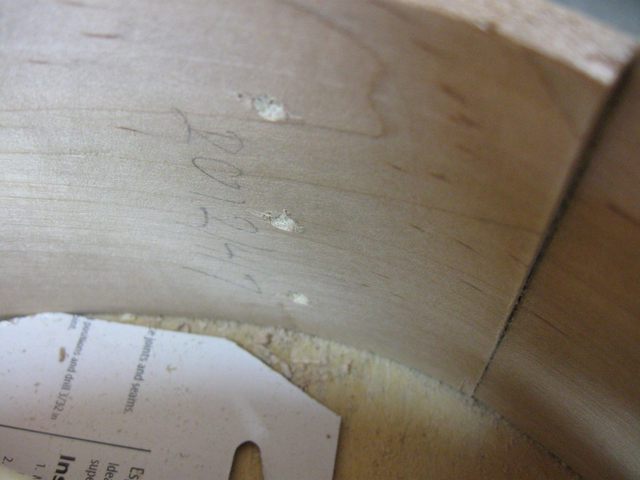
Looking down from the top shows that the side on the right curves in at a sharper angle than the one on the left. But I think it will not be visible in the finished banjo.
It is Not an Exact Fit
Here is what it looks like from the inside. It isn't perfect, but it has character.
The View From the Inside
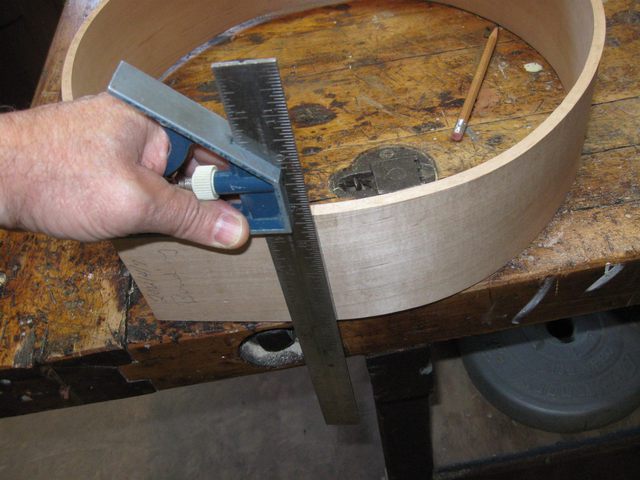
Let's see how we did for size and roundness. The width is dead on at 13".
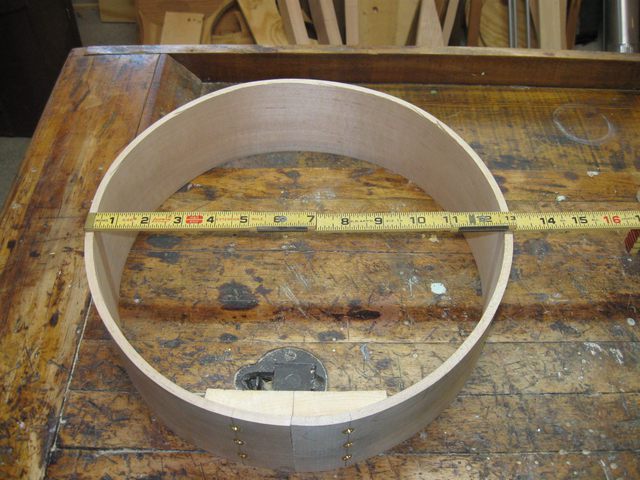
The Hoop is Exactly 13" in Width
Here is a closeup.
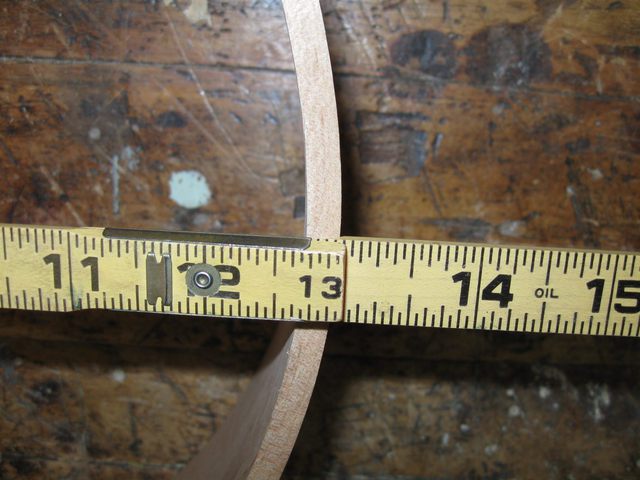
A Closeup
It is still a little bit longer than it is wide.
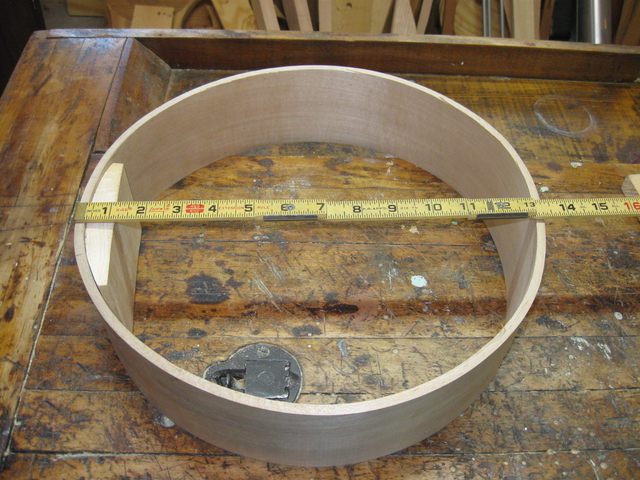
Still a Bit Longer than it is Wide
Looks like about 13 3/8" heel to neck. The others were 13 1/2" long, so this one is a bit better. I will probably try steaming my next one even longer to see if I can get a truly round hoop out of this.
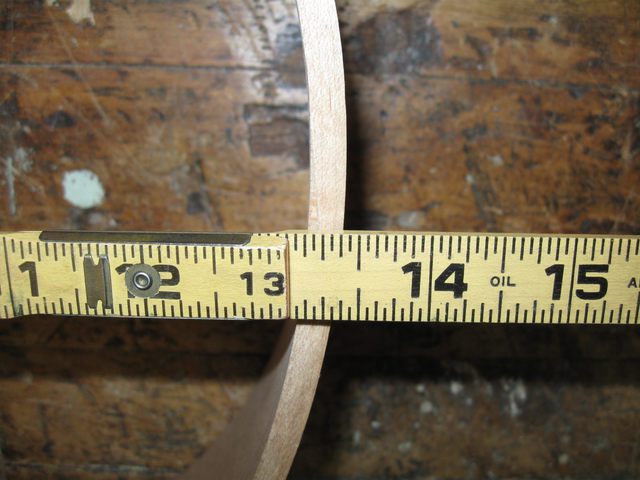
The Length is about 13 3/8"
But that will not be a problem when stretching a skin head over the hoop. I ordered some banjo skin heads from Elderly Music so that I would have them when it comes time to make the banjo. I ordered medium thickness calf skins that are 16" across so that will give me about 1 1/2" of overlap around the hoop. Here is one of the skins.
Skin Head on the Hoop
It is interesting that while I purchased these from Elderly Music, they have Mid-East stickers on them. The skins that I put on my gourds were ordered directly from Mid-East Manufacturing. I guess they are Elderly's source as well. Both have been good suppliers so that is not a problem.
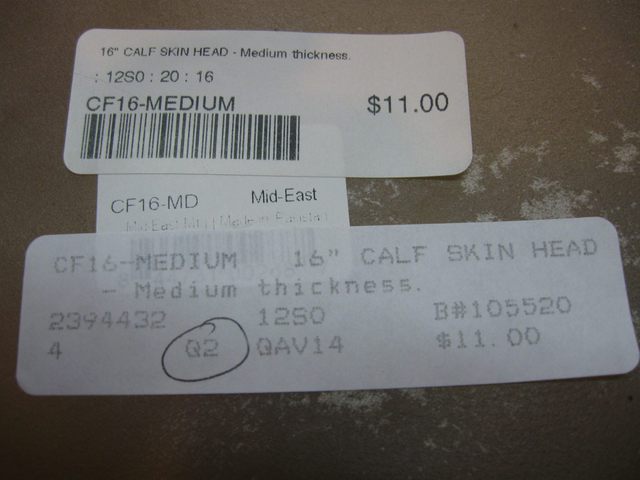
The Labels on the Skins are Revealing
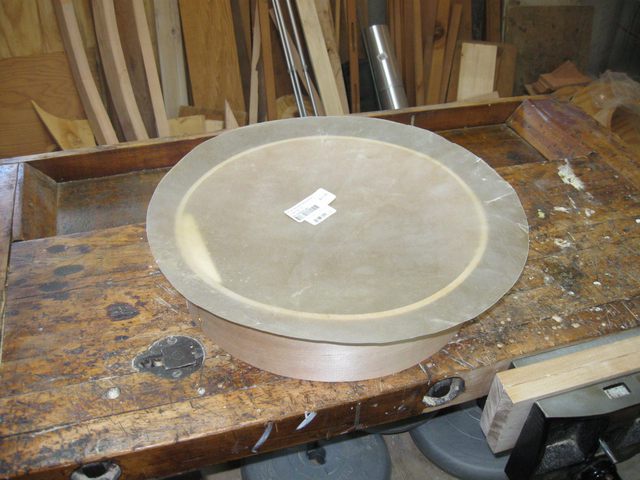
Here is the hoop in cross section. It still looks a bit oval, crooked and eggy. But that will add character to the banjo.
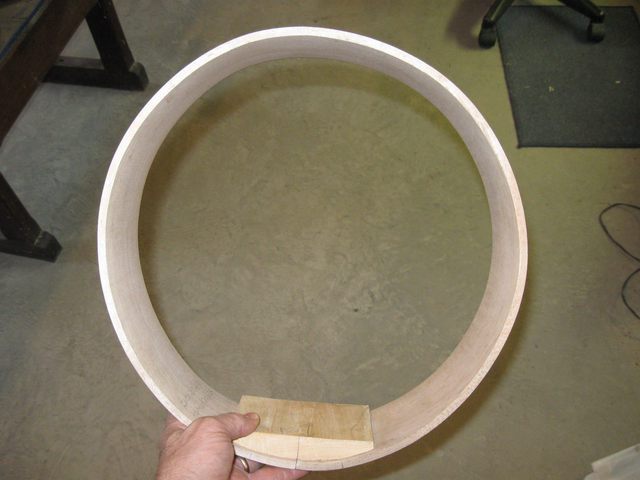
This Banjo Hoop Has Character
That is it for now because I do not have any more bent wood. If I want to make any more of these, I will have to go back to the steamer. I will do that eventually, but I think I might press on to building some banjos instead. This has been an interesting project, but I have enough material now to make three banjos, and I want to get on with it.