The last time I worked on this project I built a hoop and it came out pretty well, so I am going to try to do another one. This time I am going to make a hoop out of the board that I bent on March 31.
Like I did last time, this time I cut 2 7/8" off of the end of the board that went into the slot in the form.
Cut 2 7/8" Off the Inside End of the Board
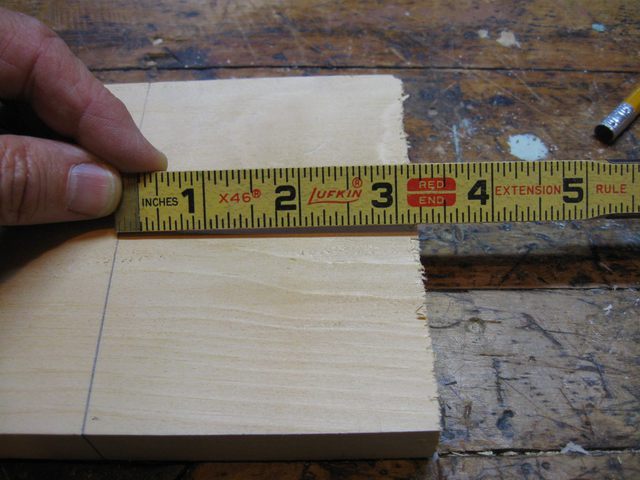
Then, I measured 4 1/8" on the outside end of the board.
Measure 4 7/8" To Cut From the Other End
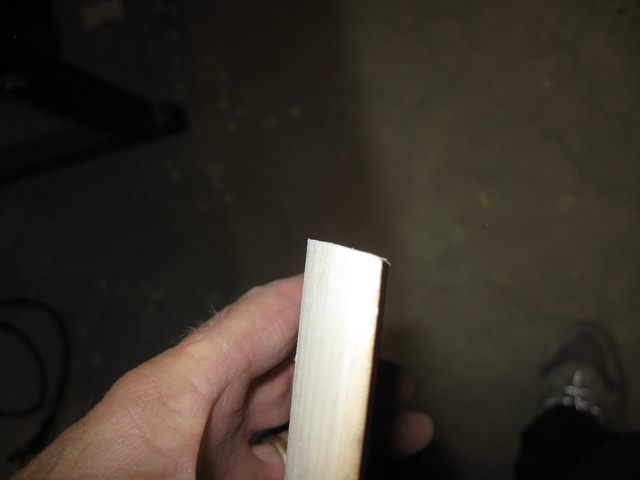
I cut that end off as well. After I was done I noticed that I had cut it slightly crooked. You would think that I could cut to a line by this time, but...
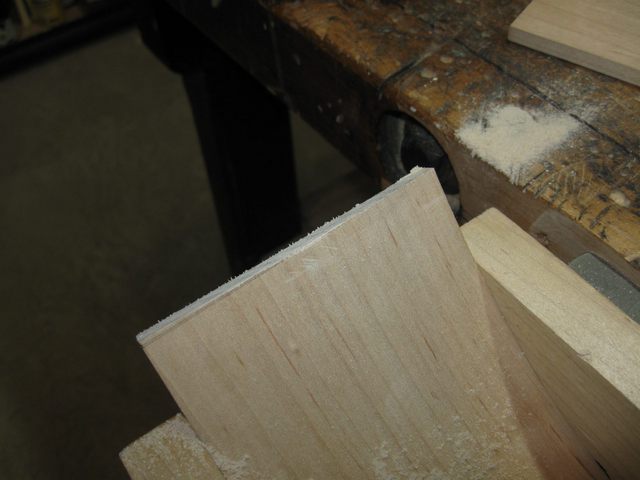
The Cut is Not Square to the Board
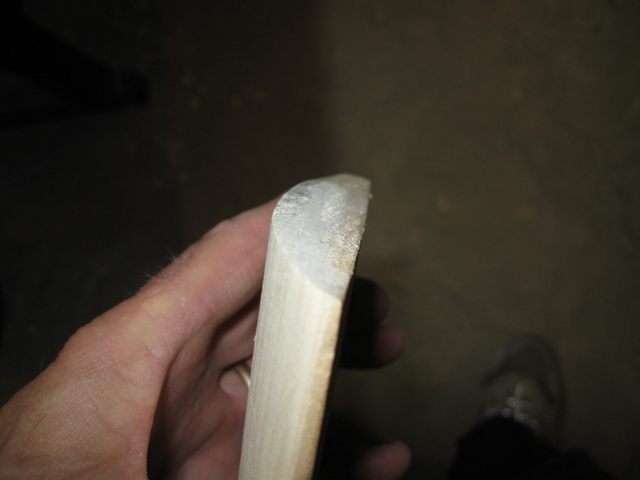
But that's OK. I can clean it up quickly with the block plane.
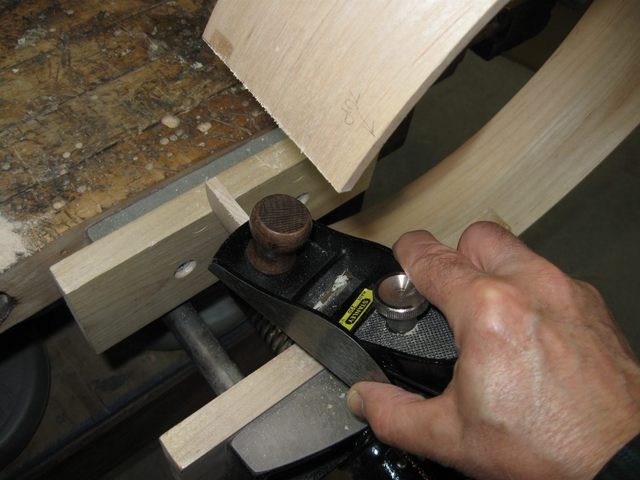
I Square Up the Cut With the Block Plane
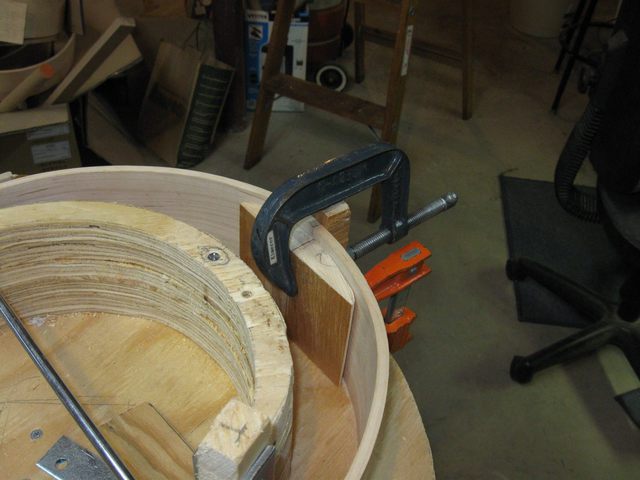
Now that the ends have been cut off, I clamped the hoop to the form and used the bar clamps to pull the ends together.
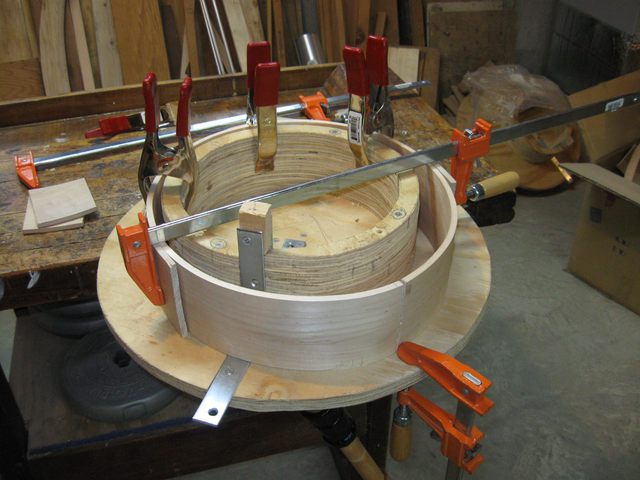
I Pull the Ends Together Using the Bar Clamps
I did it a little different this time. I used one of the bar clamps to pull the sides together, and then I clamped the other one to the base plate and tapped it into place to push the ends in toward each other. This proved to be a more stable arrangement than when I tried to put both clamps on the hoop at the same time.
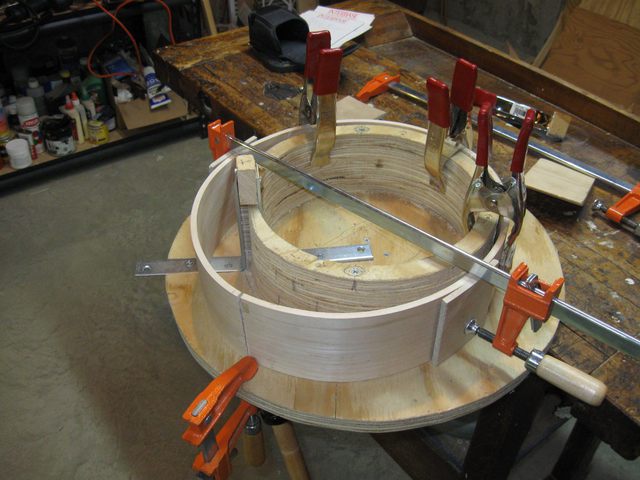
Another View of the Clamping System
Here is a closeup of how I used the one clamp to hold the two ends together. Pushing the clamp toward the center of the hoop brought the ends together.
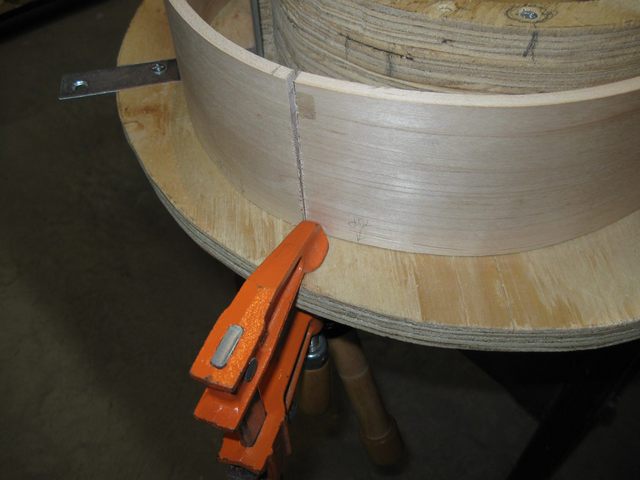
The Clamp Holds the Ends Together
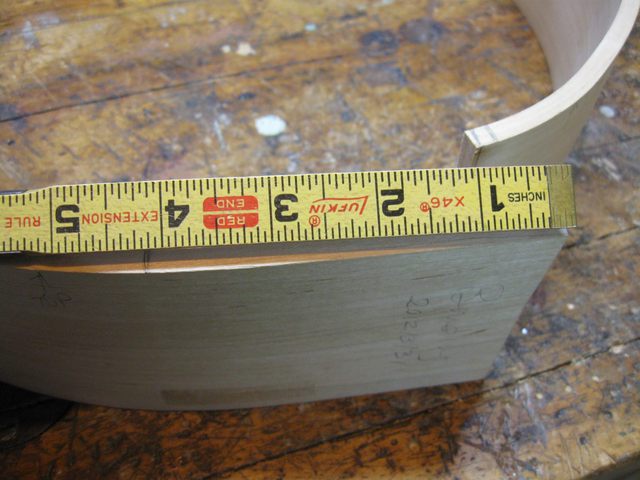
The depth of the hoop is 3 1/2". I am going to make the heel block 3 1/4" so that there will be some space between the top of the hoop and the top of the block. That will provide space for the head to sag and to vibrate without buzzing against the wood. So I measured 3 1/4" of a pine board to cut off.
The Heel Block Will Be 3 1/4" High
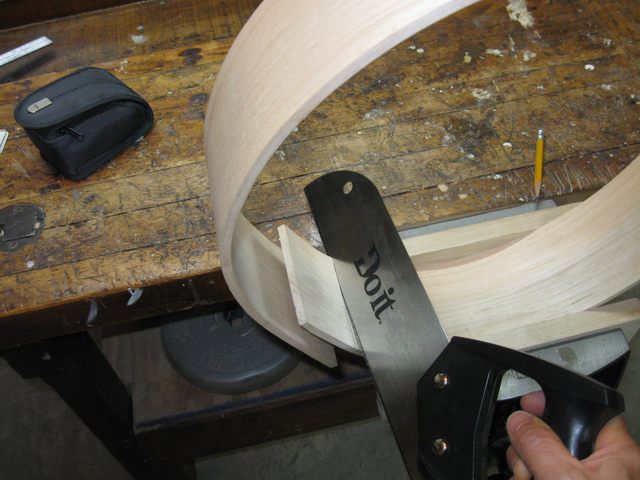
As I did before, I marked the curvature of the block by placing it on the hoop. Then I drew some tangent lines and used the panel saw to remove the waste wood.
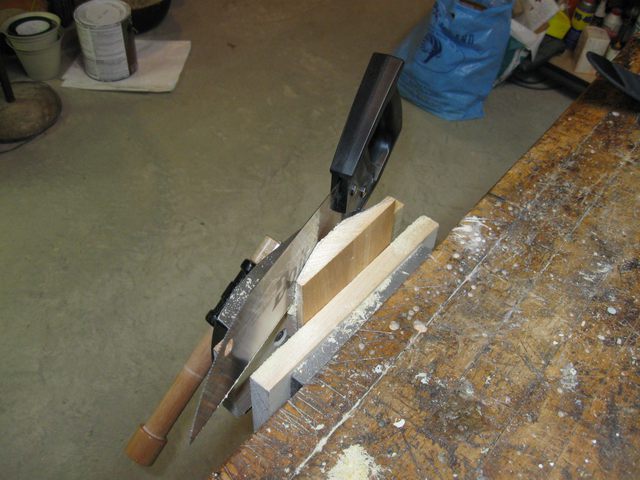
I Cut Away Most of the Waste Wood Using the Panel Saw
I carved the rest of the curve using the block plane and ended up with a rough fit.
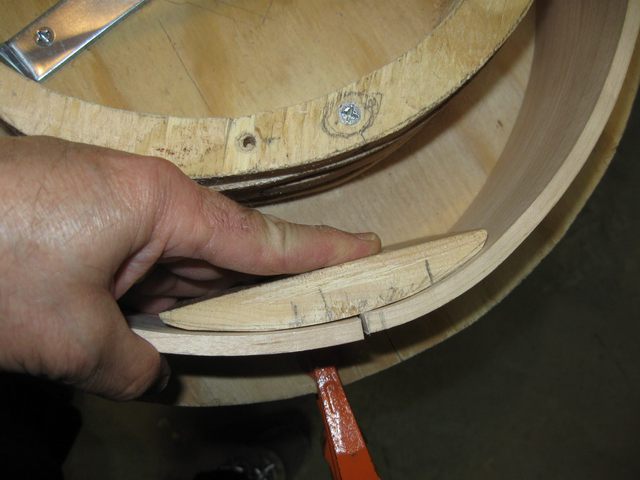
This is a Rough Fit to the Hoop
Putting the sandpaper on the inside of the hoop and moving the heel block back and forth on it like I did before was difficult and clumsy. So this time I put a piece of sandpaper down on the bench and used it to shape the curve. I fit the block with trial and error, sanding the high places down and then eyeballing the fit to the hoop.
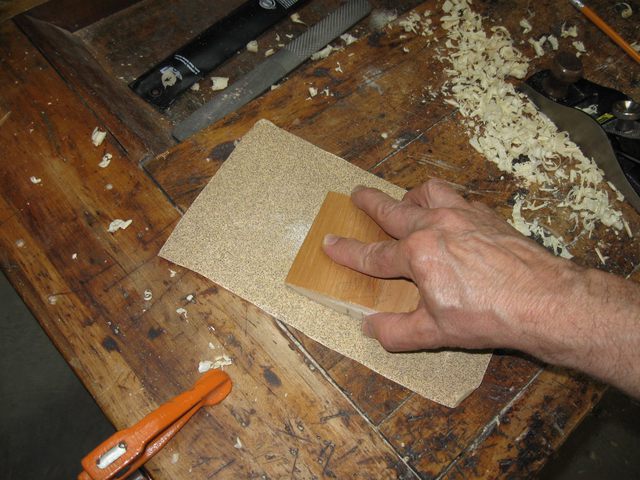
Sanding the Block on the Bench
I got a pretty good fit that way. Here is the heel block clamped into place.
The Heel Block is Clamped to the Hoop
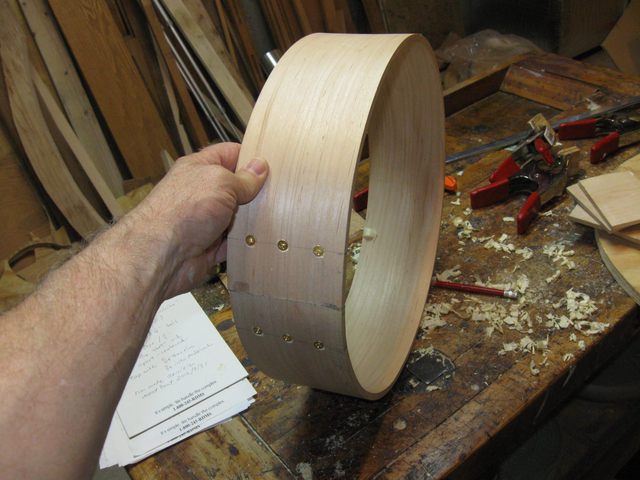
I drilled the six holes in the ends of the hoop using the 11/64" drill bit. The holes are lined up 1 1/2" from the joint and centered on the hoop 1" apart, just like last time. I am using solid brass #8 screws again too (my favorite).
The pieces of cardboard in the bottom of the slot are to provide a little lift to the heel block so that it will not be right at the bottom of the hoop. That will keep it out of the way when the banjo is done.
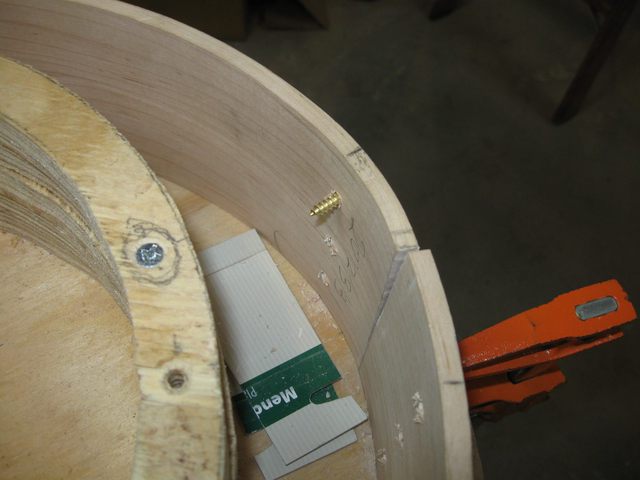
The Pilot Holes Have Been Drilled.
So I dropped the heel block down onto the cardboard and clamped it to the hoop.

The Cardboard Elevates the Heel Block Slightly
Here is the clamp from the outside. You can see the chamfered screw holes in the back.

The Screw Holes Have Been Chamfered
After looking at the alignment of the heel block, I thought that it would be good to provide a little additional clearance on the inside of the hoop. So I took the block out and used the plane to angle the top of the block away from the head. Once the head is on this hoop, if it buzzes it will be difficult to take the head off to fix the heel block.
The Top of the Heel Block is Now Angled
Here is another view so you can see the angle on the top of the heel block.
Another View of the Angle of the Top
I clamped the block back onto the hoop and drilled the pilot holes for the screws. Since the screws are 3/4" long, I put a flag on the 7/64" drill bit 3/4" from the end so that I would know when to stop and not drill all the way through the heel block.
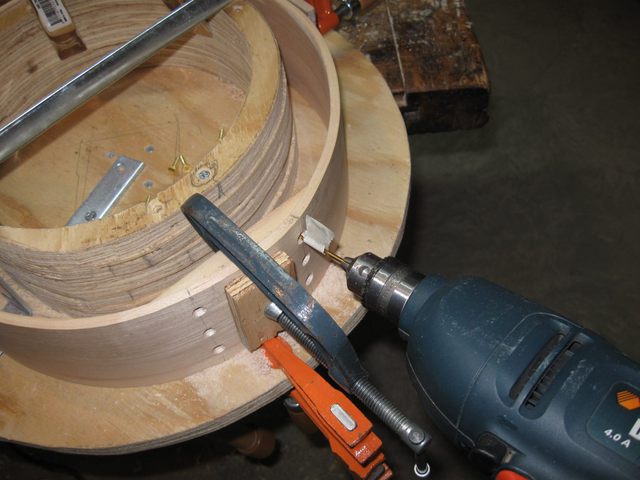
Drill Out the First Holes
I drill out the other set of holes.
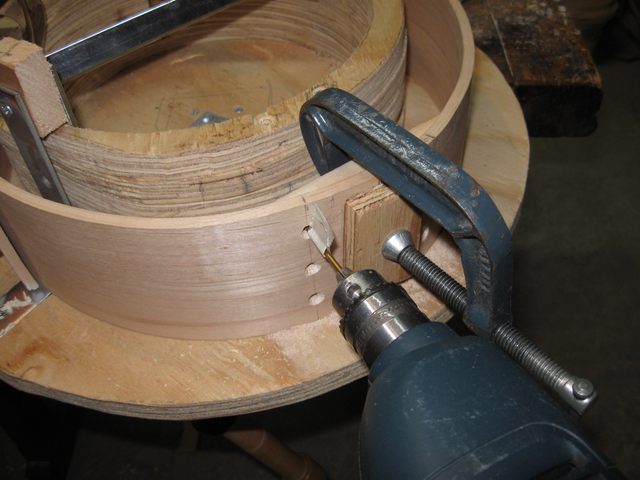
Drill Out the Second Set of Holes
Finally, I put the screws in the holes and screw them in.
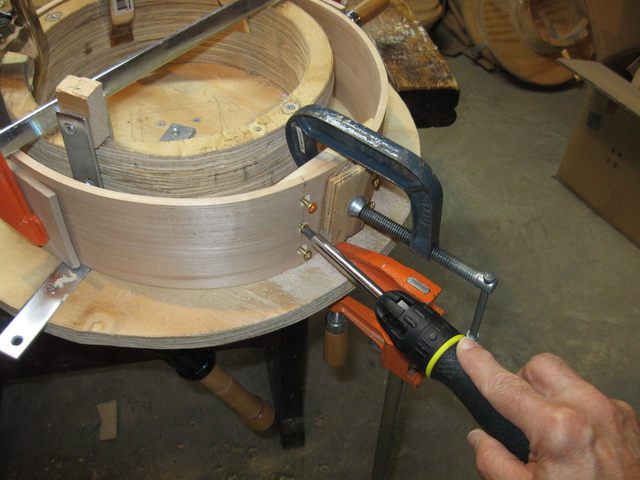
Screwing in the Brass Screws
Now that the hoop has been assembled, lets see how we did on the size and roundness. The with of the hoop looks really good at 13".
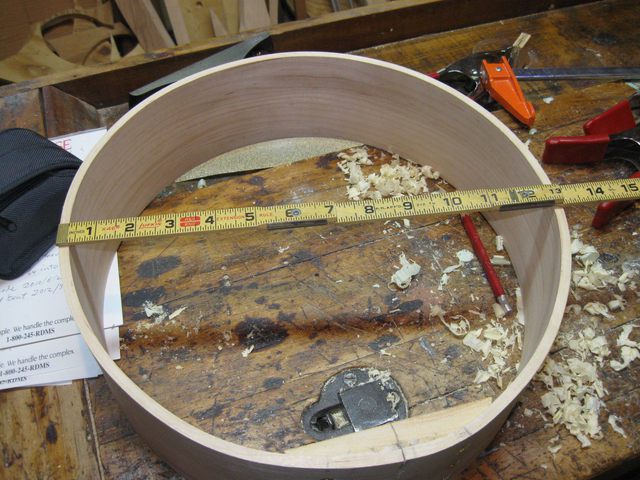
The Hoop is Exactly 13" Wide
Here is a closeup.
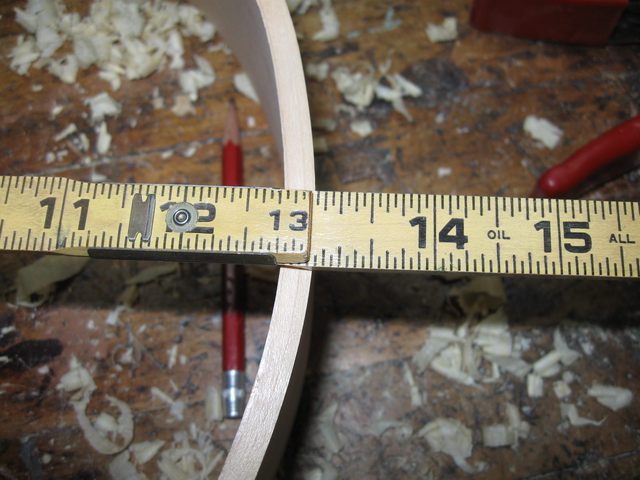
Exactly 13"
The length of the hoop, from tail piece to neck is a little bigger.
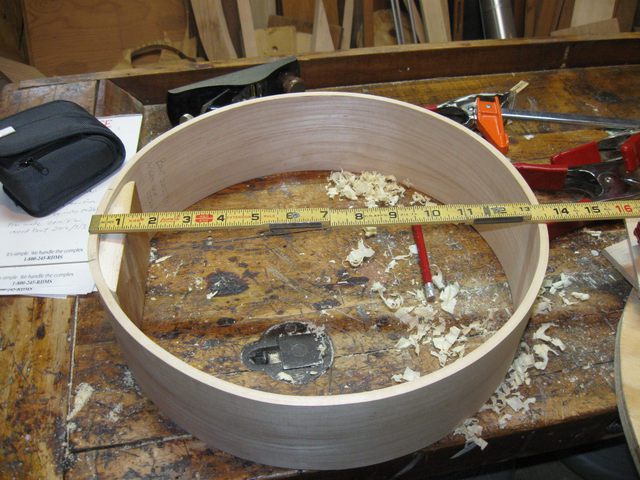
The Length of the Hoop is Bigger
Looks like about 13 1/2". So we still have a bit of oval in the hoops.
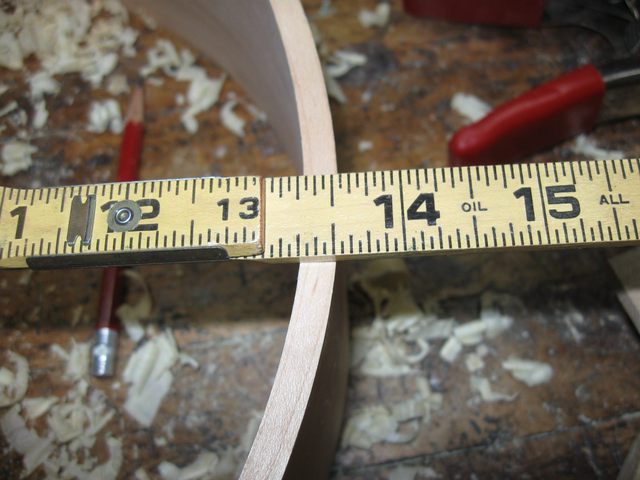
The Hoop is About 13 1/2" Long
I don't think that it matters that much for the banjos that I build. If I were going to put a round tension hoop on this, it would be way too much out of round. But I am going to make a tack head banjo, and I can easily stretch a skin over a slightly uneven shape. The gourds I have used for my previous banjos were far more uneven than this banjo hoop.
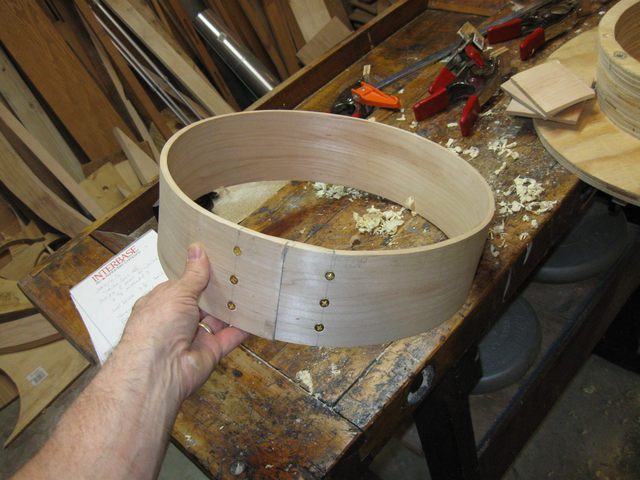
The Banjo Hoop is Finished
Here it is from a different angle. I think that there is a bit of slant or twist to the side of the hoop at the top in the photo below. I'm not sure where that came from.
Is This Hoop Twisted?
It doesn't matter. This is a workable hoop as far as I can tell.
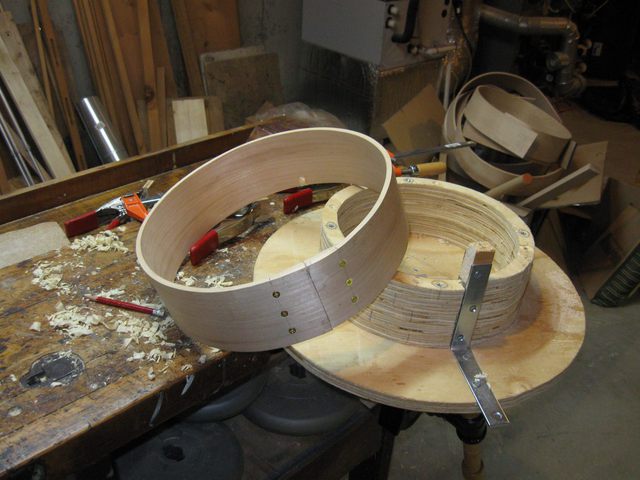
The Hoop Sitting Next to the Form
Now I have two hoops that can be made into banjos. Excellent. Next time I might go for a Hat Trick.