It has been a while since I have worked on the banjo. Way back in March, when I stained the bridge it was too cold down here in the basement to glue up the back, so I put it aside until Spring actually arrived. Spring arrives late here in New England.
Well, Spring is here, and the temperature in the basement has risen to a respectable level for gluing up the back.

Warm Enough
It is not ideal, but it is warm enough. The glue bottle says that the temperature should be 55° or higher. 64° ought to do it.
Before we get started, I should explain why I am putting a back on the banjo.
The theory behind adding the back concerns the way the sound comes off of the back of the head when it vibrates. I learned this theory during my studies of stereo speaker systems, which work the same way as a banjo pot, having a vibrating speaker cone inside of a box.
When the head vibrates, it pushes the air outward from the front of the head, but it also pulls the air in from the back of the head. The acoustics of the pot can be enhanced by putting some sort of contraption on the back of the pot to deal with the sound coming off the back of the head.
That is the theory behind the resonator on a bluegrass banjo. It captures, reflects, and resonates the sound coming off the back of the head. I do not want to build a typical resonator, but I do want to seal off the back. Here is the logic behind my approach.
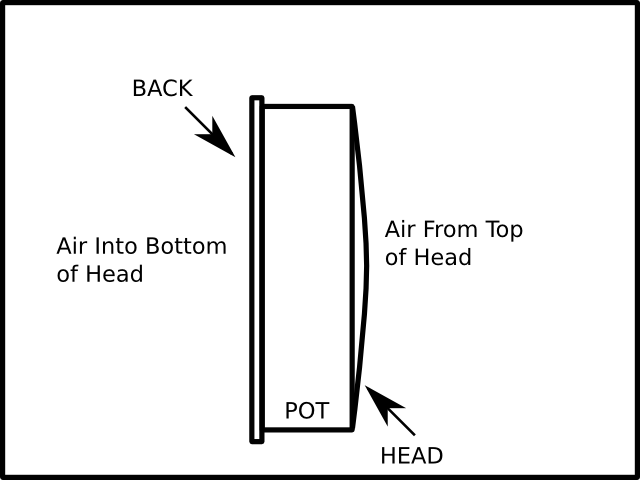
When the plucked string moves the head back and forth, the front of the head pushes the air in and out, thus creating the acoustic waves that make the sound. However, the back of the head also pushes the air out and in going in the opposite direction. So, as the head moves out, you have the situation shown in the figure below.
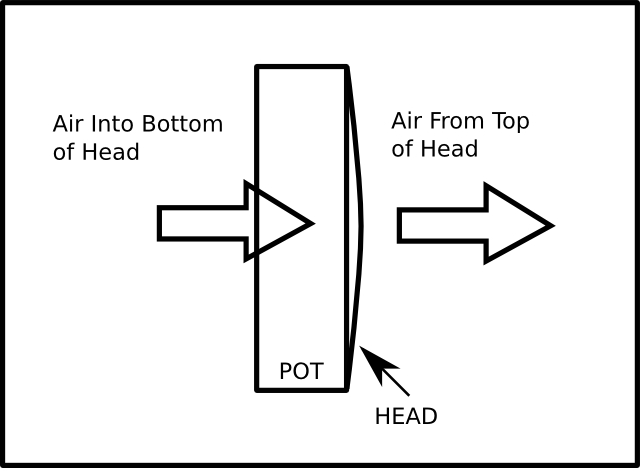
The Air is Moved out by the Head
Notice that the air is being moved away from the head in front of the pot and toward the head in back of the pot. When the head reverses direction, the direction of the air reverses as well, as shown below.
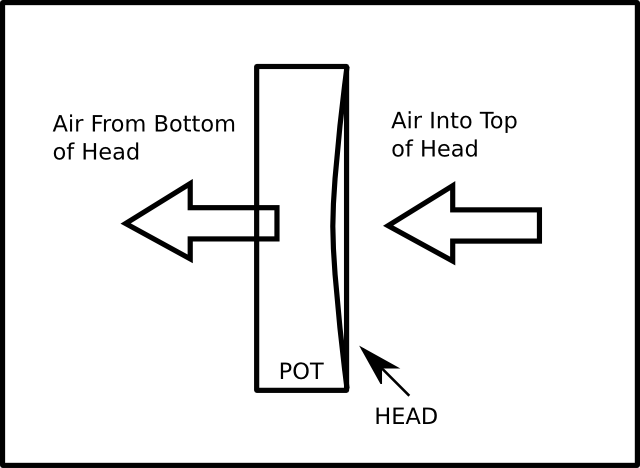
The Air Moves the Other way On the Return Stroke
OK, so what? No big deal, right? The air is moving.
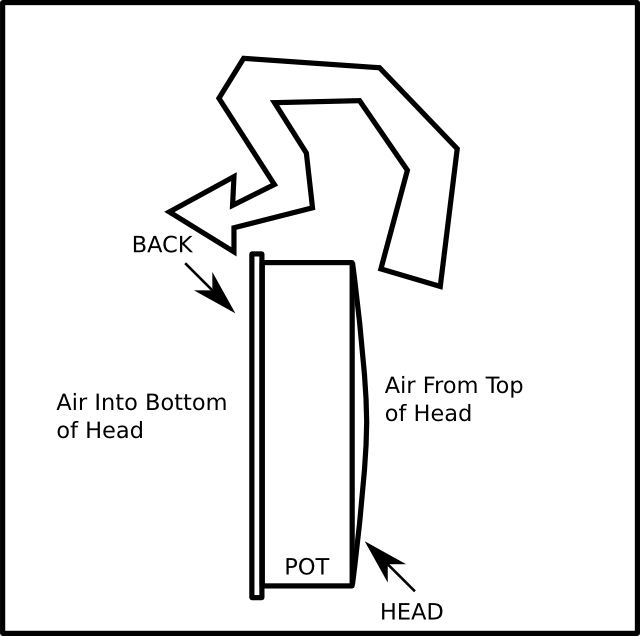
Here is the big deal. With the back open like that, the air movement cancels out. Here is how that happens.
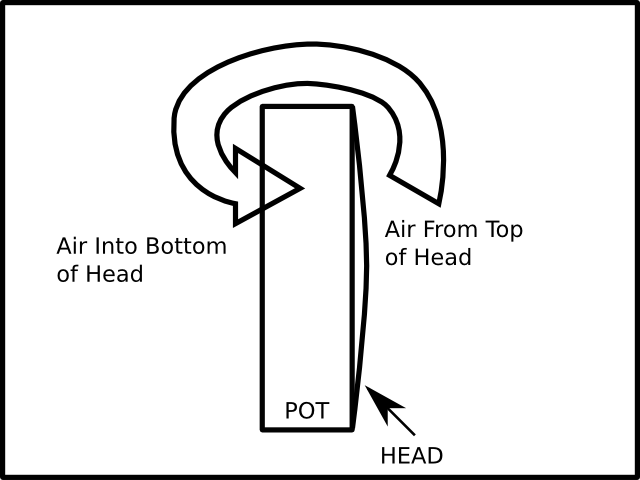
The Air Just Goes Back Into the Pot
Depending on the frequency of the vibration, the air just moves around the pot and goes back in to fill in the air sucking movement at the back of the head. So the sound is not broadcast outward, it just goes around the side of the pot. This happens mostly in the low frequencies. The higher frequency vibrations do broadcast outward because, relative to the wave length, the back of the pot is farther away from the front. However, the lower frequencies have a longer wavelength, so the back of the head is just a short distance away from the front, and the two movements cancel out.
It cancels out in both directions.
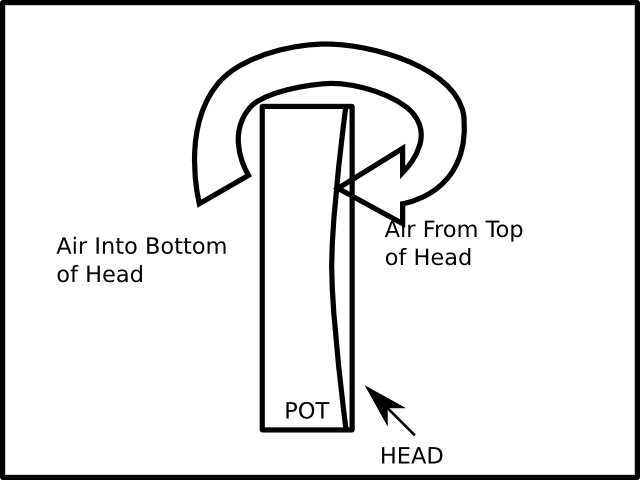
And it Goes the Other Way, Too
Are you still with me? I am trying to describe this without using equations. Don't tempt me.... the results can get ugly.... so try to listen up.
So, with the back of the pot open like that, the low frequency sound waves are just lollygagging around to the back of the head and not being sent out to the ears. What can we do to stop that? The answer, in a speaker system anyway, is to put a baffle around the speaker cone. A baffle prevents the air from reaching around to the back of the head. Like this.

The Air Is Baffled by the Baffle
HA! Gotcha! We fixed the problem!
No. Wait a minute!
Can you imagine playing a banjo with a three foot wide baffle around it? How would you hold it? Where would the neck go so that you could fret it? I don't think this is going to work.
Also, while this will work for some of the low frequencies, the lower the frequency we want to project, the larger the baffle has to be. Theoretically, to make this baffle work down to the lowest frequencies, we would have to extend the baffle out to infinity. This design is actually called the "Infinite Baffle" system when applied to a speaker system.
Of course, you can't really make an infinite baffle. You can't really put a large baffle on a banjo pot either because you would not be able to play it. So here is what we do. We simply close up the back of the pot.
Put a Back On It
Now, when that sneaky air tries to get into the back of the pot, it does this.
Air is Baffled Again
That is not as clean as the air bouncing off of the baffle, but it sure isn't getting back into the pot to be canceled out at the back of the head. This solution is at least workable, even if it isn't ideal. There is also the problem that the air is trapped inside the pot, and that causes it to cushion the movement of the head when it vibrates. That causes a diminished volume of sound, which is one of the problems with the infinite baffle system.
You will notice on a future page that I have designed the mounting blocks to allow me to elevate the back so that it does not completely seal the pot. What the heck is that all about? Well, if I leave the back somewhat open, that will create a effective "sound hole" in the pot, which will create a resonator in the pot similar to the one created by the holes in the flange of the bluegrass banjo resonator. That system is acoustically very similar to what they call a "Bass Reflex" speaker system. That is all too complicated to explain here, so in order to avoid stepping into equations. I am going to stop now. Search for it on the interwebs if you are interested in more details.
As far as this project goes, the bottom line is that I am going to make a back to seal up the back of the pot.
I am going to make the back out of solid maple. The wood is in the form of two boards that are 3 1/2" by 48" by 1/4" thick. This is the same wood that I make the finger boards out of, but without the fancy figure in them.
One of the most annoying things about buying the wood at the Big Box store, is that they put these silly stickers on the wood with the UPC on them. That is fine for them, but they stick them on with glue that is difficult to deal with.

Stickers!
If you pick at them long enough to get a clean piece of it off the wood, you can peel them back like this.
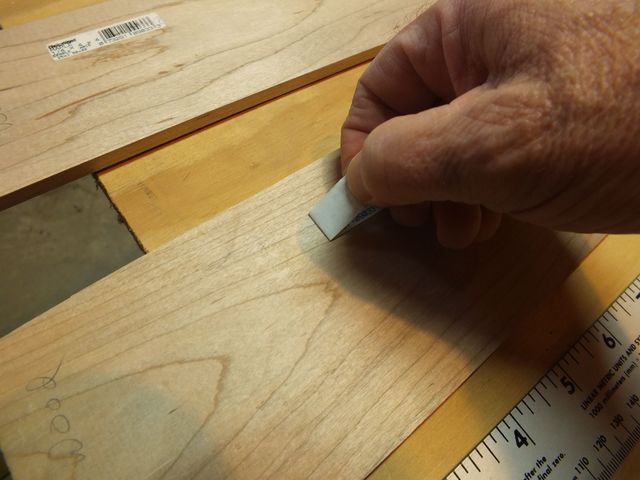
Peel These Off Carefully
But even if you are very careful, they leave a residue on the wood that is nearly impossible to remove.
Anyway, I ended up with two maple boards that are 3 1/2" wide and 48" long. Since the pot is 13" wide, I need a board that is at least that wide to make the back so that it covers the entire pot. Four widths of the 3 1/2" boards glued on edge will give me 14" of wood. The question is how long should I make them.
I decided to cut the two boards in half to make four 24" boards. That will result in a board that is 14" by 24", which is too long for what I need, but I'm sure I can find a use for any leftovers after I cut out the back.
I marked off 24" on both the boards.
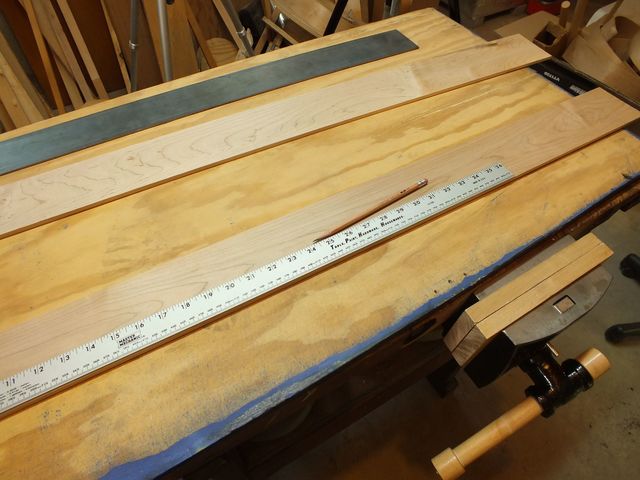
Marked at 24"
I squared up the line across the board and cut it using the panel saw.
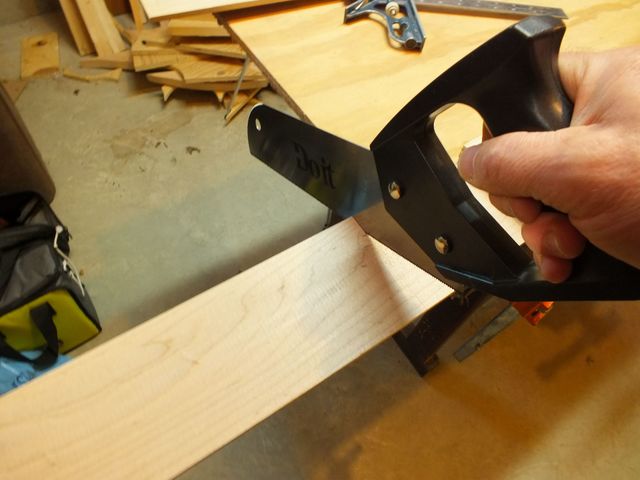
Cutting With the Panel Saw
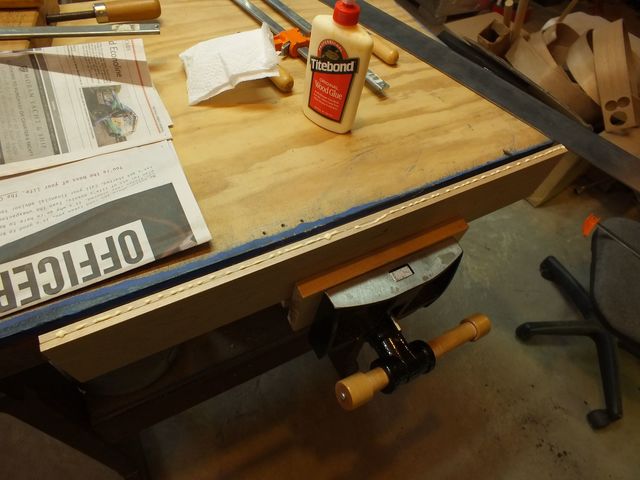
There are my four boards. Now I need to glue them together edge to edge. Since the boards are only 1/4" thick this will require some tricky clamping to keep them flat. I put a piece of plywood on top of the bench to provide a flat surface for clamping. That old bench has been abused enough that the edges are no longer square.
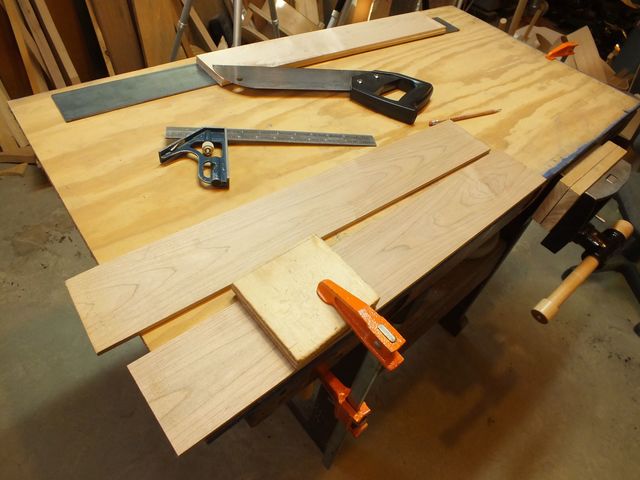
Plywood Surface is Flatter
While I was setting up the boards for gluing, I noticed a chip of metal embedded in the wood.
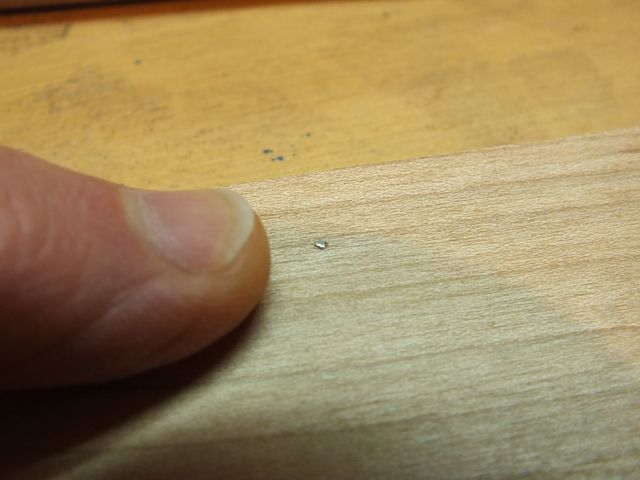
Buried Chip of Metal
I pried it out with the point of my knife, and here it is.
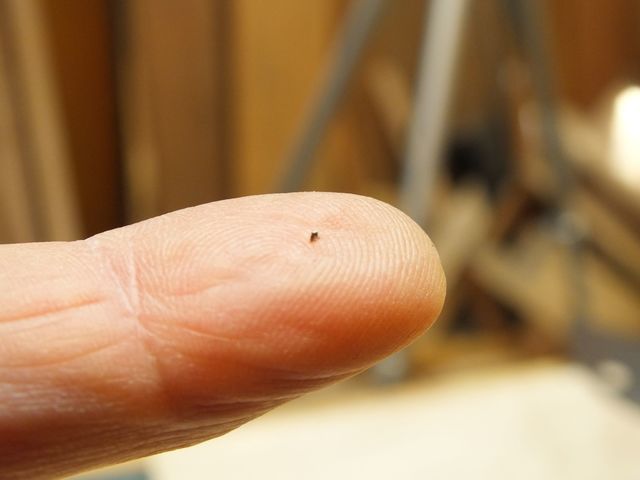
The Metal Chip
That is another hazard of using off-the-shelf wood from the Big Box store. They do not keep their saws and equipment tuned up properly, and often leave stuff like this in the wood. One time I found a plank of tiger striped wood in the store that had some striking figure in it. When I turned it over, I saw that the back side was totally chipped out and unusable. That comes from using a planer with dull blades. It broke my heart to walk away from that gorgeous figure, but they had ruined it, and it was unusable.
To see how this is going to work out, I dry fit the boards together and put one of my other hoops down on it to see how it fits. Looks good.
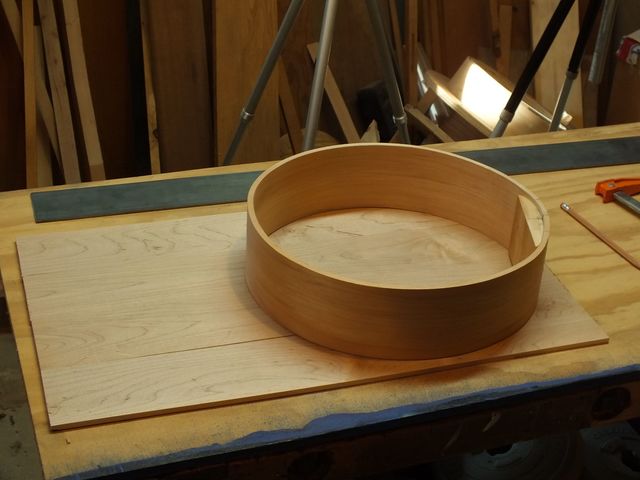
Looks Like It Will Fit
I picked out two of the boards and bookmatched them together in the vise. Then, I spread some glue on both halves and smeared it around with my finger.
Glue
I opened up the boards and put them down onto some newspaper to keep them from getting glued down to the plywood. The boards will be glued to the newspaper, but I will be able to scrape that off later.
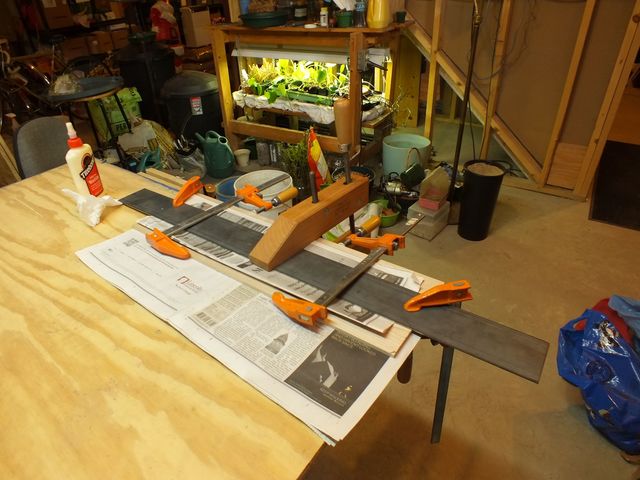
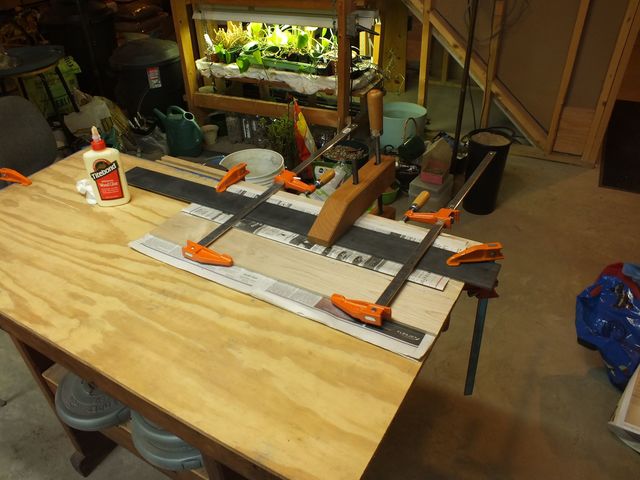
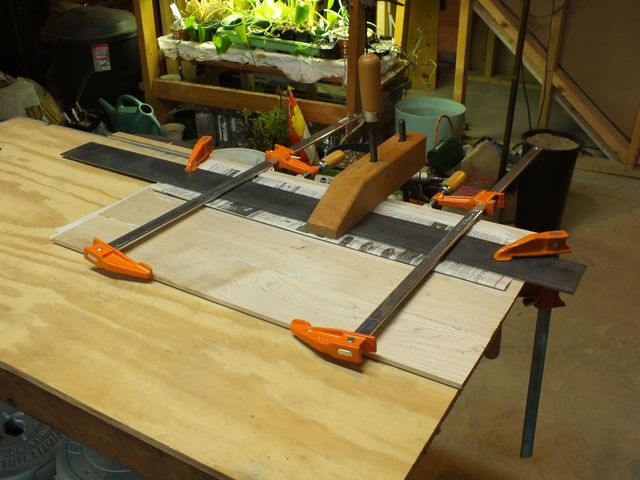
Glued and Clamped
You can see in the photo that I have used my piece of steel strapping as a clamping caul to make sure that the joint does not flex. The final glue joint must be perfectly flat if this is going to work.
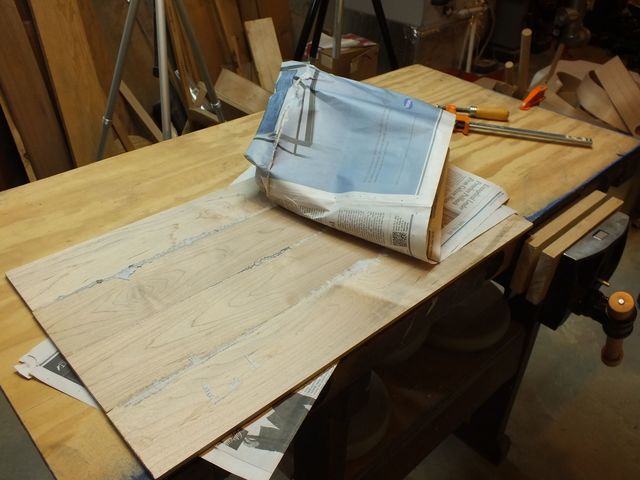
I let the glue dry for a few hours, and then I unclamped the wood and peeled back the newspaper.
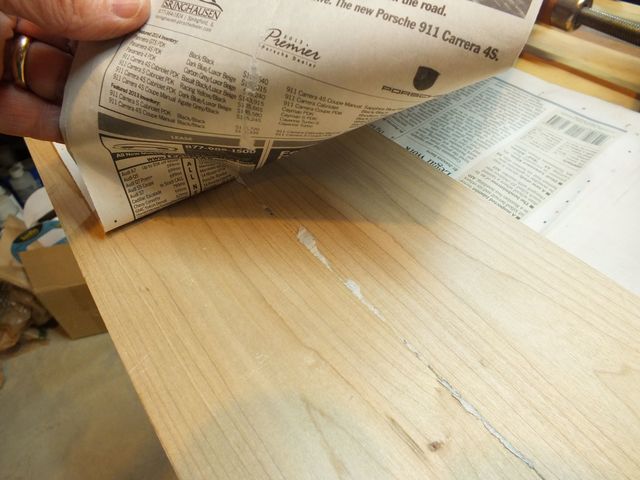
The Paper is Glued to the Wood
As expected, the newspaper has been glued to the wood. That is OK because it will be scraped off when I finish flattening the board with the scraper.
I glued the third board onto the other two using the same technique. Spread glue on the edges, then clamp it down flat.
Glued and Clamped
Here is another think that I dislike. The stupid nozzles on the glue jars always get glued shut. Then, I have to work like crazy to pry them open with my channel locks. They dribble excess glue all over, and there is no way to get it out of the nozzle. Yuk.
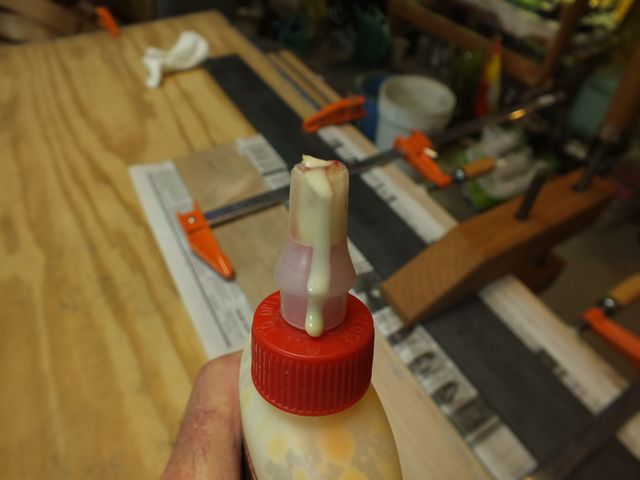
Messy Glue Nozzle
A few hours later, the glue is dry, so I unclamp and peel off the newspaper.
The Glue is Dry
Those are some nasty looking glue lines, but never fear, they will clean up easily.
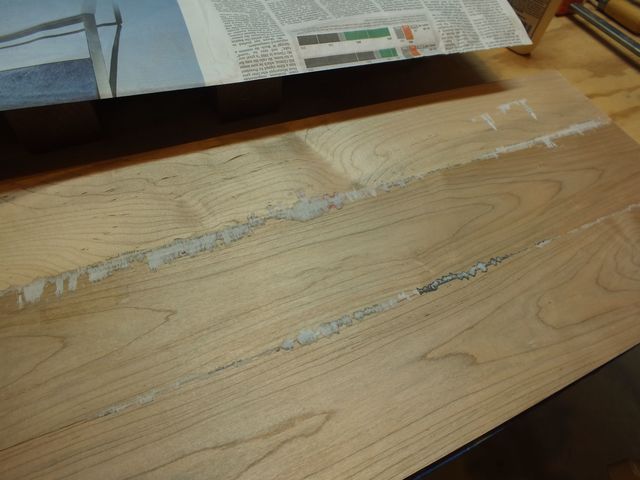
Ugly
The final board is glued and clamped.
Last One
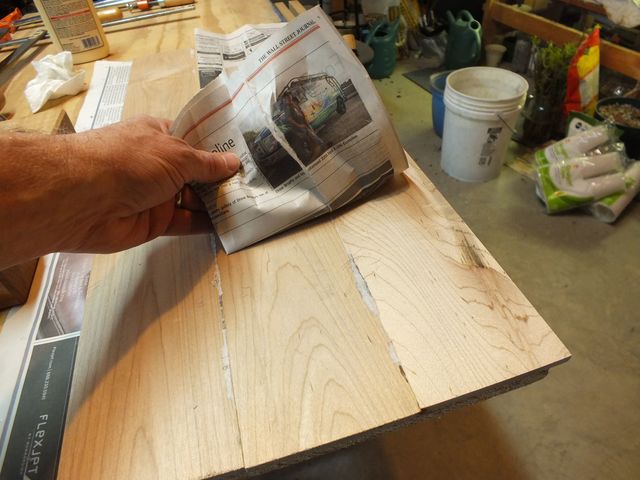
Same o' same ol', wait a few hours, unclamp and peel off the newspaper.
Peeling off the Newspaper
OK. Now we have our board. The next step is to use the cabinet scraper to remove the glue lines and flatten them out. I sharpened the scraper and set it up on my blade from the broken ice chipper. I just drop the blade into the scraper until it sits on the steel surface, and then I clamp it in place.
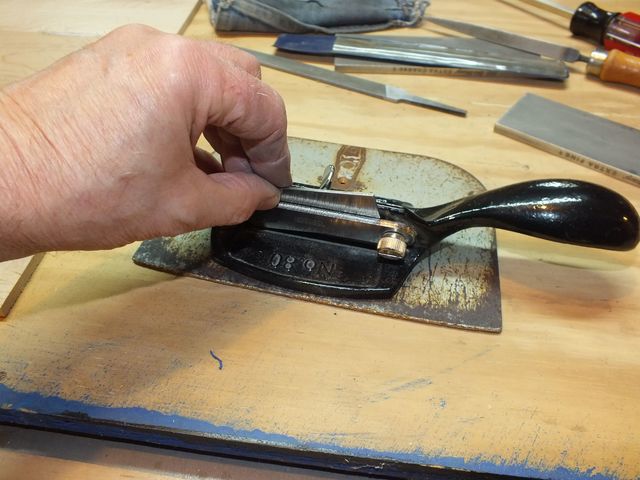
Setting Up the Cabinet Scraper
This is a really sweet tool, and it is sooo easy to use. It takes off very fine shavings, allowing me to flatten the new board.
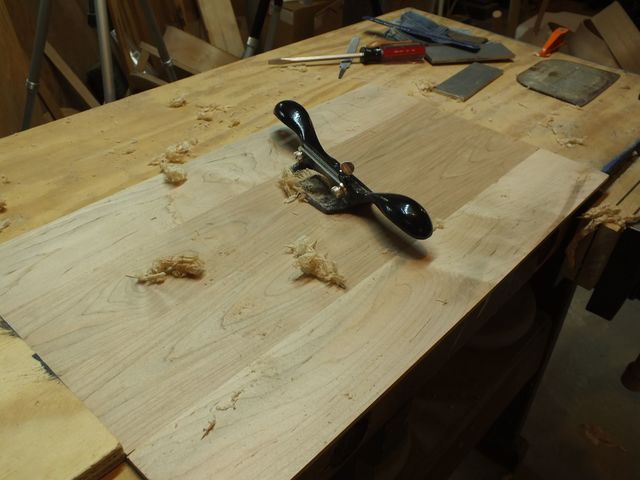
Scraping
Here is a closeup of the shavings.
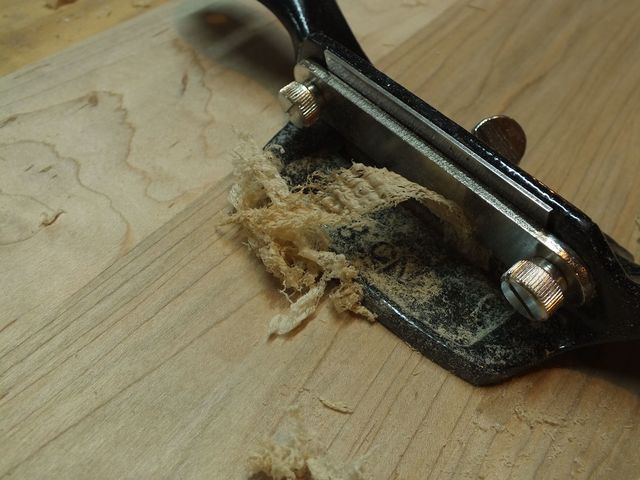
Shavings
Once I am done scraping, here it is... a flat board that is 14" wide and 24" long and 1/4" (minus the scrapings) thick. It looks pretty good too.
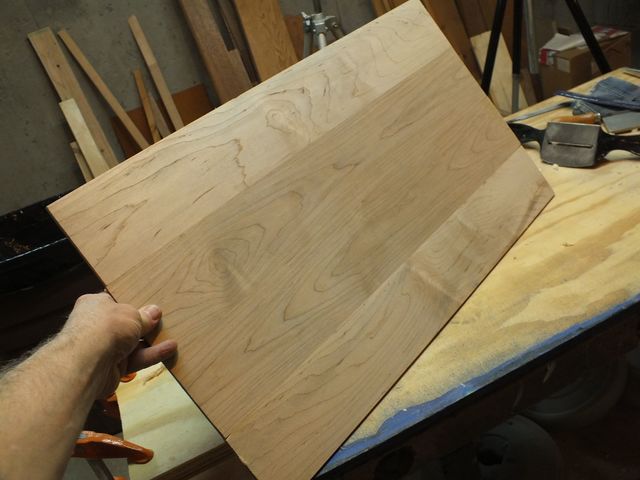
Done
Here is the other side of the board.
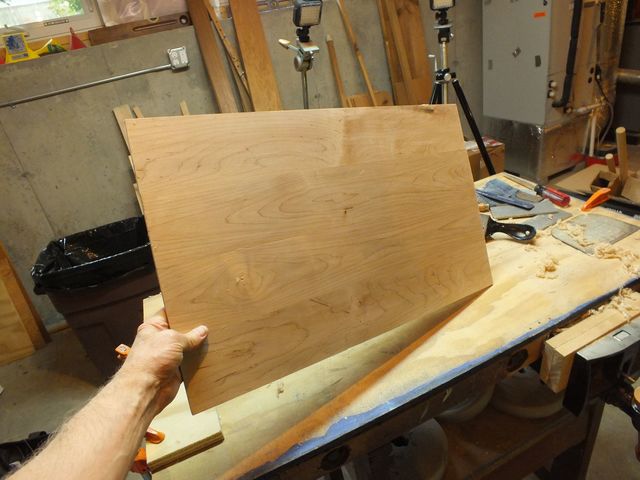
The Other Side
Hey! Looks good. Great job! (somebody has to say it).
Time to take a break before I come back to cut the back out of the board.
