I am back a few hours later the same day. The glue joints have had some more time to dry so they will be solid when I cut the back out of the board.
Here is one side of the board.

One Side
Here is the other side of the board.

Other Side
I think I will put the second side on the outside of the pot since the colors of the boards are more evenly matched.
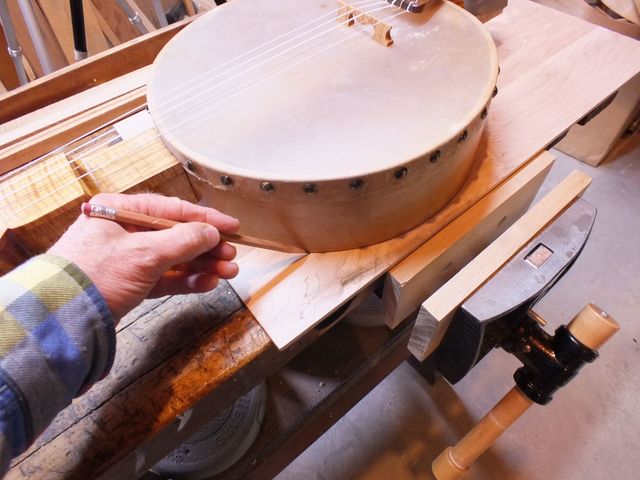
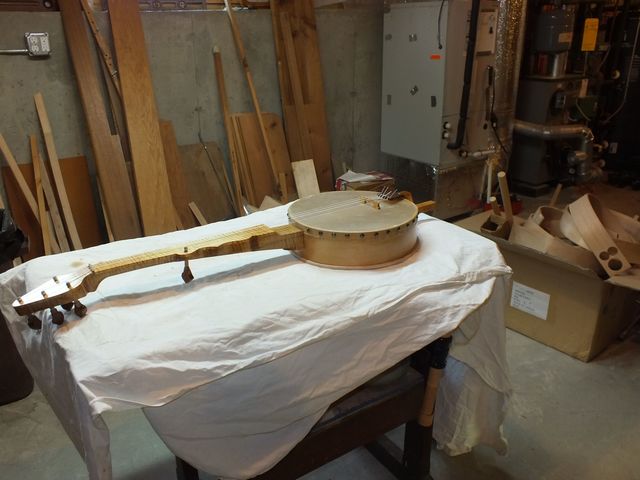
I brought the banjo down to the workshop so that I can trace around the pot directly onto the board. The pot itself is somewhat egg shaped, so instead of drawing a circle onto the board, I will trace the pot, such as it is, onto the board.
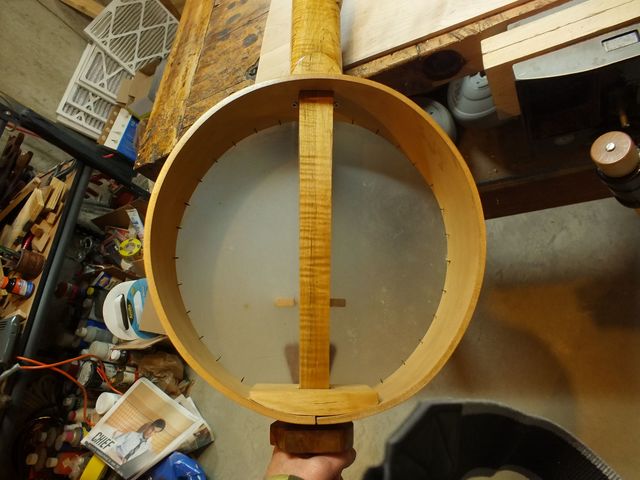
The Pot is An Egg
Aligning the back side of the pot with the glue line in the board is pretty easy. I just line up the seam in the hoop with the seam in the board.
This Seams Easy
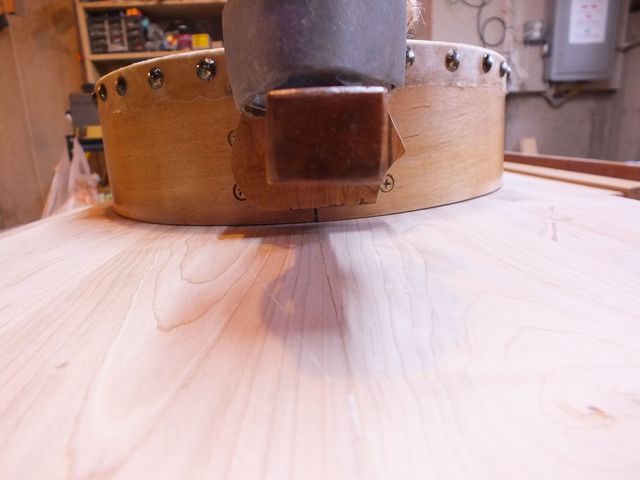
The gray thing sitting on top of the dowel stick is a hunk of lead that I used to weigh down the pot to keep it from moving around while I trace it.
The front of the pot has no seam, so I put a pencil mark in the middle of the neck, and I will align it with that.
Mark the Pot in the Middle of the Neck
While I was setting up to trace the pot, I noticed that there is a chip out of the glue joint on the edge of the board. I will have to take care to avoid leaving that in the back. That part of the glue joint will not be very strong.
Not the Best Joint Here
I put the banjo pot down on the board and aligned it with the glue joints in the board. Then, I traced around it with a pencil.
Tracing the Pot
There ya go. That is the shape of the back.
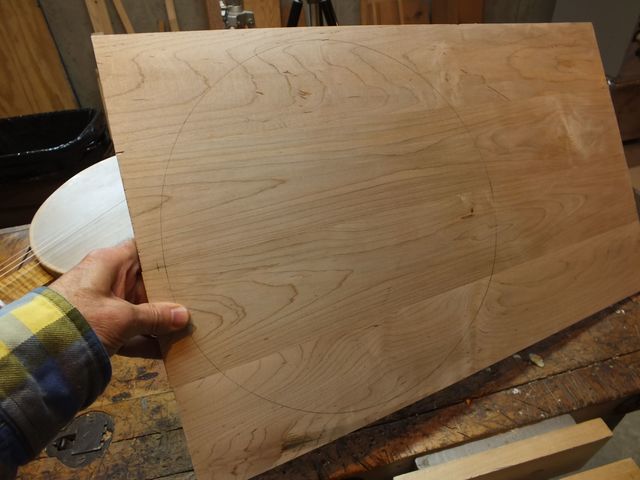
The Pot Shape Traced
After looking at it a bit, I decided that I wanted to move the edge of the back away from the edge of the board a bit more to put even more space between the bad glue joint and the back. So I turned the board over and traced the pot again on the other side.
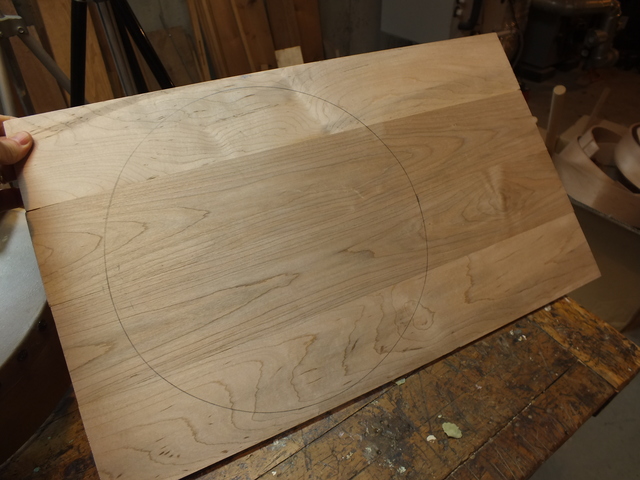
The Tracing Moved Back Some
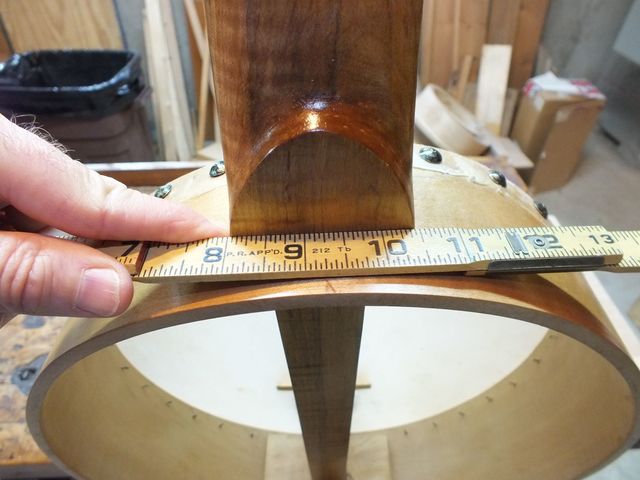
Originally I was going to put a knob on the back to allow easy insertion and removal of the back. I even bought a fancy knob. But I changed my mind. I don't want that knob sticking out from the middle of the back. Instead, I am going to put a lip around the back that will stand proud of the pot a bit. To do that, I measured an additional 1/4" around the traced shape.
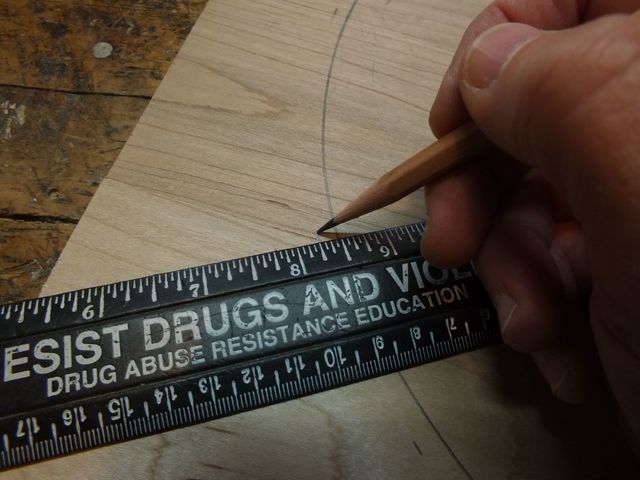
Add 1/4" Around the Back
I measured the 1/4" offset in multiple places around the back and drew the curve in by hand. Here it is.
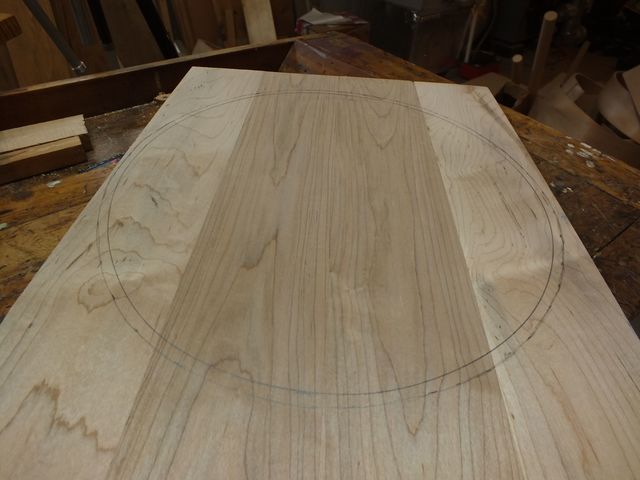
The Final Shape
To speed things up I sawed out the back using my saber saw. I used a fine tooth blade to minimize the tearout.
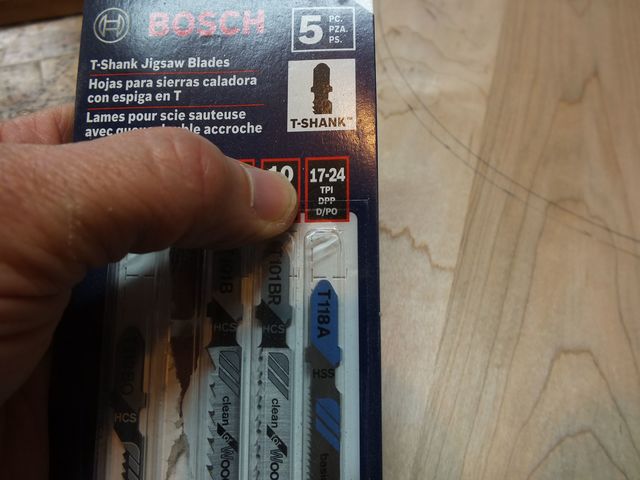
Use a Fine Tooth Blade.
I clamped the board down to my plywood top to keep it stable and flat.
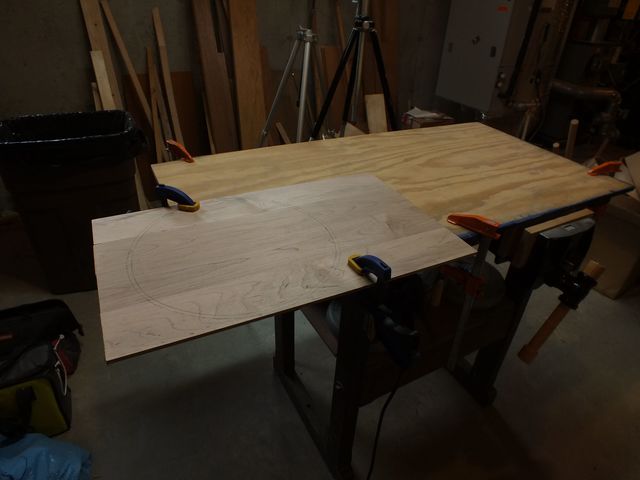
Clamped to the Bench
I used the saber saw to cut around the circle I had drawn on the board.
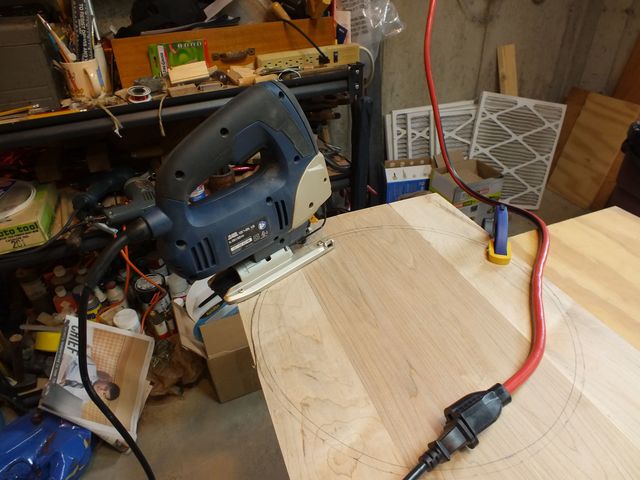
Cutting Out the Back
Here is something spooky. As I went past that iffy glue joint at the edge of the board, the piece fell off. That means that the glue joint in that area was not tight. I'm glad I moved the edge back some or that part would be part of the back. I hope the rest of the joint is solid enough to hold.
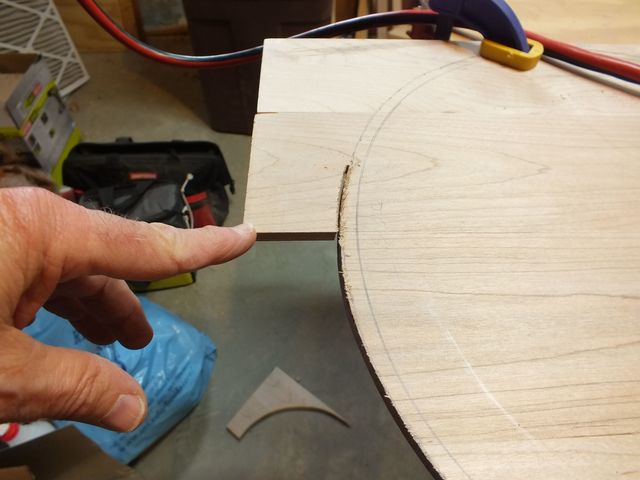
Not a Good Joint Here
I kept turning the board and sawing some more of it. Slow progress.
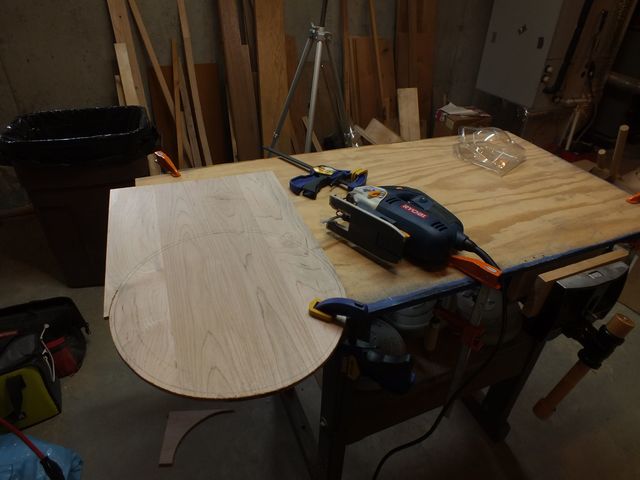
Turn the Board and Keep Cutting
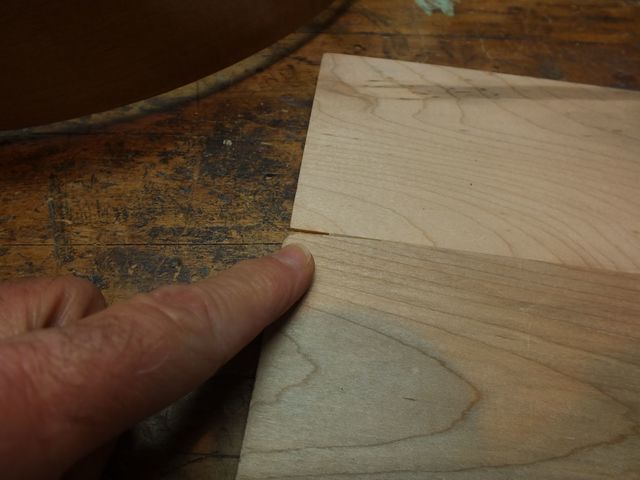
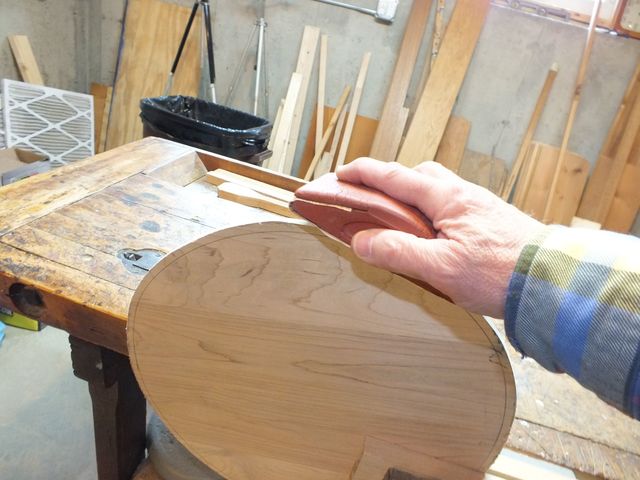
In the photo below my finger is pointing at the glue joint at the back of the pot. This part of the joint appears to be in good shape. In fact, you can barely even see the joint. Go ahead. Try to spot the joint.
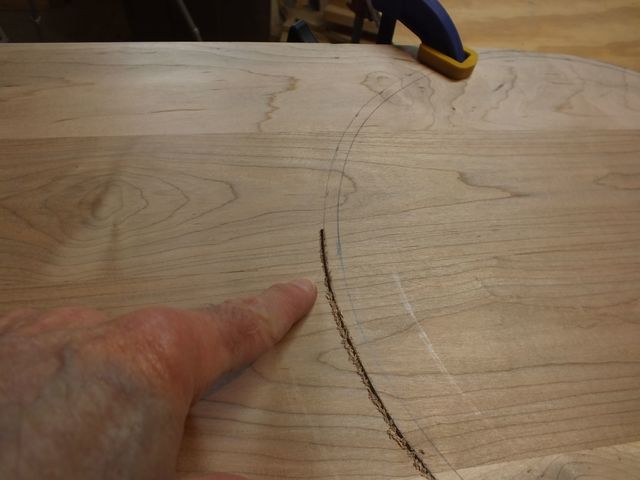
Where's the Joint?
That isn't a totally fair challenge because the resolution of the photo isn't good enough to see it. But you can actually see it just over my hand if you look closely.
OK. Keep turning; keep cutting.
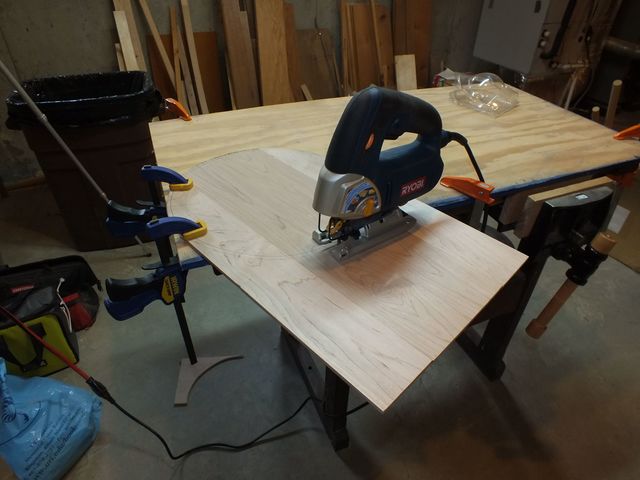
Keeping On Cutting
And here it is.... a bit jaggy at the end, but done nonetheless.
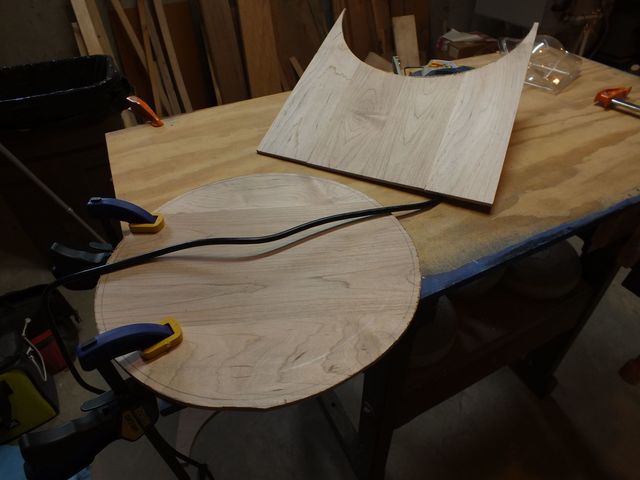
Jaggy, But Not Too Bad.
I clamped it in the vise and used some sandpaper to smooth out the edge.
Smoothing the Edge
I used my Pink Pearl® eraser to erase the lines from the tracing I did on the other side.
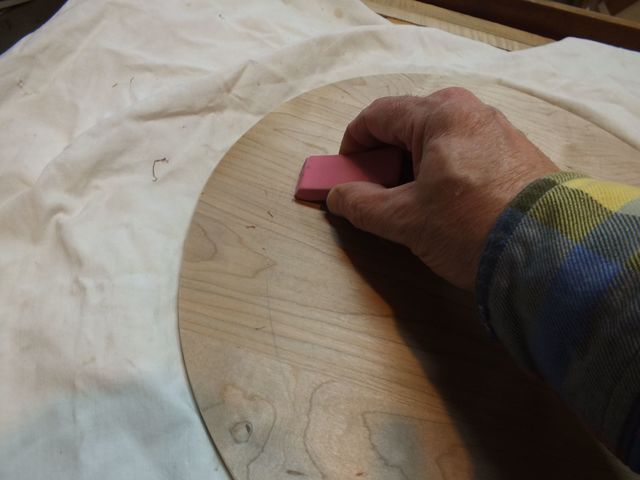
Erasing the Pencil Lines
I finished up with the scraper one more time.
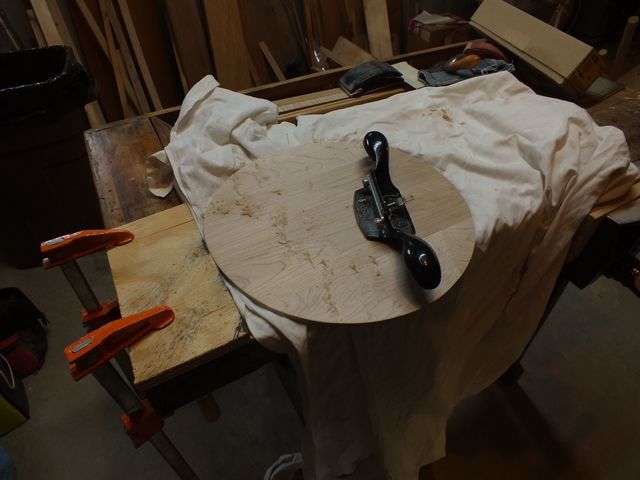
One Last Visit with the Scraper
And here it is, with the banjo sitting on it.
Looks Like the Right Fit
The next step will be to mount the back to the banjo pot. I have some ideas about how to do that, but that will have to wait for another day.
