Mounting the back to the banjo will be done using some standoffs. The standoffs will be small blocks of wood that are notched to allow me to mount the back either flush with the bottom of the hoop or raised up from it, leaving a gap. The idea is to allow me to experiment with the acoustics of the pot by making it totally sealed, or with a "sound hole" in it.
The standoffs are designed to be a friction fit inside the pot. They will be secured to the back with wood screws. That will allow me to install the back by simply inserting the standoffs into the pot. Removing the back will involve just pulling it out of the pot.
After my experiences with pine, I decided to use a hardwood for these parts. I chose poplar because it is cheap, straight grained, and easy to work. Here is the board.
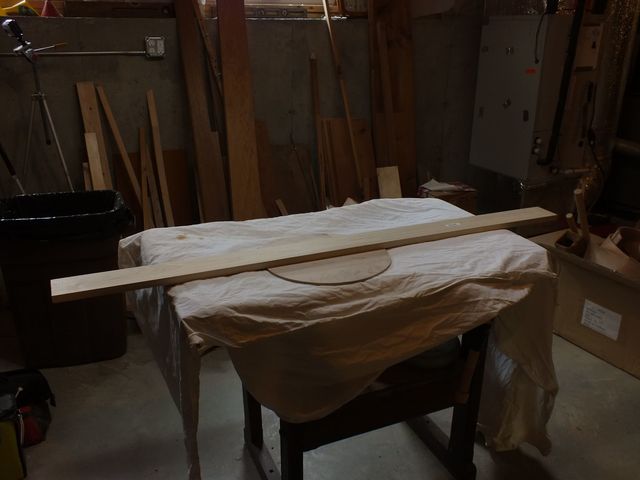
Poplar Board
For future reference, here is the UPC label.
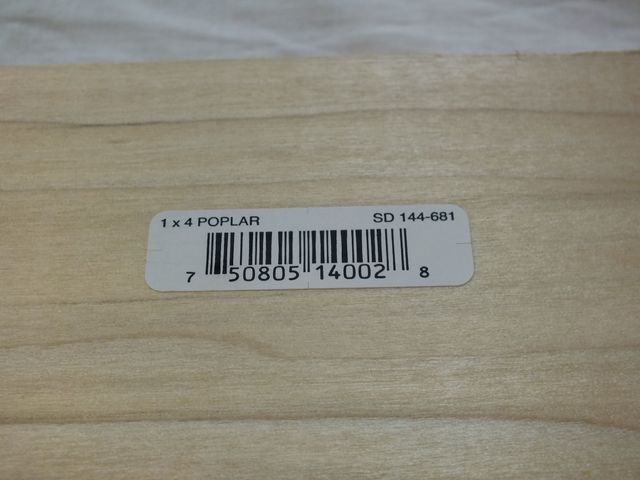
UPC
I flipped the banjo over on the bench and marked where I want to put the standoffs with some masking tape. As you can see in the photo, there will be four of them. I have decided to place the standoffs at 45° from the main axis of the banjo to keep them out of the way of the dowel stick and the heel block.
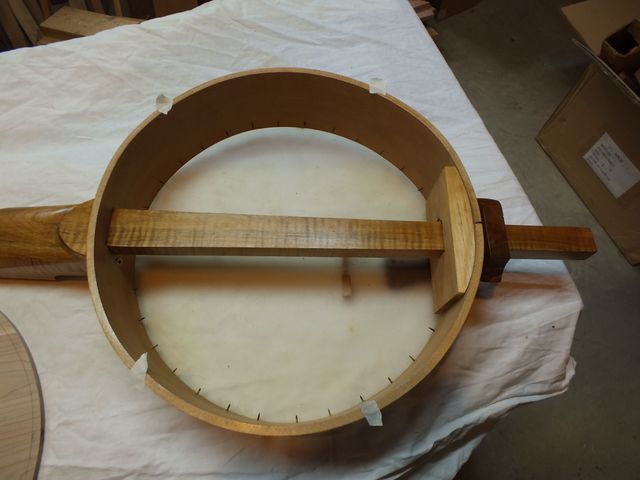
Tape
Wow! Look at those nasty nail points in there. I need to put on this back to keep hands away from those things as well.
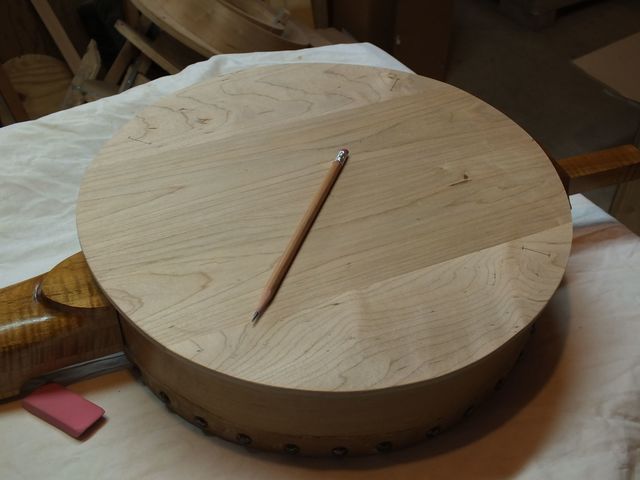
I have mentioned before that the pot is not perfectly round. The back was shaped by tracing around the pot and then cutting out the shape with the scroll saw. Because this is not perfectly round, I carefully oriented the back to the pot in the original orientation when I traced it. I used the glue seam, indicated by the pencil, to line it up.
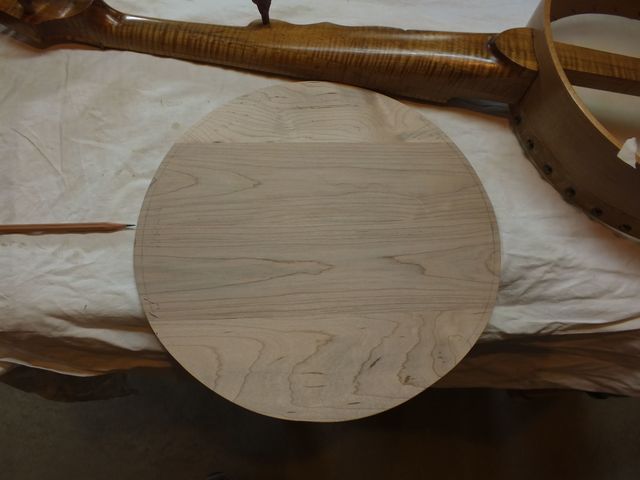
The Seam
Here is a closeup of the glue joint. Looks like I was successful in avoiding the part of the board where that joint had split.
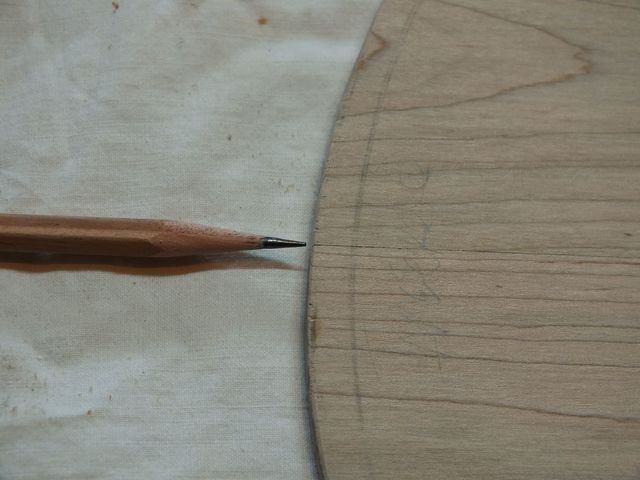
Closeup
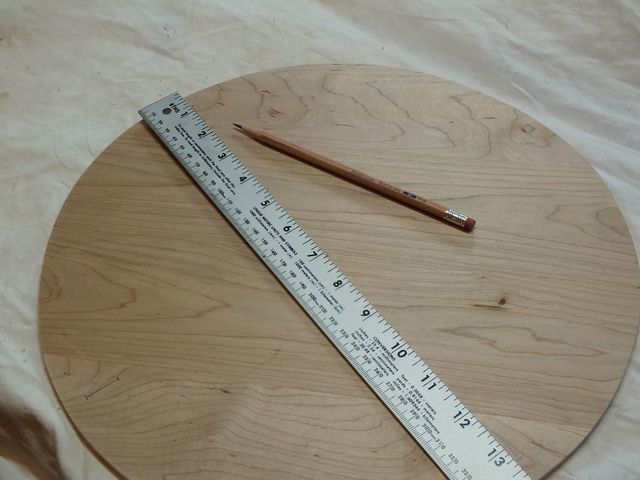
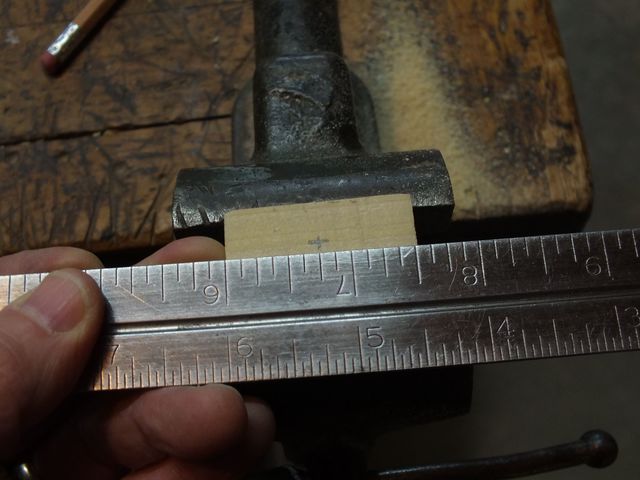
In order to center the locations of the standoffs at 45° locations, I need to find the center of the back. So, I measured the diameter of the back down the glue seam.
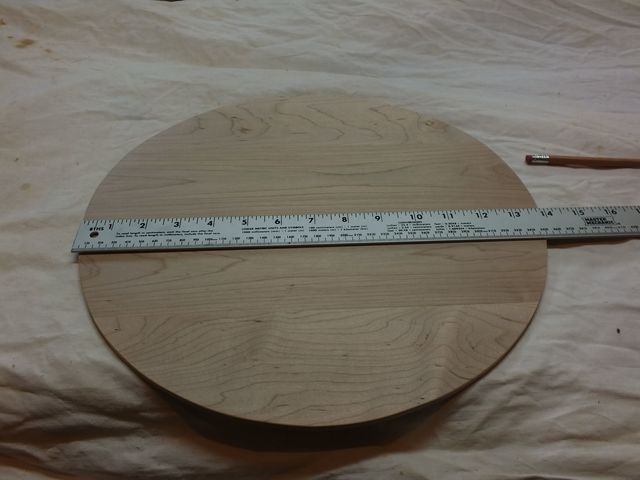
Measure Back Diameter
The back is almost (but not quite) 14" across.
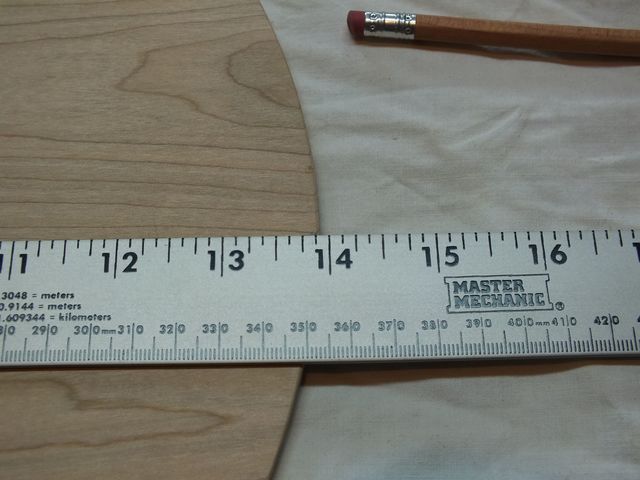
14" Minus Windage
The back is 13 7/8 inches across, so the center will be at 6 15/16 inches from the front. I measured and marked that point.
To place the four standoffs at 45° from the centerline, I got out the old protractor. Remember those from school? I guess I finally found a use for it after all these years. Glad I kept one of them.
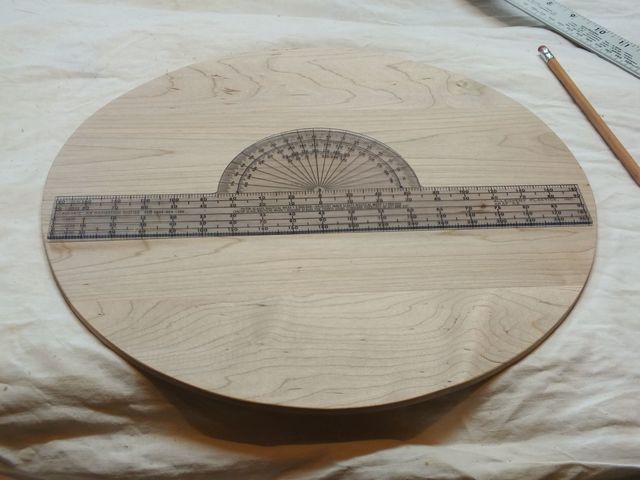
Measure 45°
Here is the basic design of the wooden standoffs I will make.

Paper Design
OK, well that's a lousy diagram you can barely see. But there isn't much to it. It is just a wooden block cut from the poplar one by four. It will be 1" by 1 1/2" with a notch cut in one end. The notch is 1/4" deep and 1/2" long. The notch will allow me to insert the the block 1/2" into the pot, leaving the other half inch resting on the bottom of the pot, thus elevating the back 1/2" from the bottom of the pot. That is the feature that will allow me to leave the back elevated from the bottom of the pot to make a "sound hole" gap.
If I want to the back all the way down on the pot to seal it, I will turn the blocks around so that the notch is on the inside and out of the way.
The bottom drawing shows how this will be secured to the back. I will make a 3/4" slot in the back that is wide enough to take a #8 wood screw. The blocks will be secured with four #8 screws that slide in the slots. The slip joints will allow me to adjust the location of the blocks for a good friction fit. The end of the slot that is closest to the edge of the back will be 1/2" away from the edge. You may remember that I left a 1/4" overlap of the back over the edge of the pot. So the 1/2" distance places the edge of the standoff inside of the pot (which is 1/4" thick).
I located the positions of the slots by connecting two opposing marks at 45° with the rule, and then I marked them on the back.
Mark The Slots
Below is a photo of the back with the slots marked. You can barely see the marks in the picture. The pencil is pointing at one of them.
Slots Are Marked
I measured a 1" length of my poplar board, and sliced off that piece using the crosscut saw.
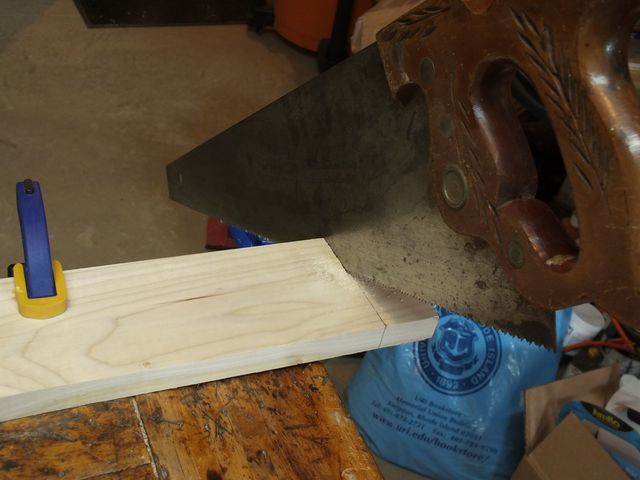
Cutting
Here is a closeup of the cutting action of the saw. Notice that I am splitting the line on the waste side of the mark. Even though this part does not require a great deal of precision, it is good to practice my sawing skills anyway.
Split the Line on the Waste Side
Then I marked up the cut lines on the block. In fact, I marked it up incorrectly. I oriented the 1/4" notch down the grain instead of across it. So, when I turned the block over, I re-accomplished the mark in the correct order. You can see the boo boo in the photo below.
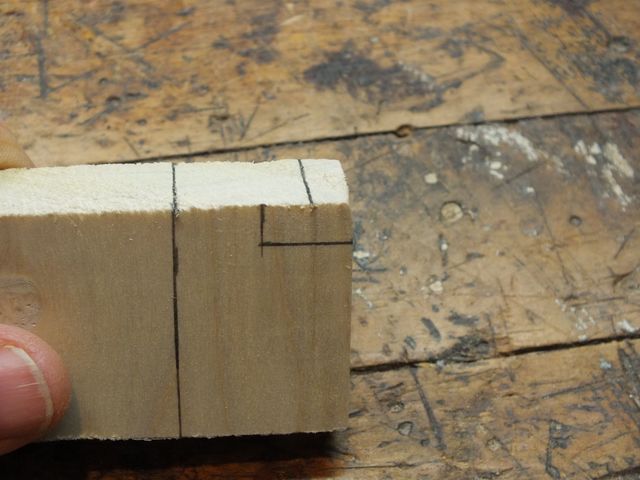
Boo Boo
"Measure twice and cut once", is a mantra that saves a lot of wood from the scrap heap.
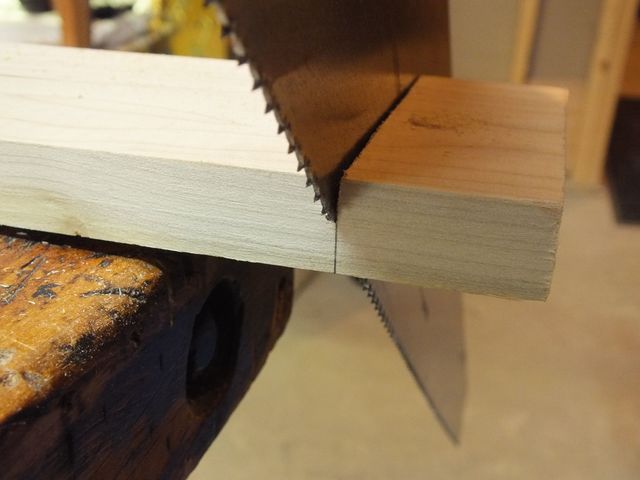
I cut the 1/4" cut using the panel saw.
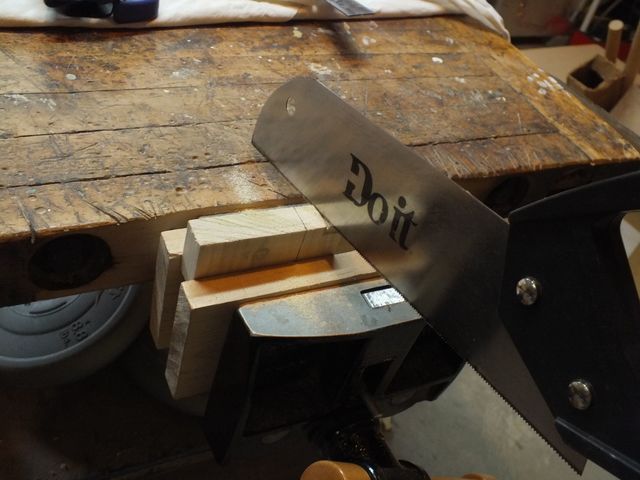
First Cut
I cut the 1/2" side next.

Second Cut
Here is the block.
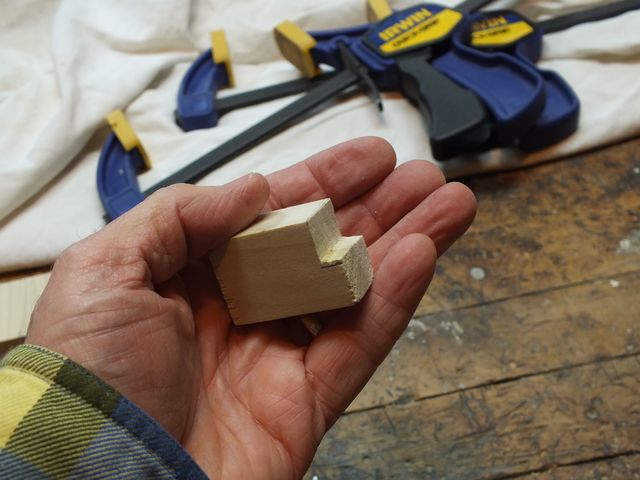
Done
Do that three more times, and I have all four blocks.
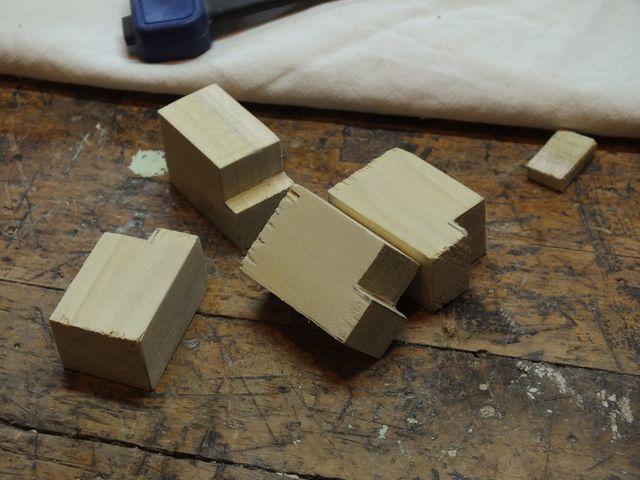
Four Blocks Done
The screw hole goes in the center of the block bottom.
Put the Screw Here
I drilled a 7/64" pilot hole into the bottom of each block. That is the correct size for a #8 wood screw to bite into the wood without splitting it.
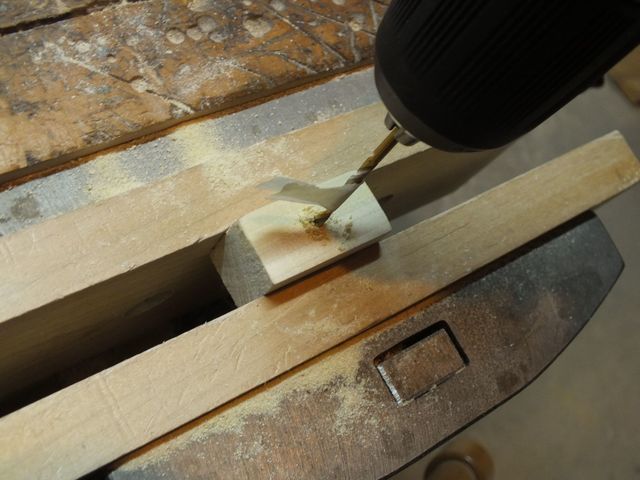
Drilling the Pilot Hole
The slot in the back has to be wider than that so that the shaft of the screw can slip back and forth without binding. The size of the unthread part of the shaft on a #8 screw is 11/64", so I add some Kentucky windage to that and got out a 3/16" drill bit. That is 12/64", which should provide enough space to fit the shaft and also let it move in the slot.

3/16" Bit
I clamped the back down to a backing board and drilled three holes.

Drill Three Holes
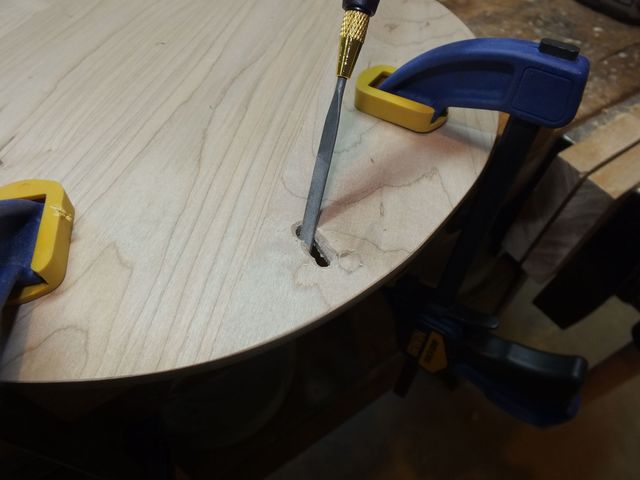
I used the coping saw to turn the three holes into a slot.
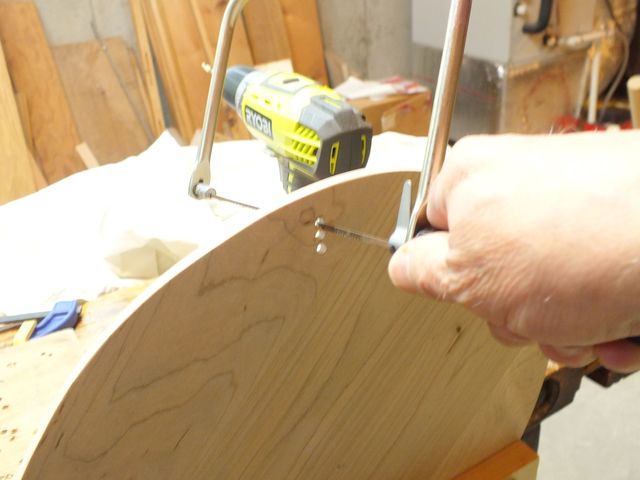
Saw Out the Slot
Then I used a needle file to smooth out the sides.
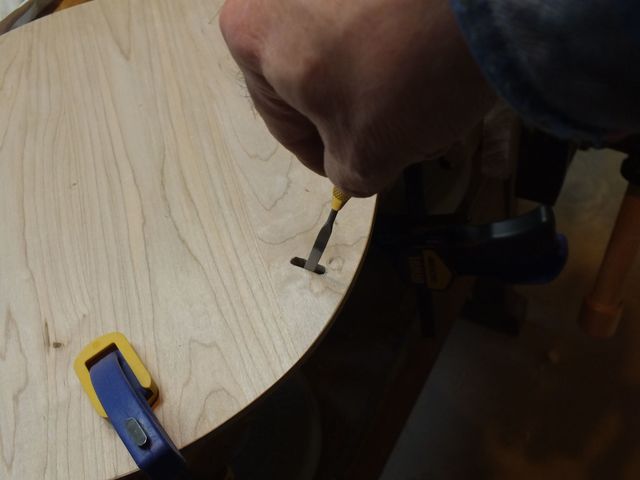
Smoothing Out the Sides
Here is the screw nestled in the slot. I used nice brass screws since they will be visible on the outside of the back.
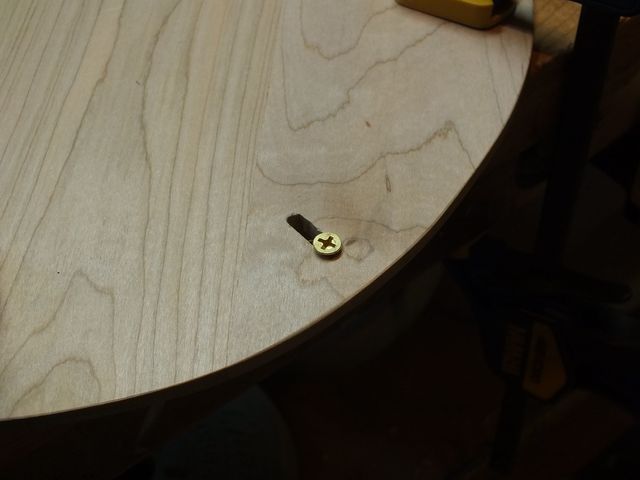
Brass Screw
Here is the screw at the innermost position.
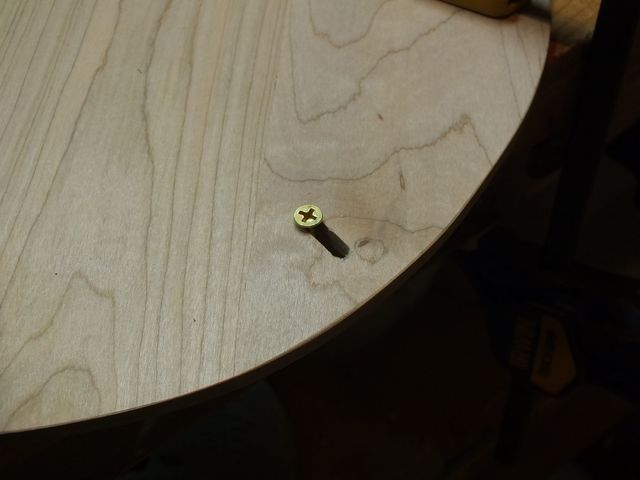
Screw Repositioned
Since the screw heads will be exposed, I recessed them using the recessing tool in the drill.
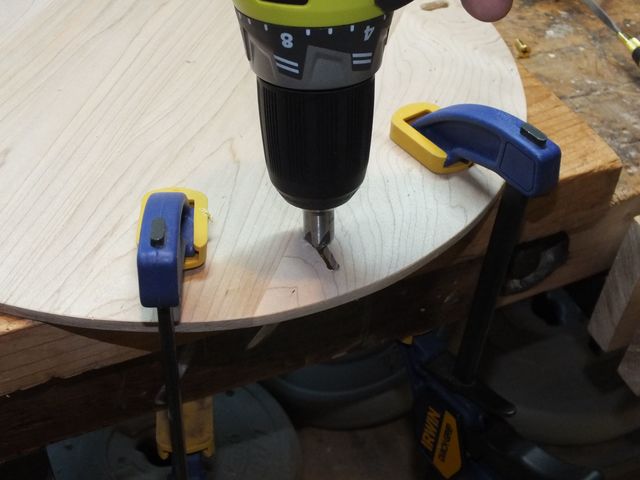
Recessing the Head
The recessing tool left three circular holes.
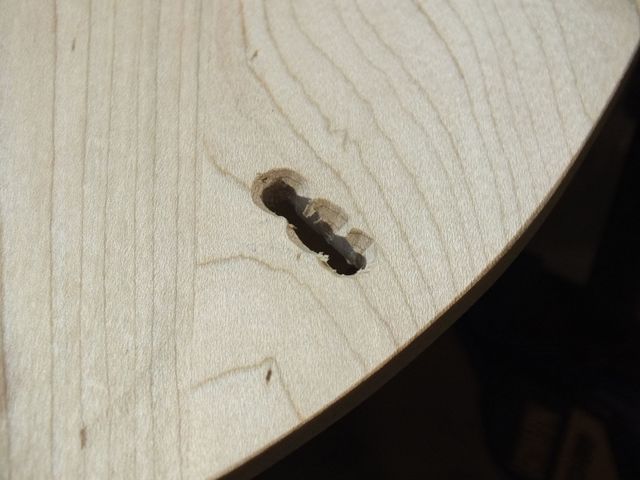
Three Circular Holes
I fixed that with the needle file.
Filing the Slot Again
Here is the back with the four standoffs screwed to it and inserted into the pot.
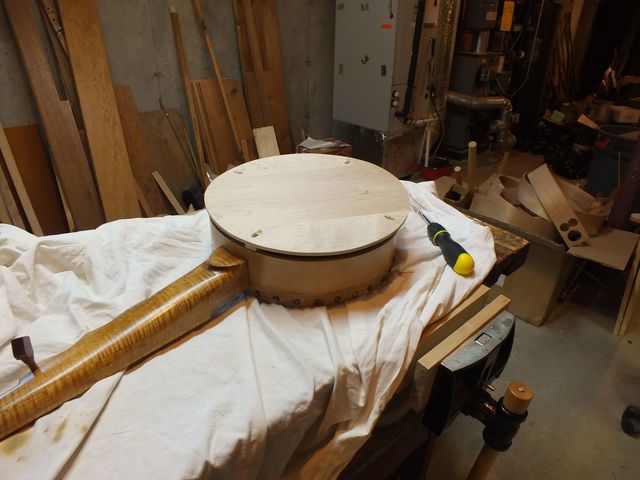
The Final Product
The bottom of the pot rests on the edges of the standoffs, elevating it and leaving the "sound hole" gap.
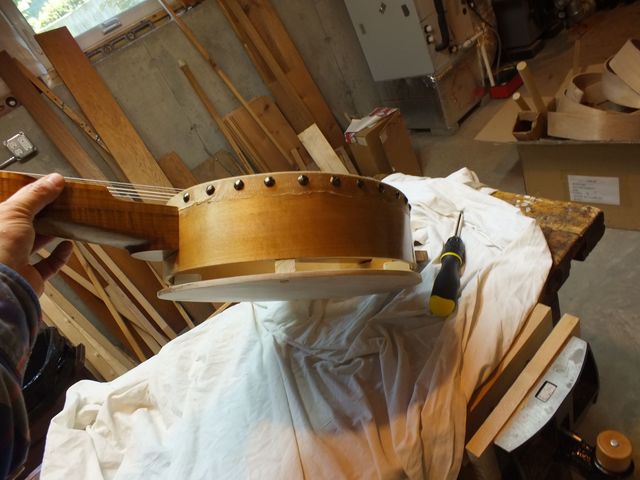
Mind the Gap
Here is another view, showing more of the back.
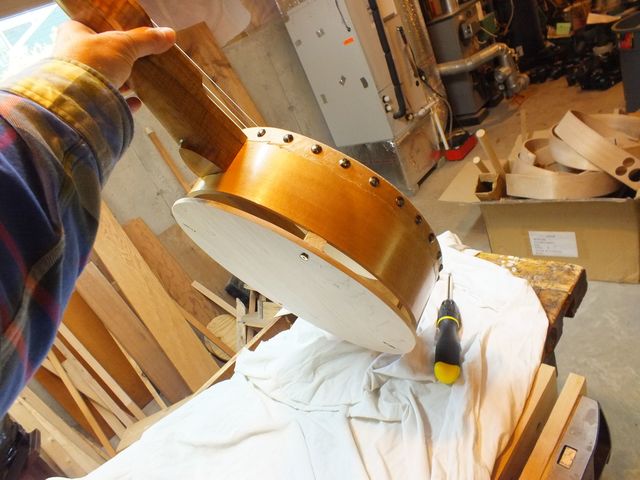
The Back
And here is a closer view of the back. The screws don't look too awful, and they are pretty brass.
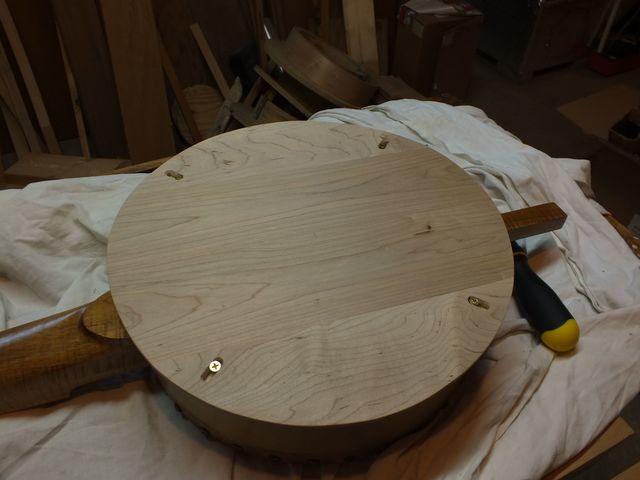
At Least the Screws Are Brass
A closeup of a screw in its slot. I put the screws in slots so that I can adjust the tension between the standoff and the pot. The insertion is a friction fit, so I need to be able to adjust the fit to keep the back secured, but still removable.

The Screw in the Slot
Looks like I was a bit off on my calculations for the locations of the slots. I have used up most of the adjustment just to get the back to fit on the pot. But there is still some wiggle room, so this will have to do.
Now I need to take the banjo upstairs and see how it sounds. I am hoping that this will enhance the bass side of the sound.
