The back is done, and therefore the banjo is done. After a few coats of finish, here is the back.
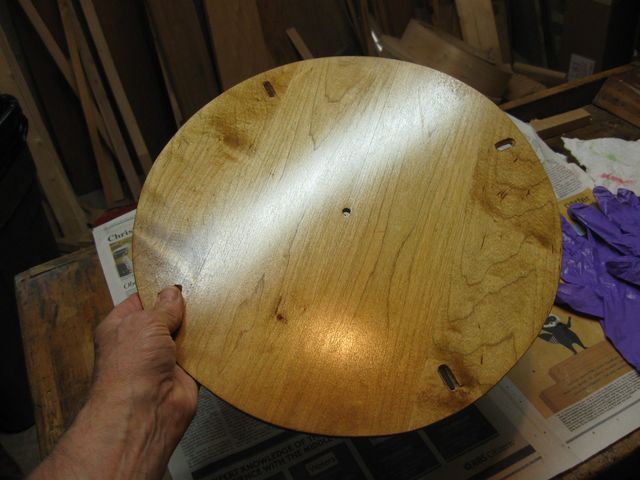
Nice Looking Finish
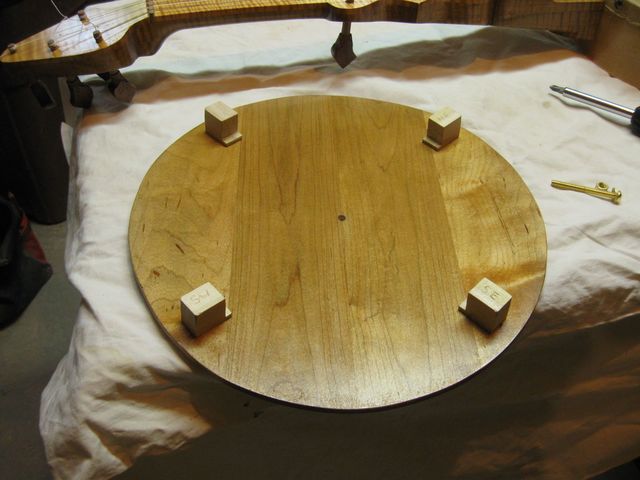
All I have to do now is assemble the back onto the banjo and it is complete. Here are the pieces that have to go onto the back.
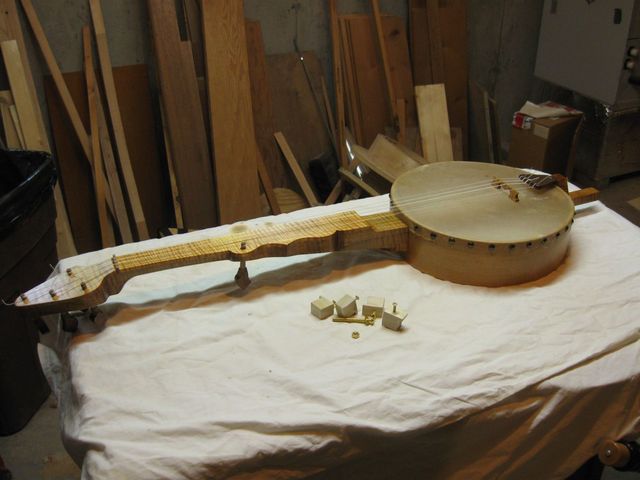
The Pieces
The standoffs and the brass screws.
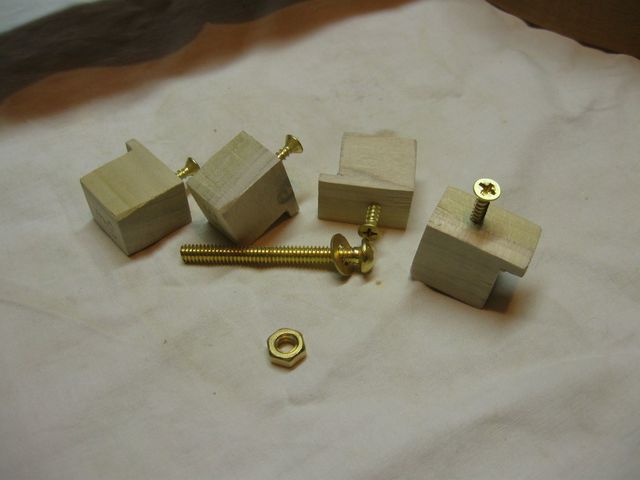
The Standoffs and Brass
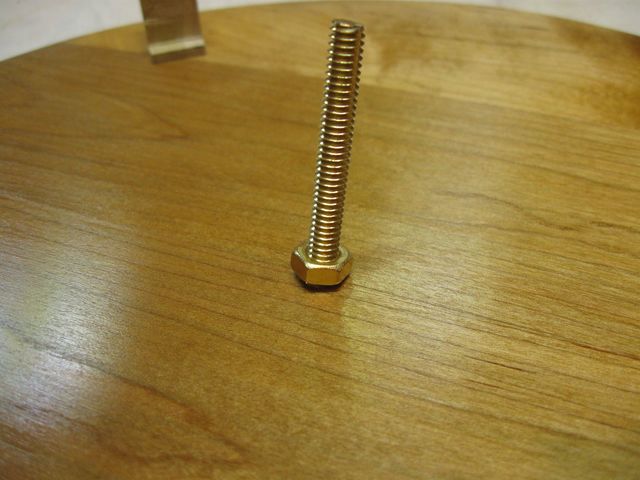
I put the bolt through the center hole with a protective washer and found that it was binding in the hole. The water, stain, and finish have reduced the size of the hole, probably by making the wood swell. I want the bolt to turn freely in the hole, so I will have to fix this.
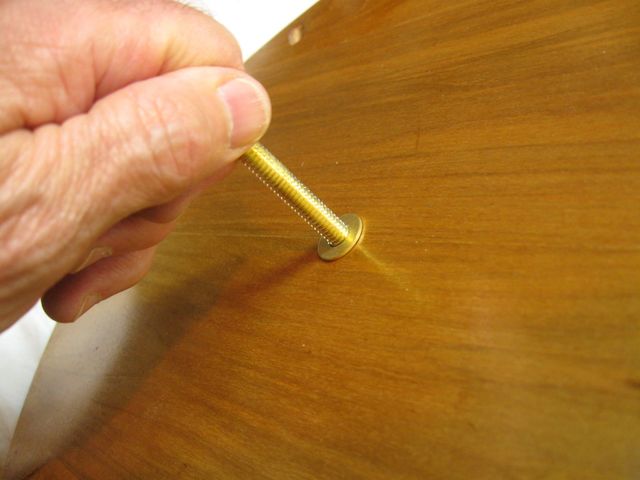
The Bolt is Too Tight
That was easy to fix using the RatTail file.
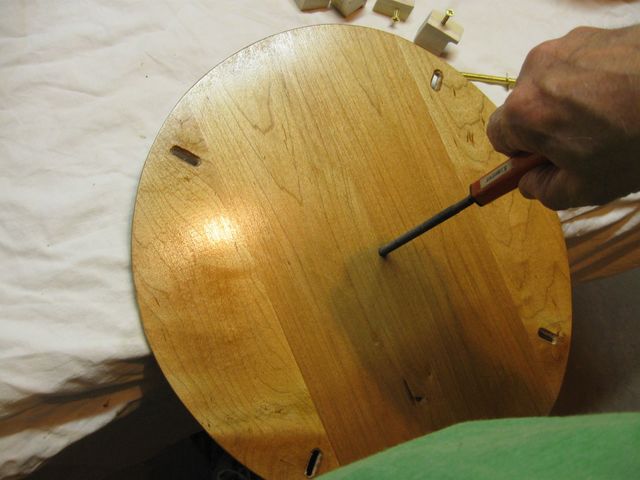
The RatTail File Enlarges the Hole Easily
Here is the little "N" that I engraved into the back so that I will know which side goes toward the neck. The "N" (which stands for Neck) always goes at the neck heel and inside of the pot. That forces me to put the back on right side up and right side in.
Notice that all the pencil marks are gone.
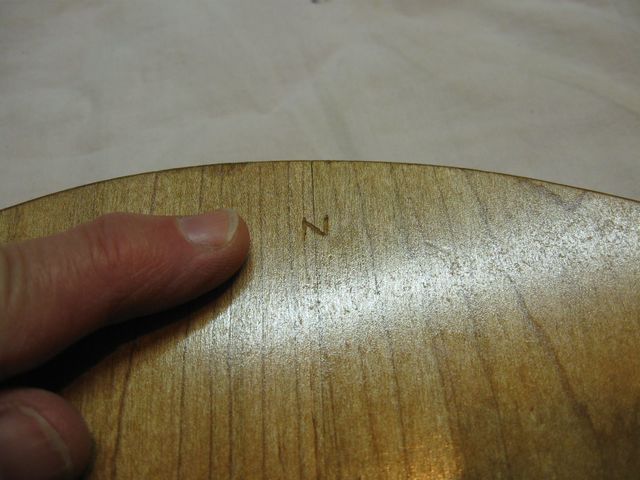
N
I put the standoffs back onto the back as well, using the brass screws that you saw in the photos above. I marked the standoffs with the burin as well. They are marked by their compass bearings from the center of the back with the the N (which now stands for North - see how that works out?) at the top.
This one is the North East standoff.
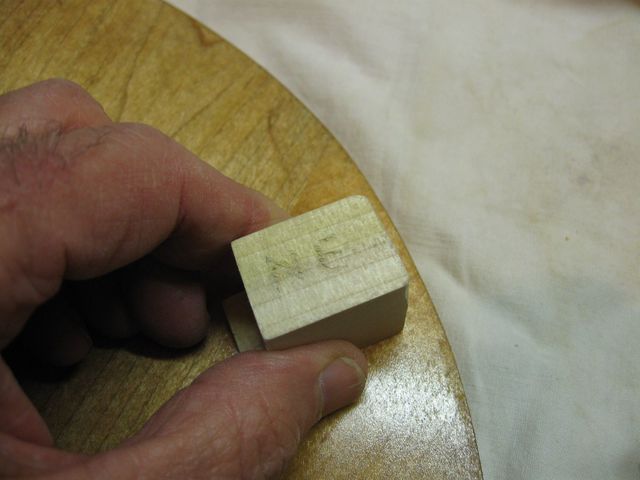
This is the North East Standoff
This one is the North West Standoff.
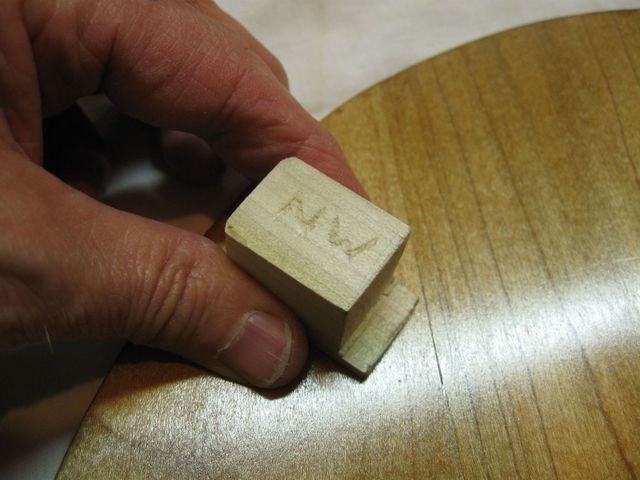
This is the North West Standoff
Notice that I have placed all of the little ledges to the inside of the back so that the back will fit down flush and seal off the back of the pot. If I want to try it out with a small gap between the pot and the back, I will turn the blocks around so that the ledges face outward.
The Ledges Face Inward for Complete Sealing
To keep the center bolt captive in the back, I added an extra nut to it just inside the back. The nut is not tightened down, which would keep the bolt from turning in the hole. It is just there to keep the bolt from falling out when I take off the back.
The Extra Nut Keeps the Bolt Captive
I threaded the bolt into the captive nut and screwed the back in place.
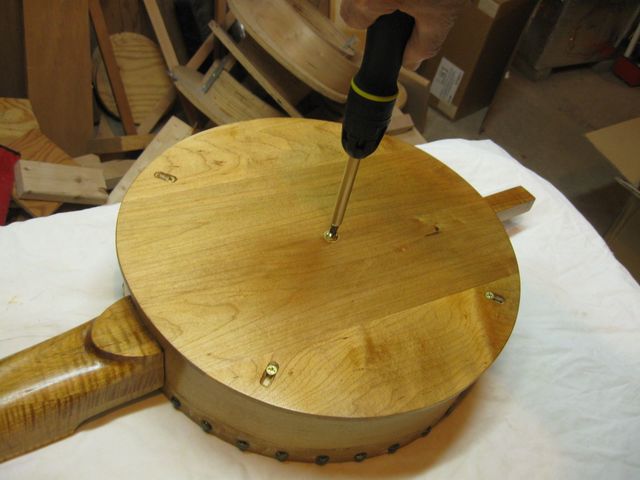
Tightening the Bolt Into the Dowel
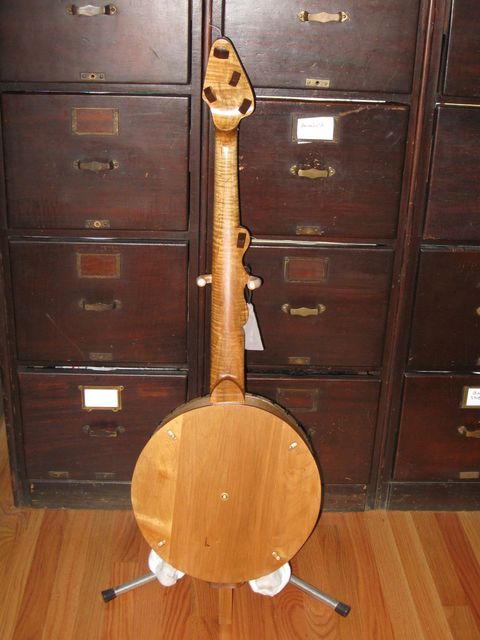
Here is the finished back, installed on the banjo.
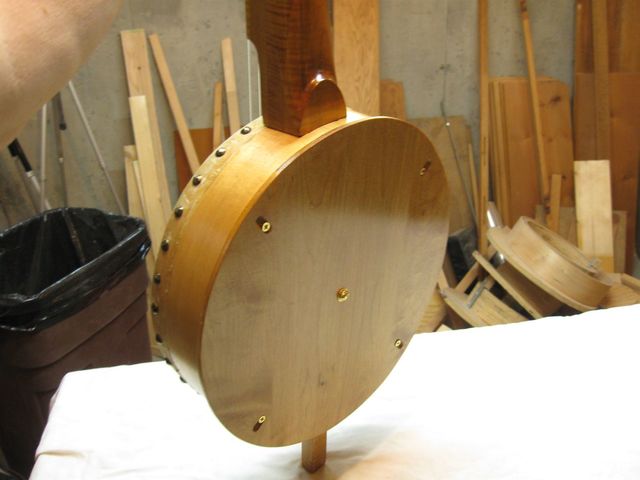
The Back is Completely Done
It looks pretty good to me. It sort of finishes off the banjo. And if I want to play it openback I can simply unscrew the center bolt and remove the back.
Label
That is it for this one. I hope you have enjoyed reading about the creation of the banjo as much as I enjoyed building it.
