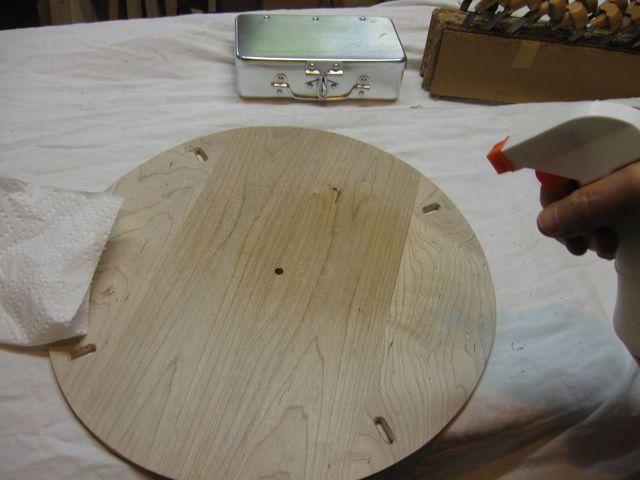
The back is done and it works well. My last trick will be to stain it to match the rest of the banjo and put some finish on it. Here is the back, still unfinished.
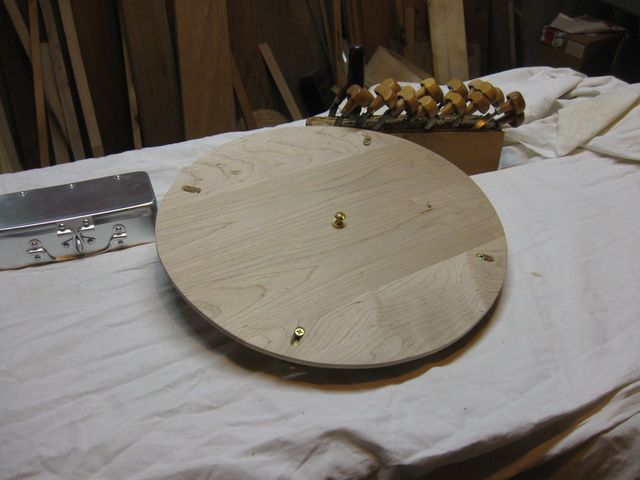
The Back As I Left It Yesterday
I have decided to mark the back so that I will always be able to tell which end goes which way on the pot. That will make it easier to put it back on the banjo after I have taken it off. Currently, the markings are in pencil, but I will be erasing those marks before putting on the finish. I will engrave a mark on the back using one of my burins.
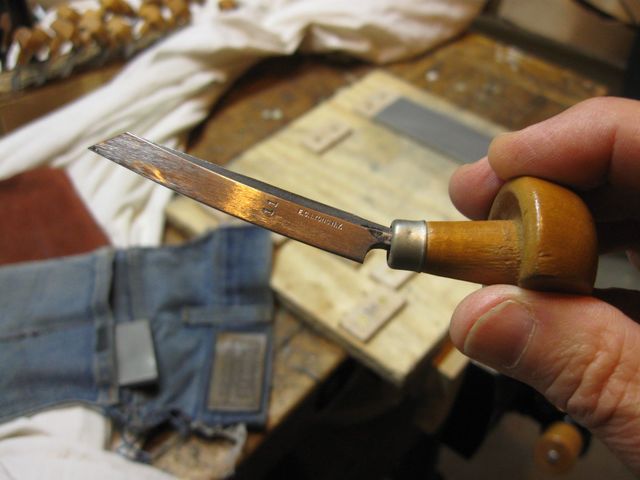
A Wood Engraving Burin
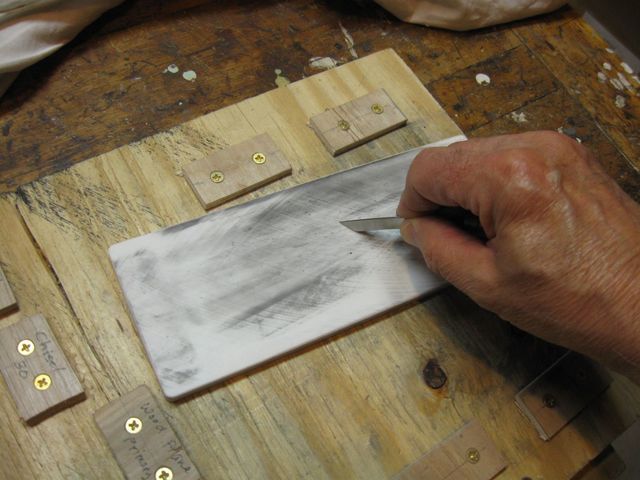
But first, I will sharpen the burin to make sure that it will cut cleanly. First I sharpen on the diamond hone.

Using the Diamond Hone
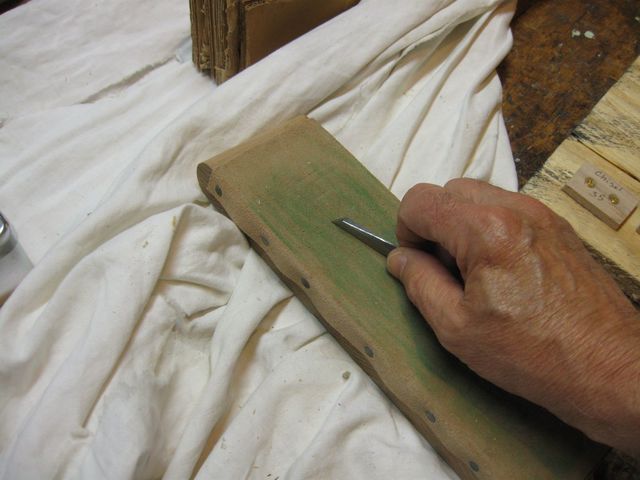
After that, I hone it further on the ceramic hone.
Using The Ceramic Hone
Finally, I strop the edge using my new stop.
Using the New Strop
I used the burin to carve the letter "N" (for Neck) into the back on the end that goes toward the neck. Notice that the engraved N will be inside the hoop when the back is installed.
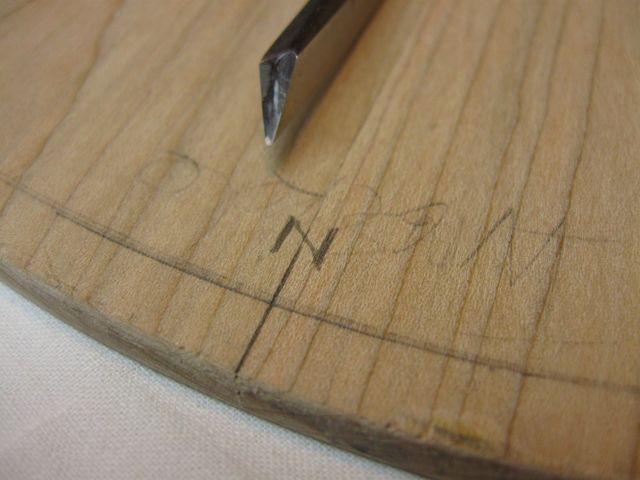
The Letter N Stands For Neck
Here is the inside of the back. You can't even see the "N", but you can see the pencil marks.
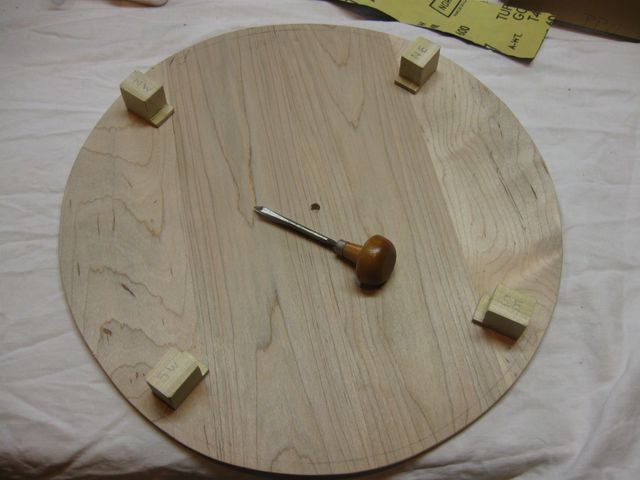
The Back
I found my Pink Pearl® and erased as many of the pencil marks as I could.
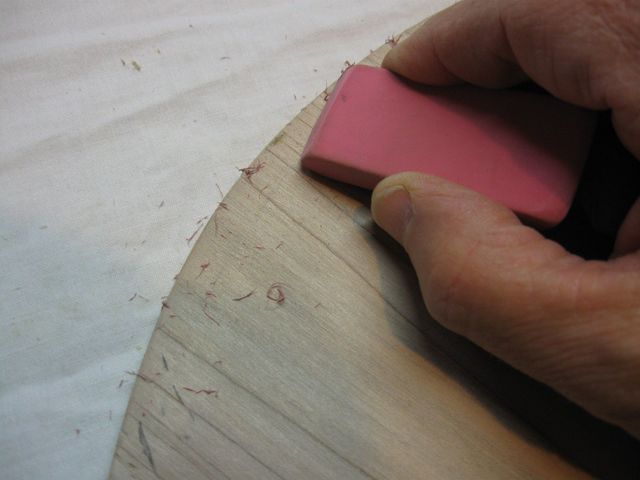
Erasing the Pencil Marks
I took off the standoffs and sanded the back to get it ready for staining and finishing.
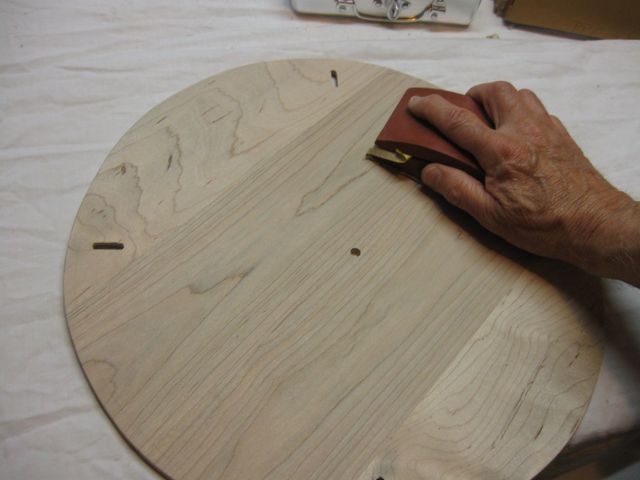
Sanding the Back
Because I use a water based stain, I wet the wood down several times to raise the grain, wait for it to dry and then sand it again.
Wetting The Wood
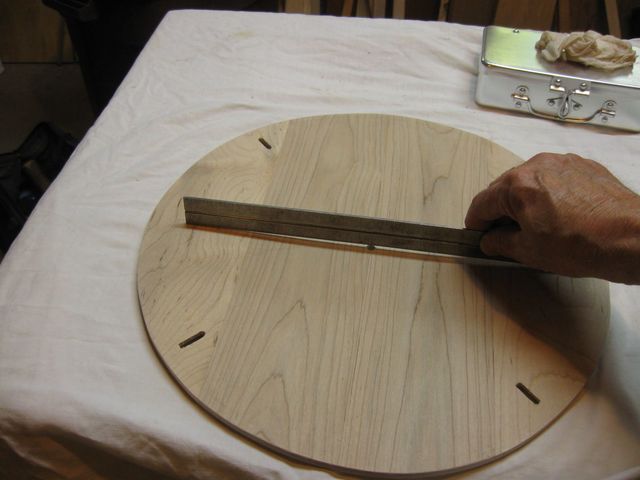
After sanding, I checked the back for flatness. Hmmmm. Looks a little cupped.
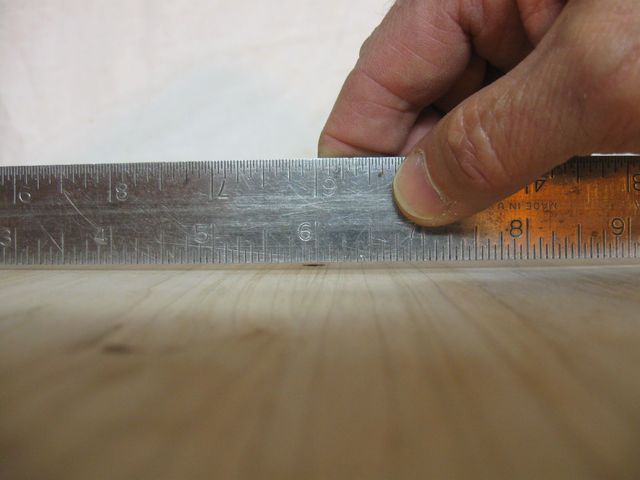
Cupped
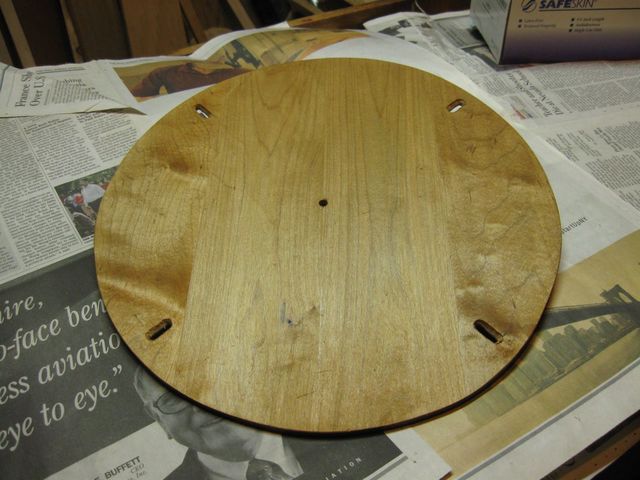
In the photo below, you can see the light under the ruler, indicating that the board is cupped so that is it concave on the outside of the back. That is not good because the edges will be up from the bottom of the pot after I screw the back onto the banjo.
You can tell that you are looking at the outside of the back because that is the side where the screw holes are chamfered to recess the flat head screws.
The Cupping Is The Wrong Way
Here is a trick that I figured out a few years ago for dealing with thin, warped wood. A steam iron.
For minor fixes like this one, I can actually iron out the problem with a steam iron. It works.
www.thekimerers.net/brian/gourd3/warp.shtml#steamit
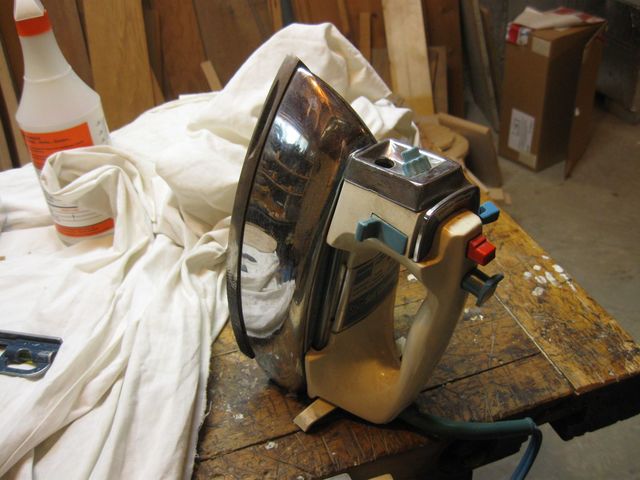
Use a Steam Iron To Flatten Thin Wood
The procedure is pretty simple. I fire up the steam iron on its hottest setting (linen) and just iron the board. Getting rid of the cupping is done by ironing on the convex side of the board.
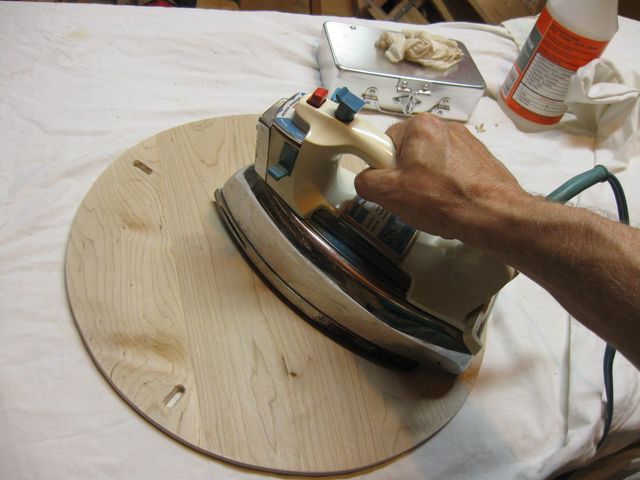
Apply the Iron to the Convex Side of the Board
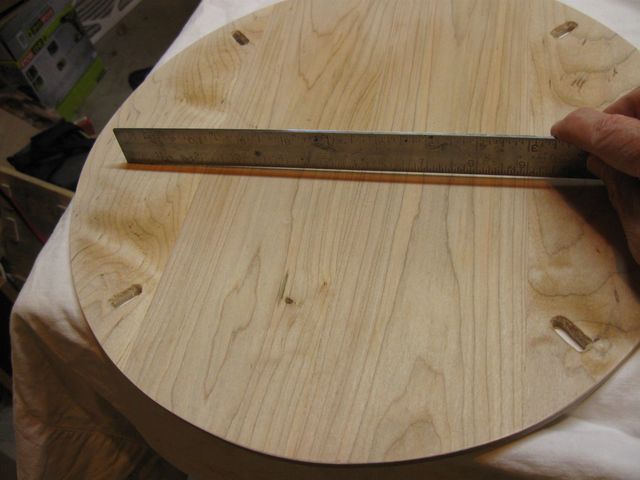
If you were paying attention, you might have noticed that the photo above shows me ironing on the outside of the back, which was the concave part of the board. That is because it is one of many photos of me attempting to make the board flat by flipping it over and ironing on the "other" side. I finally gave up and settled for a slight cupping on the inside of the board, as shown in the photo below.
Having the back slightly cupped on the inside will be OK because when I screw the back down to the pot, the edges will be pressed against the sides of the pot and it will seal better. So I left it that way.
Done Because I Gave Up
Here is the back, as flat as it is going to get and ready to be stained. I stained it with the same stain that I used for the rest of the banjo.
Read about the stain at this link.
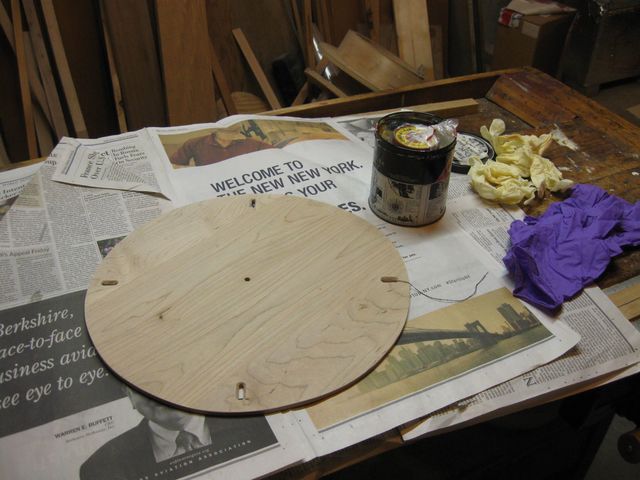
Ready To Go
Sorry. No pictures of the staining process. The explanation for that is at the link provided above. Basically, the stain is permanent and spills must be avoided. Anyway, here is the result of staining the back.
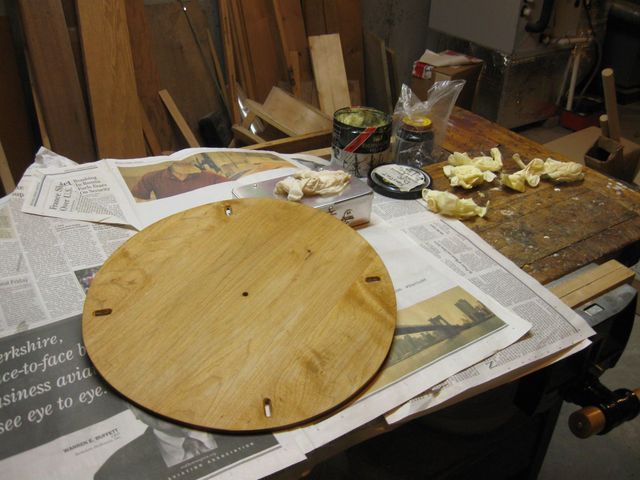
The Staining is Done
I always use Tru-Oil for the finish. That is what is on the banjo, and that is what will go on the back.
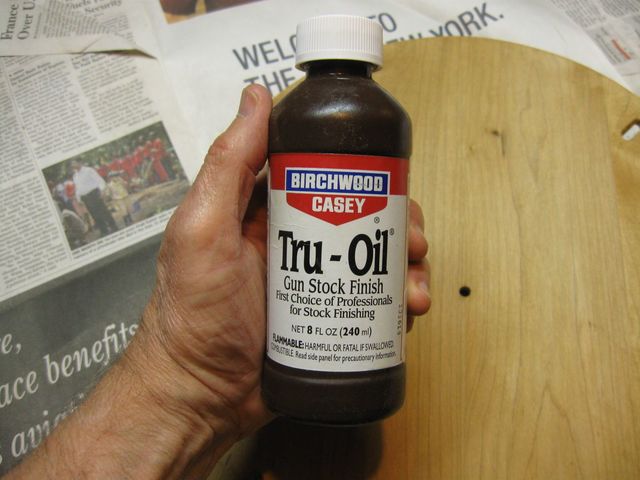
Tru-Oil is a Great Finish for Small Jobs
Here is the back with one coat of oil on it.
The Back Looks Pretty Good
That is it for today. I need to put a few more coats of oil on it to make it match the glossiness of the banjo finish. But you don't need to see any more photos of that process.
