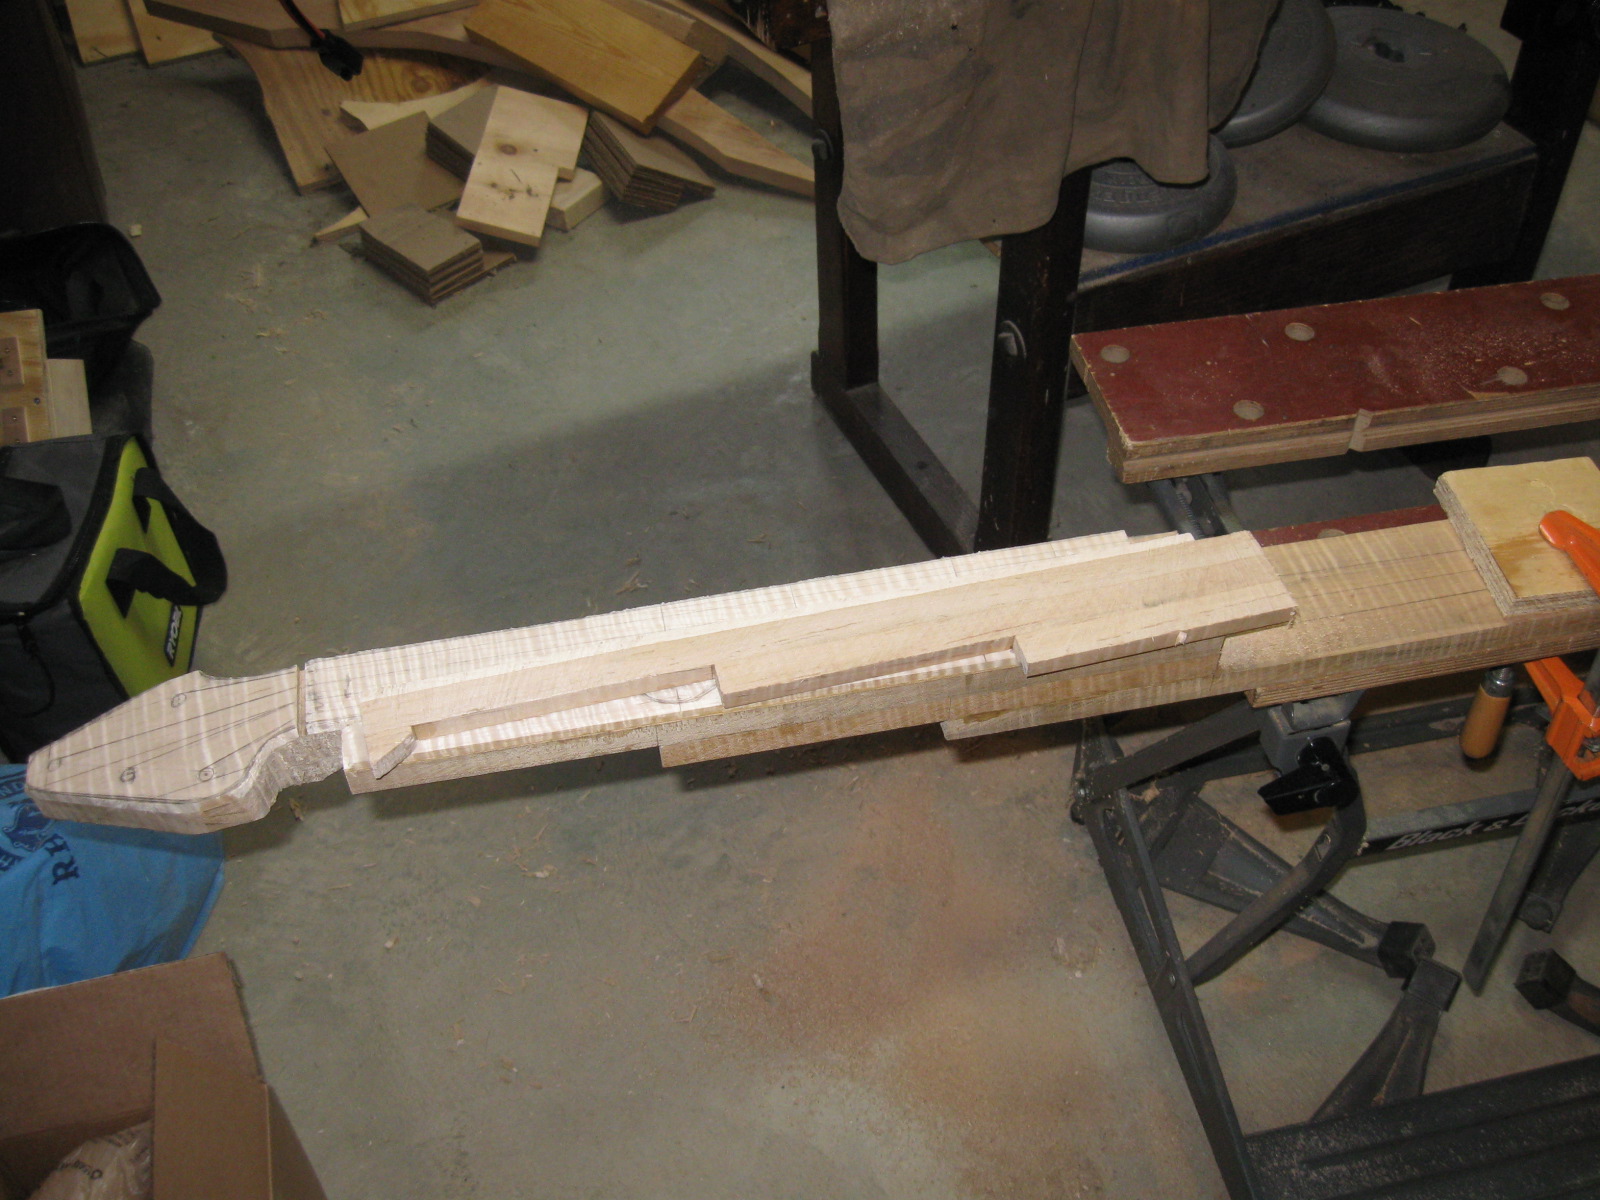
The last time I worked on this banjo, I drew the shape of the neck onto the blank. Today I started cutting it out. Since there are some complex curves, notches, and points in the shape, it took a variety of tools to get it done. In a fancy shop with power tools, I would just turn on the band saw and cut this out in a couple of minutes.
But I don't have a band saw.
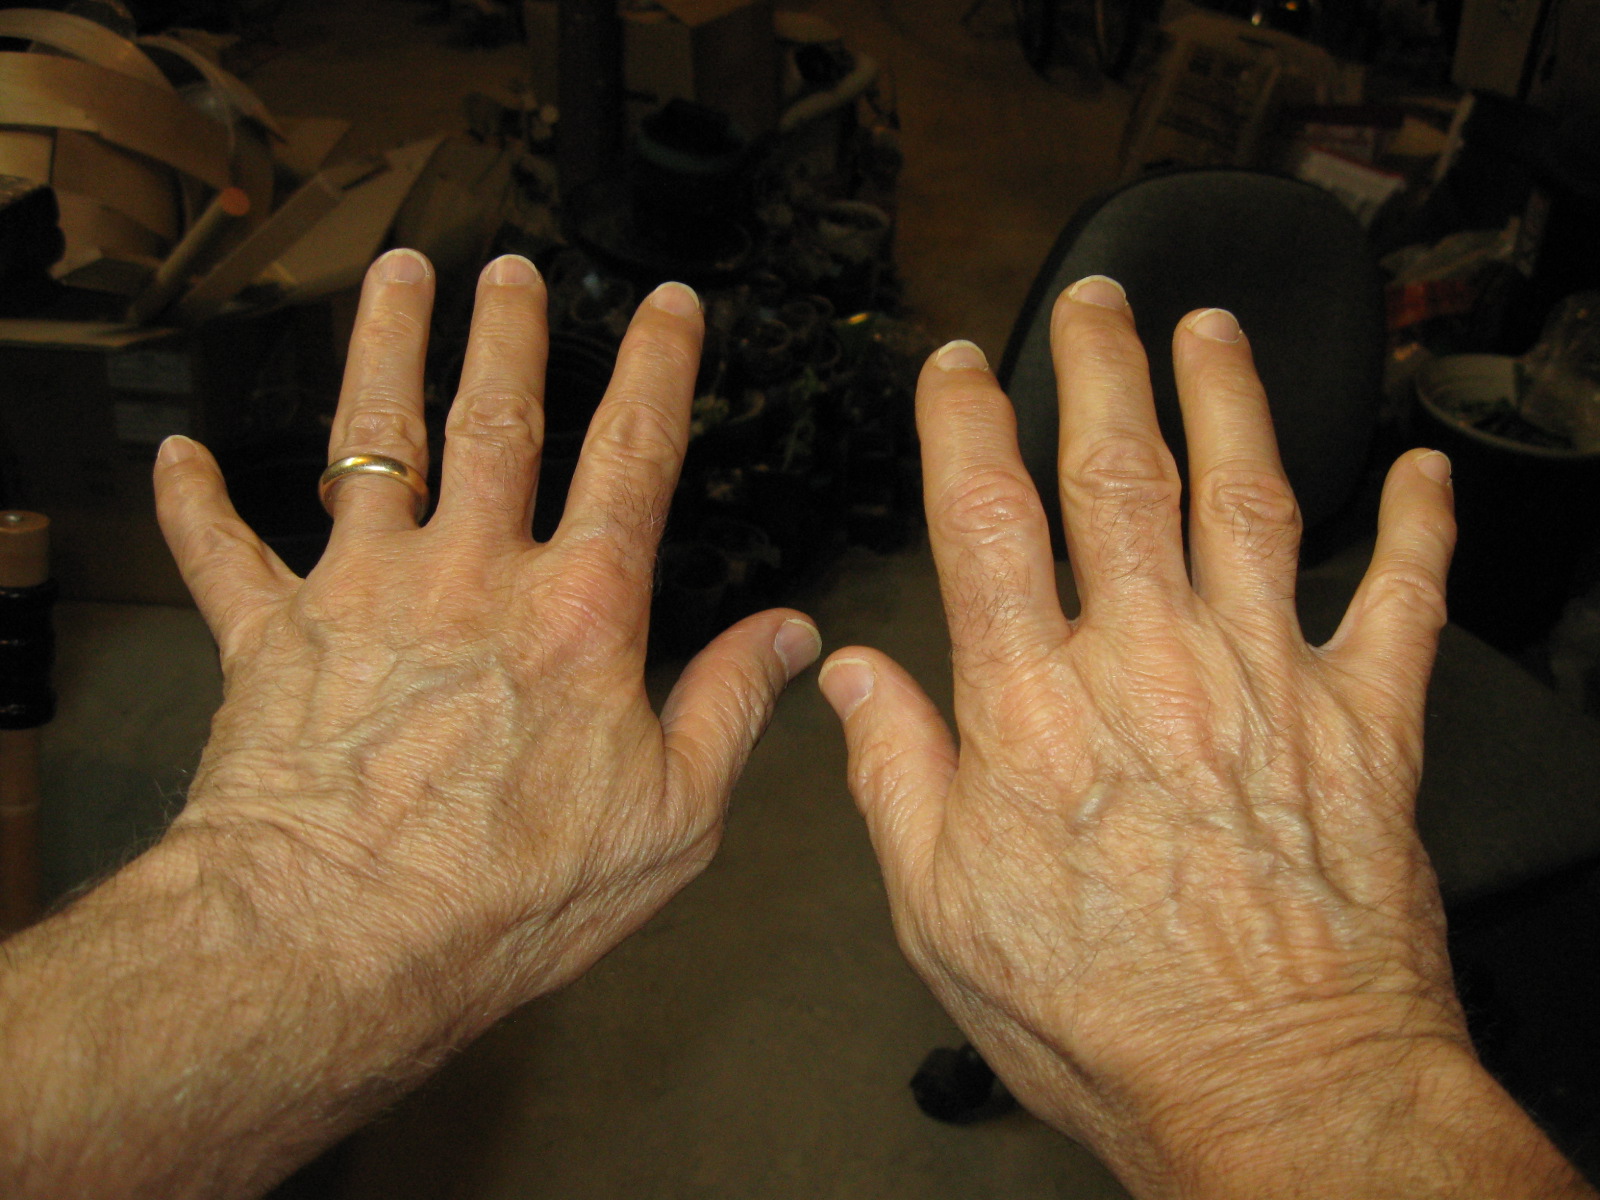
Here is a test to see if you can figure out why that is. Count the fingers in the photo below.
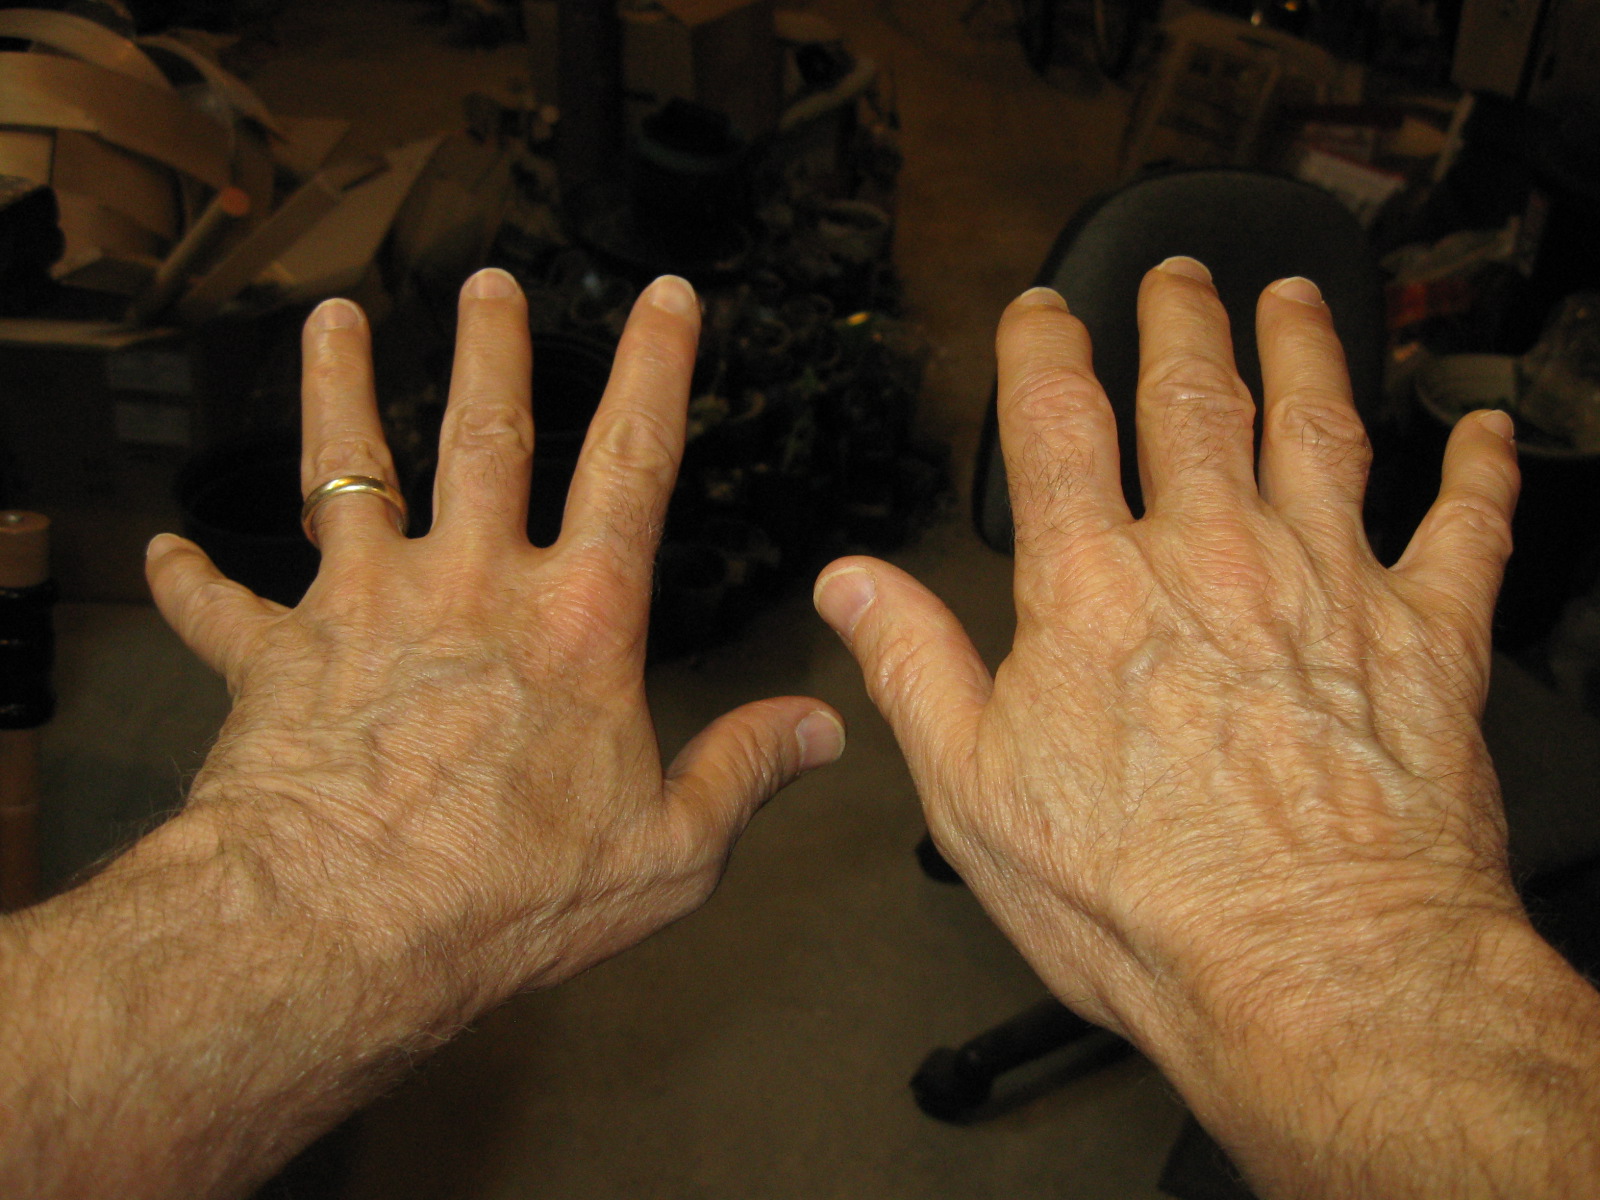
Count the Fingers
All done? How many?
The answer is "All 10 of them". And that is because I do not use power tools to do this hobby. It isn't that I am a klutz or anything... well actually that is what it is. I am a klutz. And I need all of those fingers to play the banjo after I have made it.
So I do not use power tools to make my banjos. Besides, I enjoy using hand tools, and I do not enjoy using power tools, and this is a hobby not a business, so I will do it the way I want to.
Cutting the shape out of the wood takes a variety of tricks, one of which is to use the rip saw to hog out most of the wood along straight lines that approximate the final shape. I drew some straight lines on the peghead to cut first.
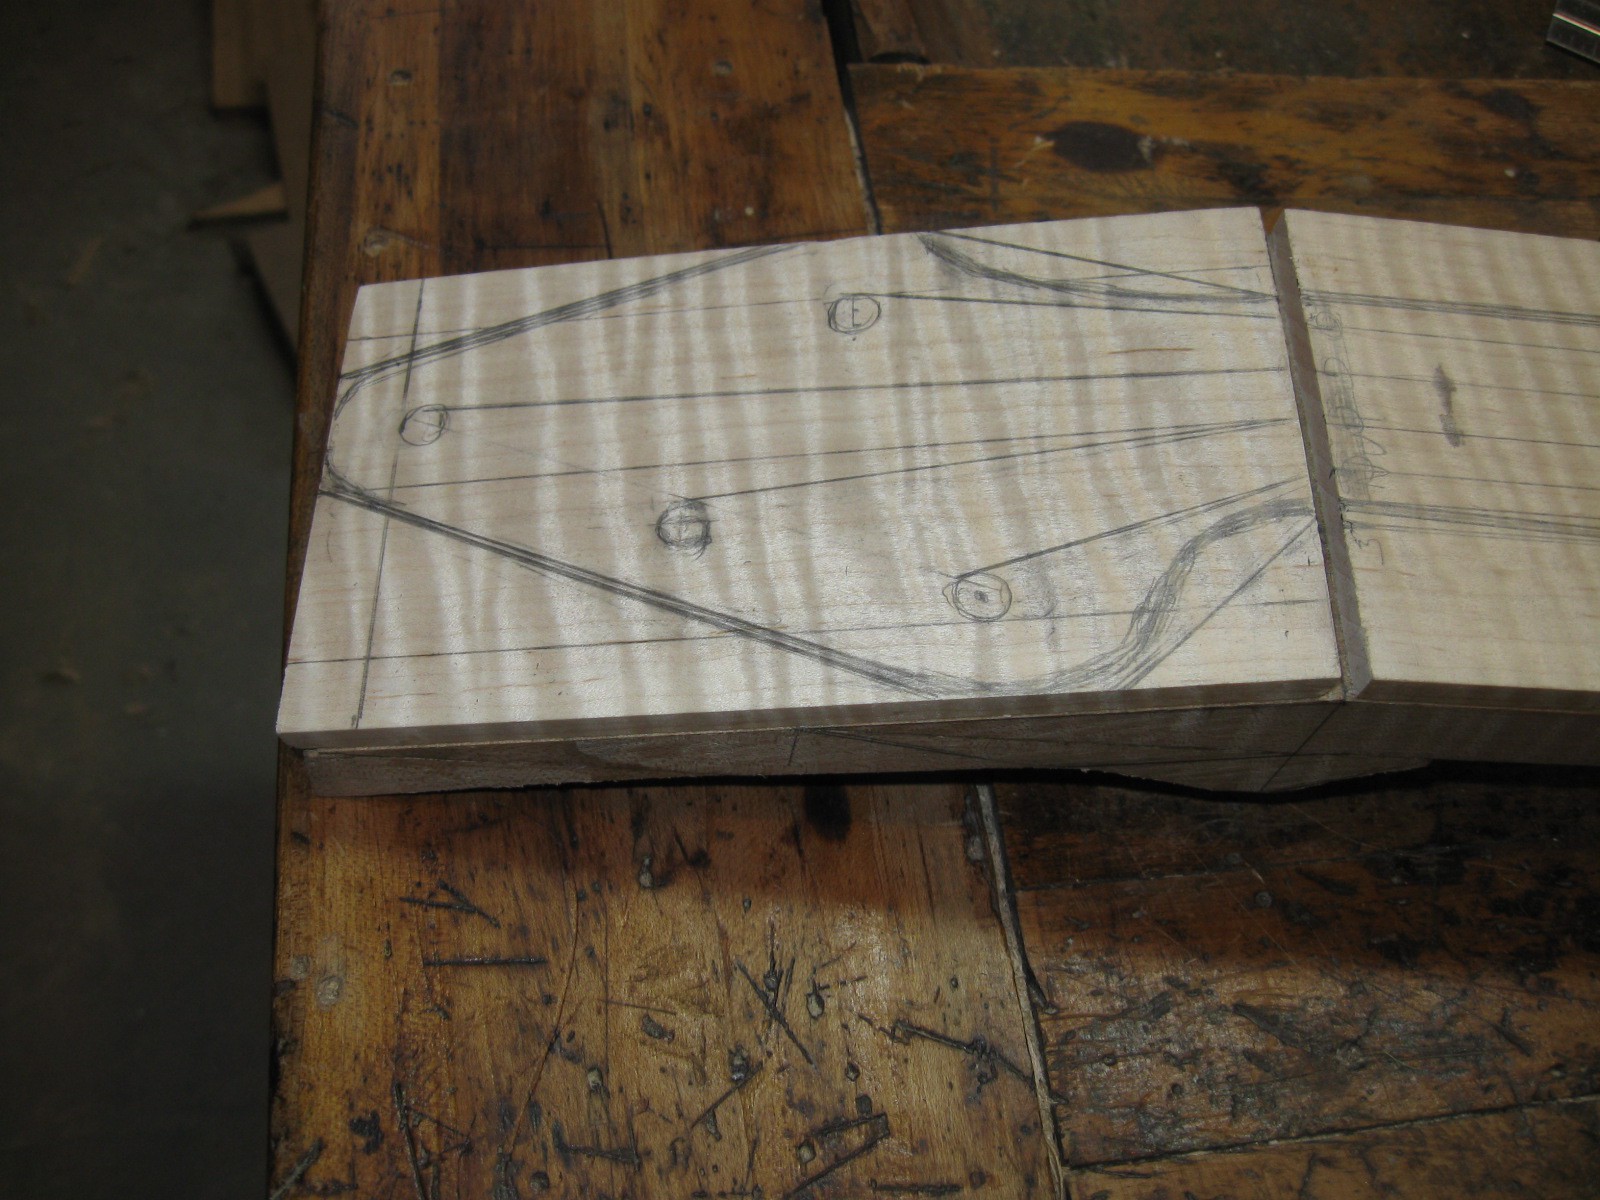
I Cut Along the Straight Lines First
I clamped the neck in the Black & Decker Workmate® because that puts it at a convenient height for sawing.
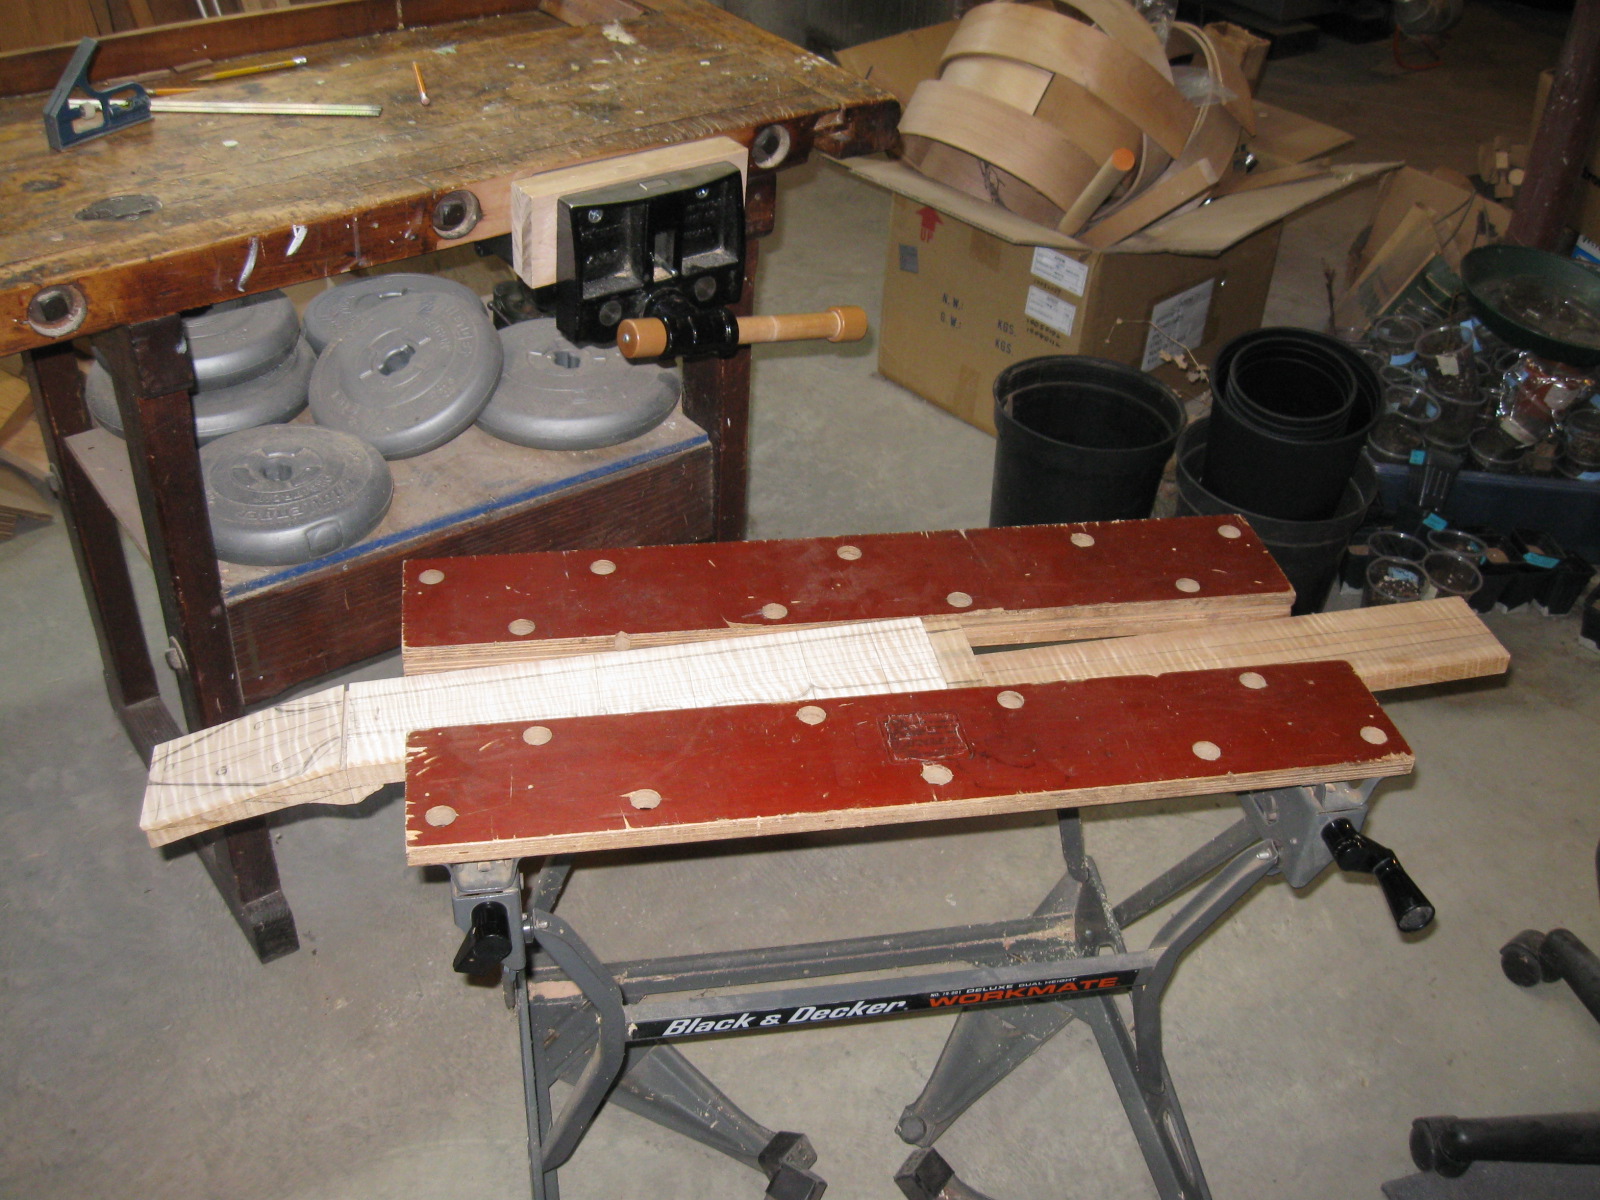
The Workmate is At the Correct Height
The cuts along the sides of the peghead go quickly with the sharp rip saw.
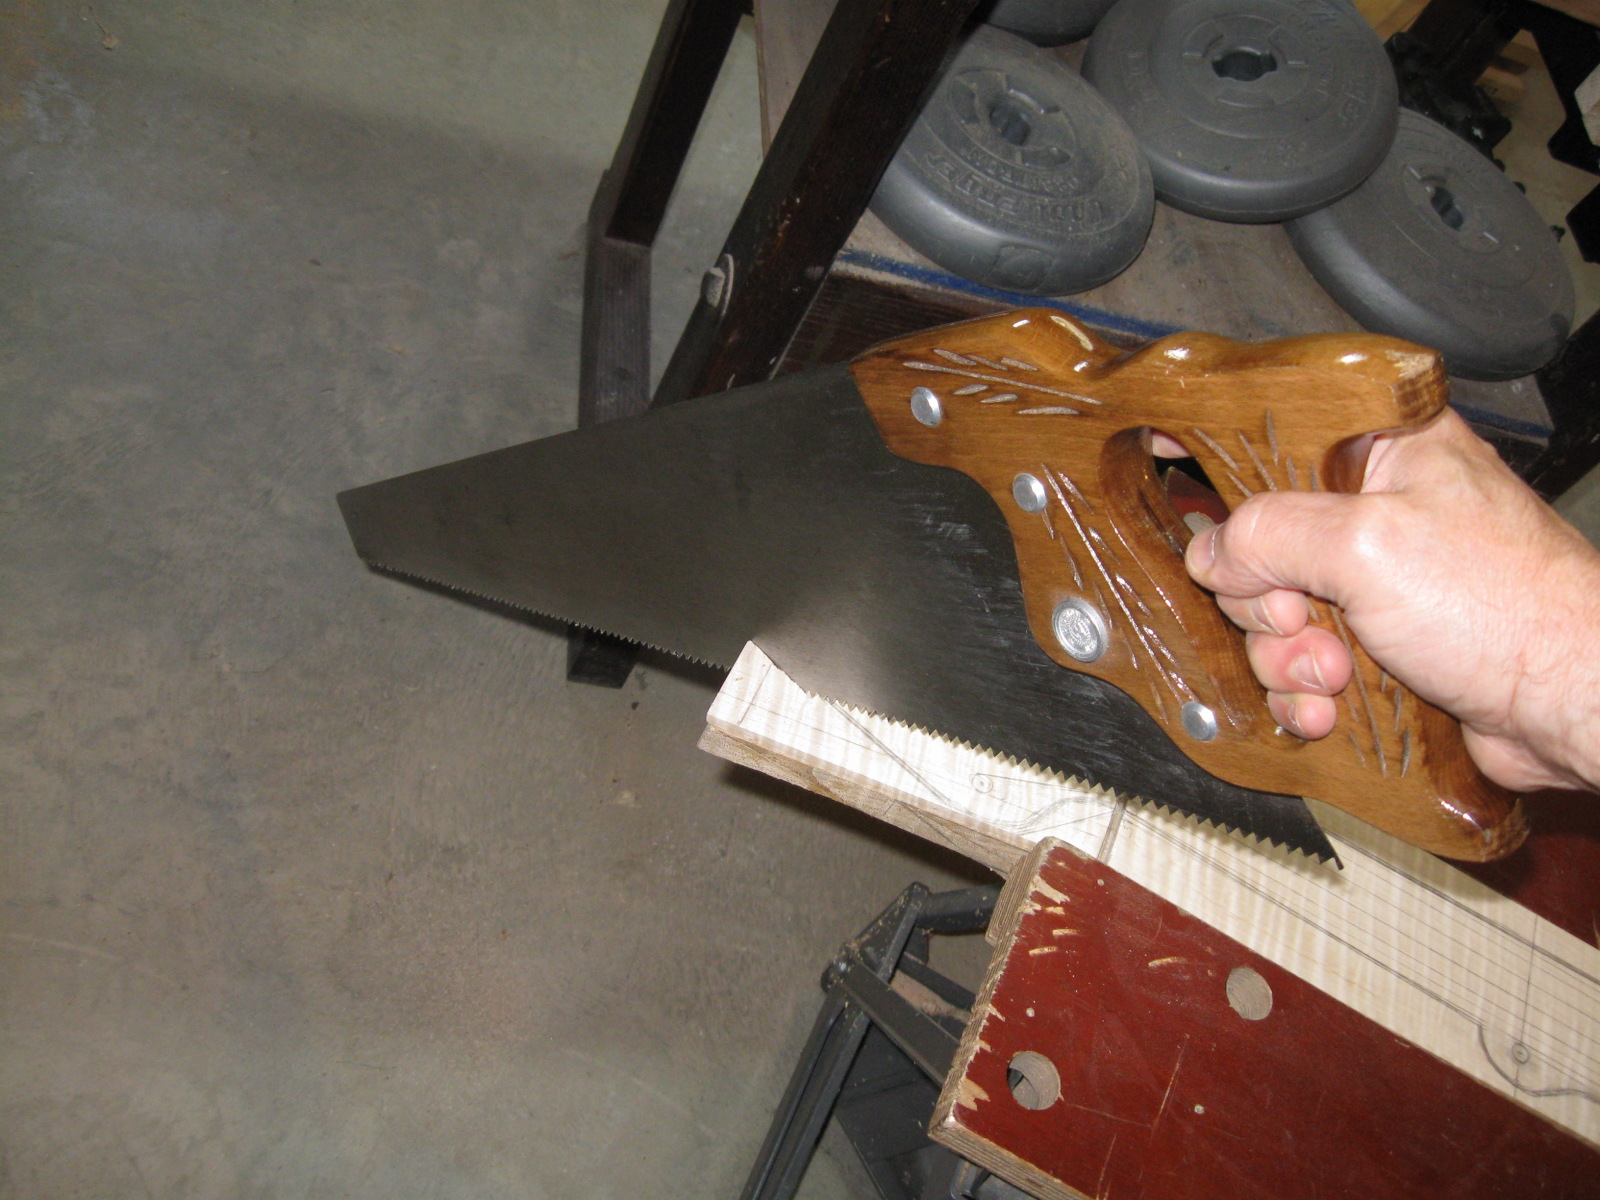
Sawing the Sides of the Peghead
The first side has been sawed off.
The Left Side is Done
The right side of the peghead is done next.
The Right Side Has Been Cut
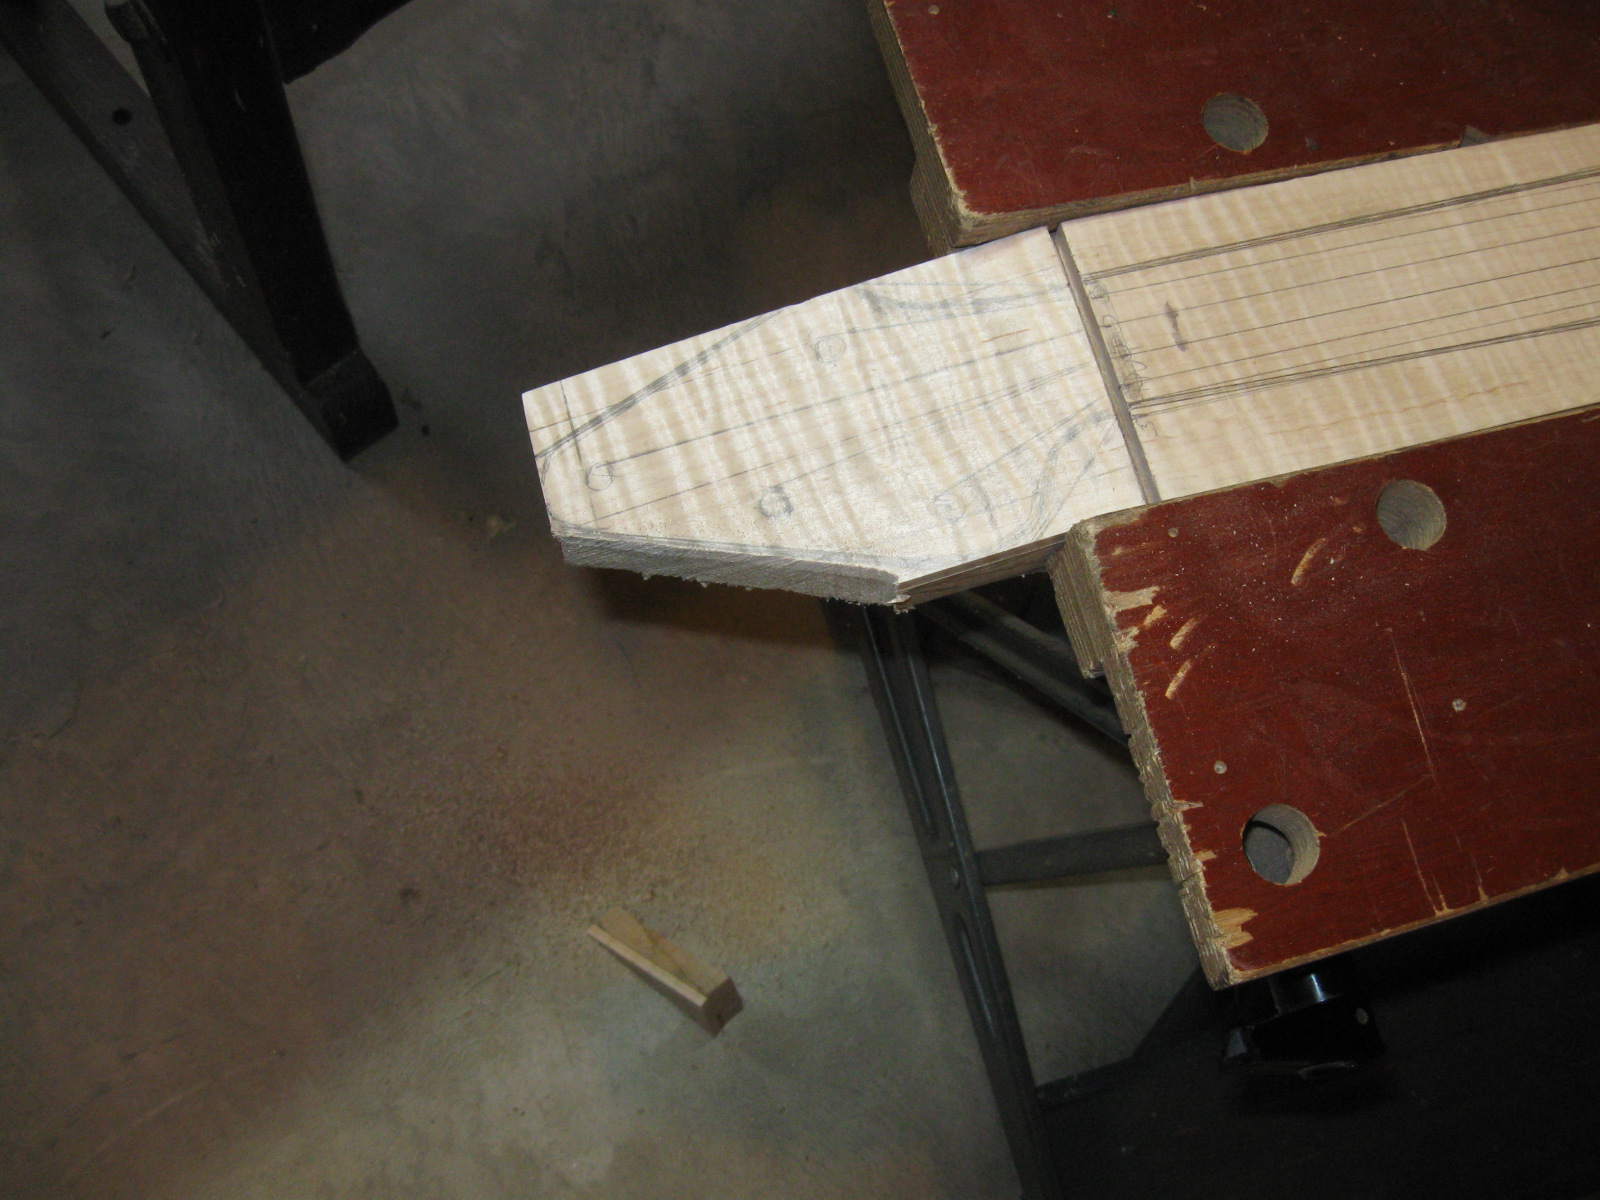
Next, I cut off the angled part that goes down to where the nut will be.

The Third Cut
Finally, I cut off the part that is curved on the left side.
That Final Saw Cut is Done
In order to cut out the curved parts that are left I sawed some kerfs in the wood up to the line that marks the shape of the curve.
Cutting Kerfs to Hog Out the Curved Part
Here you can see the kerfs that have been cut.
I Cut the Kerfs Up To the Shape of the Peghead
A few taps with the chisel break away the remainder of the wood between the kerfs.
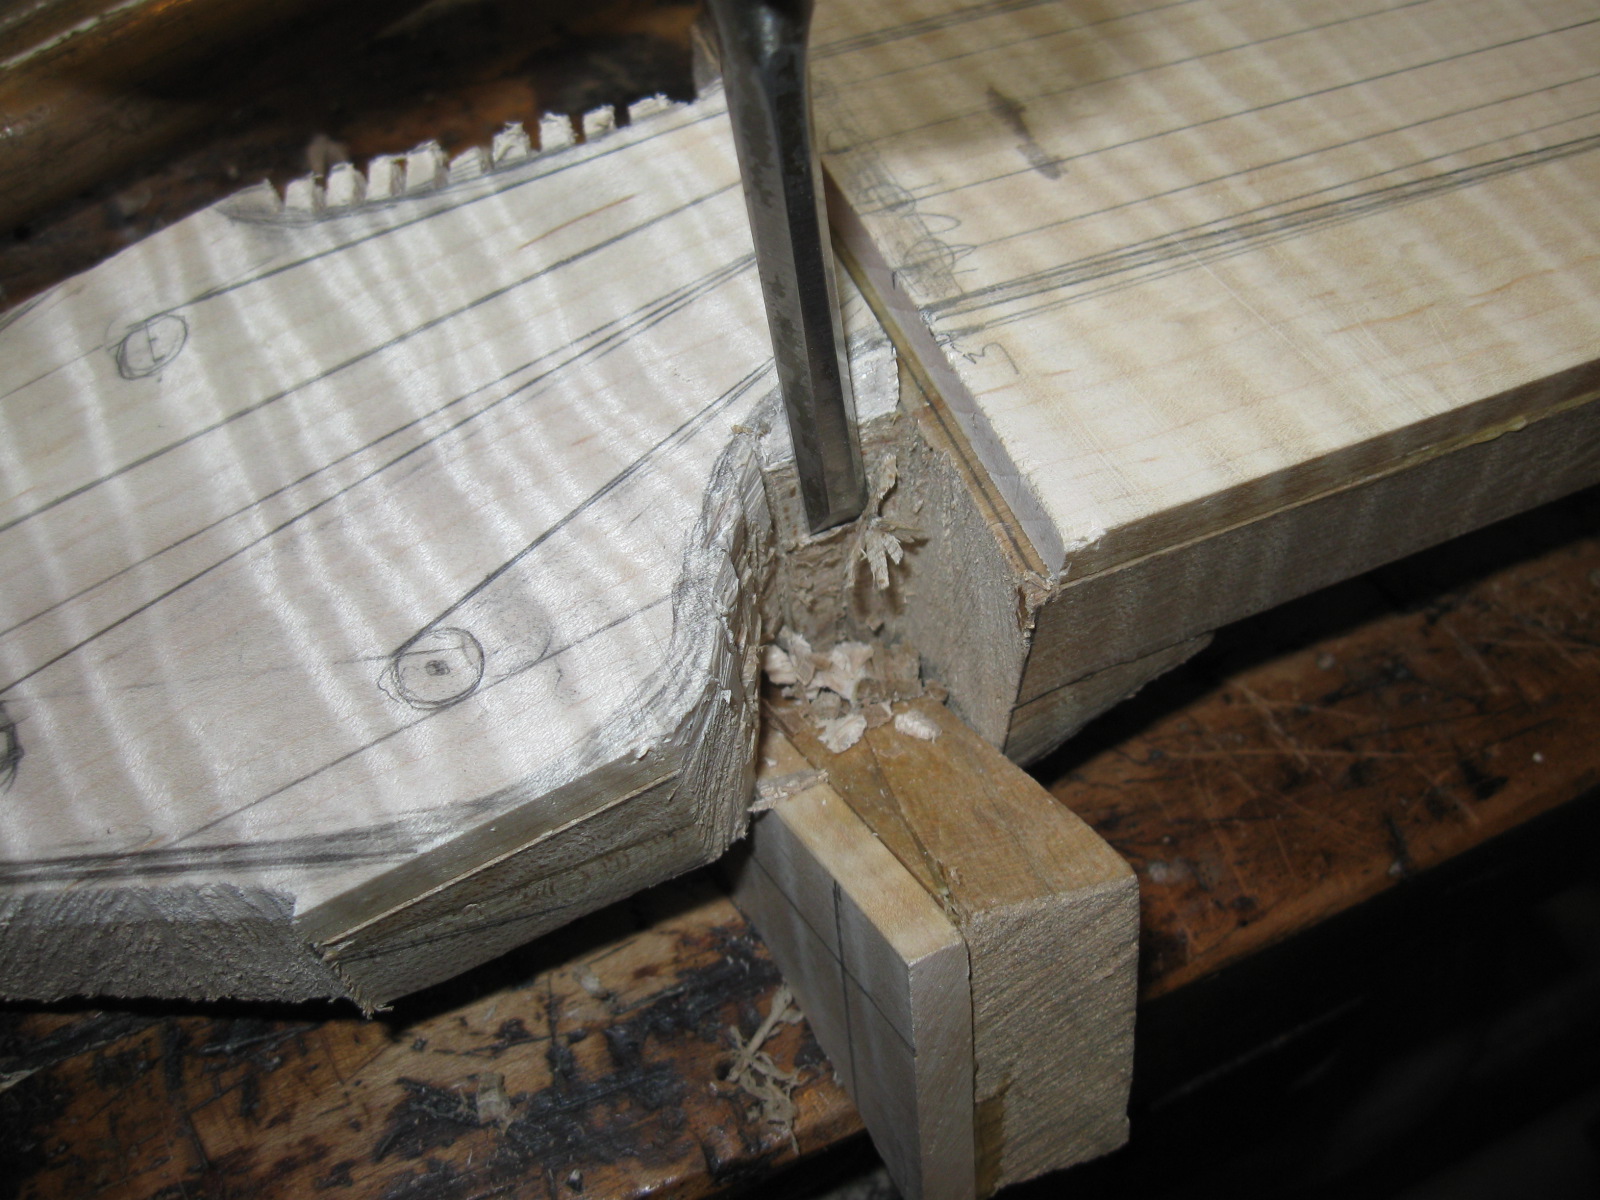
The Chisel Breaks Away the Wood
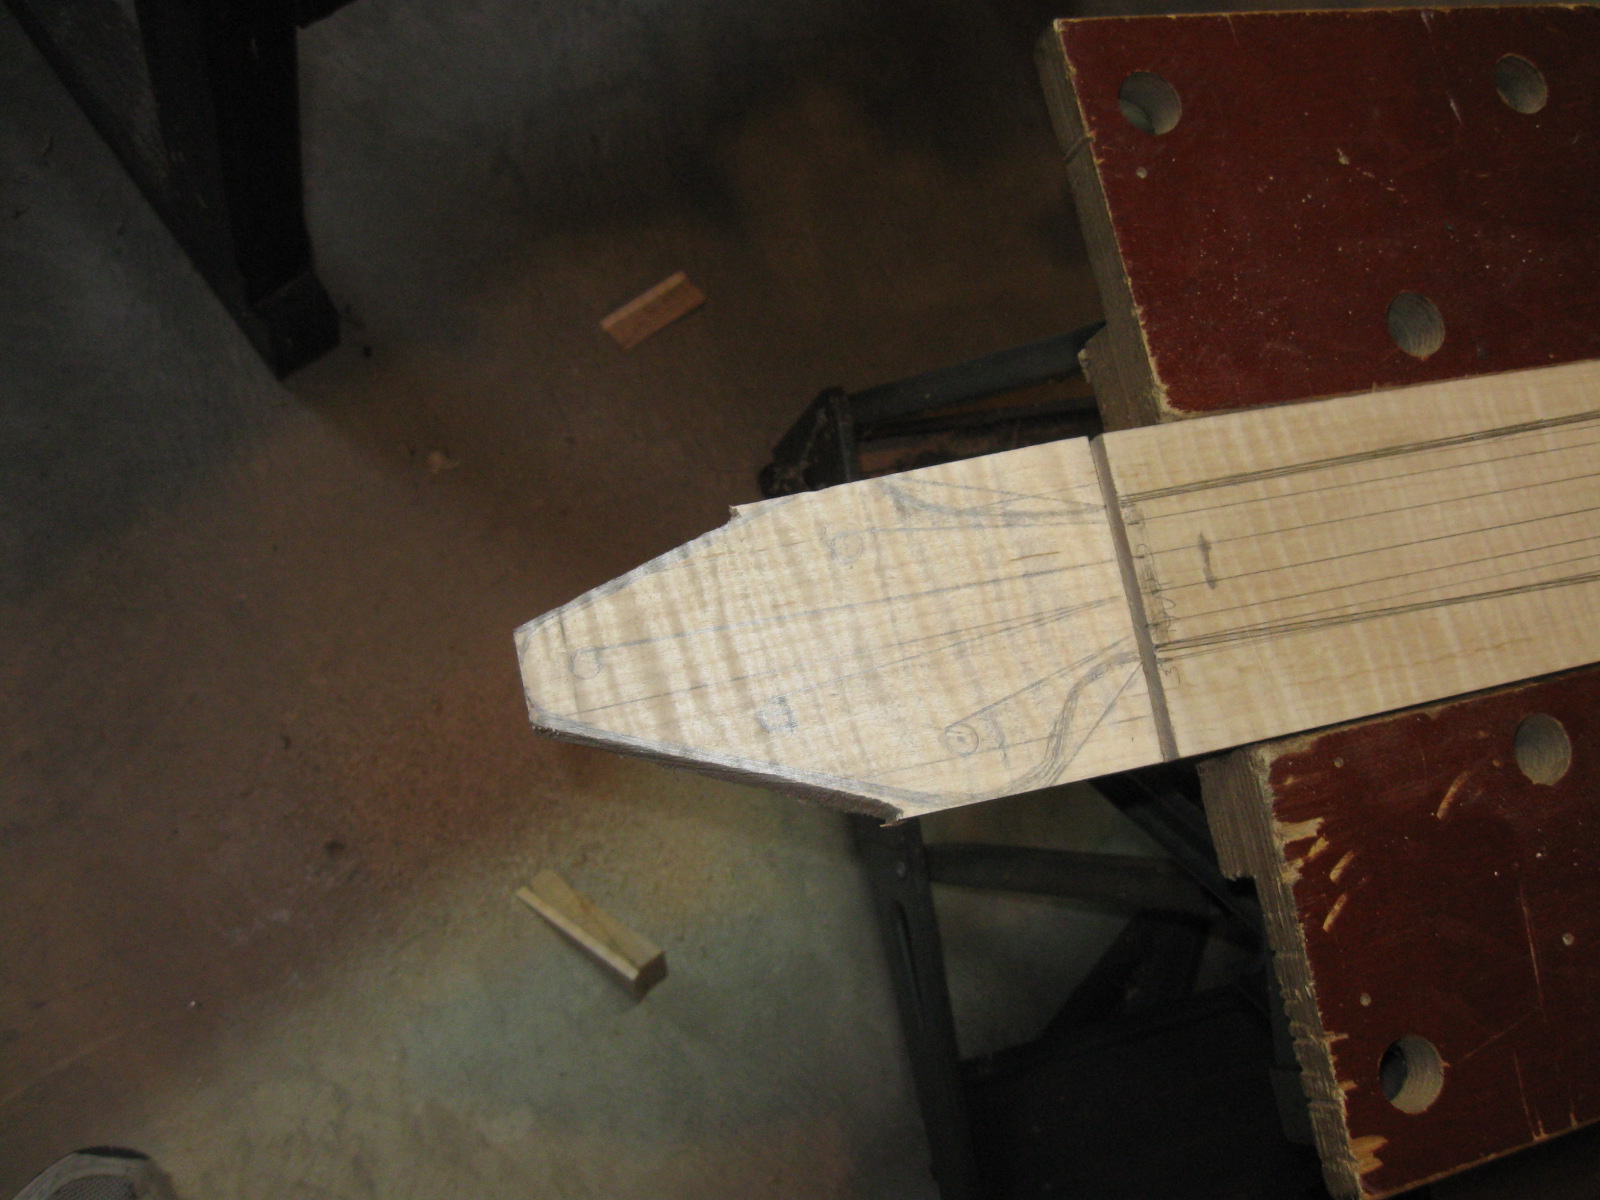
Here is the other side of the peghead.
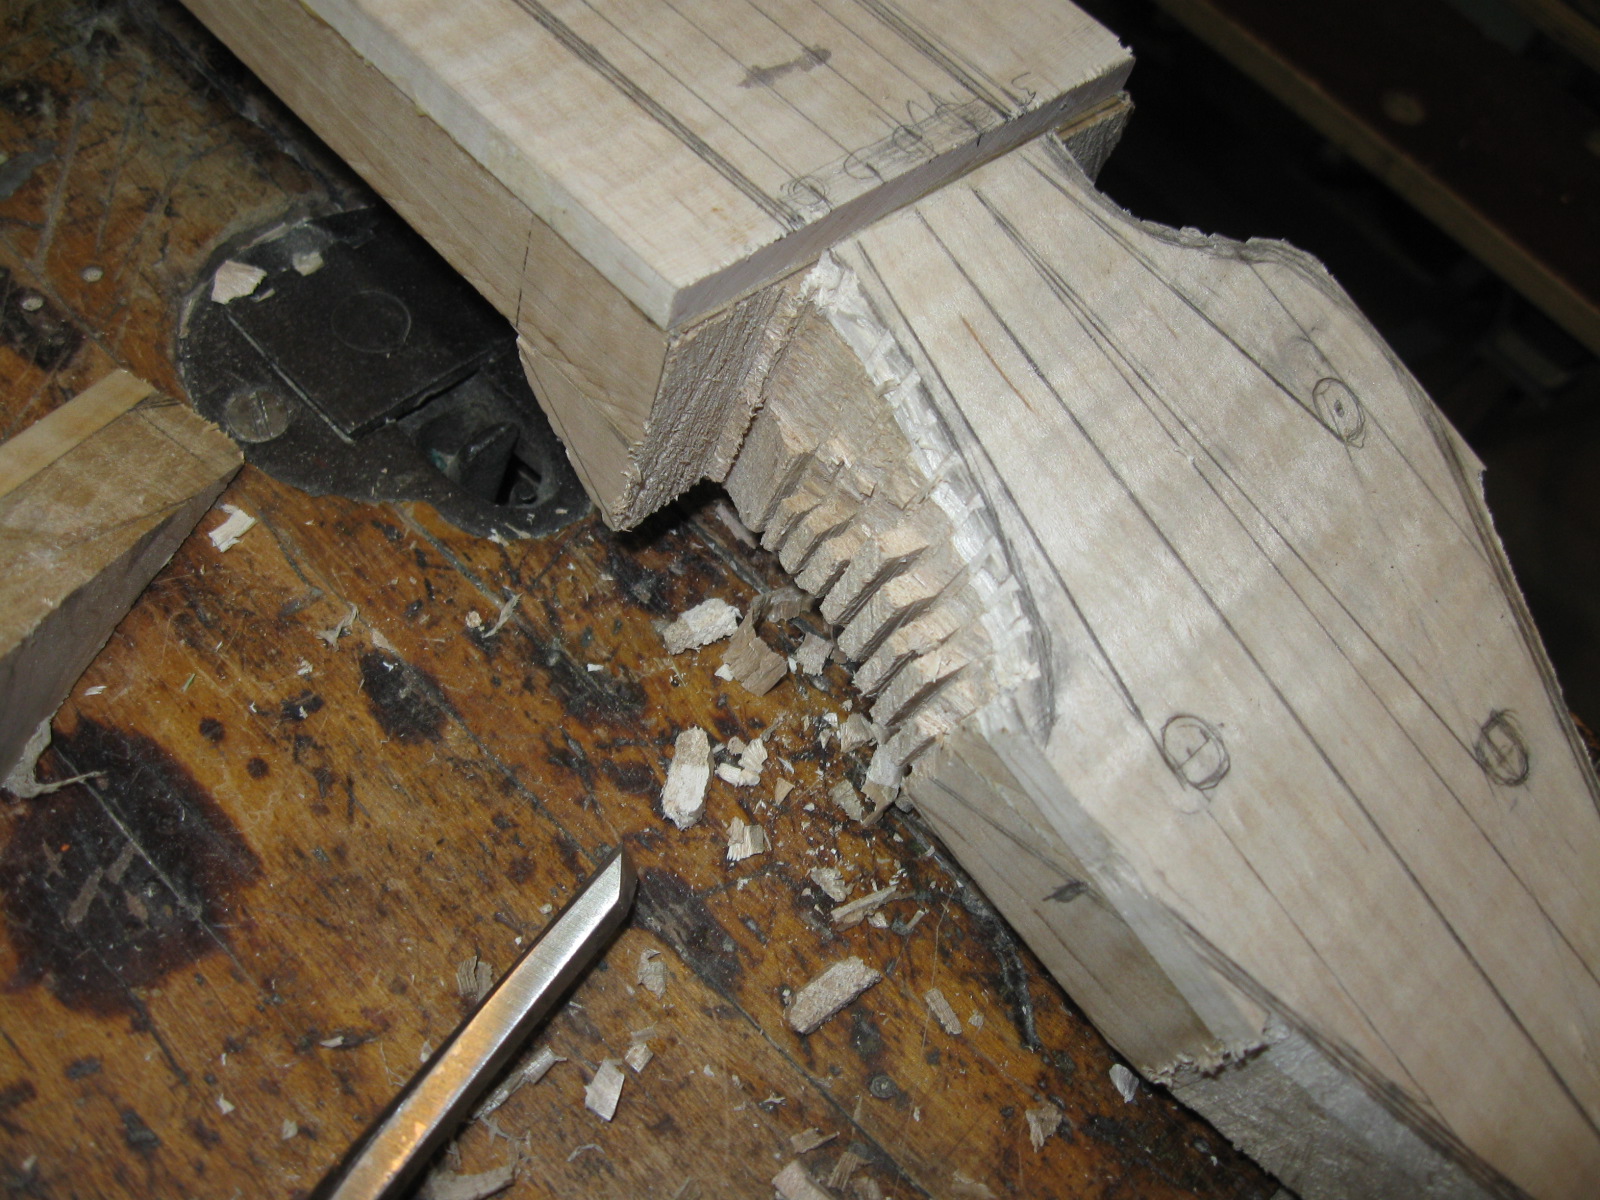
The Other Side is Done the Same Way
The rattail file is useful for smoothing out the tight curves.
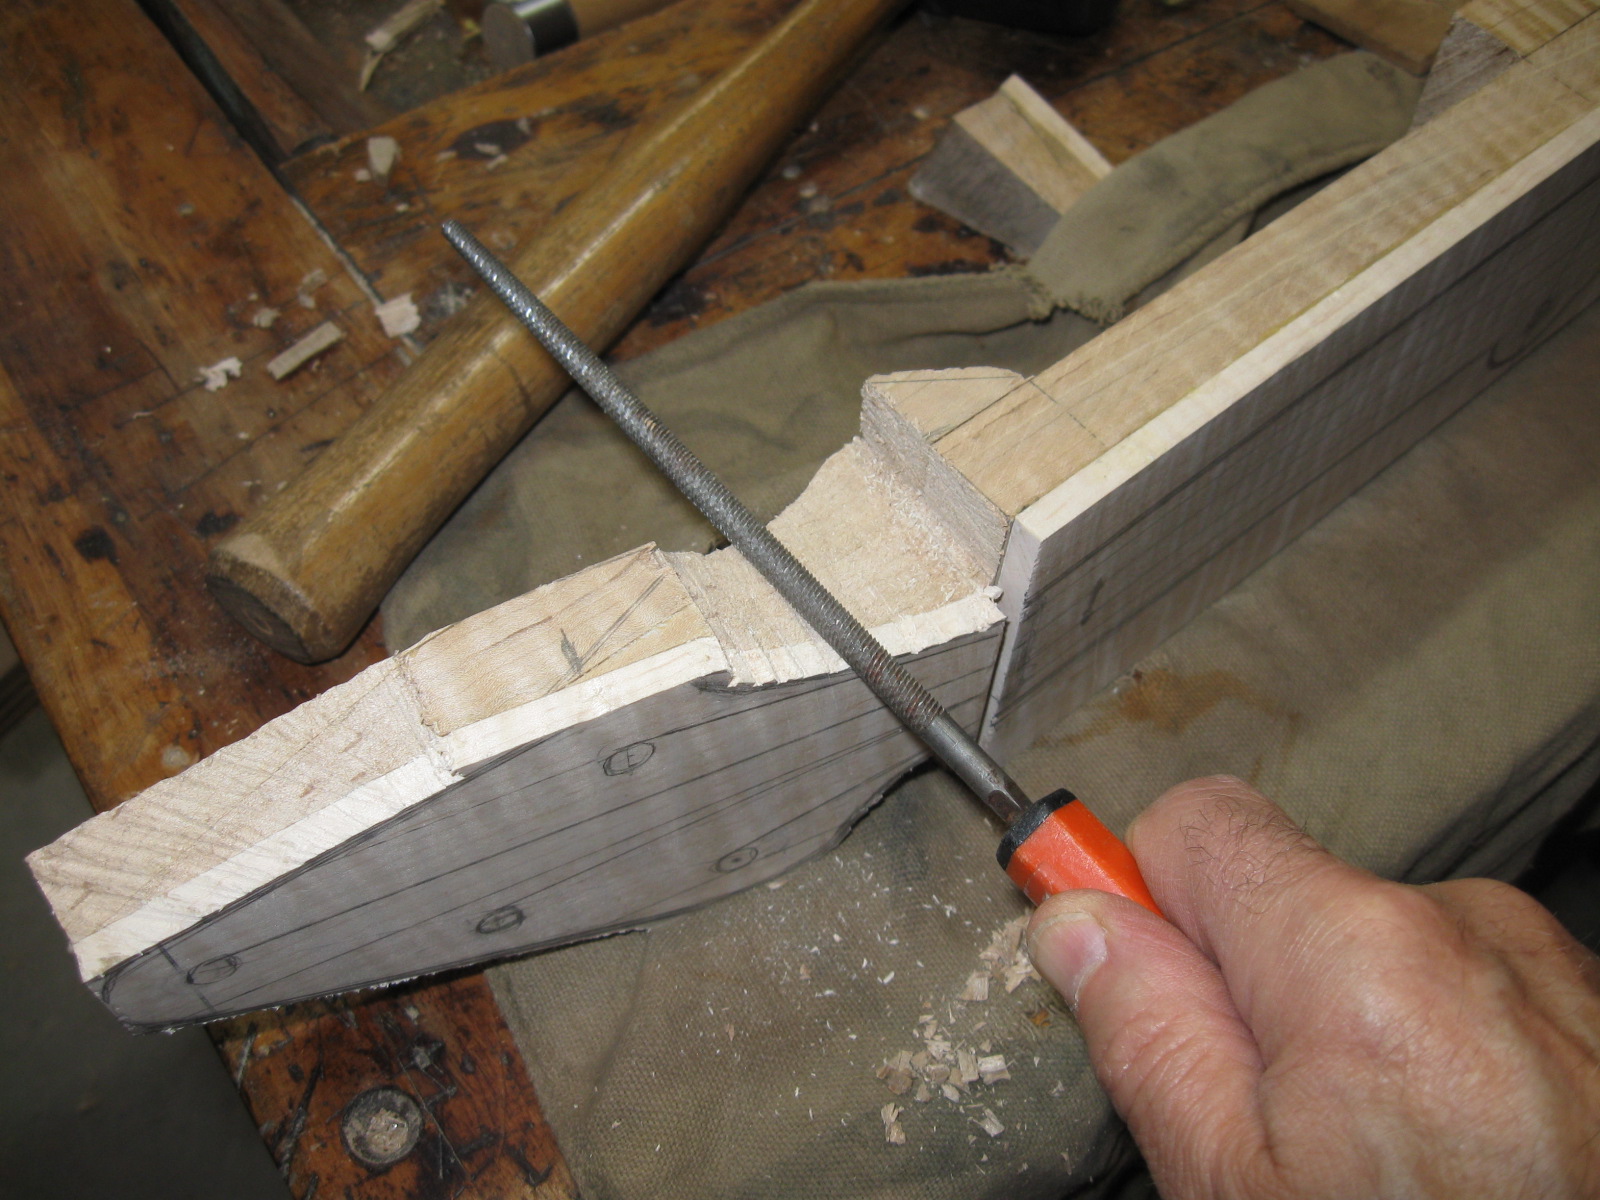
Using the Rattail File
I also use the card scraper in that tight space. A sharp card scraper will take wood off at a pretty good rate.
The Card Scraper is One of My Favorite Tools
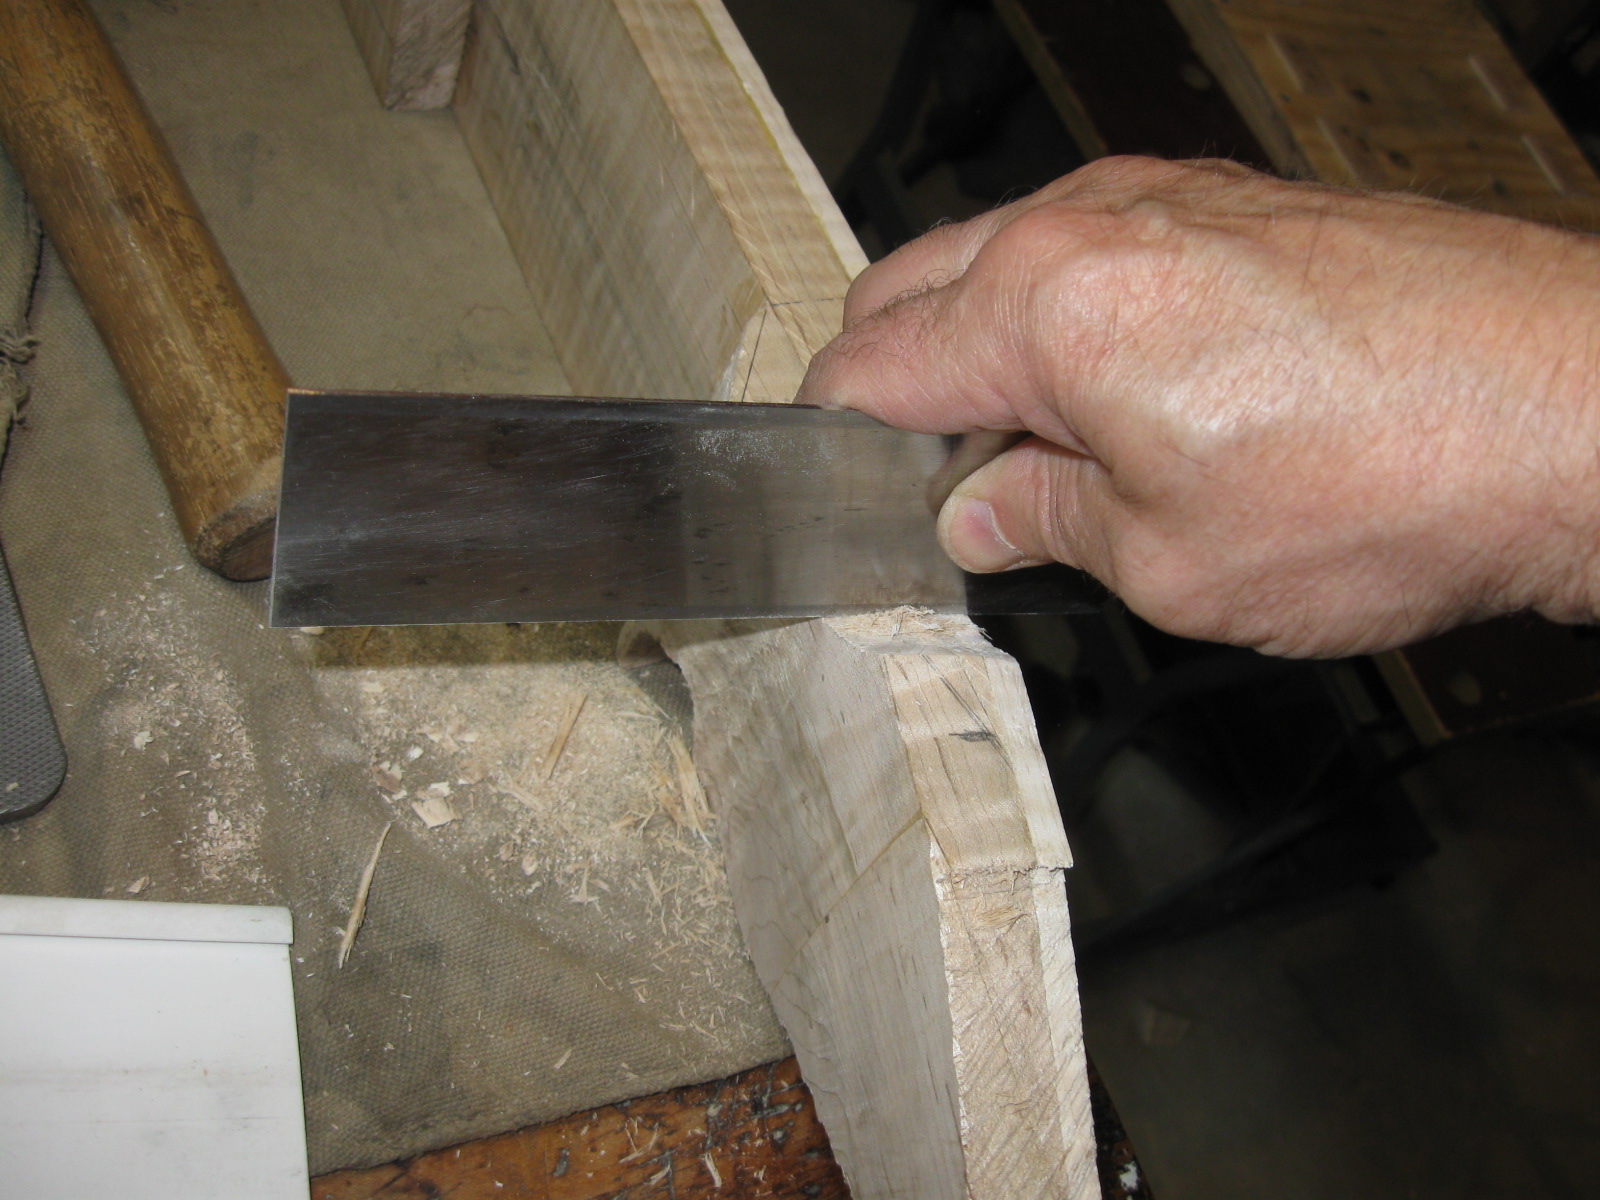
For the straight sides I use the block plane.
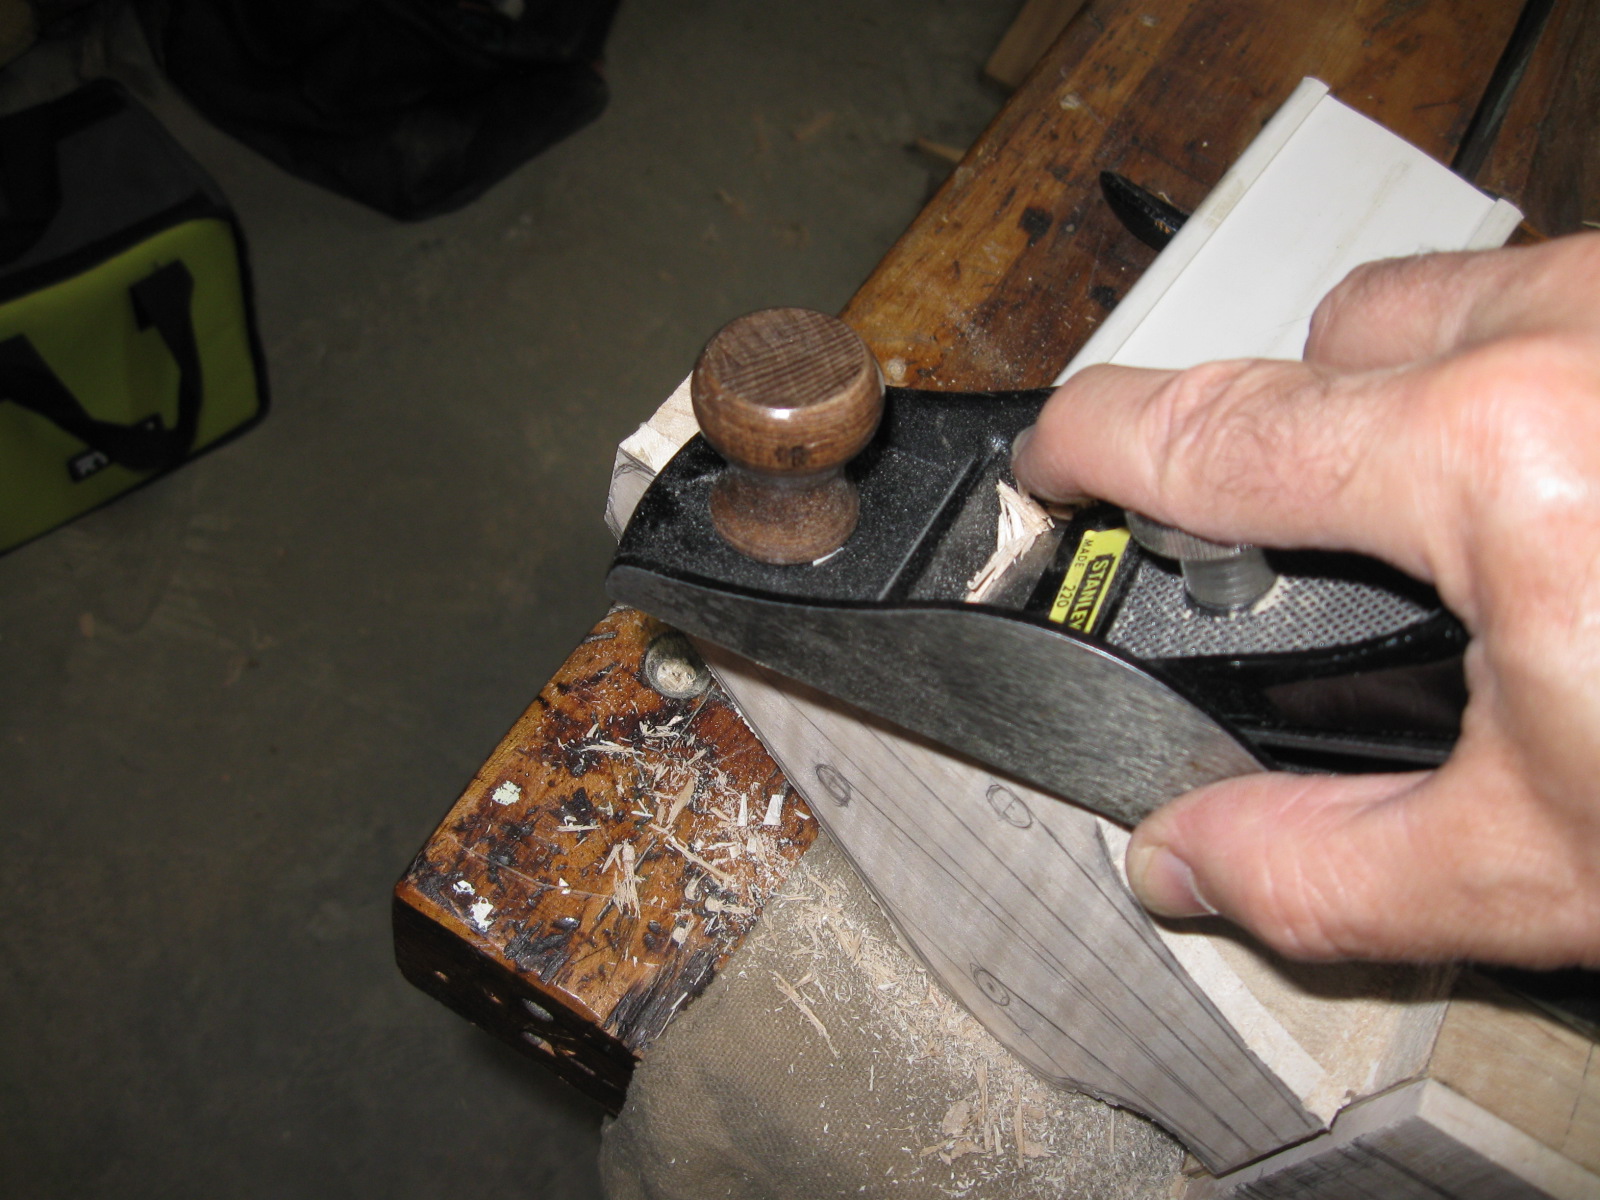
The Block Plane Smooths the Peghead Sides
The next step is to cut the straight sides of the neck with a saw. There is not much space in there to get a saw blade, so I made some kerfs to chop out a short distance for a starting space.
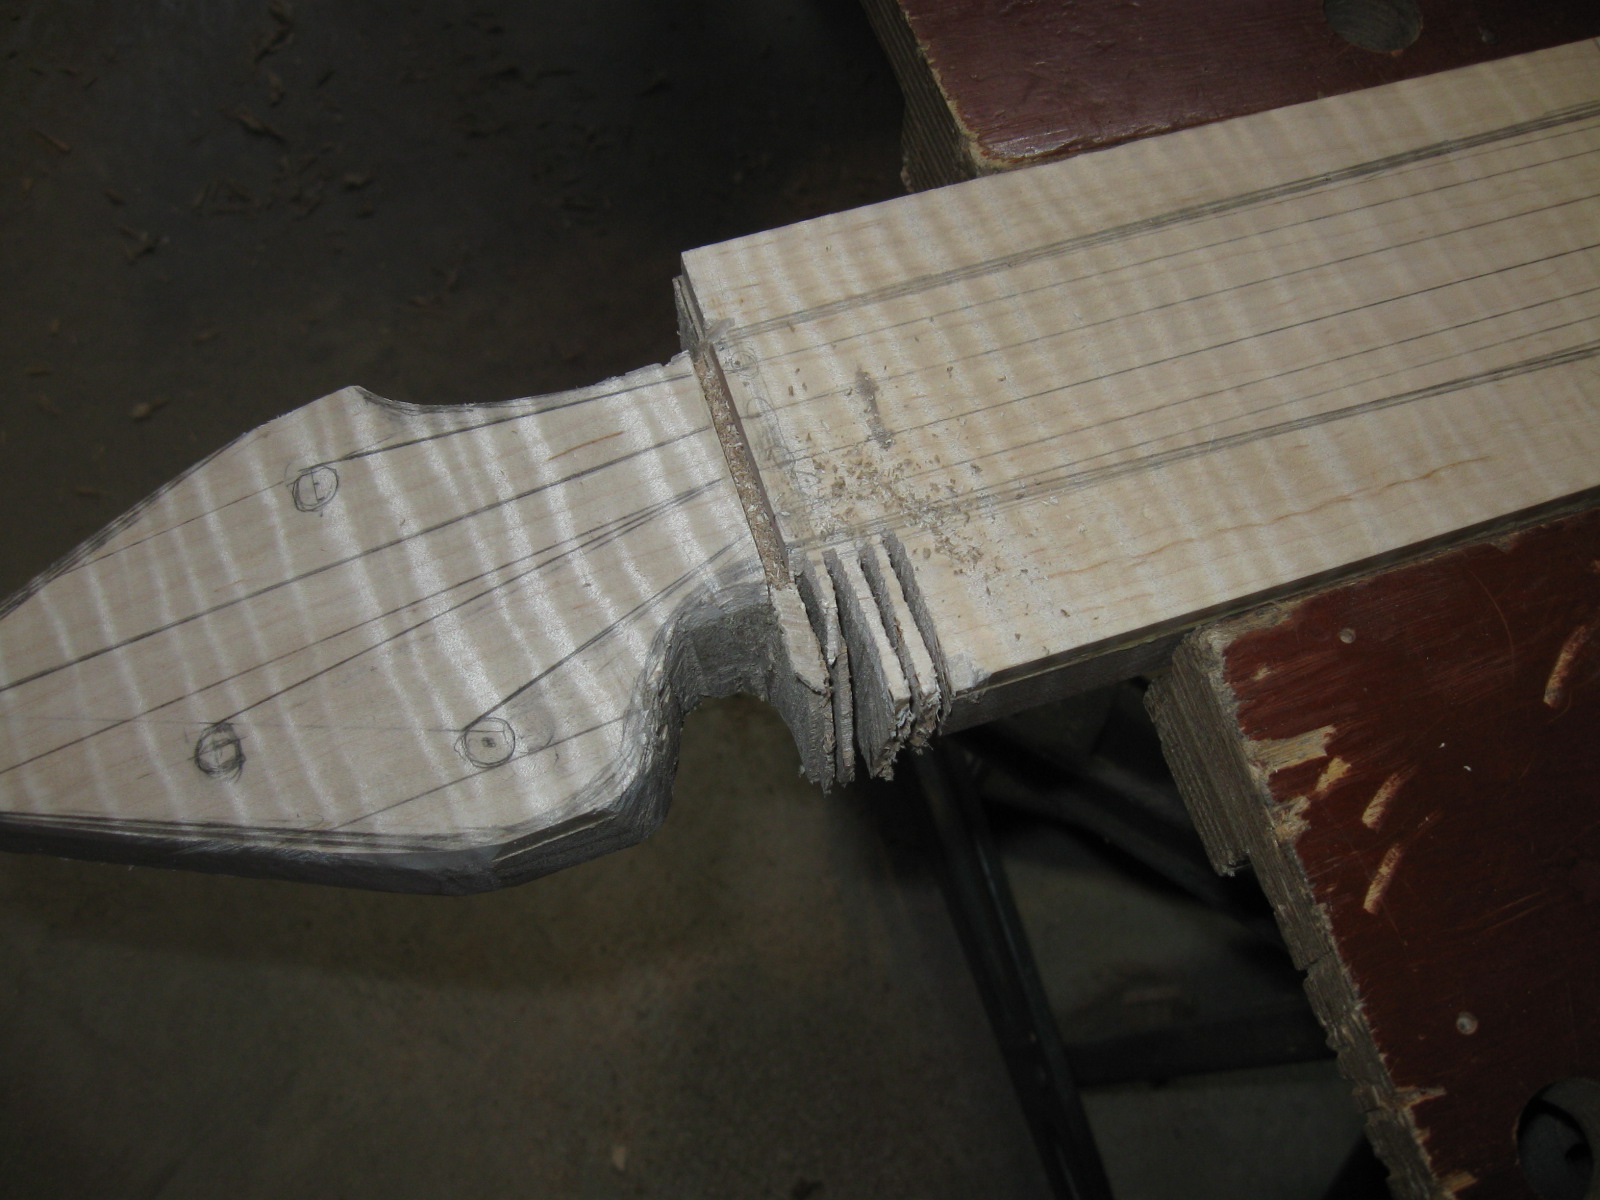
More Kerfs for Hogging Out Wood
I chopped out the kerfs and then used my compass saw to start the long cut down to the ogee. The reason for using this saw is that it has a very narrow blade that will fit into that tight space.
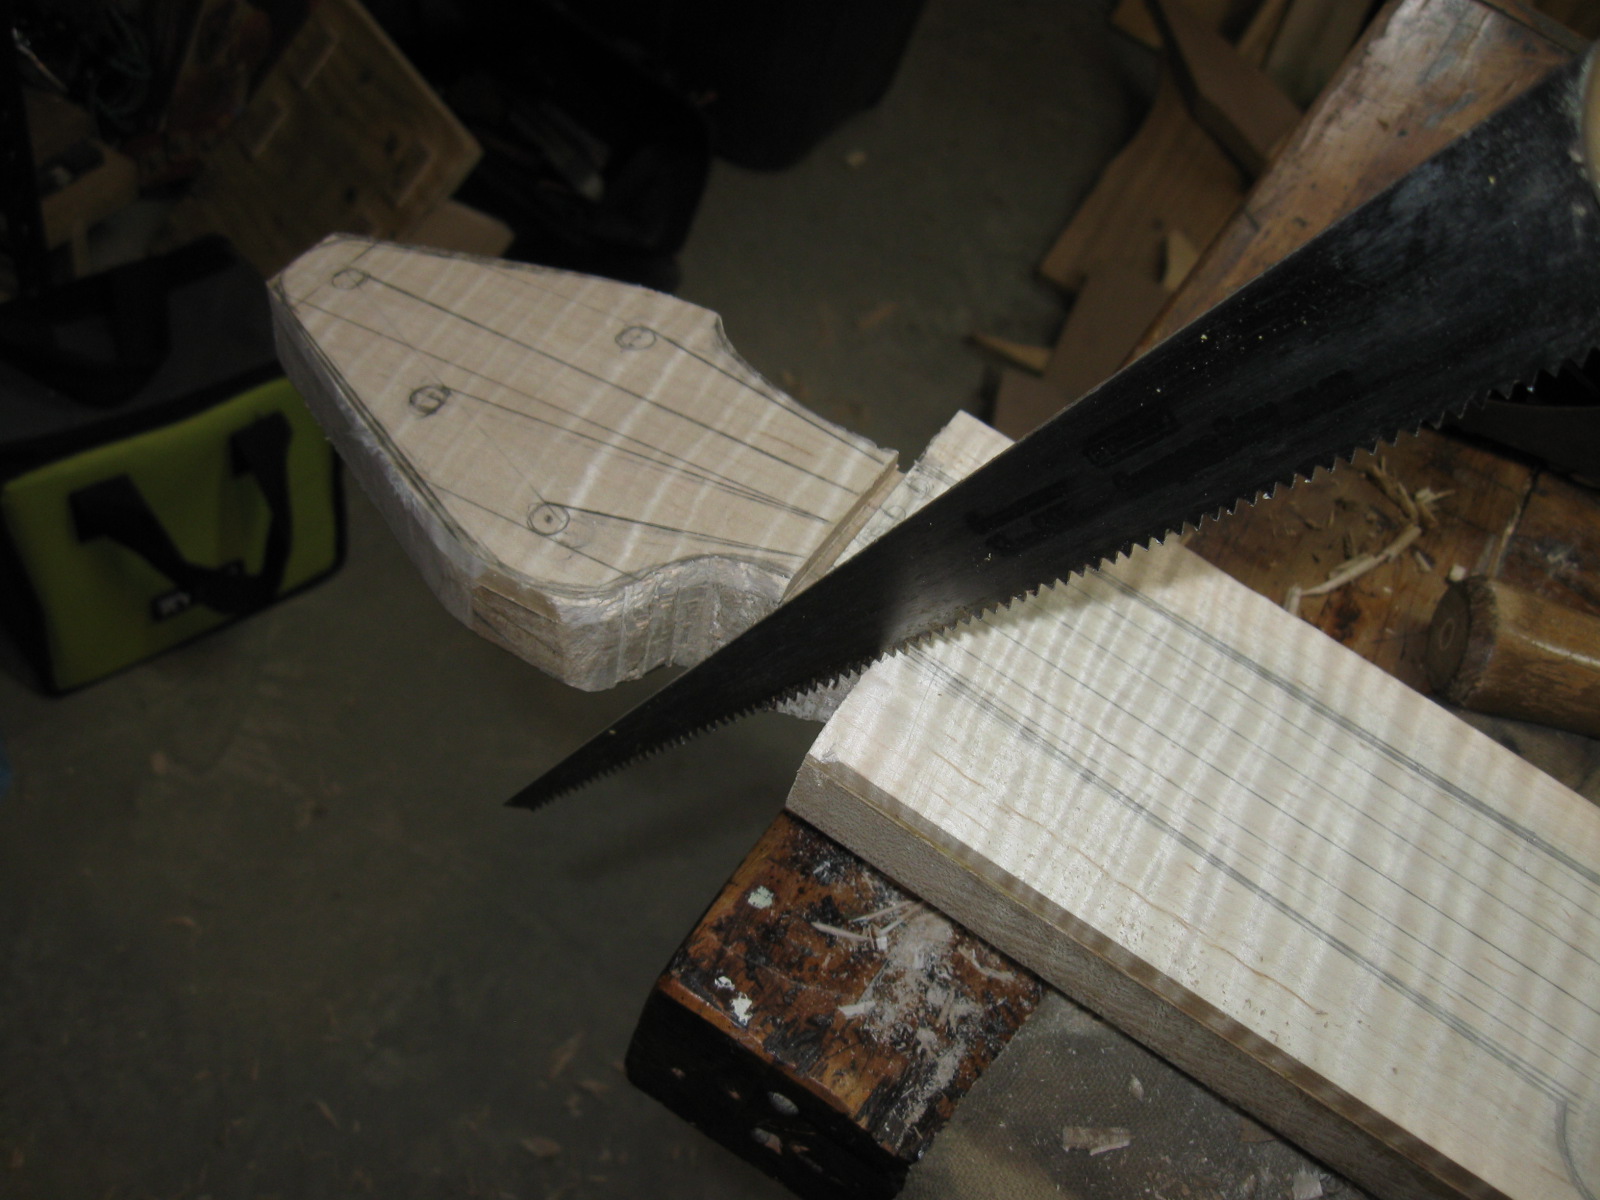
The Compass Saw Has a Very Narrow Blade
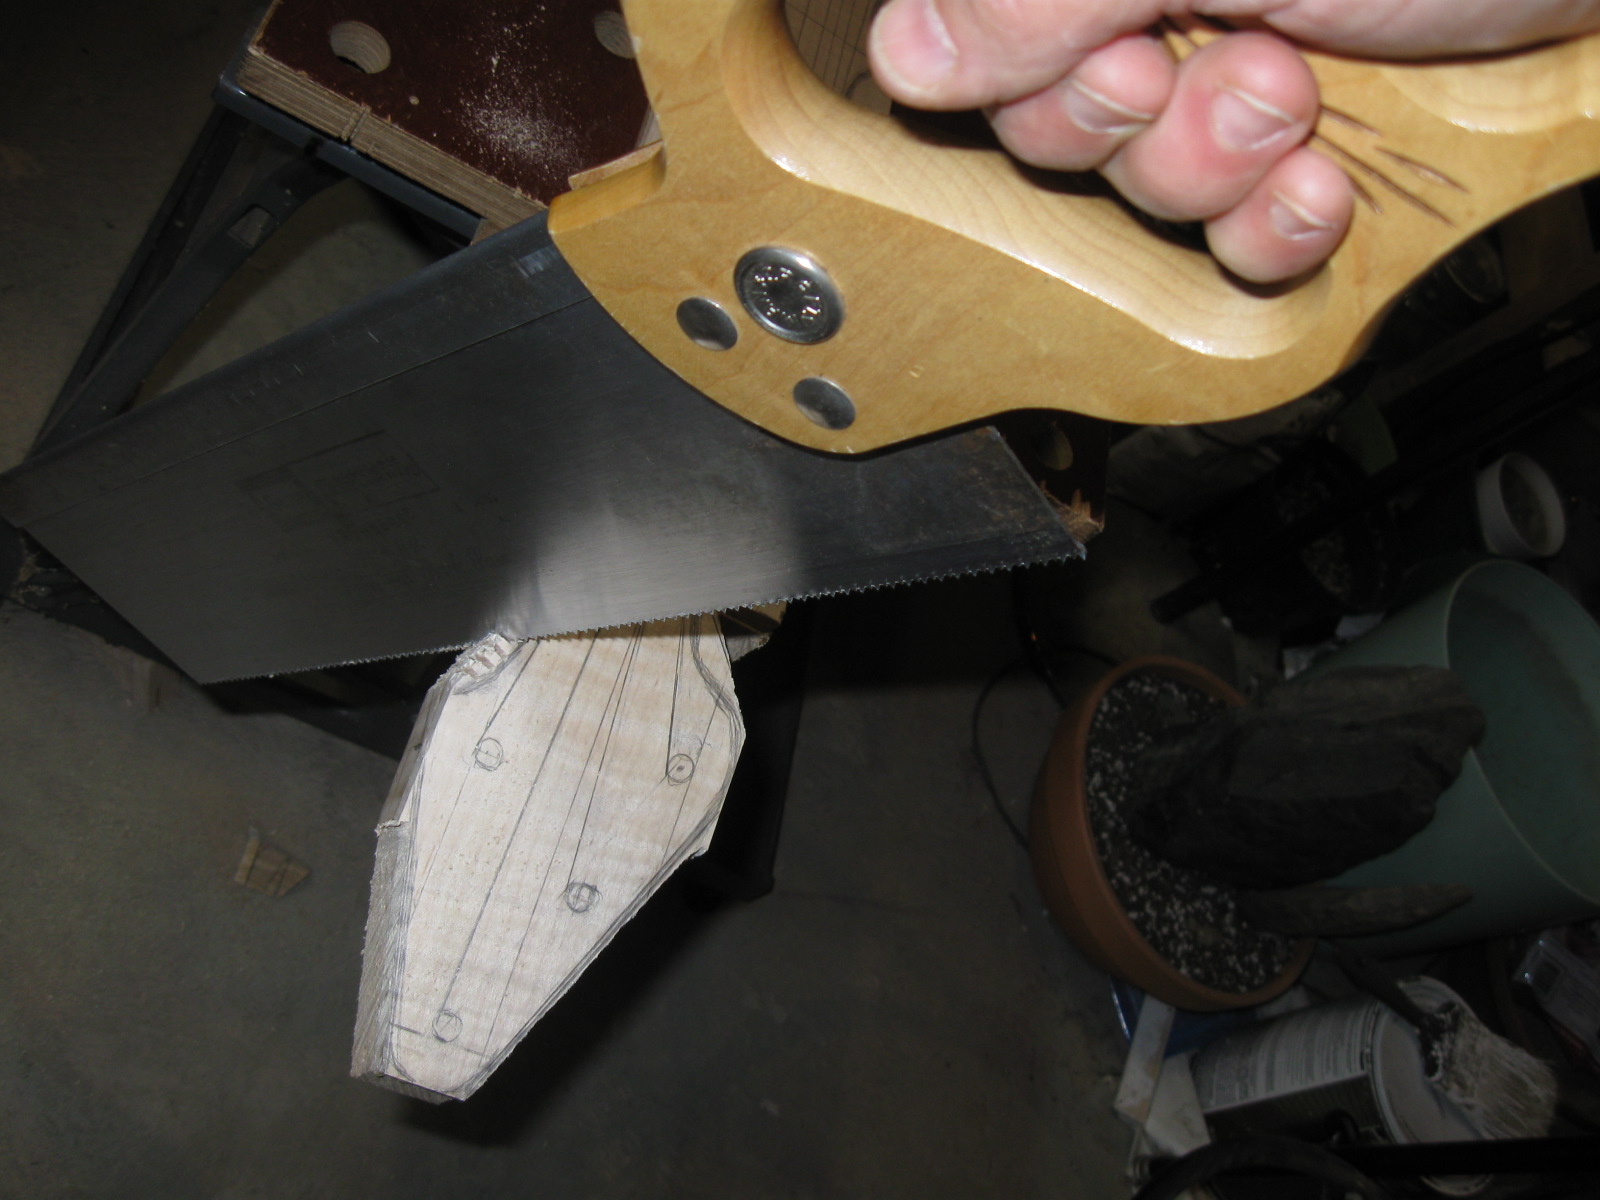
OK. I sawed and I sawed and I sawed. It was really slow sawing the hard maple with that compass saw. I guess the saw was designed to cut thin plywood or something. I don't know. So I finally said "Uncle" and got out the ....... power tool.
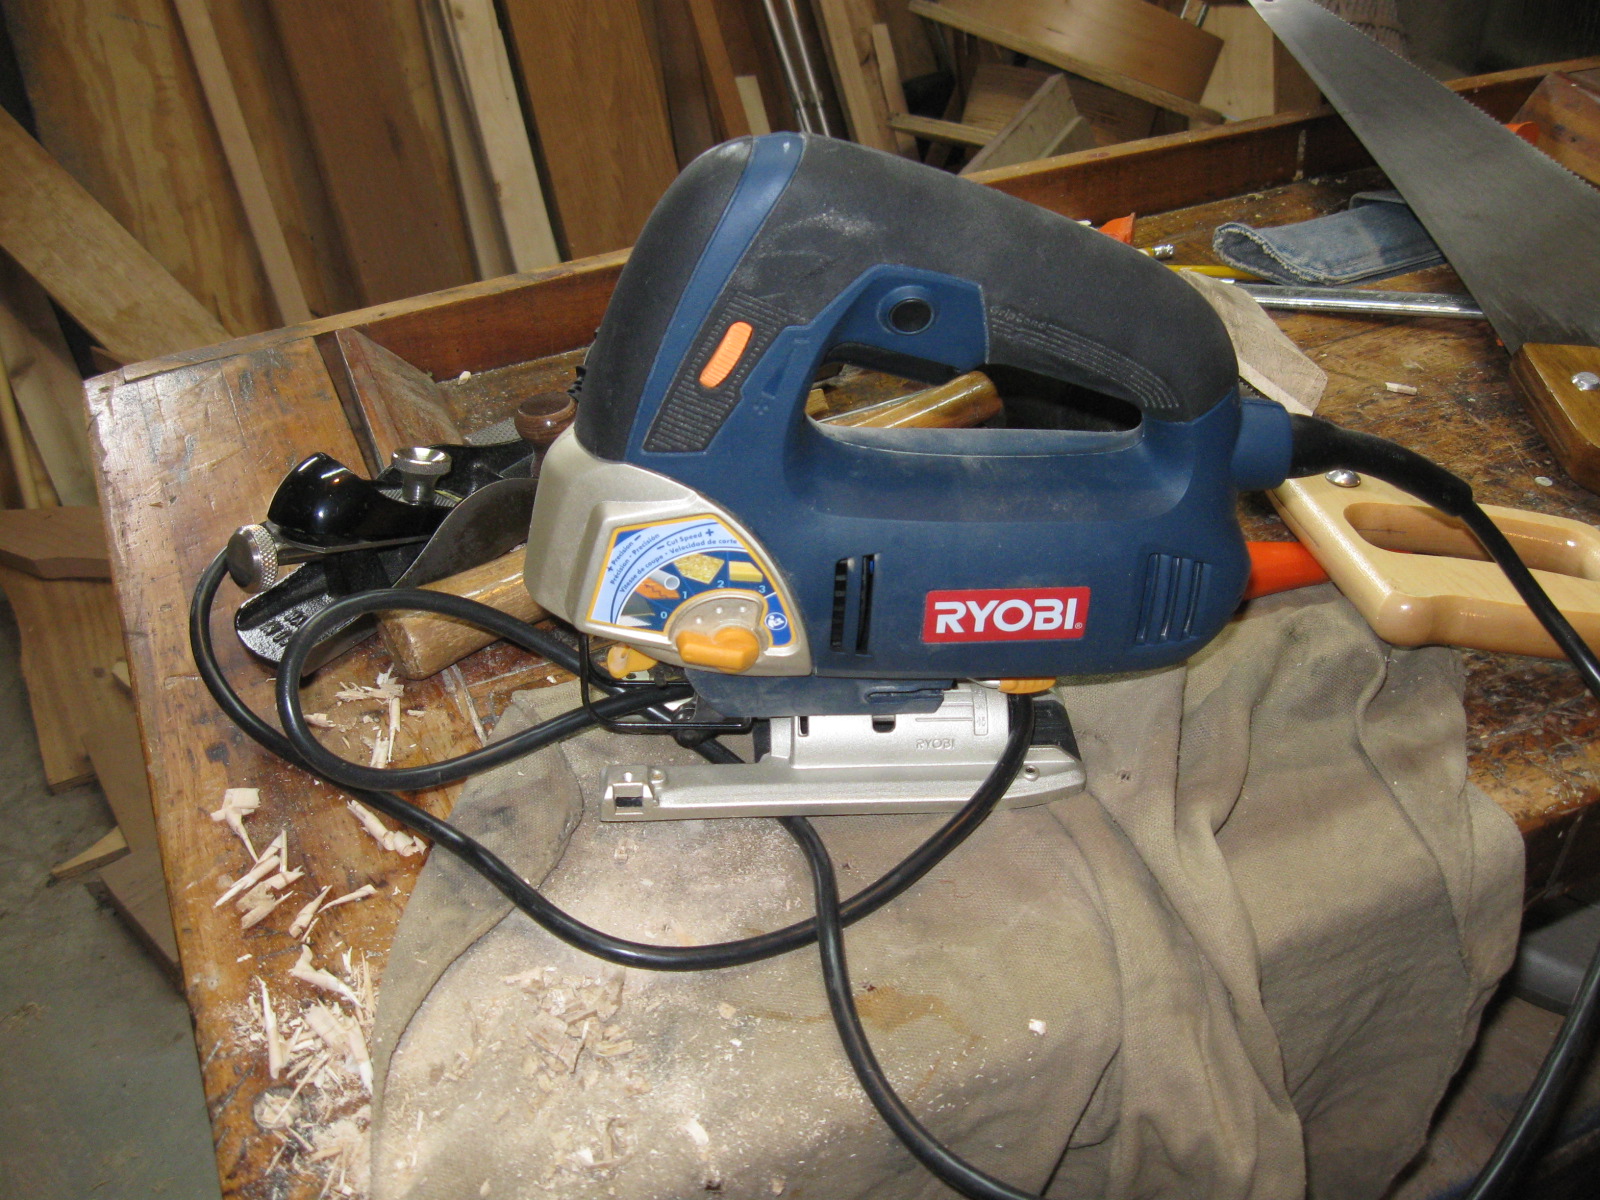
The...... Power Tool
That is my new jigsaw that I got to cut some lumber. I used it to cut some plywood for jigs and some lumber for a rose arbor etc. I don't know how it will stand up to the maple, but I thought I would try it.
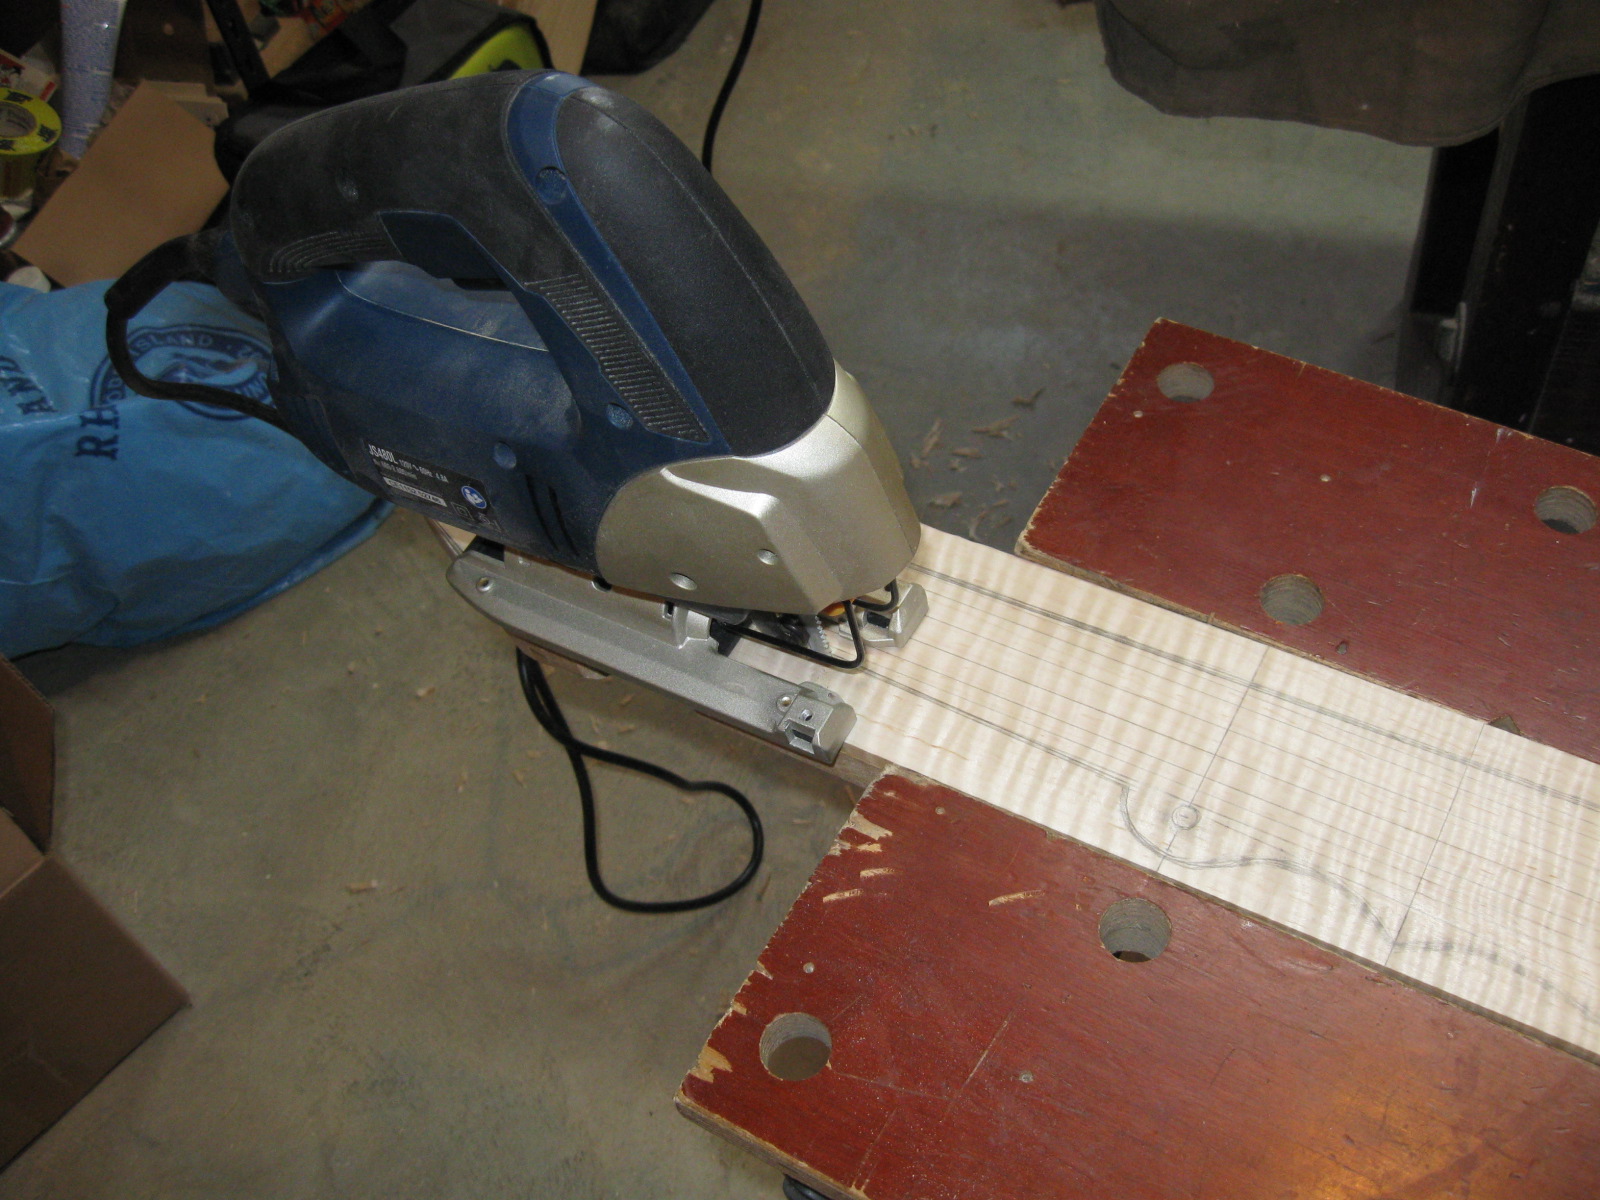
Cutting the Rest of the Line With the Jigsaw
It worked. I managed to cut all the way down to the 5th string bump. It was a challenge for the jigsaw, but I got through it. The blade wanted to jump out of the slot a lot, but I just went slowly and got it done. After that, I used the rip saw to cut down the long side of the neck. I could not use the jigsaw on that side because I would have to go through three thicknesses of the maple.... 4 1/2" of the stuff.. and that would be too much for the jigsaw to handle.
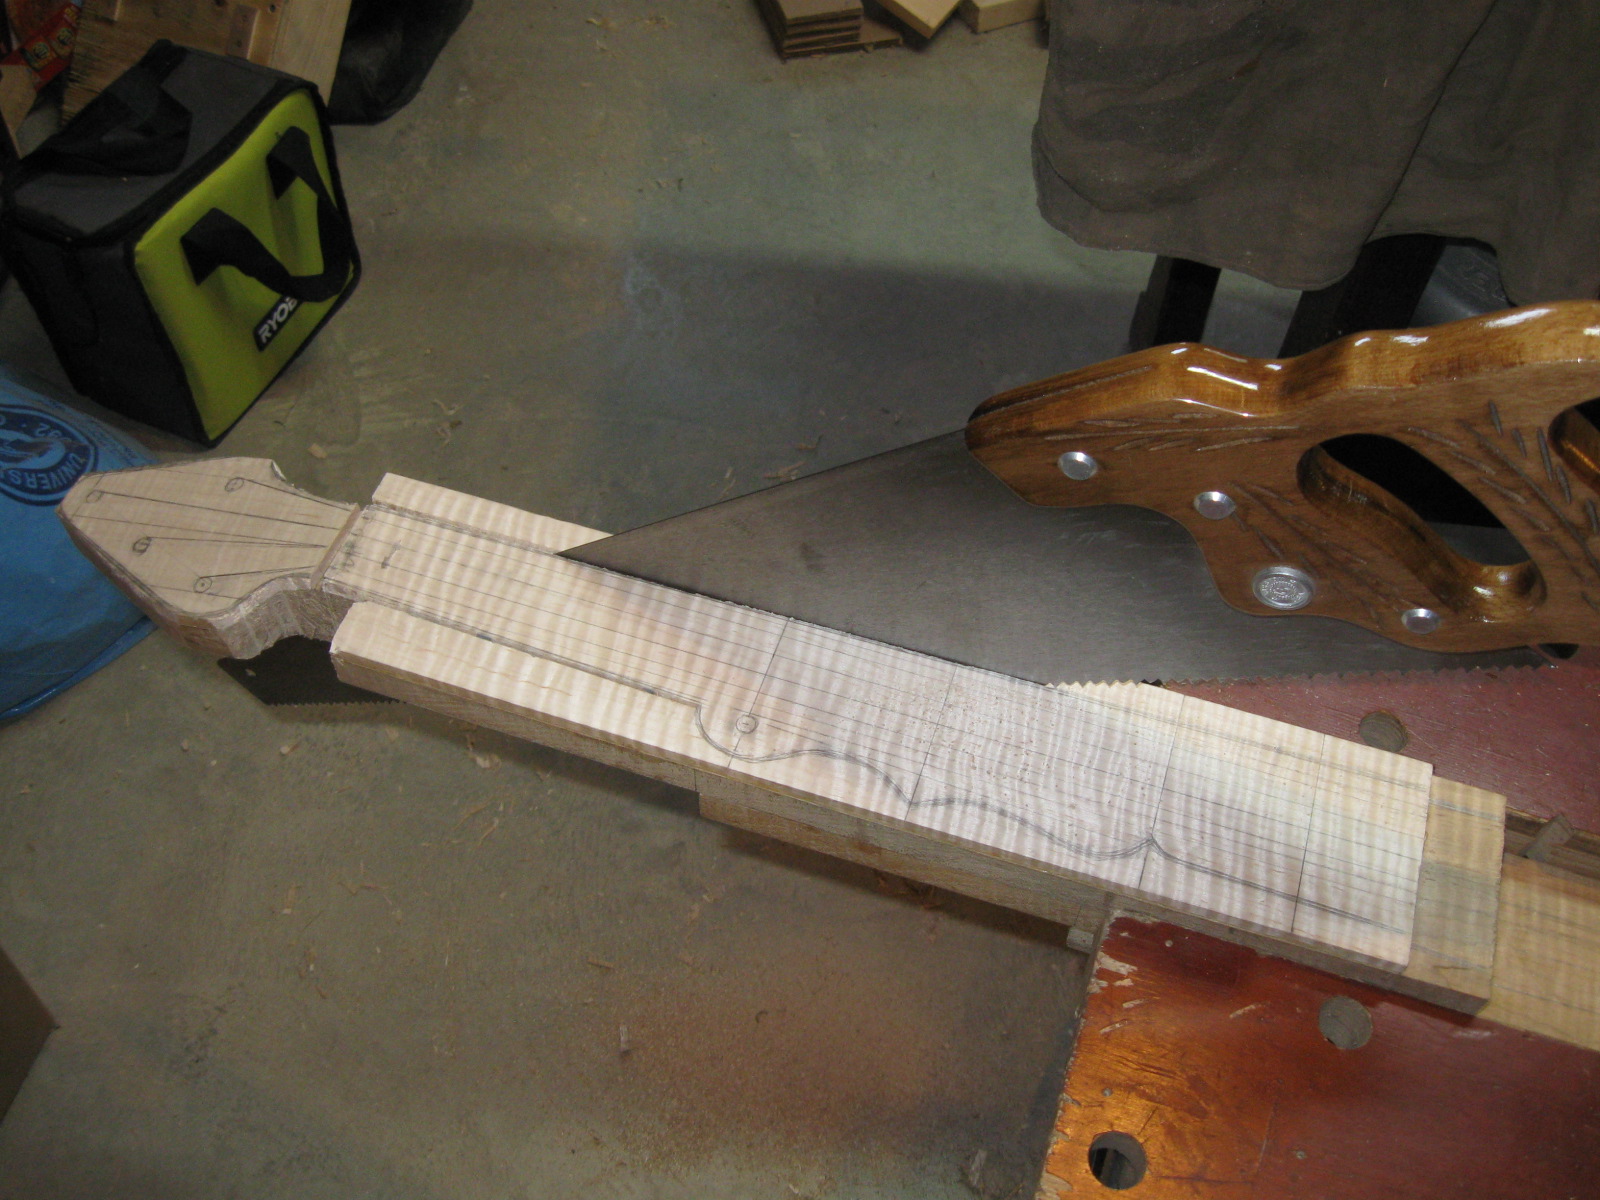
Using the Rip Saw for the Long Cut
In the photo below you can see that the rip saw is almost done with that long cut. You can also see that at the heel end it is cutting through three layers of maple boards.
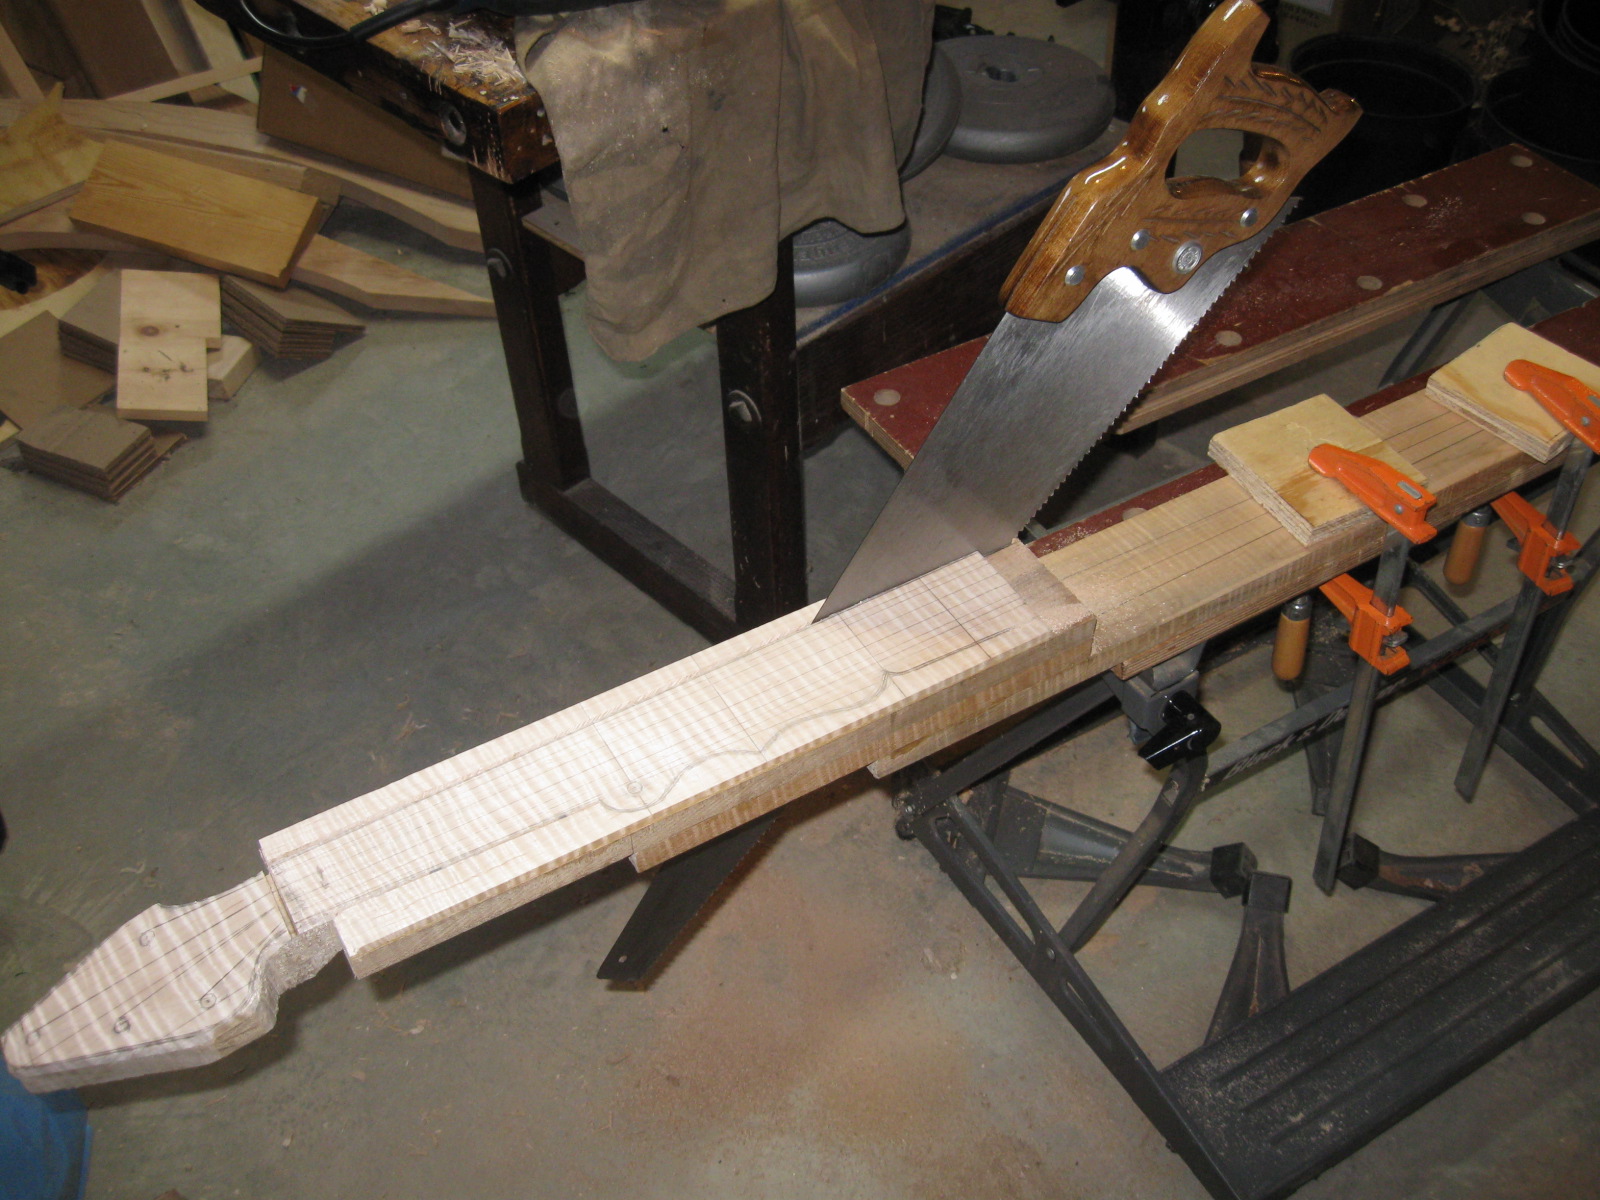
Almost Done With the Long Cut
Here is the piece of the board that was cut off of the neck.
The Scrap is On Top of the Neck
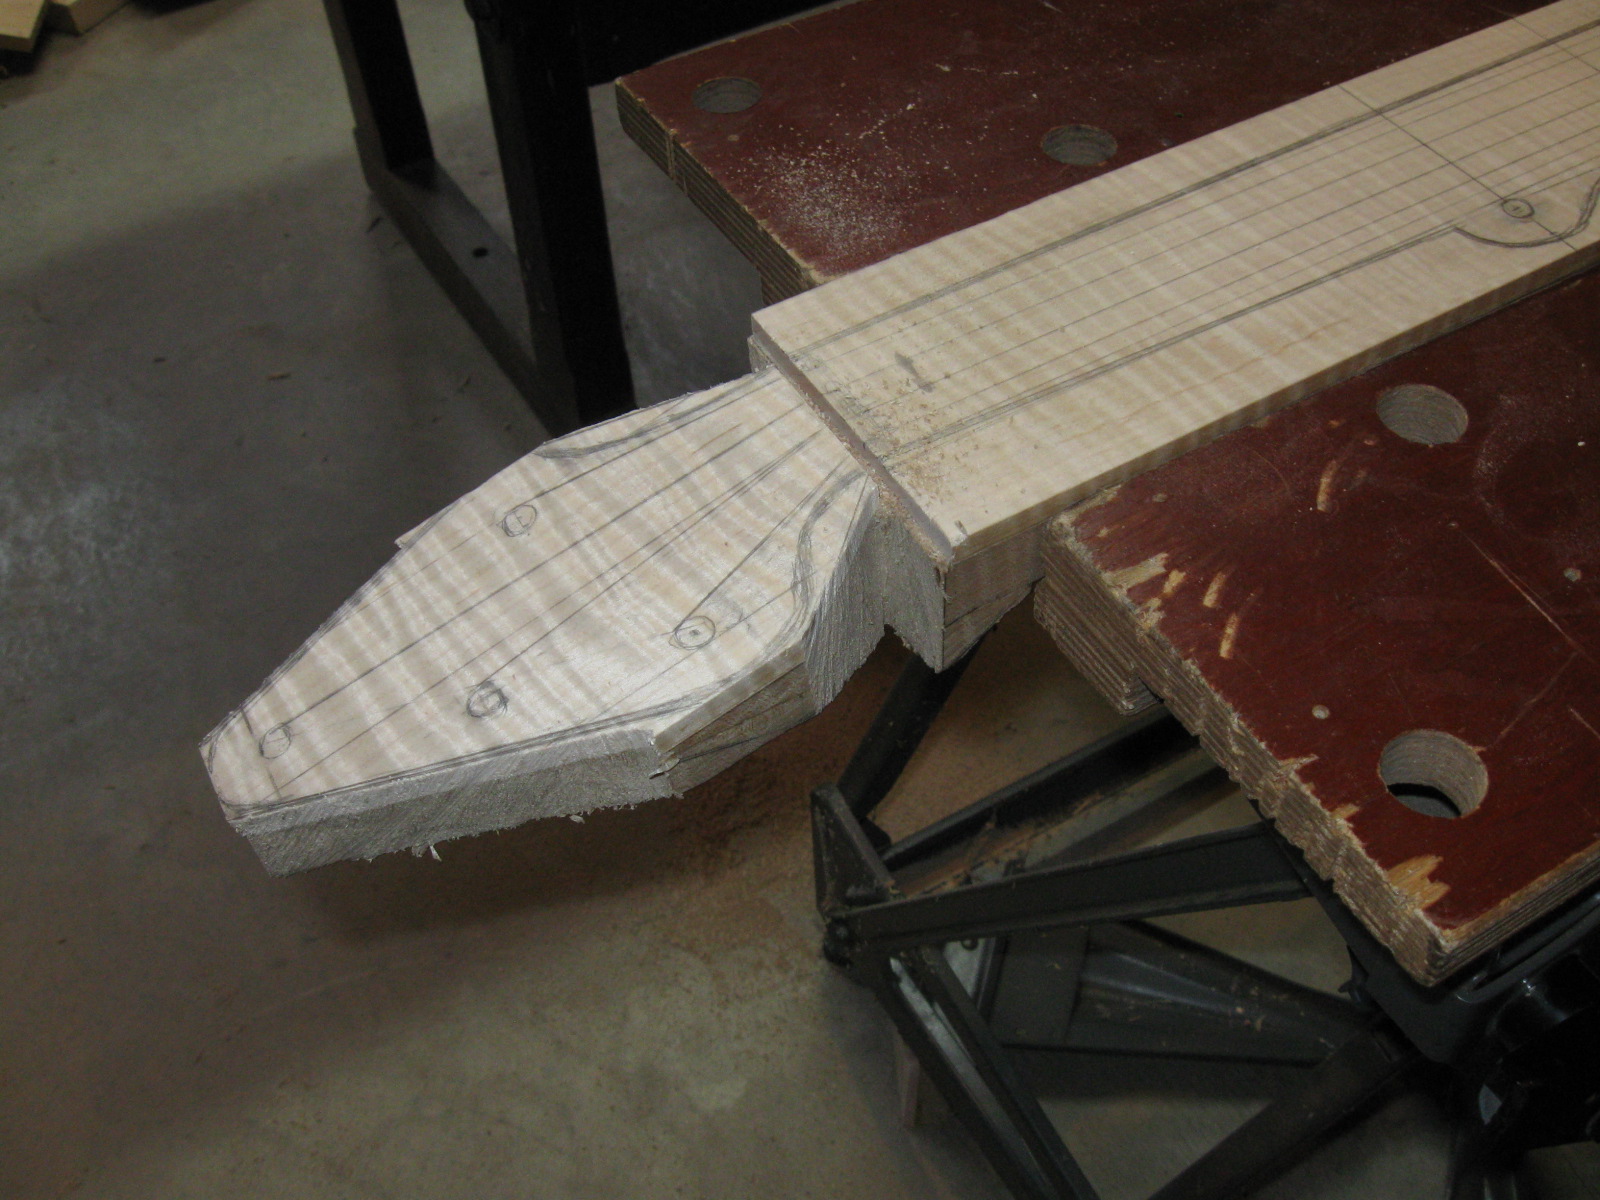
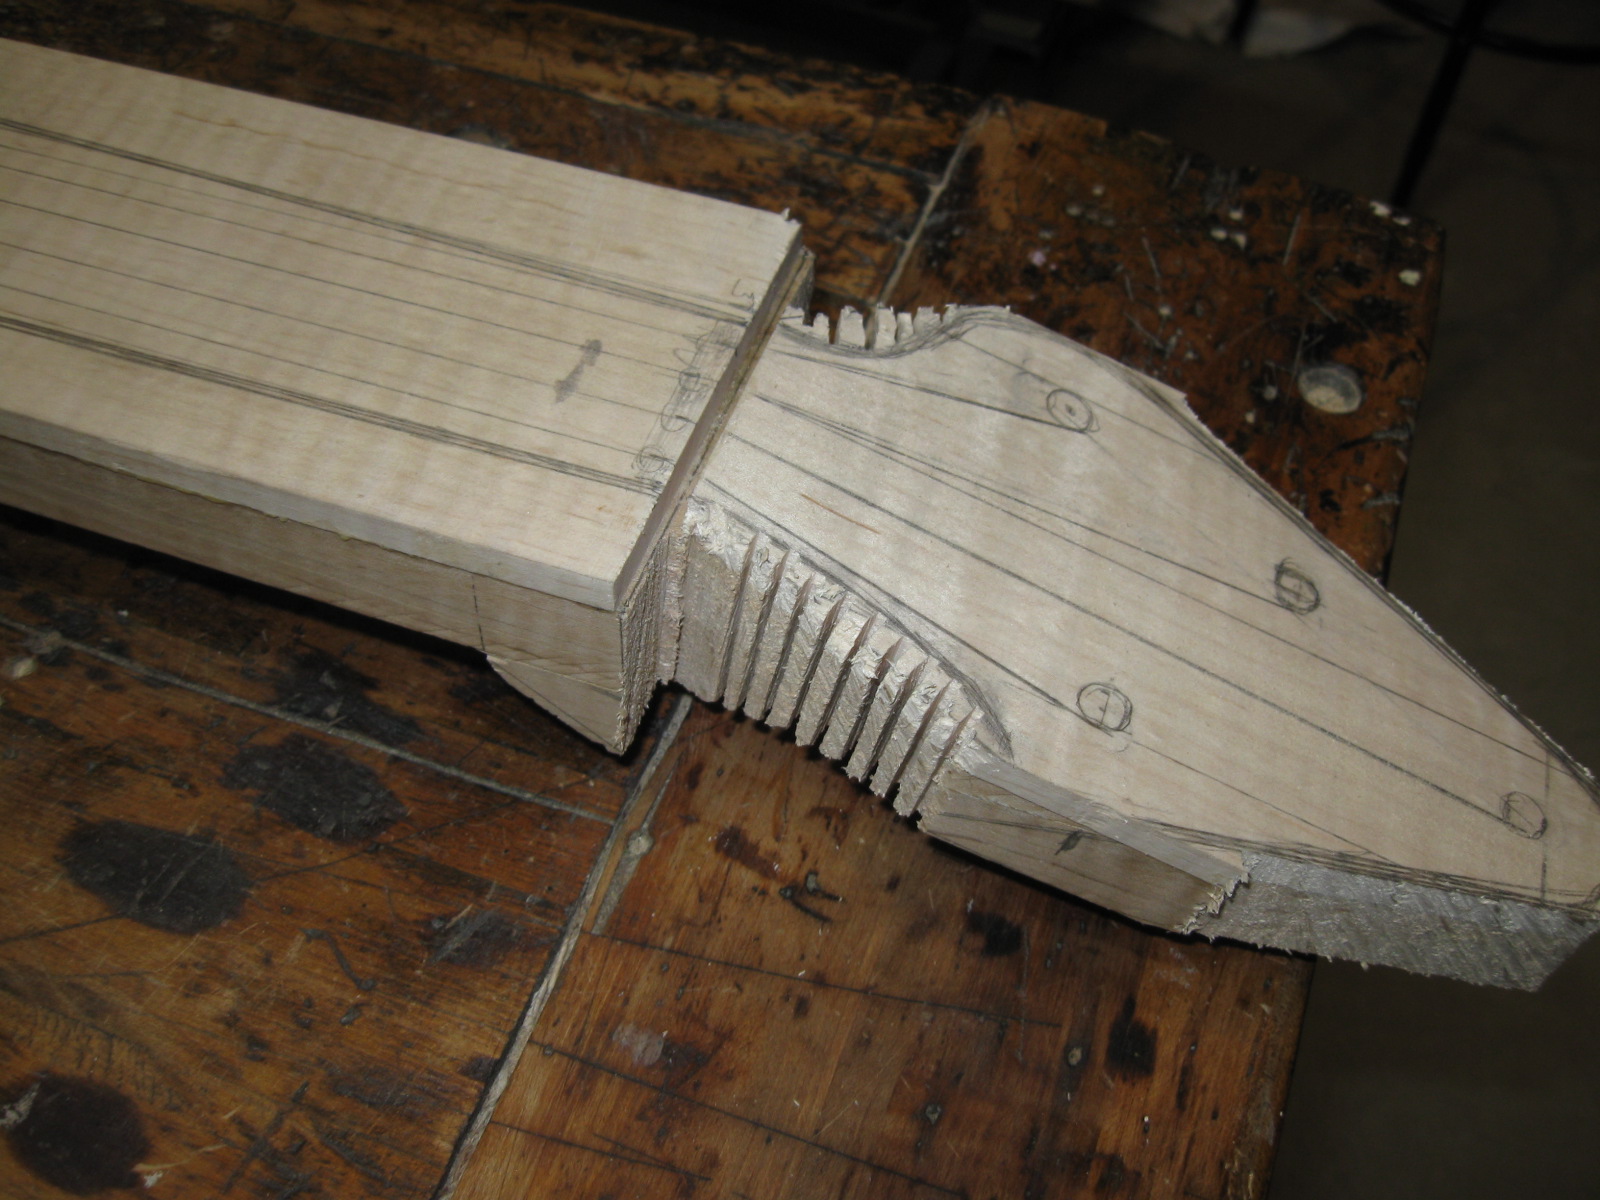
I finished cutting off the scrap on the other side of the neck, and here it is. What is left to do is to cut the complex double ogee.
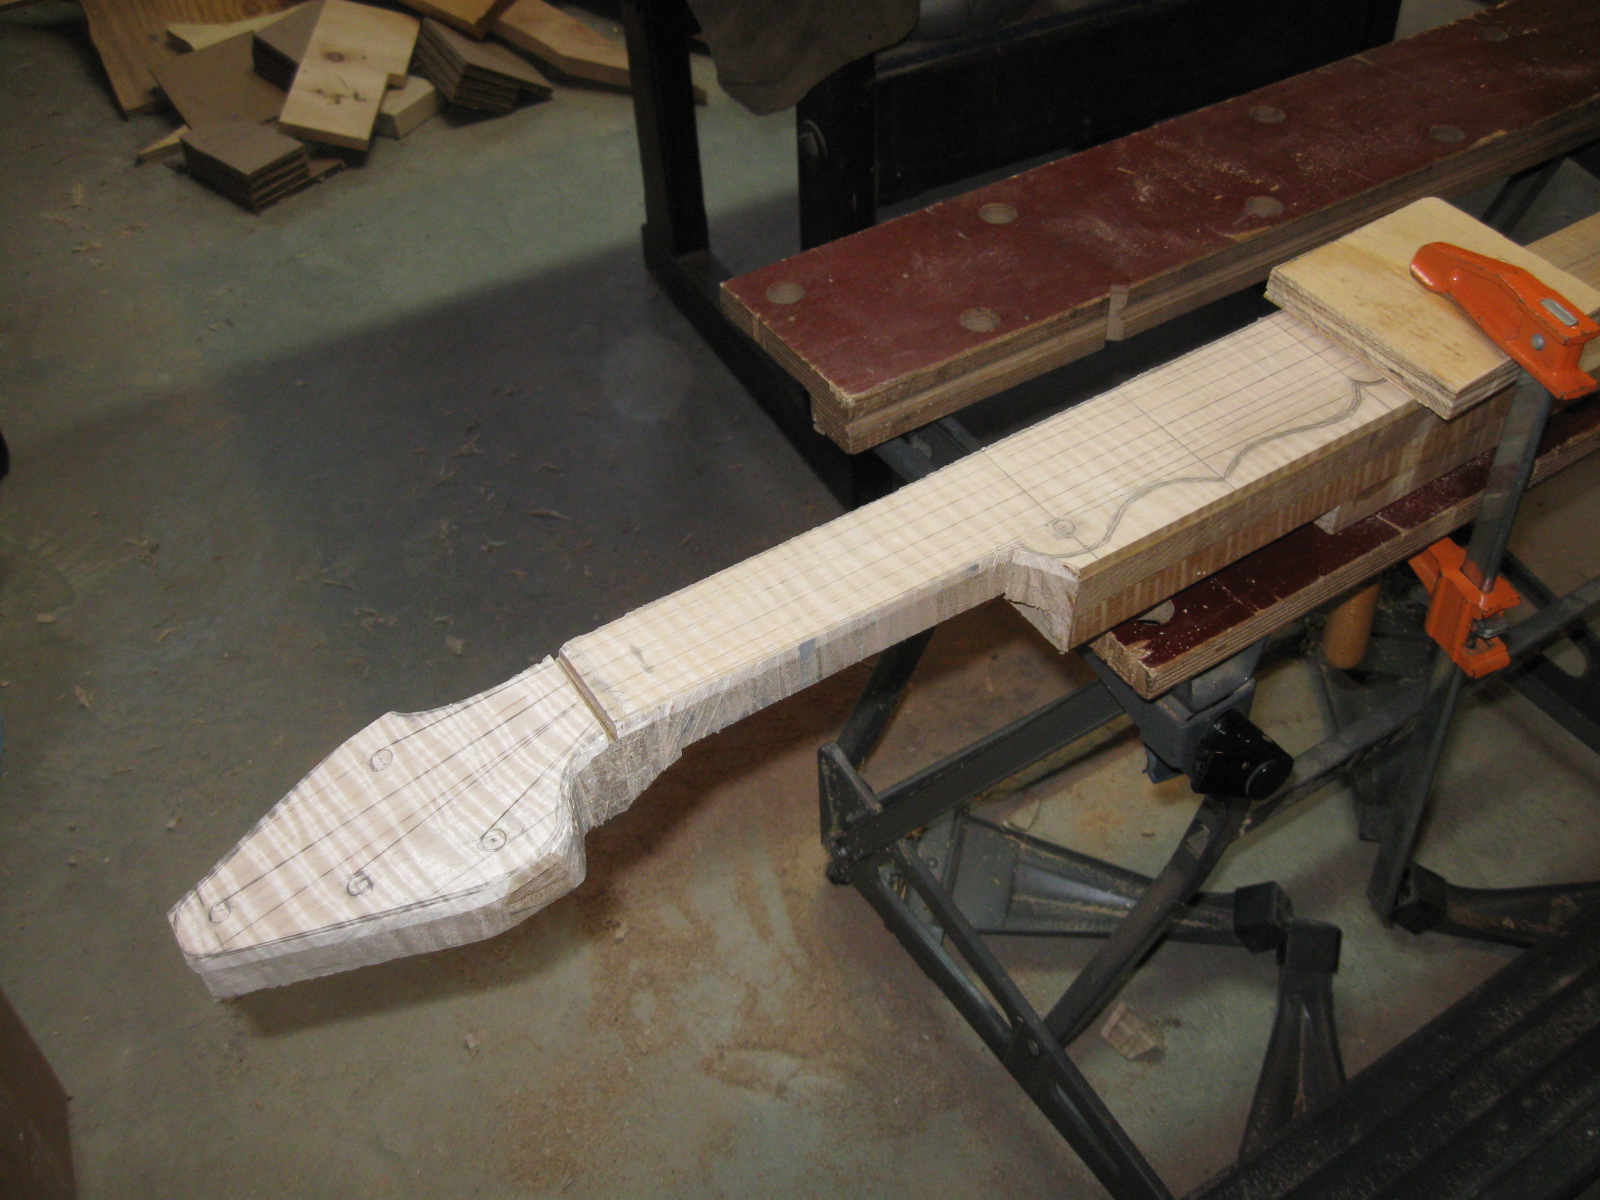
Both Sides Have Been Cut
I carved the double ogee the same way I did the curved parts of the peghead, by cutting kerfs into it up to the line.
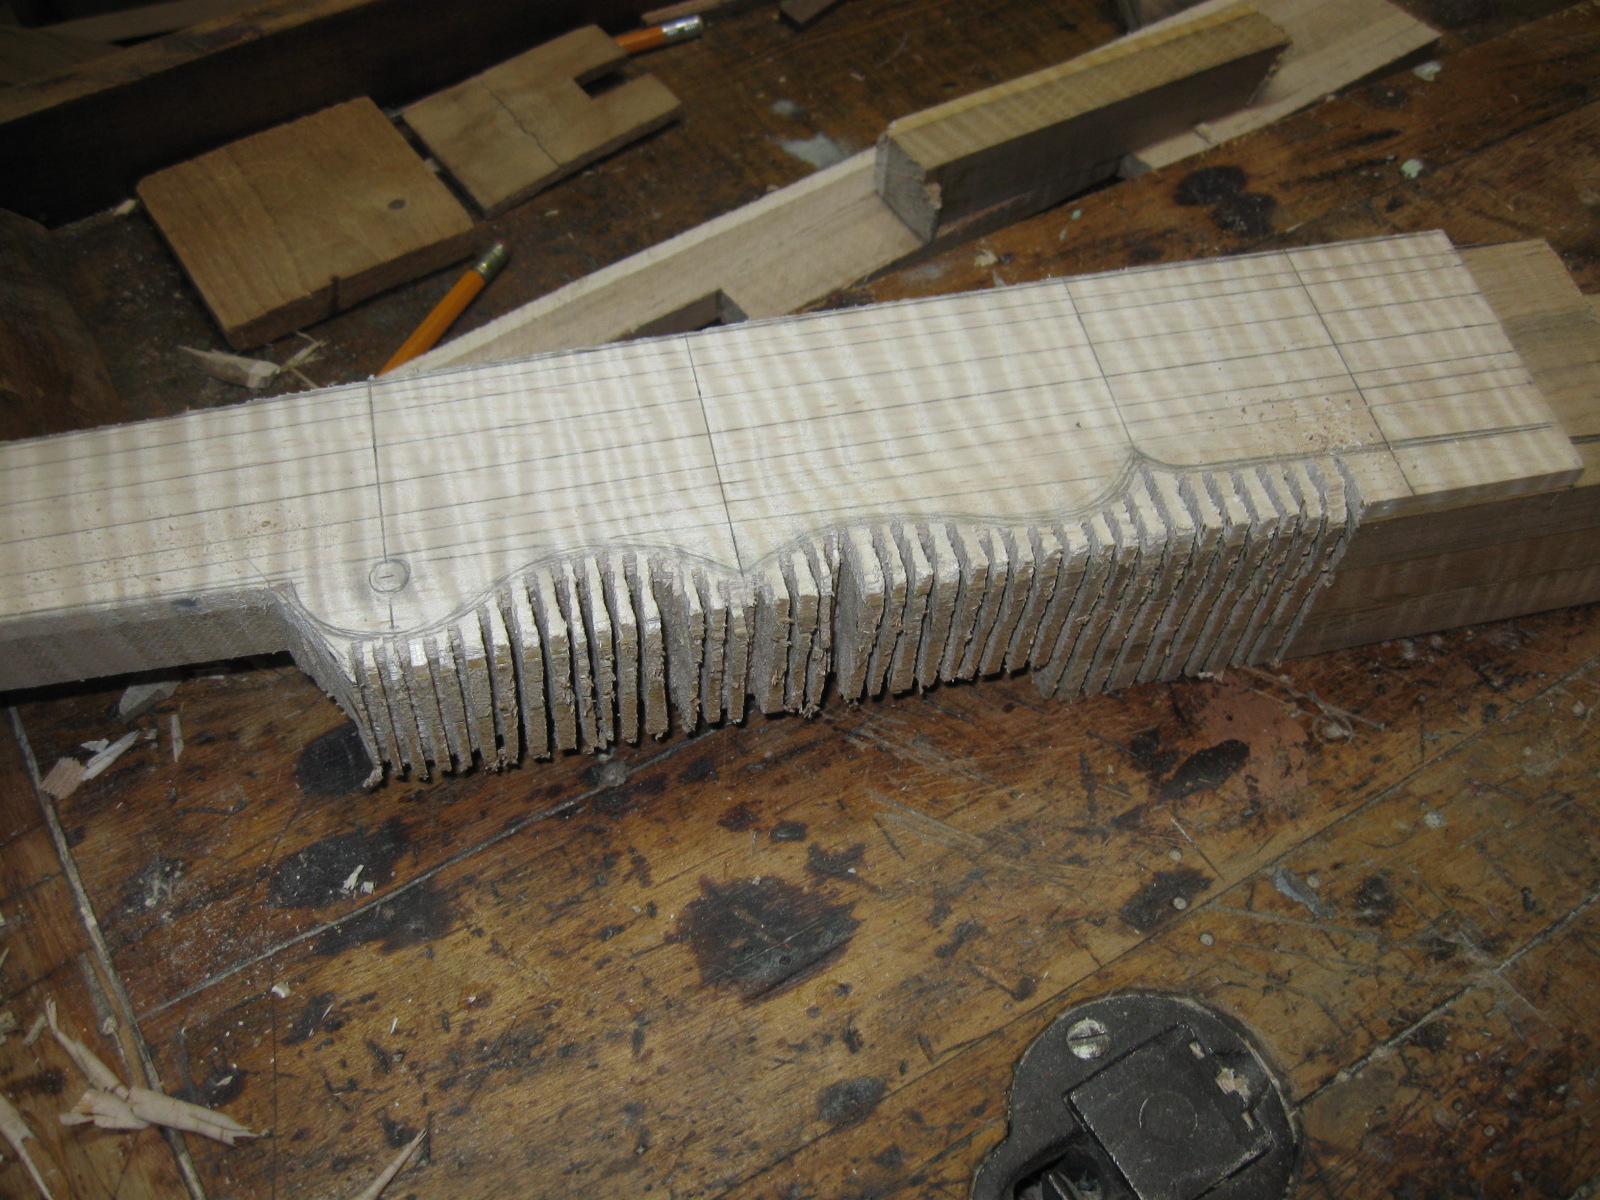
That Is a Lot of Kerfs!
Well, I ran out of time. I did not have time to chop out the double ogee shape, and I had to leave it like it is. Here is what the neck looks like from the bottom.
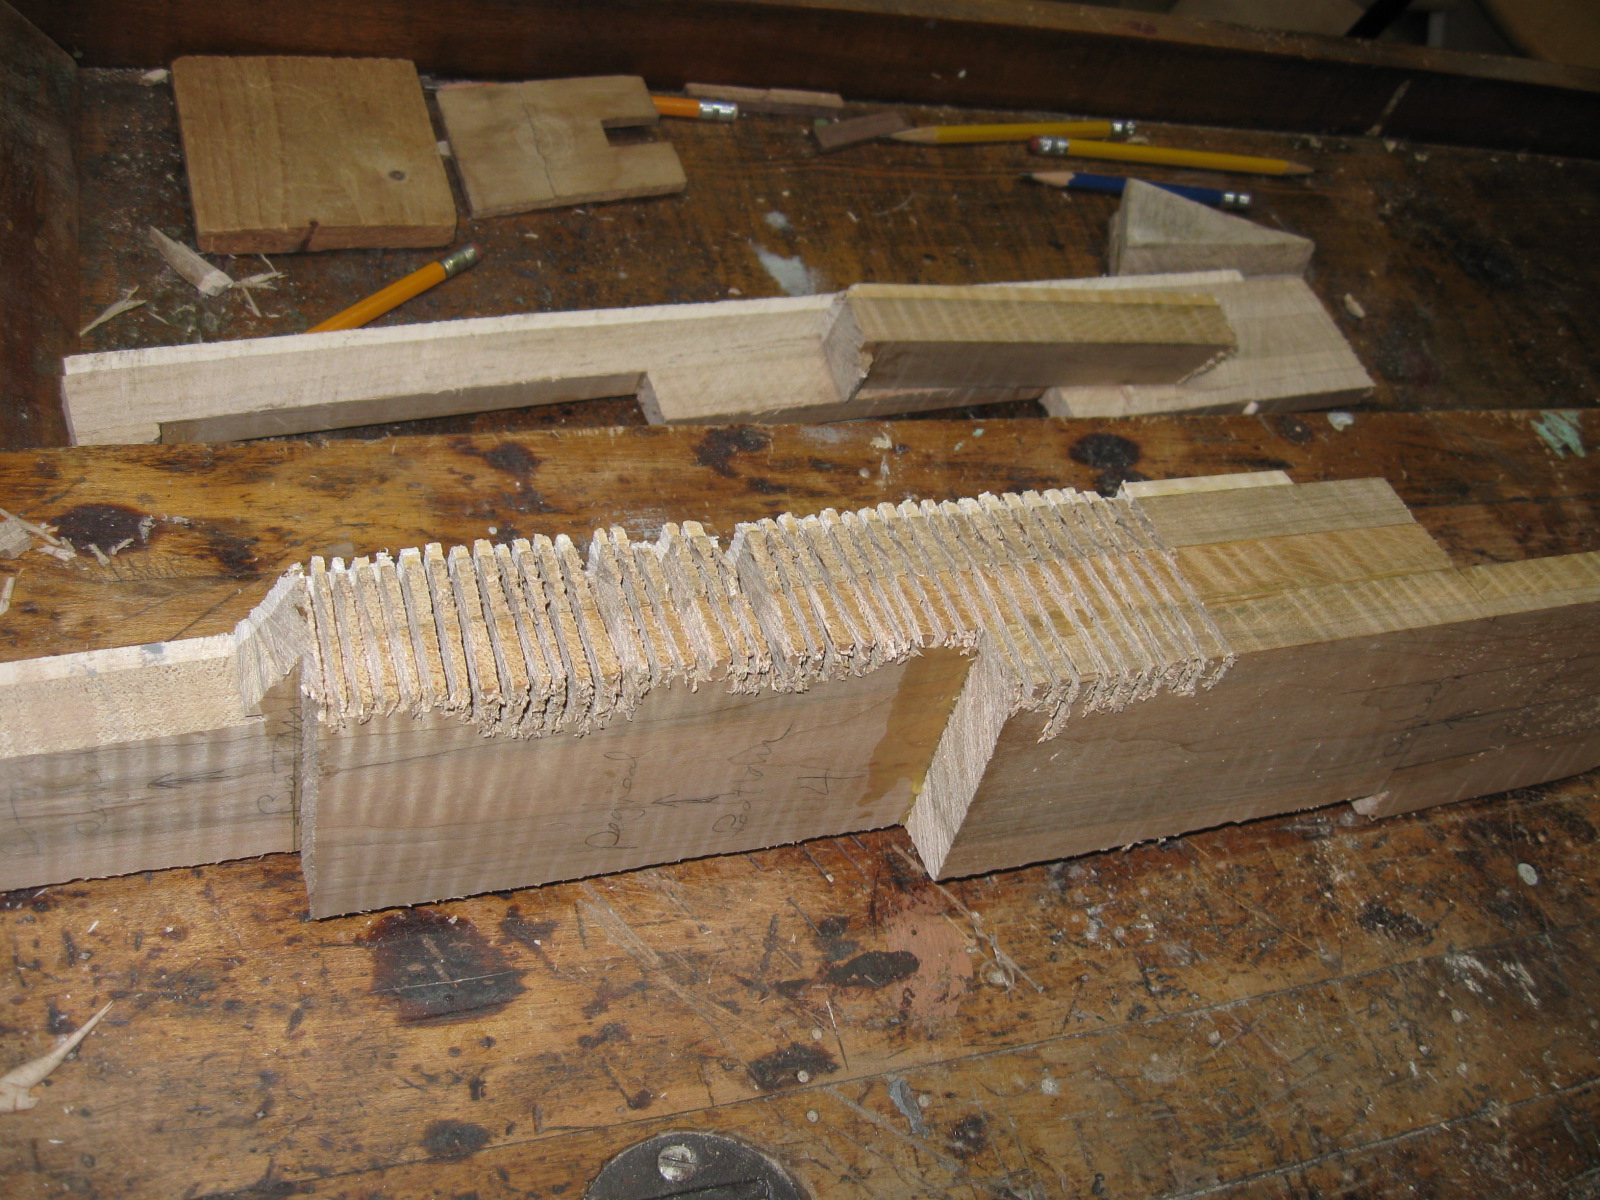
The Neck From the Bottom
Oh, and in spite of cheating a bit and using a power tool, I still have all 10 fingers. Joy.
All Ten are Still There
