It is the next day after I worked so hard cutting the shape of the neck out of the blank. I didn't feel like jumping back into that, and I didn't have much time, so I decided to build a jig that I had dreamed up recently.
I was trying to figure out how to clamp the hoop to the bench so that I could chamfer the sharp edges of it where the skin will be stretched across it. It will be much easier to work on the hoop if I can clamp it down.
I have this really nice Jorgensen vise that has a bench dog built into it. The bench dog goes up and down inside the vise. Here it is hidden away in the vise.
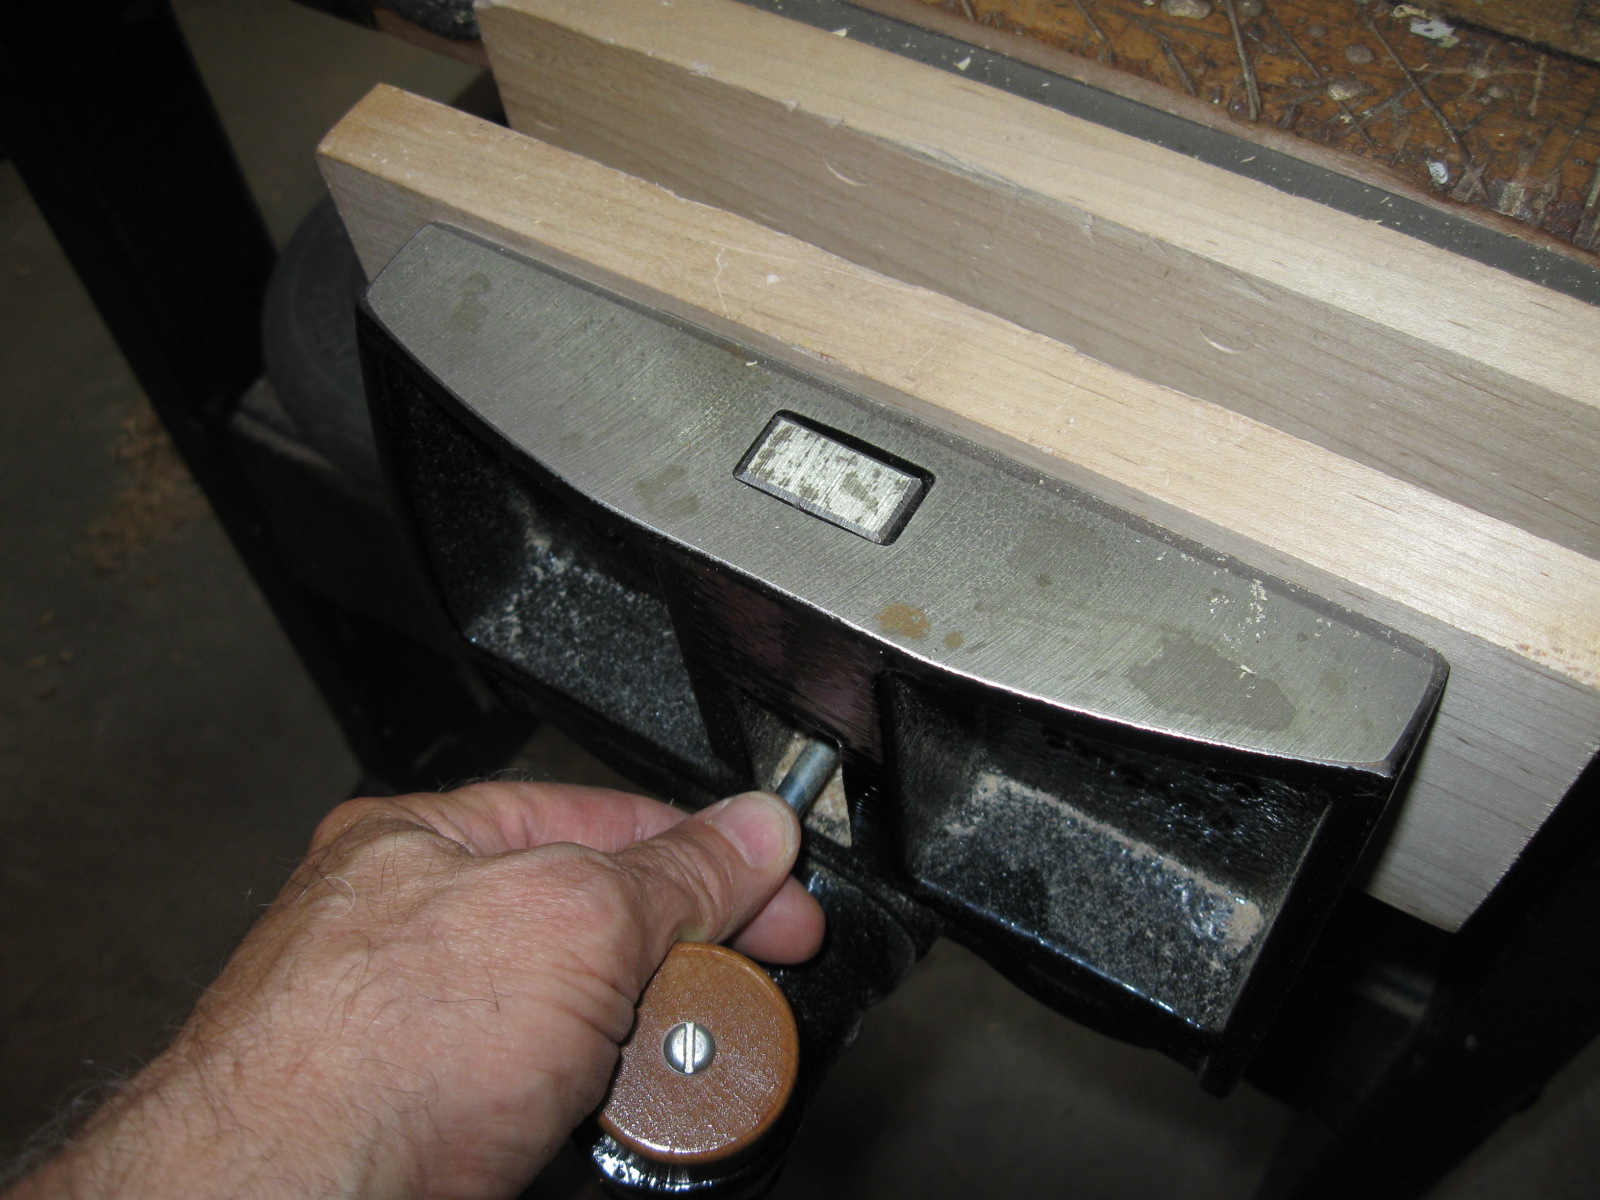
Now You Don't See It
And here it is fully extended.
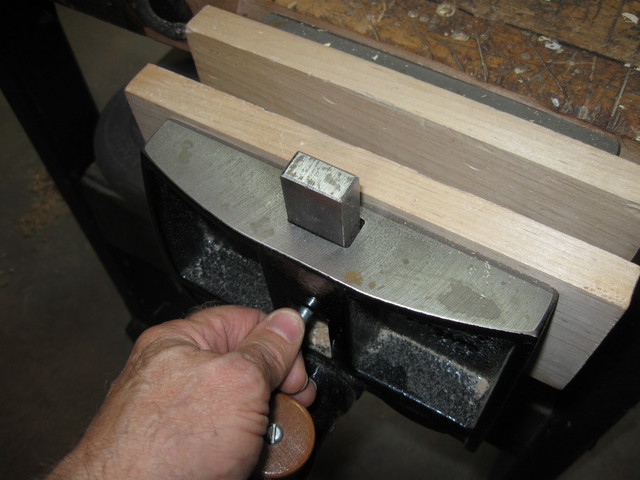
Now You Do See It
Now scroll up and down real fast and you can see how the dog goes up and down in the vise.
OK. Stop now. You're making me dizzy.
There is a problem with this really nice bench dog in the vise. You can see the problem in the photo below.
There Are No Other Dogs
There are no other dogs in the bench to clamp against. In a modern bench there would be dog holes in the bench at various distances, and the dogs would go into the holes. I thought about drilling some 3/4" holes in the top of the bench, but I really don't want to do that to this old bench. Plus there isn't a whole lot of space there.
Anyway, I was pondering what to do when I realized that I could make temporary use of the tool tray to hold a false top with the dog holes in it. That way I could have my holes and not have any holes at the same time.
So I made this.
A False Top with Dog Holes
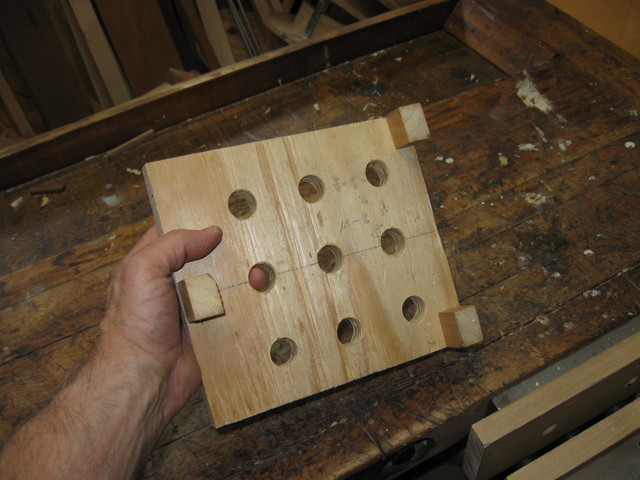
It is just a rectangle of scrap 3/4" plywood with some feet screwed onto it to hold it up to the level of the bench while it sits inside the tool tray. Here is the top side of it.
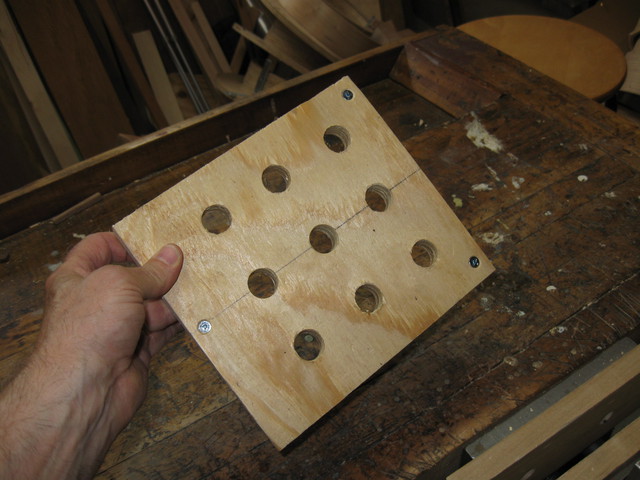
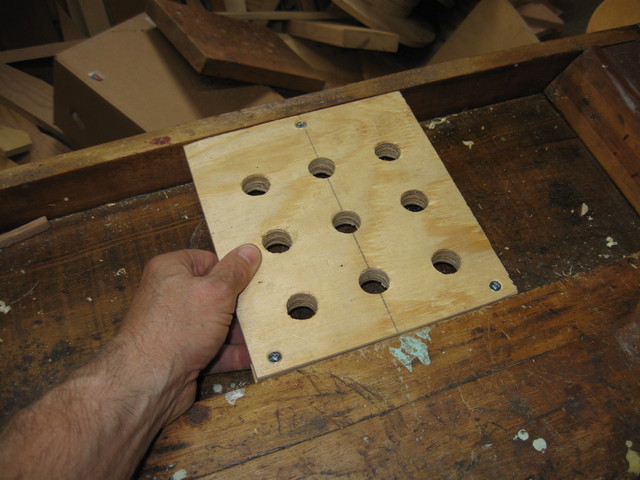
The Top of the Dog Hole Plank
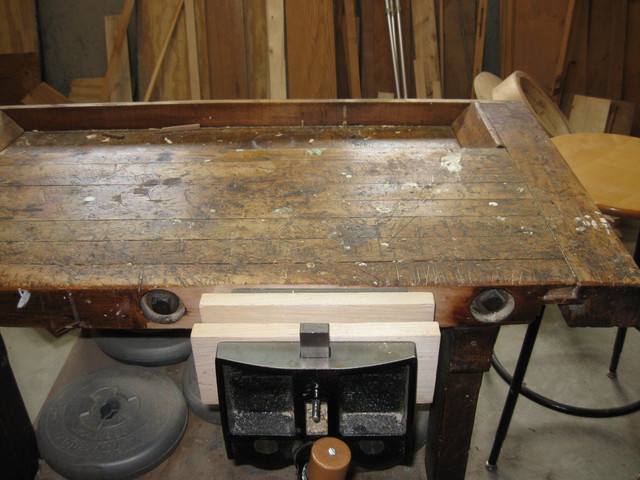
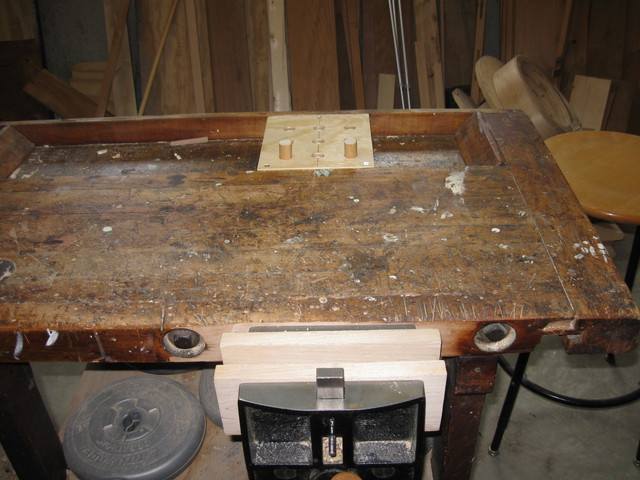
It fits inside of the tool tray, and the feet on the bottom of it keep it level with the top of the bench.
The Board Fits in the Tool Tray
The holes are 3/4" in diameter and spaced 2" apart on the board. I made a nice array of them to provide some flexibility in the placement of the dogs.
I cut a couple of pieces of 3/4" dowel to lengths so that they that will stick up 1" from the top of the bench when sitting in the holes.
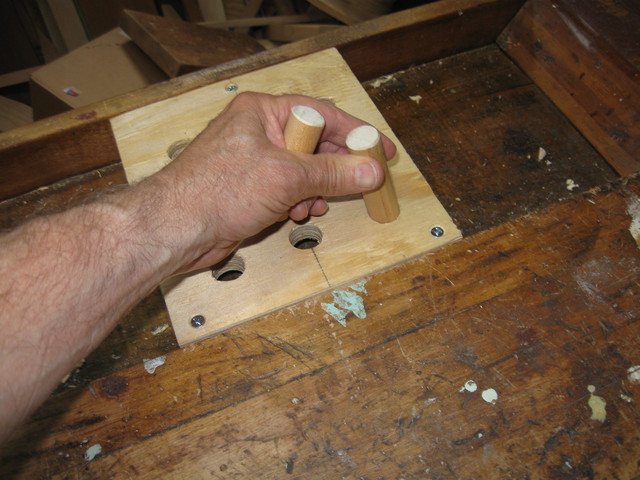
Two 3/4" Dowel Pieces Go Into the Holes
Now the view from the vise is a bit different. There are dogs to clamp against. I can move the dogs side to side and from hole to hole so it should be versatile with respect to positioning the dogs.
There Are Now Dogs to Clamp Against
I made this jig so that I could clamp my hoop down to the bench top to work on it. Since the tool tray is a bit too far away from the vise dog, I dropped a board in between the dogs and the hoop to get the reach I need. If I want to make it a bit more secure, I can cut a notch out of the board the shape of the hoop. Right now this is working pretty well as it is.
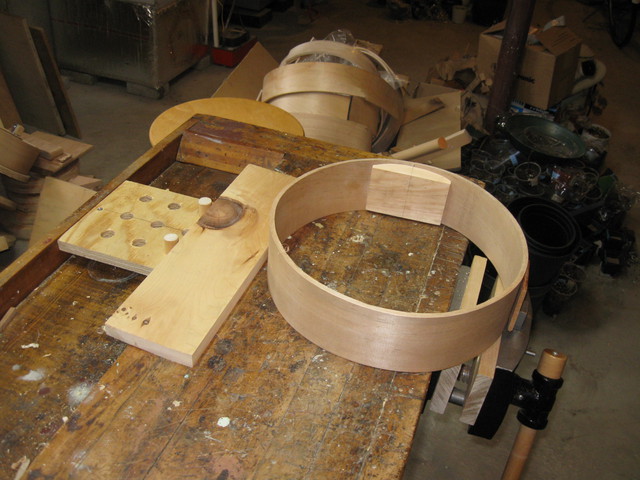
The Hoop is Clamped Between the Dogs and the Vise
I won't be able to clamp things very firmly because I would risk tearing the tool tray apart. But for gentle clamping it is sturdy enough.
The purpose of doing this is to put a small chamfer on the outer edge of the hoop so that it will not be too sharp, which would cut the skin when I stretch it over the hoop. In the photo I am using my new spokeshave to cut the wood. It works beautifully and makes very fine curls of wood as I use it.
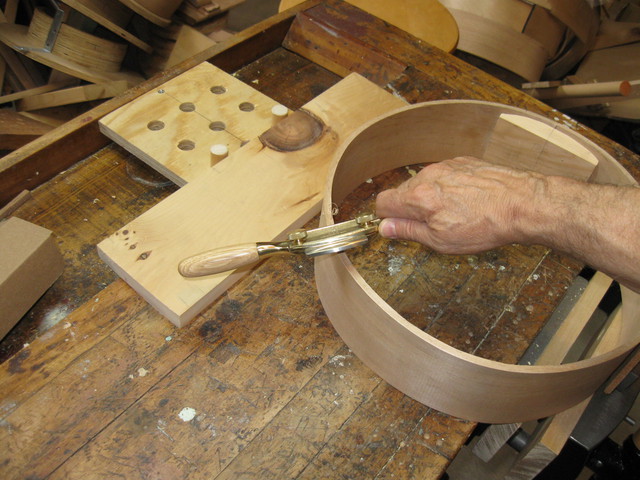
Cutting a Chamfer onto the Hoop
Here is a closeup of the spokeshave taking off a shaving. Sweet, huh?
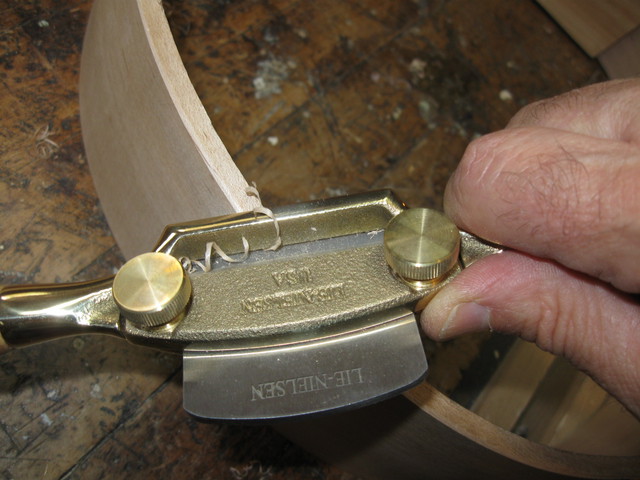
The Spokeshave Cuts the Wood Easily
Well, that's the end of that boondoggle.
Next time I pick this up I have to get back to carving the neck. But this was a fun diversion for an hour or so.
