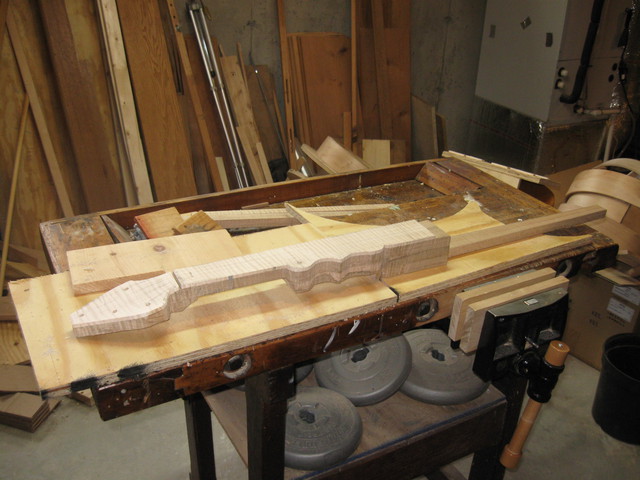
The last time I worked on the banjo neck I ran out of time and left it partially done. Today I took it a bit farther. Here is a photo of where I left it before, with a bunch of kerfs that outline the double ogee on the neck.
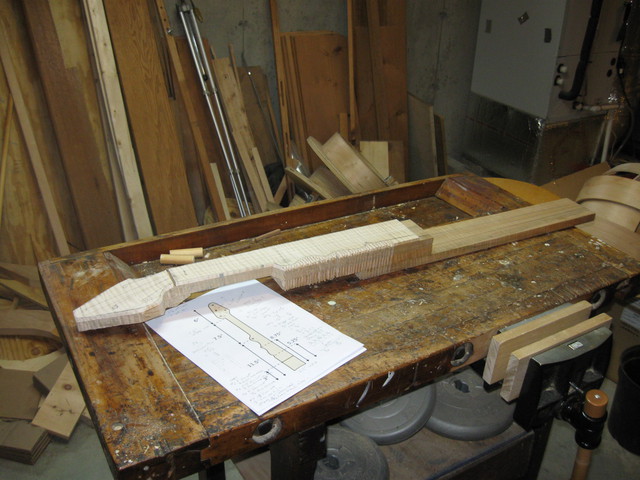
The Kerfs Outline the Double Ogee
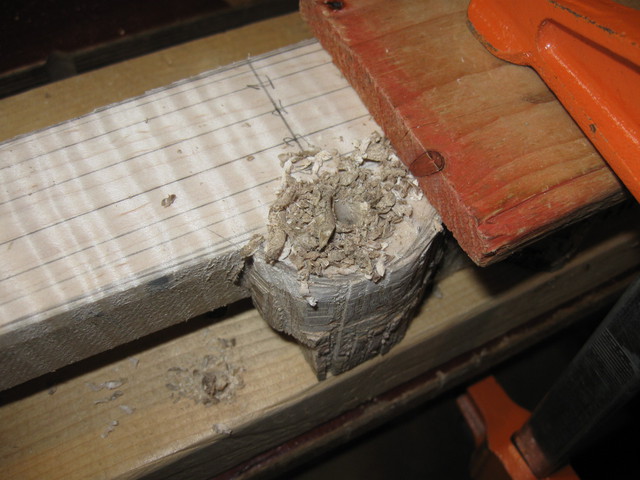
Here is a closeup so you can see how the kerfs are cut close to the line that defines the ogee.
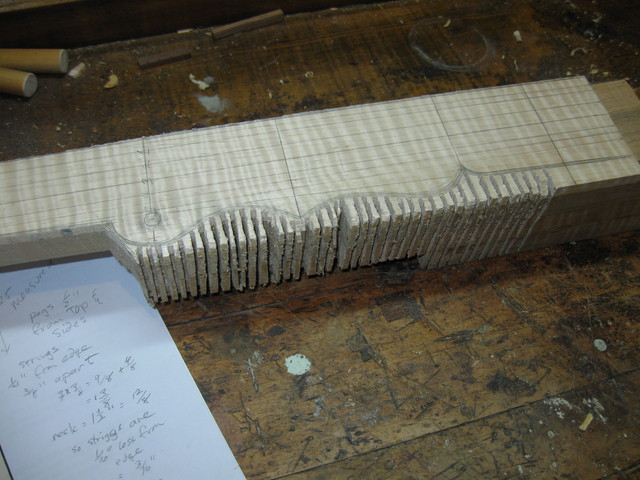
Closeup of the Kerfs
By the way, the scribbles on that piece of paper under the neck are my notes and calculations for drawing and cutting this neck out. Here is a photo of the plan with the scribbles on it.
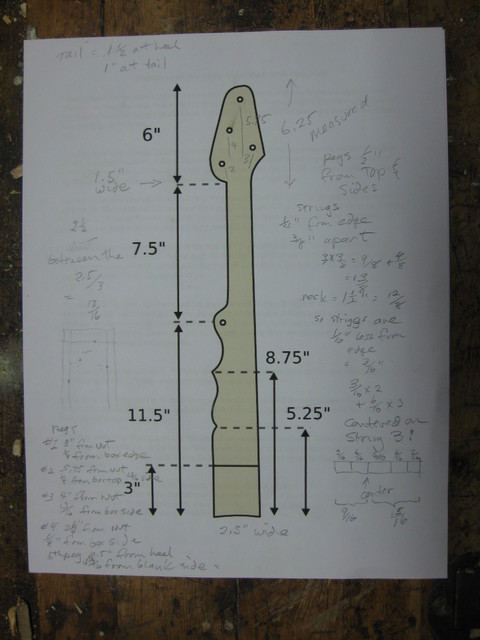
I Scribbled on the Plans
You probably can't read that in the photo, but that doesn't matter. At some point I will transcribe the notes to something digital and store it forever.
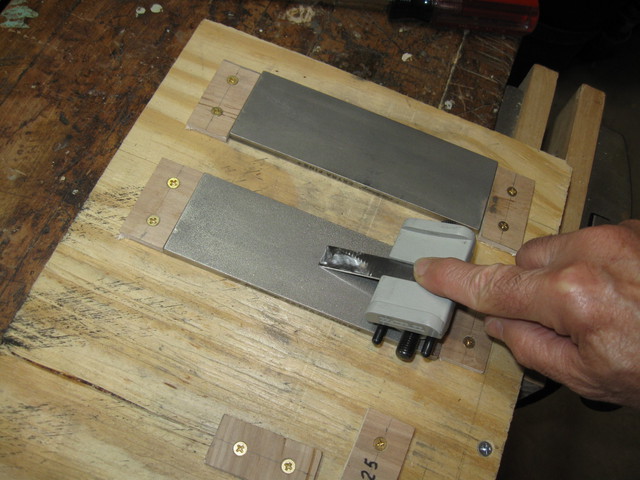
Before I chop out the kerfs I thought that I would sharpen my chisels first. My honing guide will hold a chisel as well, so I measured it against the 30° stop on the jig.
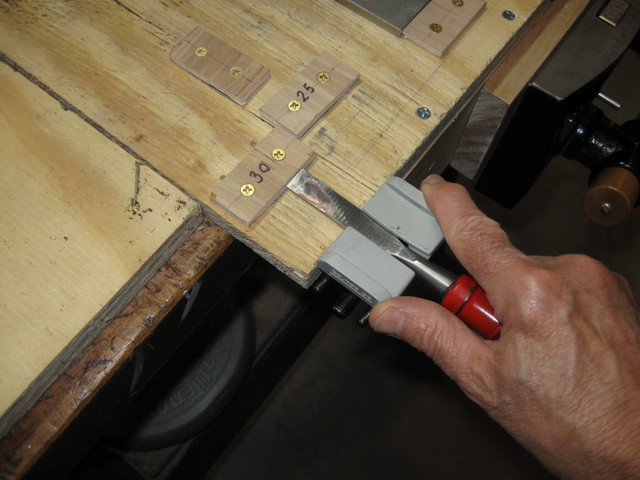
Setting up The Chisel in the Honing Guide
Then, I honed away on the coarse stone to re-establish the major bevel.
Honing the Chisel Using the Honing Guide
That didn't work out so well because the chisel sits down in a special notch in the guide, so the angles are all wrong when measured on the jig. So I just packed it in and did the chisel by hand.
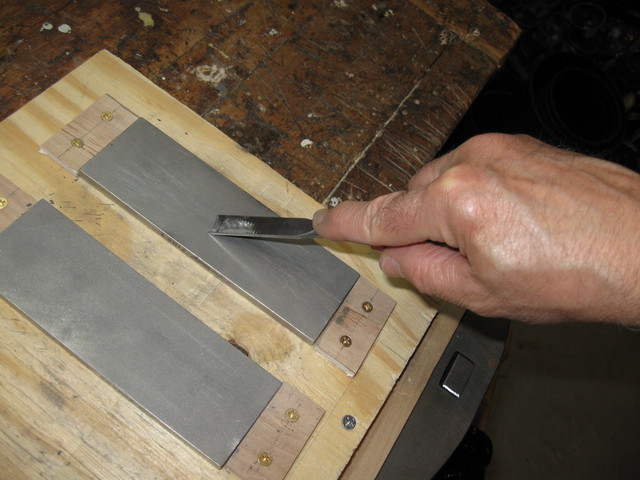
The Heck With It - I'll Just Do It By Hand
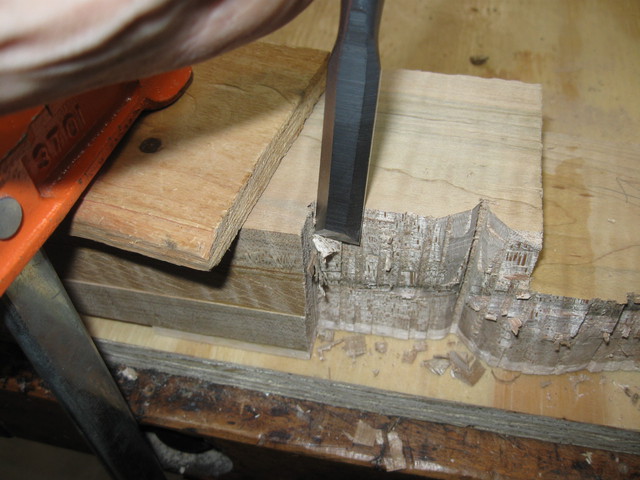
OK. The chisel is sharp. I stared chipping out the kerfs.
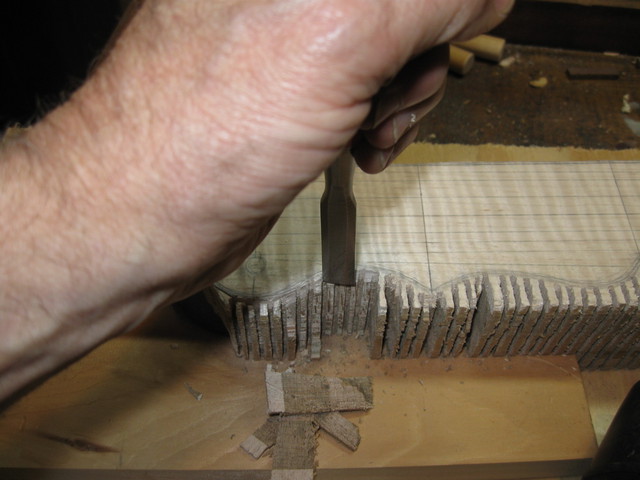
Chiping out the Kerfs with the Chisel
It's mostly done here, but I still have to turn it over and get the rest from the bottom of the neck.
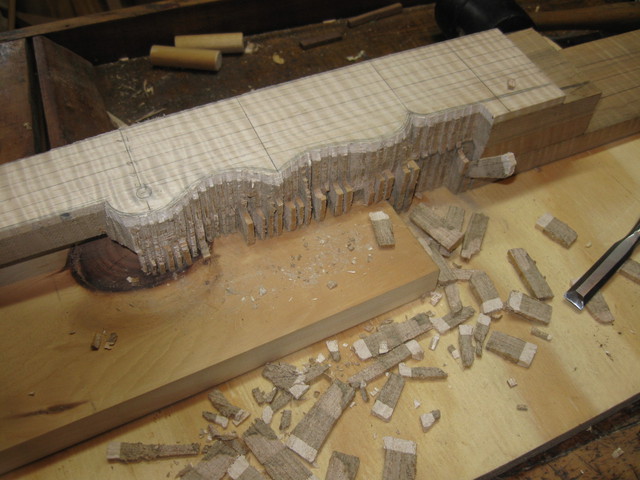
Almost Done With the Kerfs
I turned the neck over and finished chipping out the waste wood from the bottom side.
Finish Chipping the Wood From the Bottom
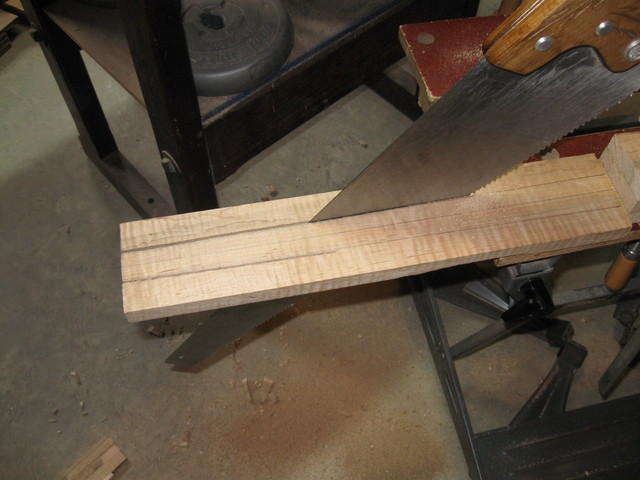
I cut the remaining straight part out using the saw. The narrow blade of the compass saw fits in the tight places, but it sure does cut slowly!
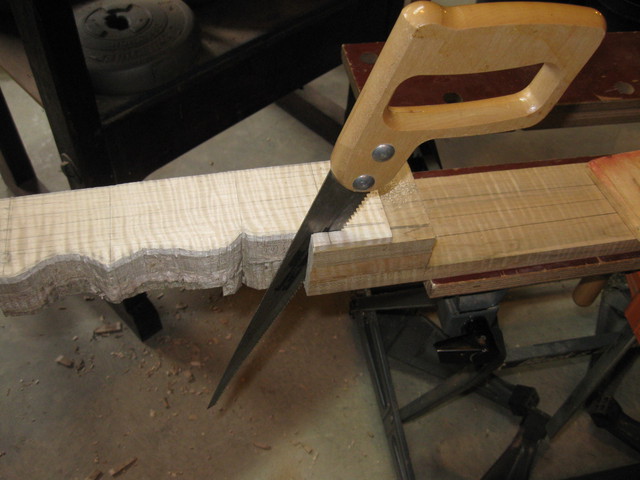
The Compass Saw Really Cuts Slowly in this Maple
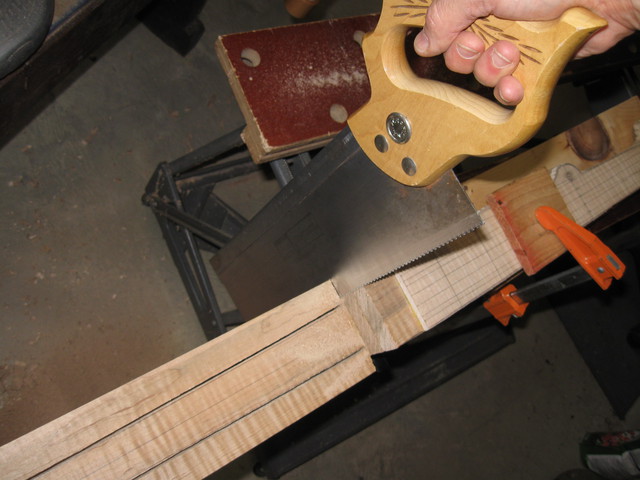
As soon as I could, I switched to the rip saw, which cuts much faster.
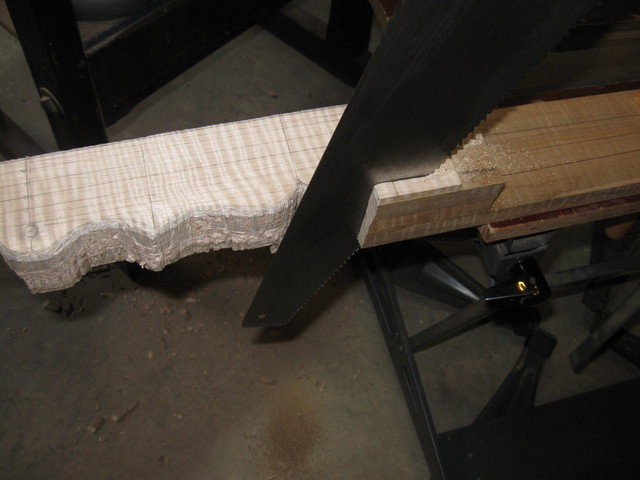
Using the Rip Saw Now
There it is. The curved parts are now cut out.
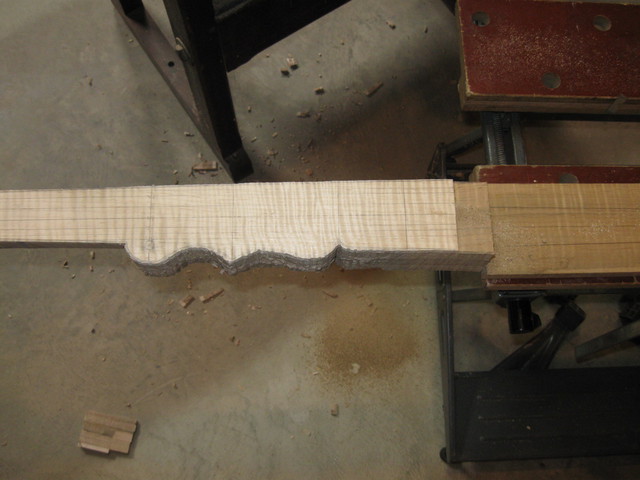
Done With the Curved Parts
I just need to do a couple of straight cuts to cut the dowel stick down to size. That is pretty easy with the rip saw. It's only one thickness of wood.
Cutting The Dowel Stick
Use the miter saw to cut off the side pieces from the dowel...
Releasing the Sides from the Dowel
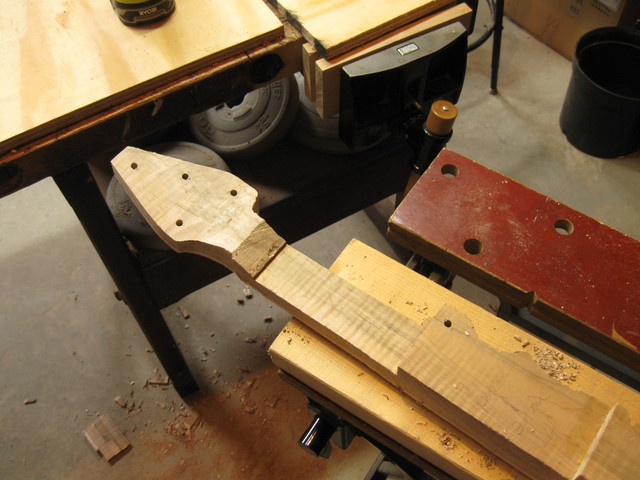
Well, there it is. It is still kind of square, but it is starting to look like a banjo neck.
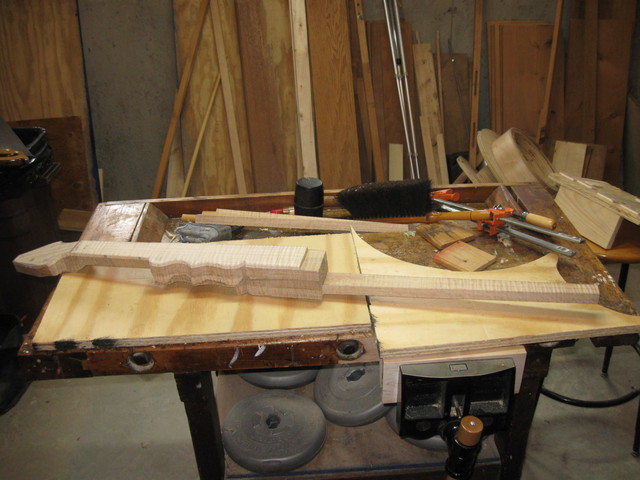
Hey! That Looks Like a Neck!
One trick that I have learned is to drill out the peg holes early. I tend to get tearout on the back sides of the holes, so if I drill them out early, the further shaping of the neck cuts away the tearout, and it doesn't show up on the final neck. So I drilled out the peg holes next.
I was very careful measuring the location of the 5th string hole because last time I messed that up, and it was too close to the edge of the neck. So I measured the location of the center of the hole so that the edge of the peg will be spaced the same distance from the 4th string as the other strings are separated from one another.
Measuring With the Punch
I went pretty far on my quest for finding the perfect location for the 5th string peg hole.
I measured the diameter of the pegs on the top side of the peghead on my other banjos to see how big the hole really is on that side. I drill them out with a 1/4" drill, but by the time I ream them out with the taper, they are slightly larger than that. I measured the pegs at about 9/32", or just 1/32 larger than the 1/4" hole I start with. I will offset the center of the hole 1/2 of that additional distance since the string will wind around the outside of the peg.
OK, Here is a brief digression about the theory behind the wooden banjo pegs. The pegs are tapered to a standard angle, and the holes are reamed to an angle that matches the taper on the pegs. The purpose of the taper is to allow you to adjust the tightness of the pegs in the holes. If there were no taper, you would have the situation shown in the diagram below.
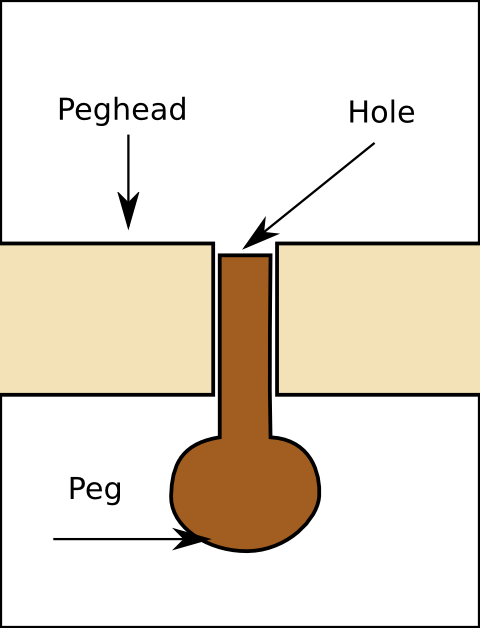
A Straight Banjo Peg Won't Work
You can see that the size of the peg and the size of the hole would have to be made very precisely to have a friction fit. And, when the humidity changed, the relative size of the hole and the peg would change. Then, you would have either a very loose peg, or a peg that was fused into the hole. So this won't work.
Friction pegs are tapered to get around that problem. Here is a drawing of a tapered peg.
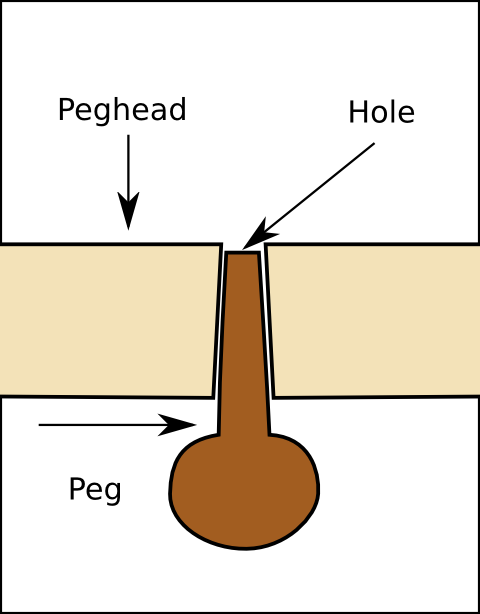
A Tapered Banjo Peg Has Adjustable Tightness
The tightness of the peg in the hole is adjusted by pushing the peg farther in to make it tighter, and pulling it out to make it looser. If the peg does get stuck in the hole because of a change in humidity, it isn't all that difficult to pound it out with your shoe. No. Really. I have pounded out pegs with the heel of my shoe. If a change in the humidity makes the pegs go loose in the holes, the strings all go blooey and you have to retune. Big deal.
So, as I was saying, when I install the pegs into the holes I will taper the holes to match the taper of the pegs, and the act of reaming out the hole makes the diameter of the hole on the top side of the peghead just a tad bigger than 1/4". It makes the diameter of the hole on the bottom of the peghead considerably larger than that, but I am not concerned with that because the string wraps around the peg on the top side of the peghead, and I am trying to locate the string correctly, not where the peg comes out the bottom of the peghead.
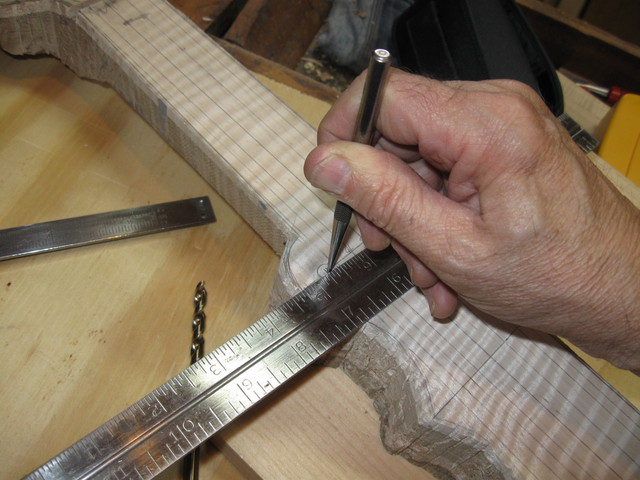
I wrap my strings around the 5th string peg on the side that is toward the neck. So that is how I locate the hole.
So, I lined the ruler up with the line that represents the 5th string, and I measured 1/8" to the left plus just a tad more (1/64"?) to provide for the slightly larger tip of the peg.... and I punched it there.
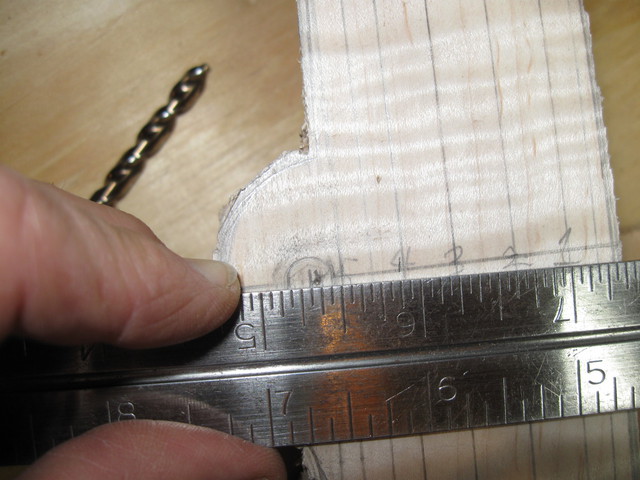
Punched
The peghead itself doesn't require such picky measurements. The locations of the strings are determined by the slots in the nut, so I punched the centers in the middle of the circles that I had eyeballed earlier.
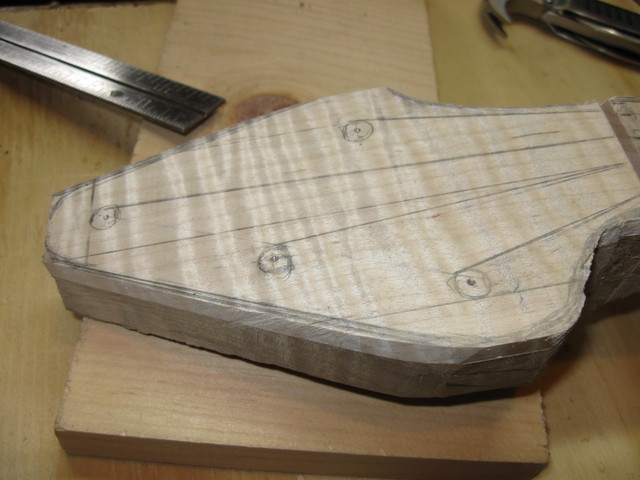
The Peghead is Also Punched
I put a masking tape flag on the 1/4" drill to make sure that I have gone all the way through the wood when I drill out the holes. There is quite a bit of overkill for the peghead.
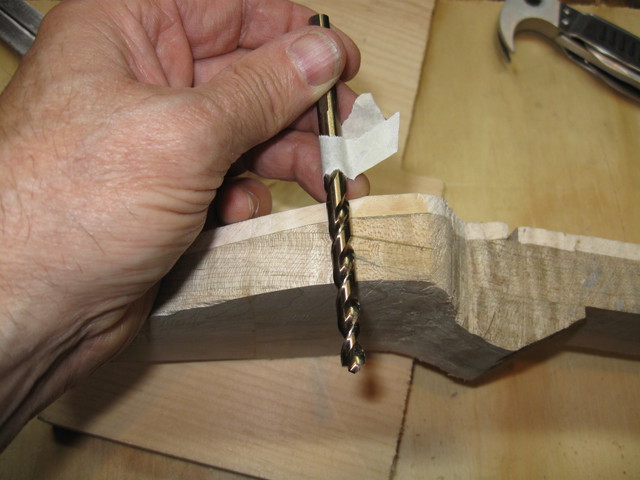
The Flag Lets Me Know I Am All the Way Through
But it has to go far enough to do the 5th string peg hole as well. Even the two layers of wood at the 5th string hole will be drilled all the way through.
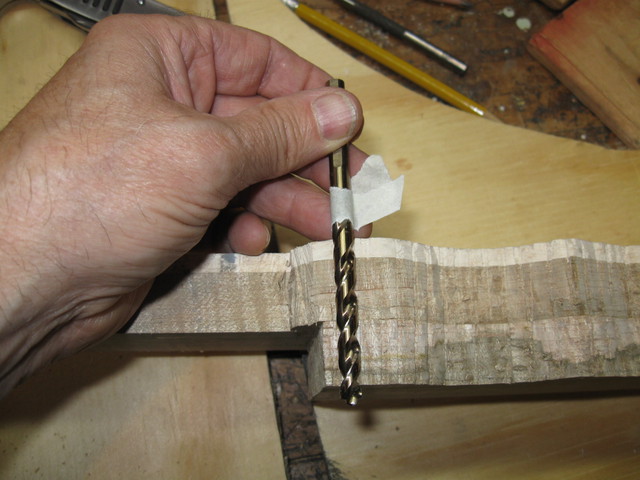
The 5th String Hole Will Be Drilled All the Way Through
I clamped the peghead down tight to a piece of 2" lumber to use as a backing board. That should minimize the tearout on the back side of the peghead.
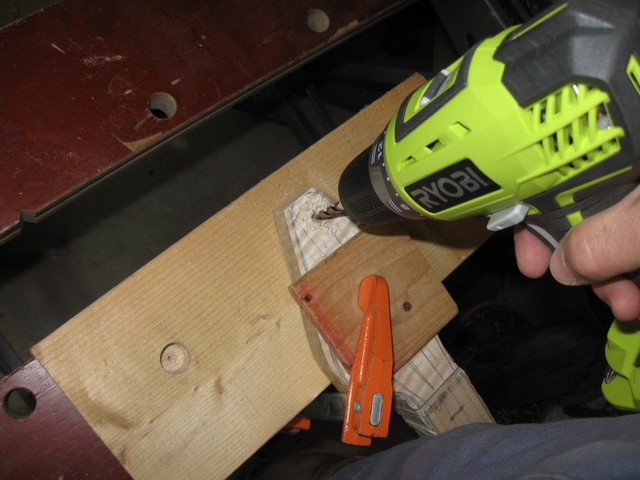
Drilling the Hole for the 2nd String Peg
I moved the clamp and caul around and drilled out all four holes. I do not have a drill press, so I just eyeball the drill vertical. It works pretty well that way, and with my wooden friction pegs I don't need this to be machined to perfection.
Drilling the Hole for the 1st String Peg
Here they are, all four holes drilled out.
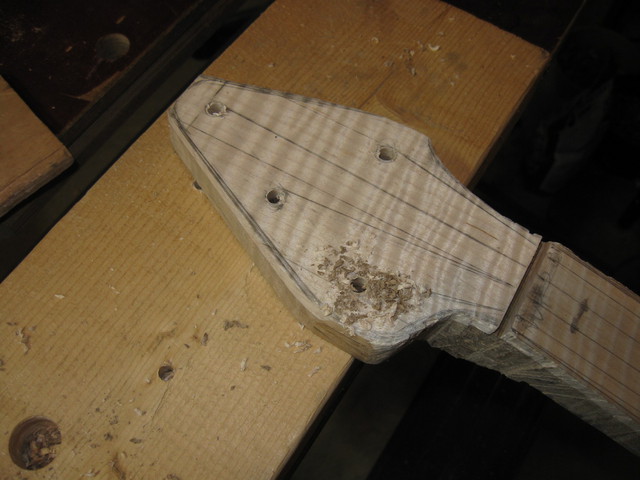
The Peghead is Done
Here is the backside of it.
The Back Side of the Peghead Holes
That isn't too bad. There is a small amount of tearout around the holes, but that will be cleaned up when I do the final shaping of that side of the peghead.
Just a Small Amount of Tearout
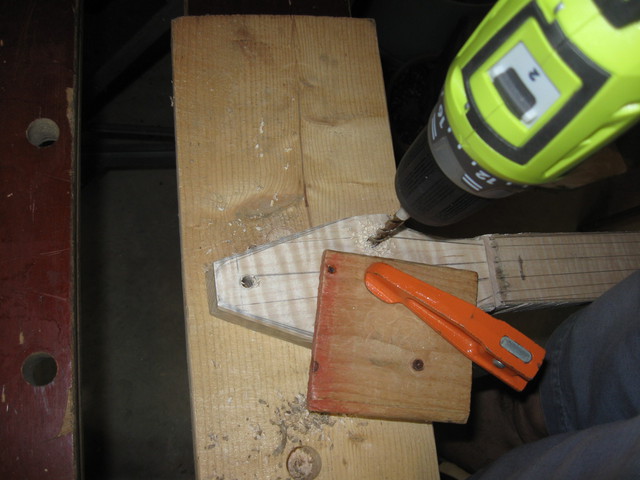
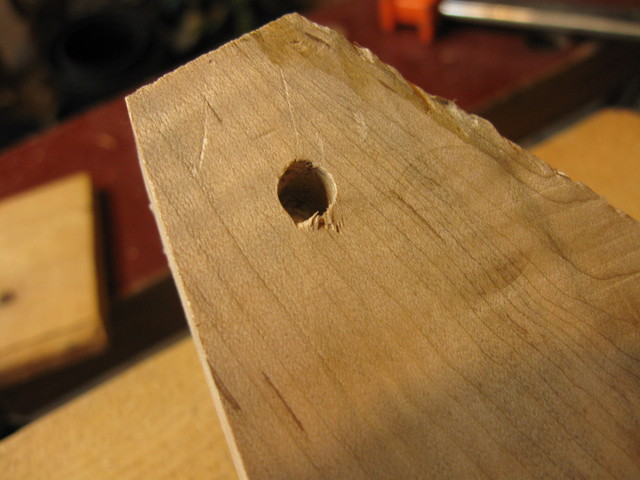
Next, I moved on to the 5th string peg hole. I used the same technique, clamp it down and eyeball the vertical.
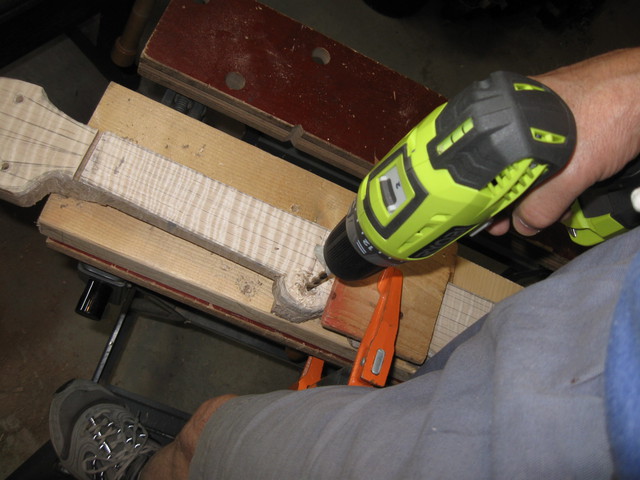
Drilling the 5th String Peg Hole
Deep hole. I got out quite a bit of peg hole guts.
Peg Hole Guts
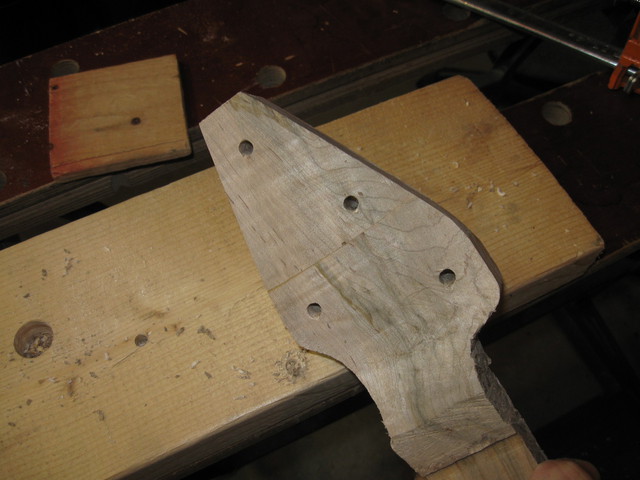
Here it is. You can see the holes have been drilled all the way through to the backside.
The Holes Are Drilled
That is all that I accomplished today. I ran out of time again.
The Neck
Thanks for necking with me. Next time I need to cut the slope on the bottom of the neck.
