Today I finished the banjo.
No, not "Finished", as in "Done"... I just put some oil finish on it.
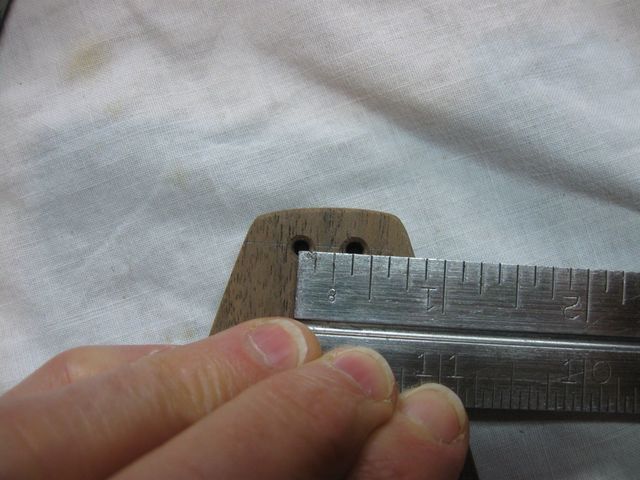
I also want to start making the peg blanks while I am down there. I measured the pegs on the gourd banjo because I want to make the same pegs for this banjo.
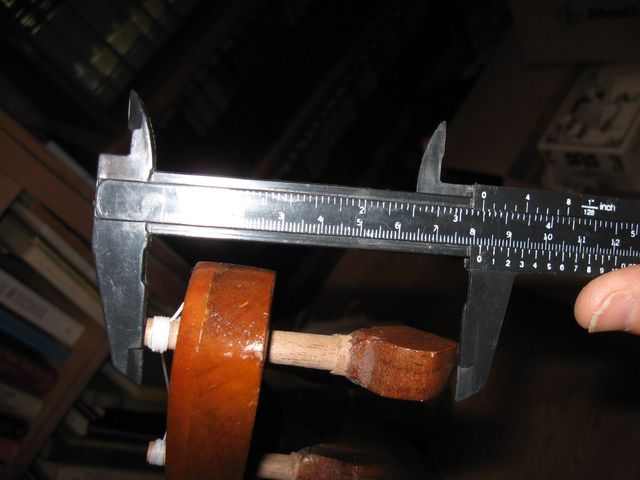
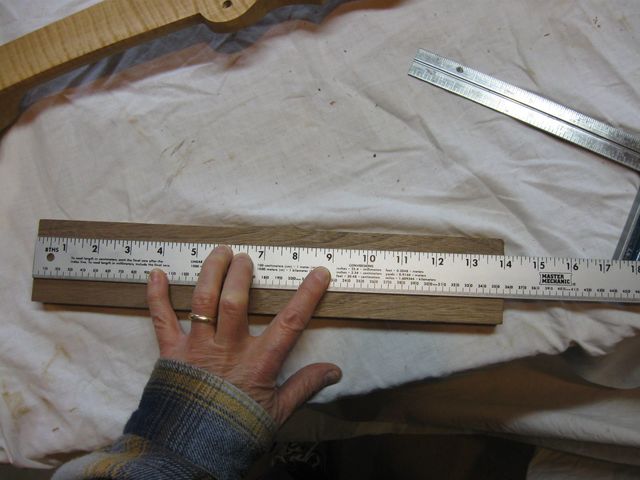
Measure the Length of the Peg
The length of the peg is 3 1/4". I'm not sure where that size came from. I must have adopted it from some other peg.
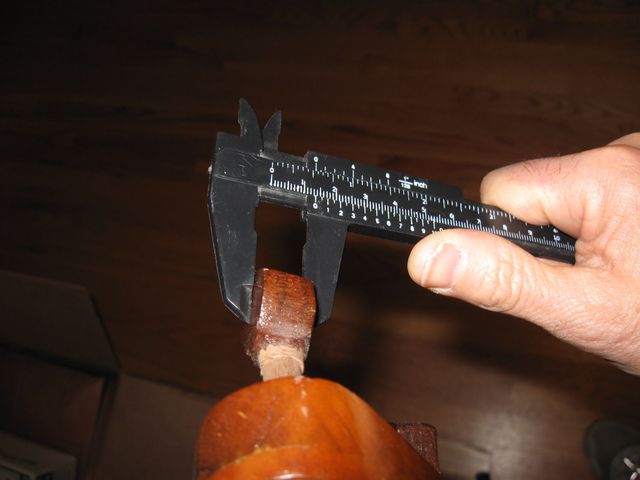
Measure the Thickness of the Peg Button
The peg button is 1/2" thick.
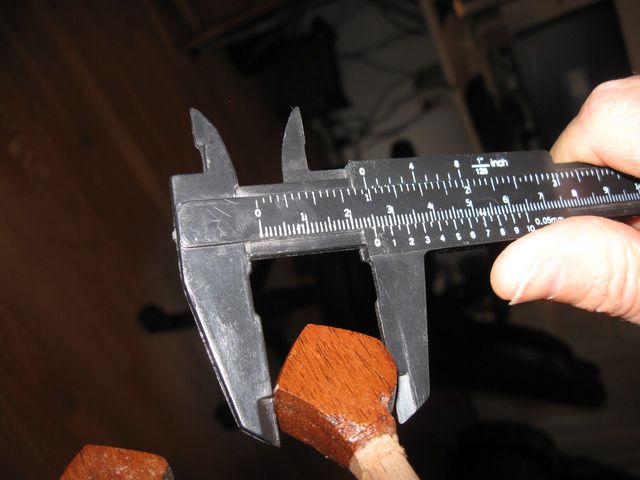
Measure the Height of the Peg Button
The height of the peg button is 1". What do you think of those peg button? I designed them to reflect the shape of the peghead and the tailpiece. Pretty cool. These pegs are chunky, but I like them. They work well. I make my pegs out of black walnut instead of the harder woods that are normally used for pegs. Violin pegs are made of ebony or rosewood. I suppose that they will last longer, but they stick in the holes badly and are harder to use. So I make my pegs out of black walnut and they work fine. Tuning my banjos with black walnut pegs is almost as easy as tuning a banjo with machine tuners.
OK. Down to the basement, where the stretched head is still cinched down by the rubber bands.
The Rubber Bands are Still on the Hoop
The rubber bands are easily removed. Just grab the edge and pull them off.
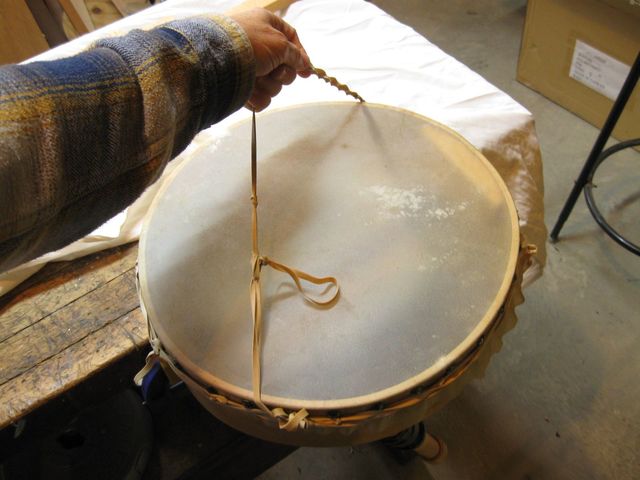
Removing the Rubber Bands
Here is the result of gluing and tacking the head down to the hoop. The head is secured to the hoop by the glue under the tacks. The extra skin needs to be cut off at the point where the glue stops.

I Must Cut Off the Extra Skin
It is really easy to cut off the extra skin. A sharp shop knife makes quick work of it. I used the knife parallel to the side of the hoop to avoid cutting a groove into the hoop.

Cutting Off the Extra is Easy
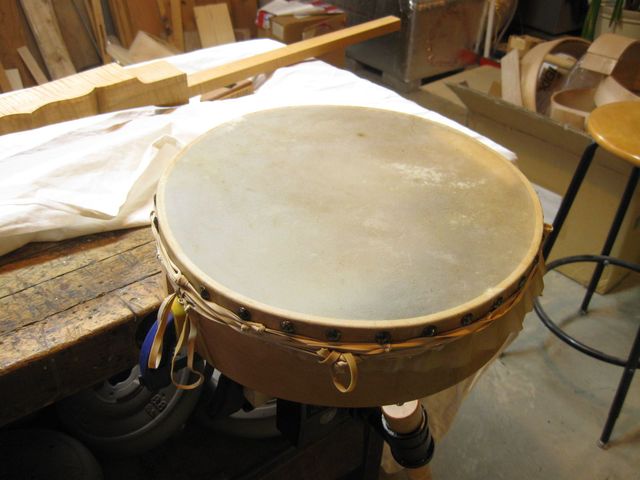
Here it is, all trimmed. The edges of the skin are a bit ragged, but that is OK considering the trouble I had putting it on. It came out a lot better than it might have.
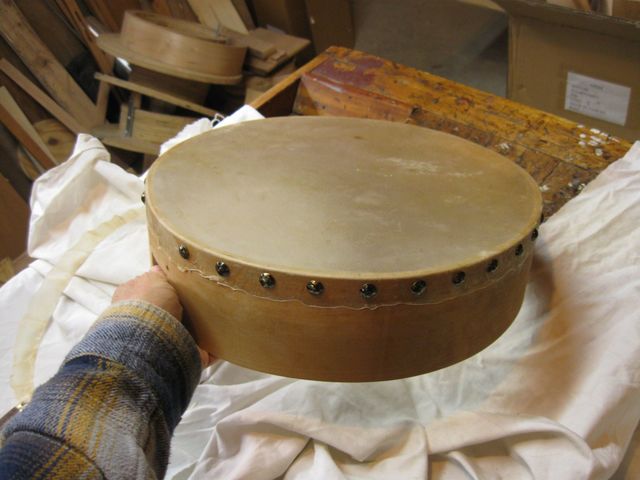
The Head is Done
Here is an interesting outcome that I did not anticipate. Some of the screws that hold the hoop together are now glued under the edge of the head.
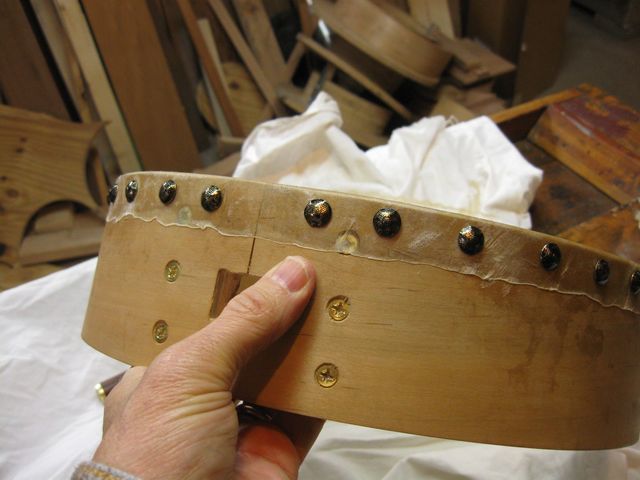
The Screw is Buried
It isn't a big deal, because if I had to take the hoop apart, the head would be destroyed anyway. But having the screws buried under the head was not part of the plan.
Moving on, I remembered that I had not drilled the holes in the vertical tailpiece for the wire that holds on the spreader tailpiece. In order to mark accurately where the holes go, I screwed the banjo back together again.
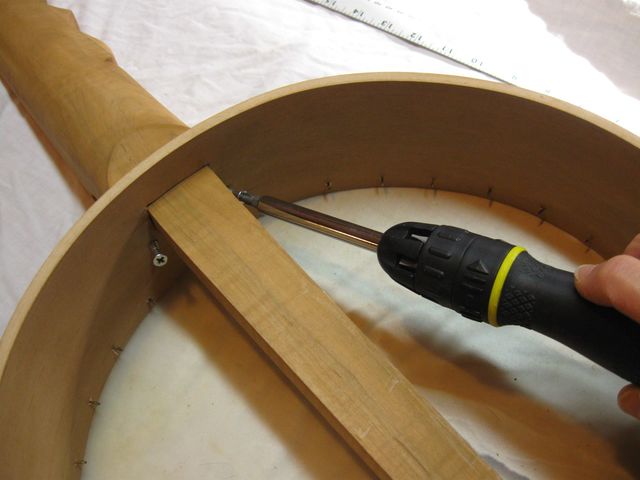
Screwing the Neck Onto the Hoop
I also wanted to see if I could get at the screws with the head on. It seems to work fine.
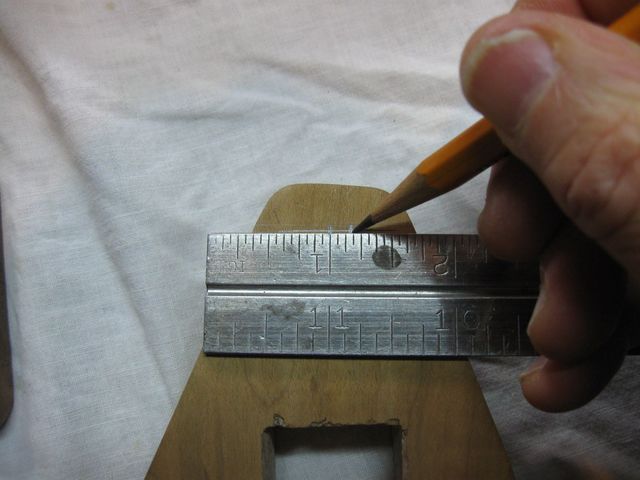
I laid my long rule across the top of the hoop, put the tailpiece onto the tail of the banjo neck, and marked the place where the rule meets with the tailpiece.
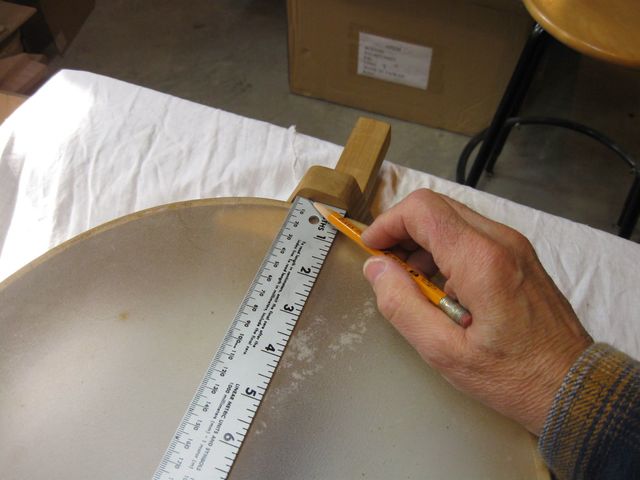
Marking Where the Holes Must Go in the Tailpiece
Here is a closeup of the marking.
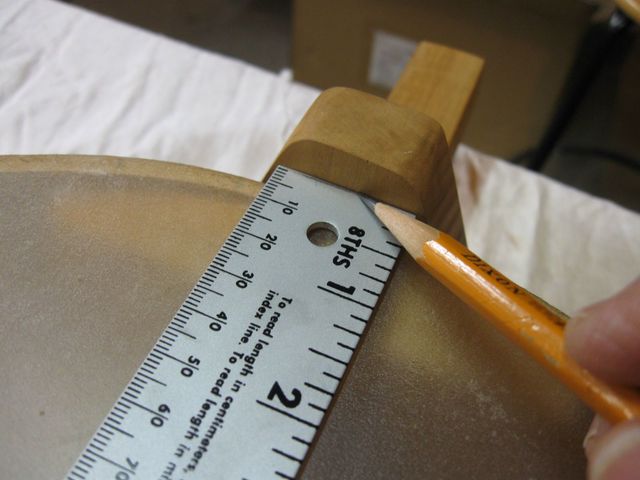
Closeup of the Marking.
The rule is about 3/32" thick, so the mark that I made on the tailpiece is just a bit above the level of the head. That is good because I am going to wire the spreader part of the tailpiece to this part with some steel wire, and I do not want the wire to touch the head anywhere. Here is the wire.
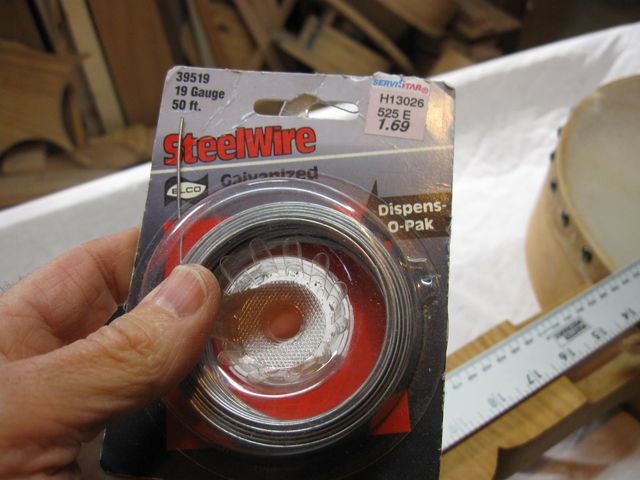
This is 19 Gauge Baling Wire
Yes. I use baling wire on my banjos. I used twine once on one of my gourd banjos, and in the middle of the night the twine broke and banjo parts went flying everywhere. It made a big noise. It scared me. Since that incident I have been hooking the tailpieces together with wire.
The holes for the wire are drilled with a 7/64" drill bit.
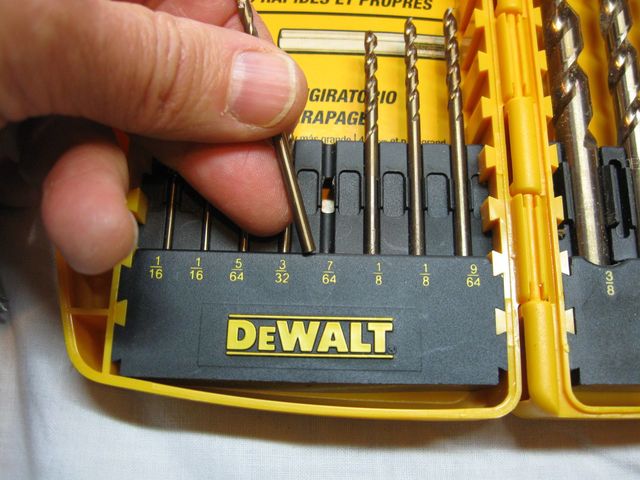
Wire These Holes Drilled So Large?
I used the 7/64" bit this time because that is what I used when I drilled the other part of the tailpiece. And I used it then because it is the drill that I used on my previous banjo. Beyond that, I don't remember why I chose that size.
The holes in the other part of the tailpiece are 3/8" apart, so I made these holes 3/8" apart as well. That way they will line up with the others.
The Holes are 3/8" Apart
Find the center of the tailpiece and measure 3/16" on either side.
Mark the Location for the Holes
Center punch the locations.
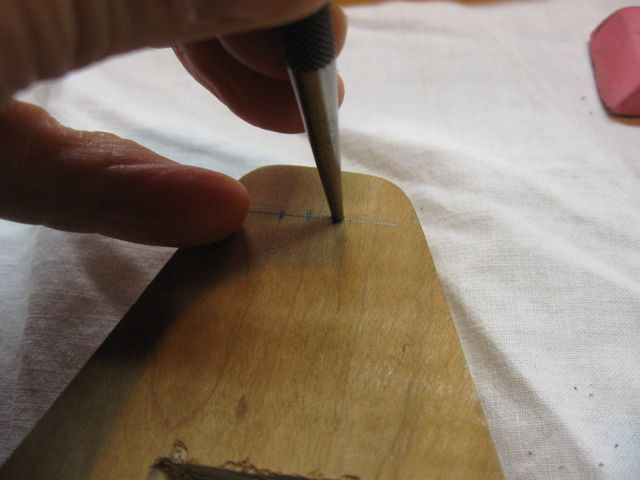
Center Punch the Hole
Drill them out.
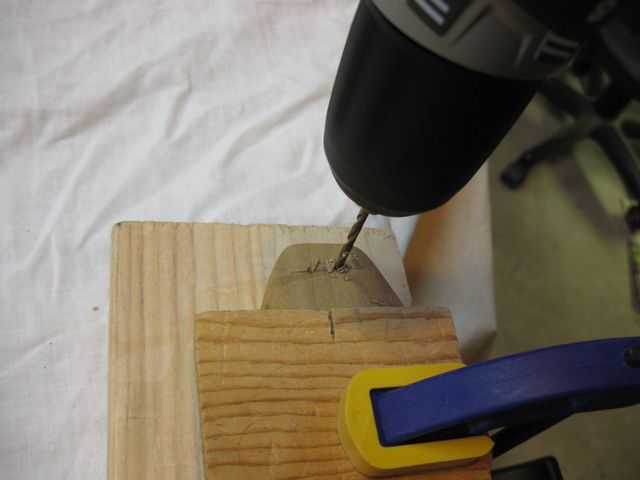
Drilling the Holes
Here's a veteran tool that you don't see every day. I found that old hand drill in my Dad's shed when I was out there last time. This will come in handy when I don't want to bother getting out the electric drill. I have my screw recessing tool in the chuck.
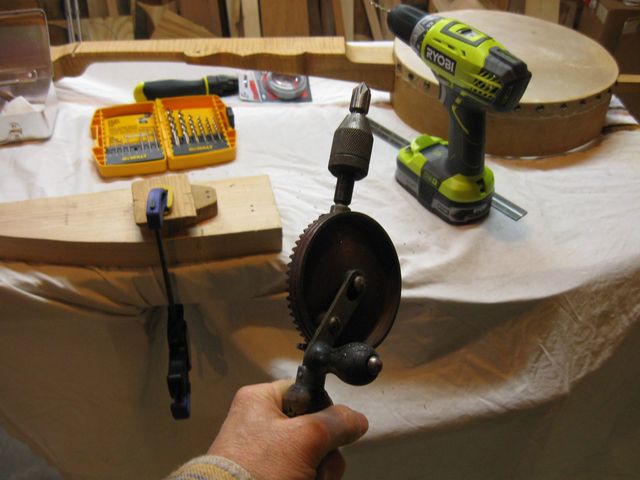
Old Hand Drill from Dad's Shed
I chamfered the edges of the holes with the hand drill to make them look more finished.
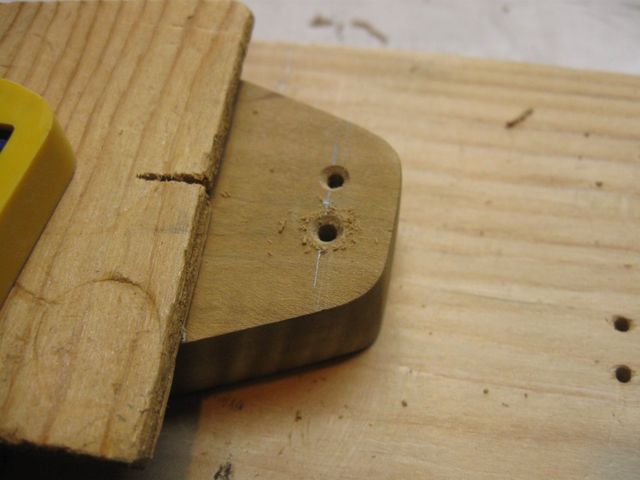
Chamfered Holes
The photo below shows the way this all goes together. The vertical tail piece is wedged onto the tail stick just shy of the hoop. The tail piece is not touching the hoop. The horizontal part is wired to the vertical part through the holes. It will be suspended in space by the tension of the strings. The tailpiece does not touch the hoop or head at all. That will keep the hoop from collapsing from the string tension applied to the tail. I figured this out the hard way after one of my gourds collapsed under the strings that were simply strung across it.
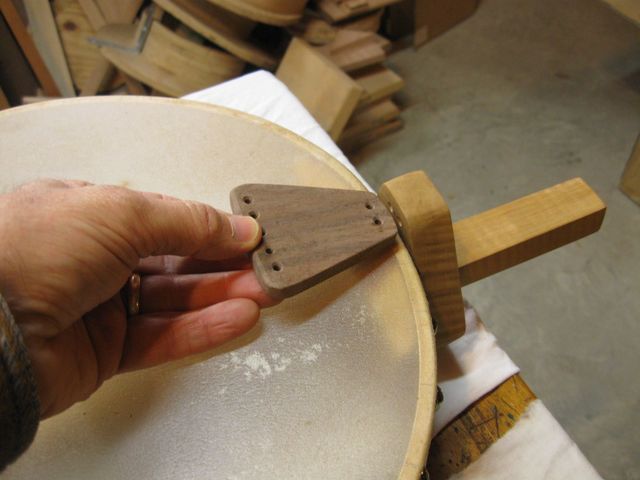
Dry Fit the Other Piece of the Tail
That is as far as I can take the tail piece until I get some finish on it. So I went back to the hoop. Putting on the head was such a panic, that I got water and glue all over the hoop. You can see in the photo below the smear of glue that is on the wood.
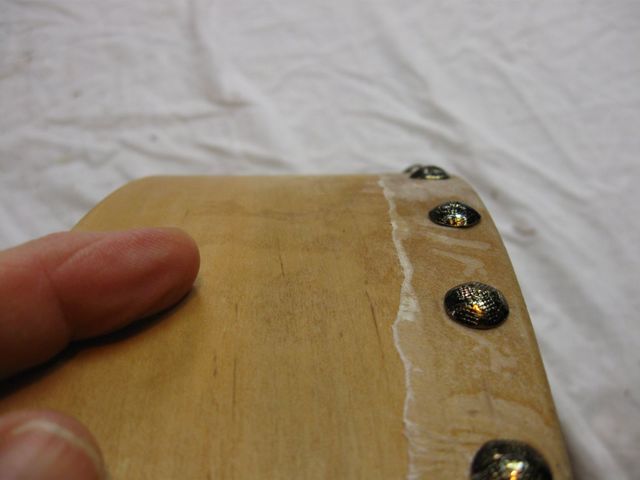
The Glue Got Everywhere
The finish will not penetrate the wood where the glue is, so I washed it off. That is the benefit of using plain white carpenter's glue to put on the head instead of the aliphatic glues. The carpenter's glue is not water proof, and it will wash off.
There was also a problem with some marking of the wood where the water from the wet head got on it. I guess the stain got moved around in the wood. I was also able to smooth that out with water. The stain I used is water soluble as well, so I could move it around and clean it up a bit.

Cleaning Up the Hoop
I did one last fine sanding to get the surfaces smooth. I used a fine 220 grit paper for that.

I Did a Final Sanding with 220 Grit Paper
I sanded it very lightly so that I would not sand through the stain.

Sanding the Finger Board
I just remembered that I was going to look into making some peg blanks too. I groped through my bag of black walnut scraps to find a suitable piece for the pegs. I found this one.
I Should Be Able to Get All My Pegs from This Piece
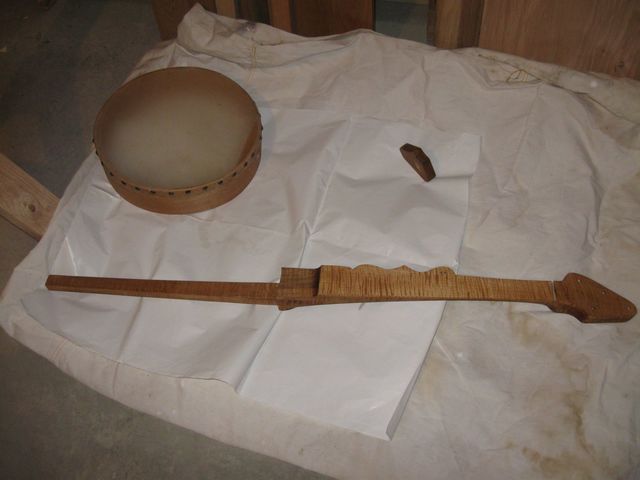
The wood is about 14" by 2 1/2" so that will be big enough to get 8 or so peg blanks out of it. That is as far as I got on the pegs. It was getting late, so I put the peg wood aside and started setting up to put some oil finish on the wood parts. Here are the pieces.
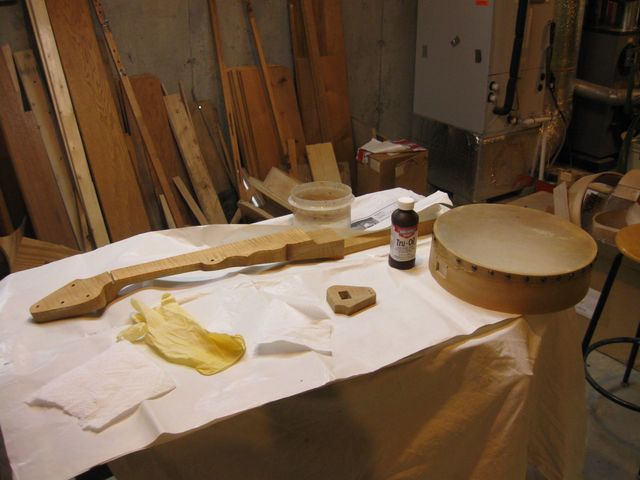
The Banjo Pieces to Finish
I use TruOil® from Birchwood Casey for the finish on my banjos. It is a blend of linseed oil and driers that was designed to use on gun stocks. This is like a traditional linseed oil finish, but it dries within a few hours instead of days or weeks. It is an easy finish to apply. Just wipe it on and it soaks into the wood.
I used to be able to get a 4 Oz. jar of TruOil at WalMart, but they have stopped carrying it. I can only find it at WoodCraft, so that is where I got this jar
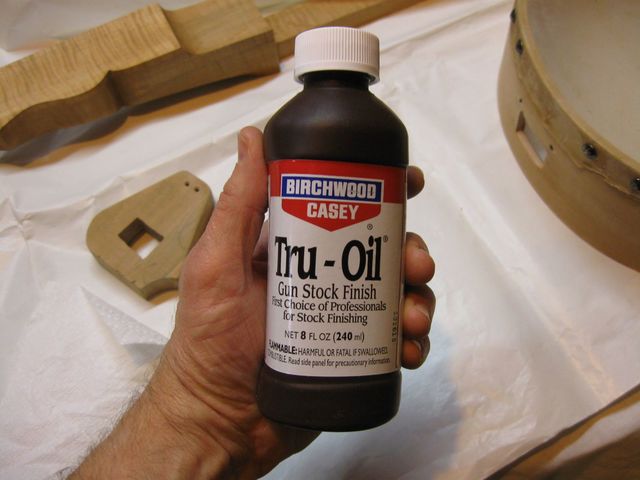
I Always Use TruOil on my Banjos
I opened the jar and peeled off the foil cap. The oil comes all the way up to the top. I guess that is to keep the air out so the oil won't dry up on top.
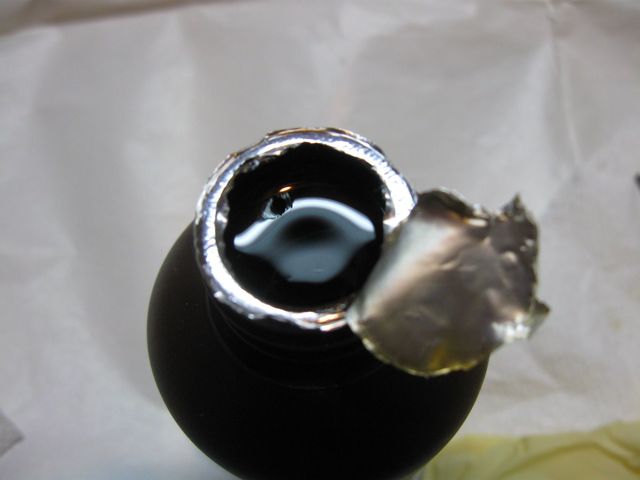
The Oil Is All the Way To The Top
In the past, I have been known to turn over the jar of oil on the workbench, so to avoid that nasty situation I have put the jar into a plastic tub. In the lab, that is known as "Double Containment", and is used to protect folks from HAZMAT. In this case, it is used to protect me from clumsiness.
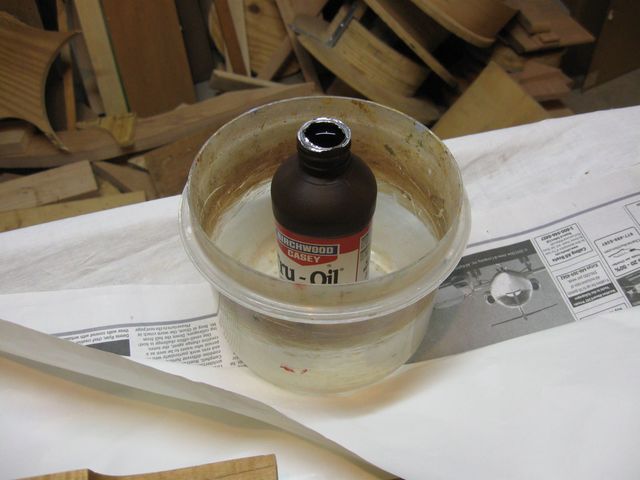
The Tub Keeps me From Spilling the Oil
Another precaution I take is to wear rubber gloves. The TruOil isn't really all that hazardous, but it does stink a bit, and once it is on the hands, it is difficult to get it off.

Gloves on Both Hands
I did not take any photos of me putting the oil on the banjo because it gets really messy, and I don't want to get oil all over my camera. Here are the banjo parts after I put on the first coat of oil.
The First Coat is On
It is striking how the oil brings out the figure in the maple finger board. Look at that tiger stripe.
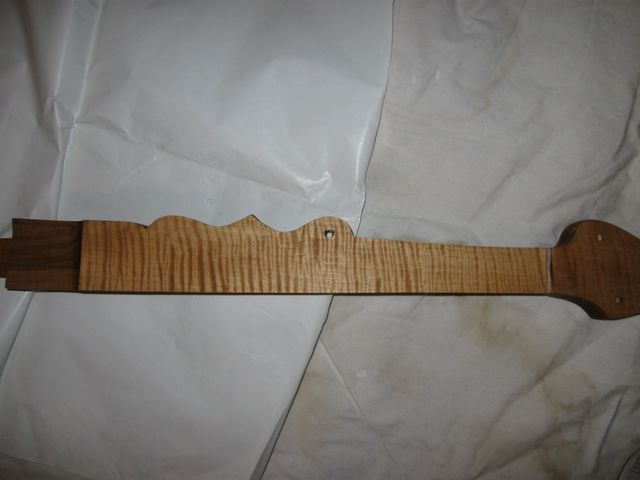
The Curly Maple is Gorgeous
That is enough for today. I never did get to those banjo pegs.
