Back when I started this project I picked out a nice board to use for the finger board and peghead overlay. I chose it because it had some figure in it as well as some grain. But a few weeks ago I was in the Big Box lumber store and found this board sitting in the bin.
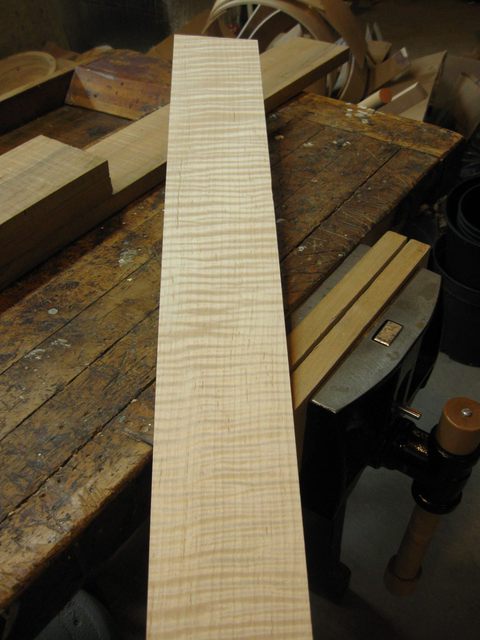
Tiger Stripe Curl
I am a big fan of curly maple, and this board has some serious tiger stripe in it. It is a four foot board, so I can get two necks out of this one. I only need two feet for this neck, so I marked off two feet on the board.
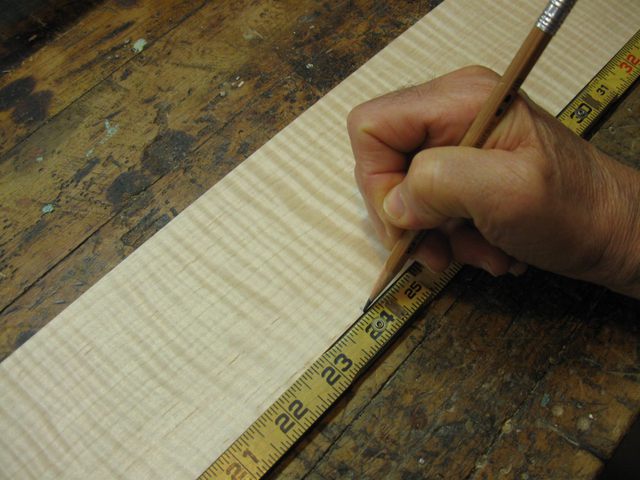
Mark Off at 24 Inches
To make sure that I marked it correctly, I turned the board around and measured it from the other end and marked off 24" again. The two marks ought to line up exactly in the center of the board.

Marking 24" From the Other End
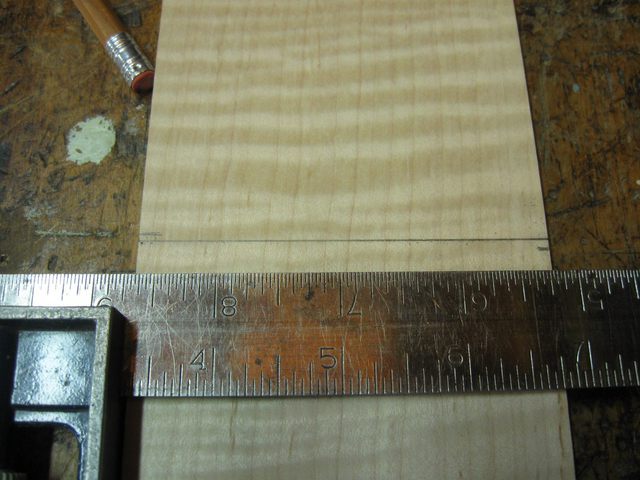
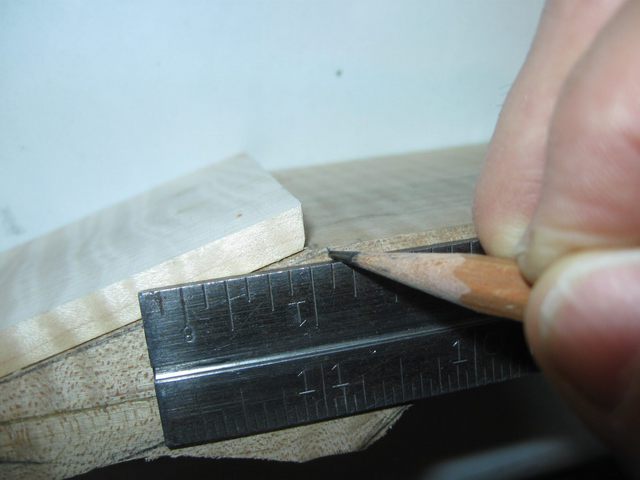
Well, they didn't. The pencil in the photo below is pointing at one mark, and the ruler is set at the other. I don't seem to be able to measure things very accurately. I didn't want to mess up this special board, so I measured it again to see what was going on.
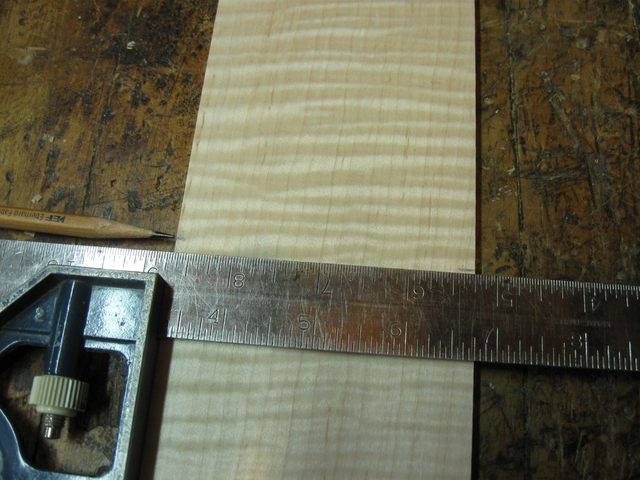
Oops. Off By a Bunch
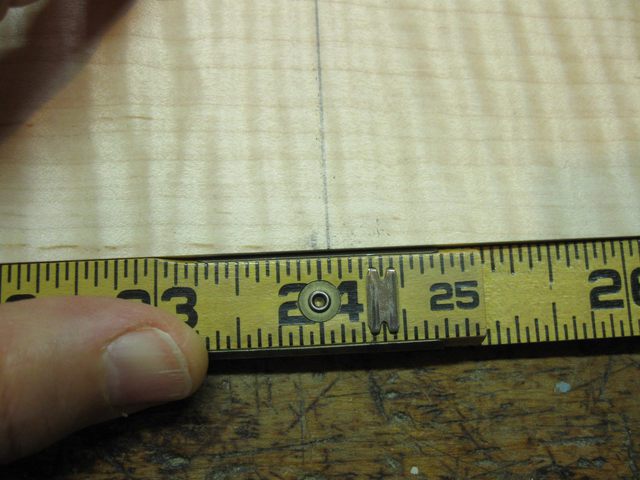
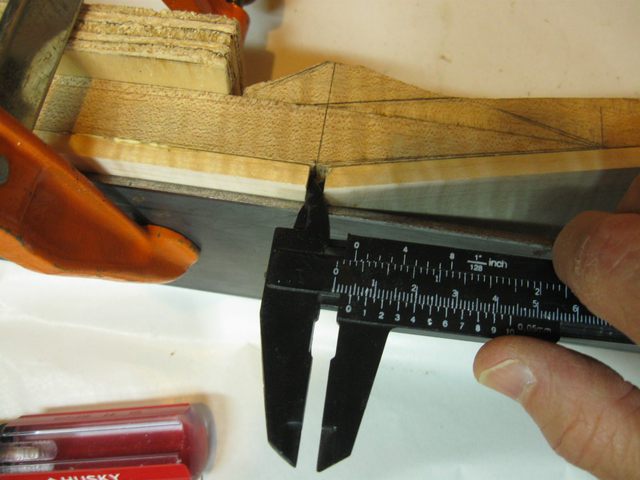
Here is the culprit. The board is not actually 4 feet long. I guess the board factory that supplies the boards to the Big Box store is the one who cannot measure accurately.
The Board is 3/16" Longer Than Advertised
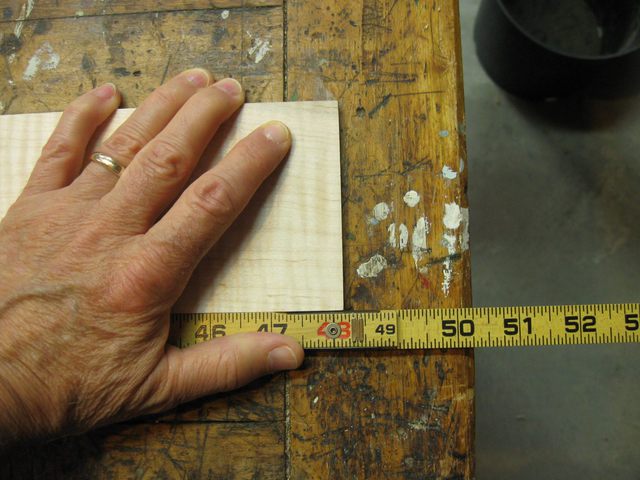
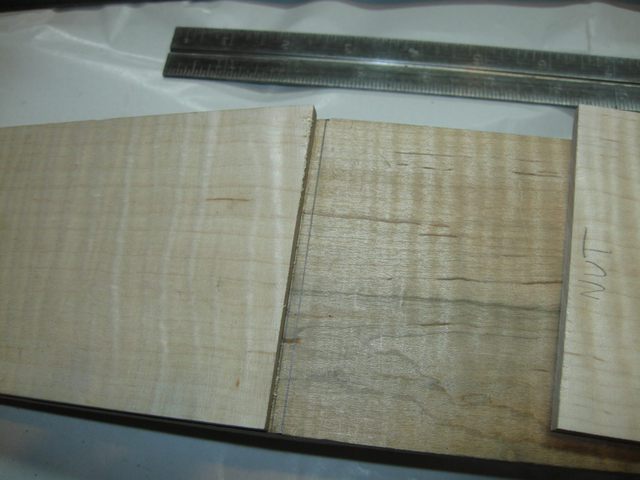
Not a big deal. Since the board was a tad longer than I thought, I just split the difference and drew a line between the two marks. I will cut the board in half on that line.
Split the Difference in Length
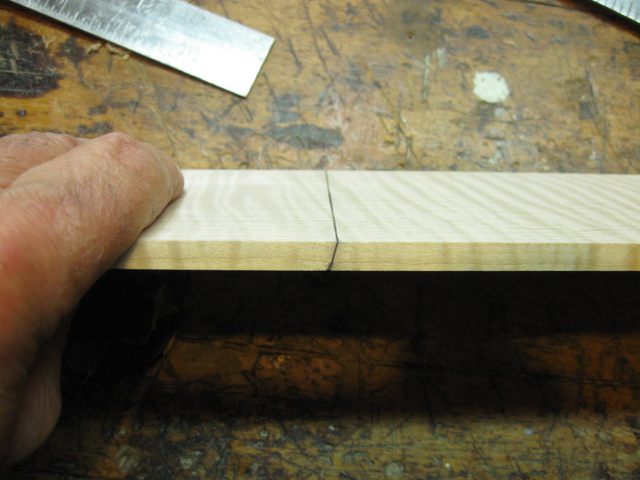
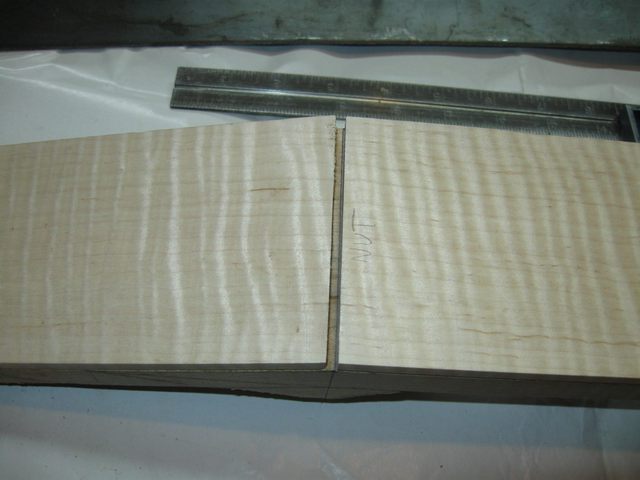
You can see that the line is now at 24 1/16" from one end. Given 1/16" of sawdust and the third 1/16" for the other end we should be even Steven.
Measure Twice and Cut Once
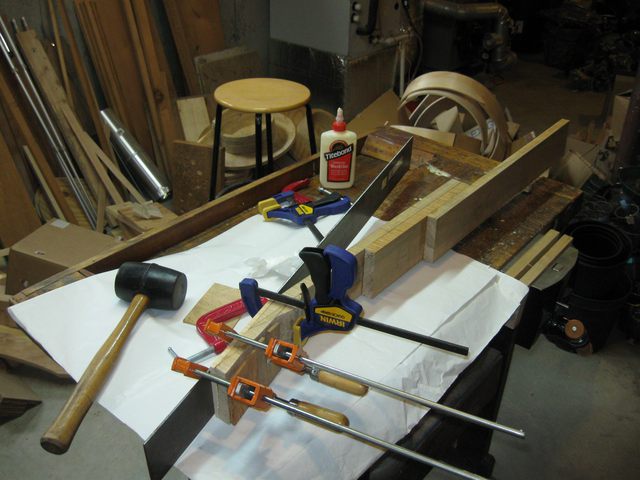
The next thing to do was to clamp the board to the bench and cut it in half.
That old, beat-up bench of mine has rounded edges on it from all the abuse it took over the years. I inherited it from somebody who inherited it from somebody who inherited it, so it was not I who abused the poor bench. I actually spend quite a bit of time a couple of years ago gluing it back together and squaring it up. But is is still rounded on the edges. Not much I can do about it.
So for delicate cuts like I was about to make, I tried clamping a false top to it to see if I could get a more square edge.
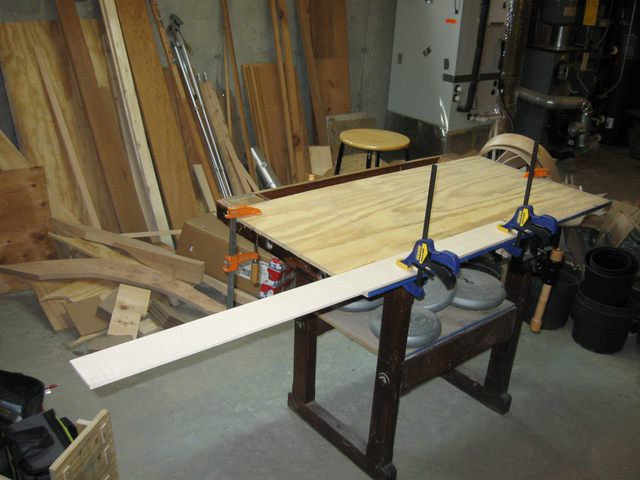
Some 5/8" Plywood Makes a False Top
I cut through the board using my panel saw.
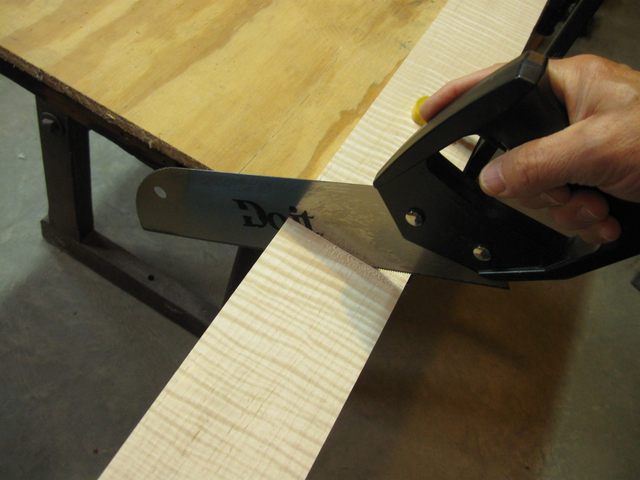
The Panel Saw Has Very Fine Teeth for Detail Work
The theory behind using the panel saw is that it has very fine teeth, so it will not tear up that skinny board. Unfortunately it has almost no set on it, and it often binds in the wood. When it binds in the wood, the board flexes and the top flexes and the whole thing is difficult to control. I need to find a better panel saw or some other alternative.
But I stumbled through and got the board cut.
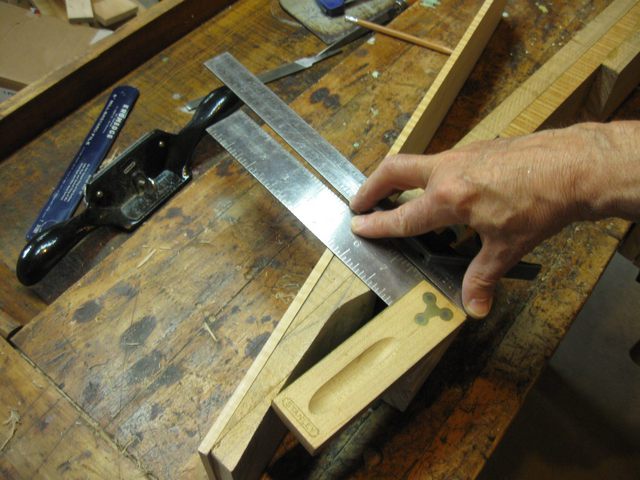
One thing that I wanted to do before I glued the board down to the peghead was to make sure that the peghead surface was truly flat. It needs to be very flat for the overlay to stick to it properly. I got out my straight edge and saw the light.
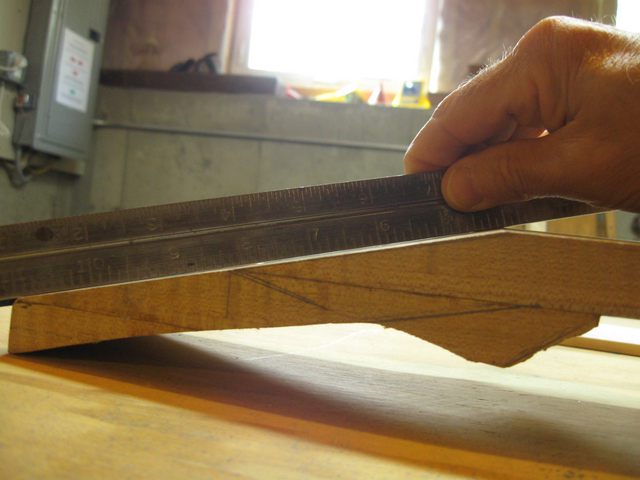
You Can See the Light Under the Ruler
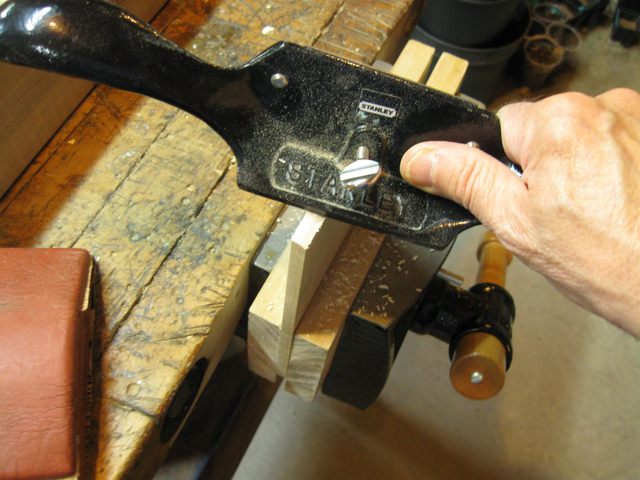
If the surface were flat, there would be no light under the ruler. So I decided to work on the peghead surface some more before going on with the overlay. One of my best tools for removing very fine shavings of wood is my cabinet scraper. It is easy to sharpen and set up for very fine cuts.
I decided to sharpen it before I took on the peghead. The scraper blade has a 45° bevel on it that is bent into a hook. So I cut down to fresh metal using a file.
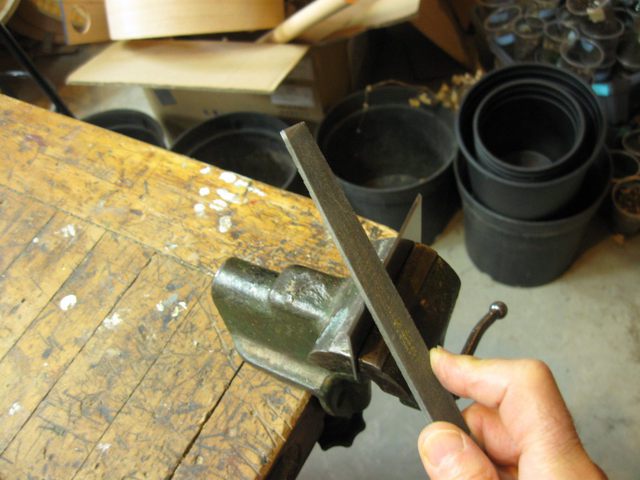
Re-establish the Bevel Using a File
Then I honed the bevel with my diamond hone. I find that it is easier to keep the bevel straight and at the correct angle if I use the hone like a file. It is easier to hold onto the hone than it is to put the hone down flat and hold onto the small blade.
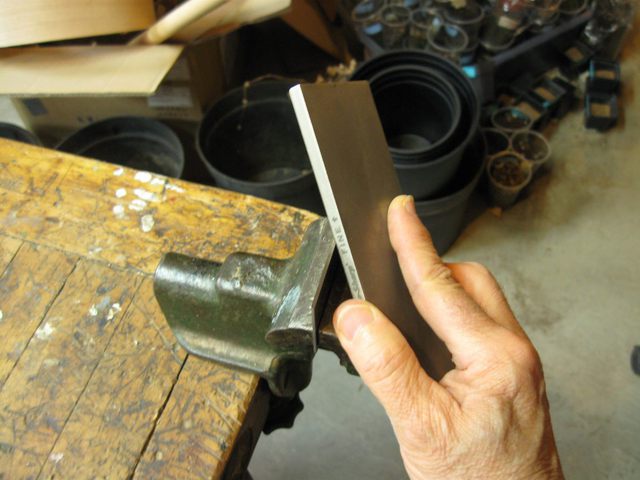
I Use the Hone Like a File
After honing the blade front and back, I used the burnisher to bend the hook on the edge. The hook is what does the cutting.

Burnishing a Hook on the Blade
Here it is all set up and ready to go.
The Cabinet Scraper
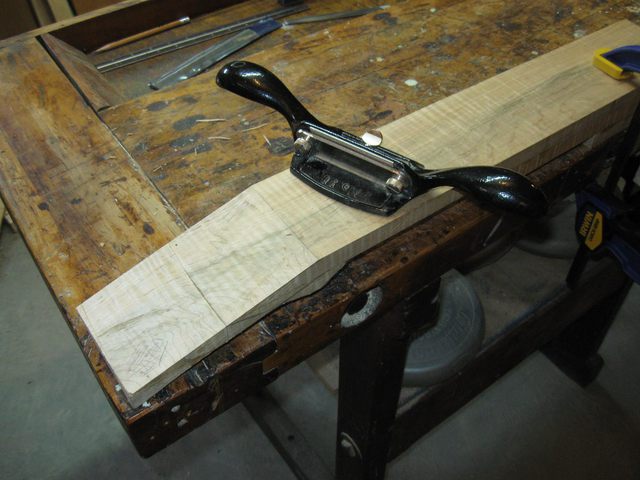
I didn't take a bunch of photos of me scraping the peghead flat. You have seen all that before. So I just did it. I measured the flatness many times and marked the location on the surface where it appeared to be too high.
Make Marks on the High Points of the Surface
Then I shaved off the high spots and measured again. So that's the way it is done. Measure the flatness, mark the high points, and use the scraper to scrape away the markings. I just keep doing that until I can put the straight edge down on the surface in any direction and it doesn't rock or have gaps under it.
OK. Here is something that really annoys me. I get this special, gorgeous figured wood, and the store has stuck one of these stickers on it with the bar code.
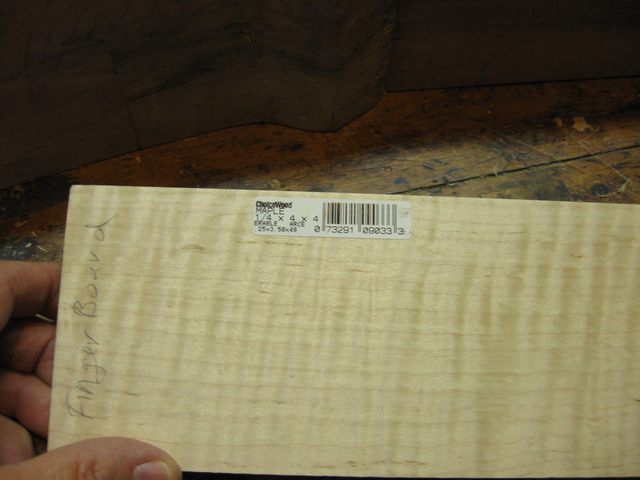
Label With the Bar Code
The bar codes are OK, but do they have to stick them on with glue that just will not let go? I have to pick at these things for hours to get them off, and then they leave sticky goo on the wood that is impossible to get off. This one came of easily in the end, but...
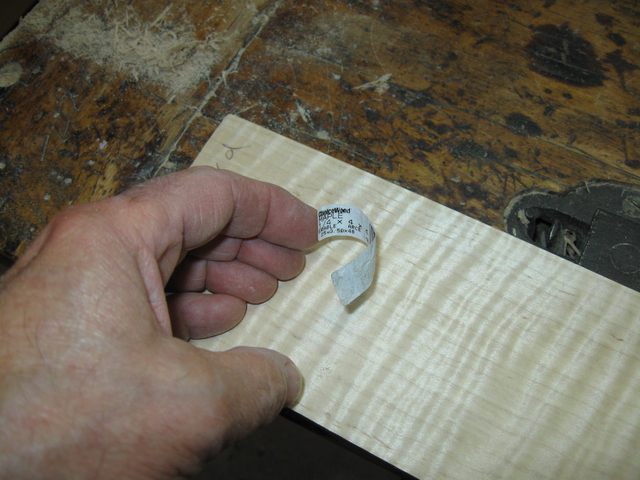
The Sticker has Been Laboriously Removed
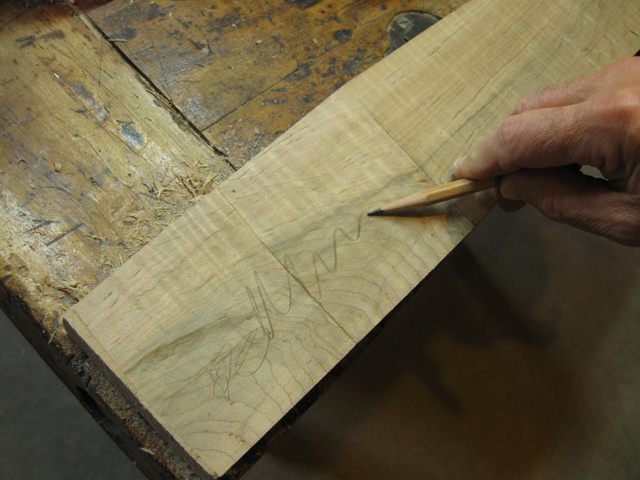
The next step was to cut the end off of the board to a length that will cover the peghead. I measured it directly on the peghead so there would be no mistakes. Since the peghead is at an angle, and I want the nut slot to be straight up and down on the top, I must cut the board at an angle.
I marked the angle directly on the board so that the cut would be perpendicular to the surface of the neck. I had to gang up two of my try squares to get it done. The two squares are not very well aligned in the photo, but that was because I was trying to take a photo with one hand and hold the squares with the other. When I actually did the marking, the two rulers were right next to each other.
Two Try Squares are Better Than One
Here is the angle I had to cut. Another challenging cut.
Cut the Board at This Angle
I don't know if you can tell from the photo, but I had to angle the saw in a weird way to cut to that line.
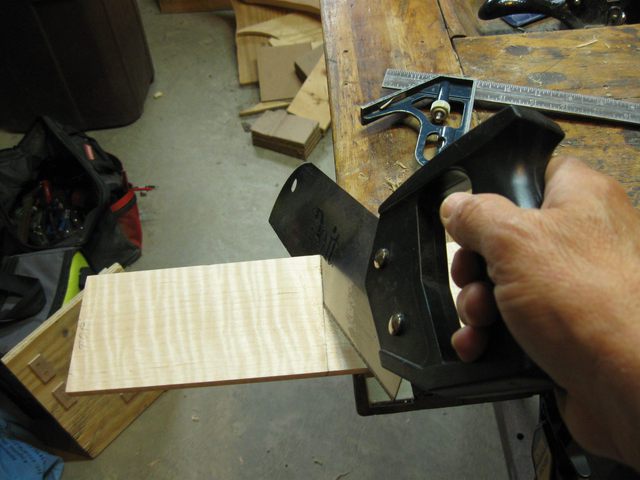
Cut the Board Off At the Line
Here is the final cut. You can see that it is angled.
The Cut
When I tried the board on the peghead, I could see that the angle was not quite right, so I had to correct it with my cabinet scraper.
Correcting the Angle of the Cut
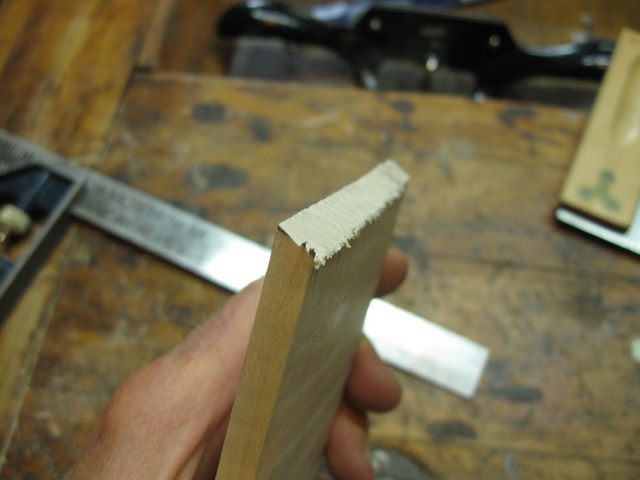
You can see in the photo below that there is a new facet on the end of the board where I have established a slightly different angle.
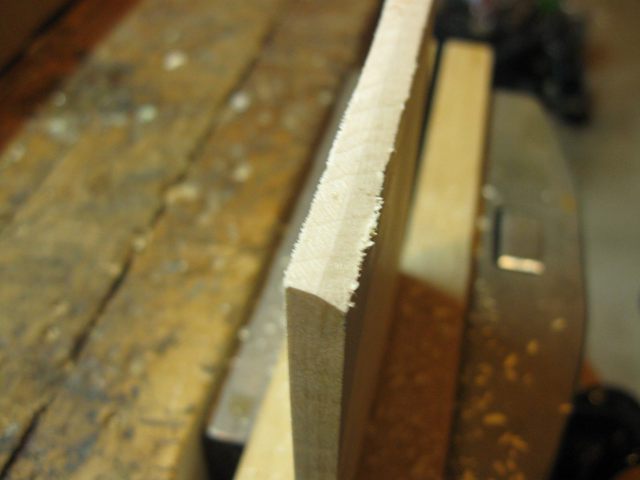
A New Angle is Being Cut
When I hold it against the top of the peghead it looks pretty good. The edge of the board is vertical in relation to the surface of the neck.
The Nut Slot Will Be Vertical
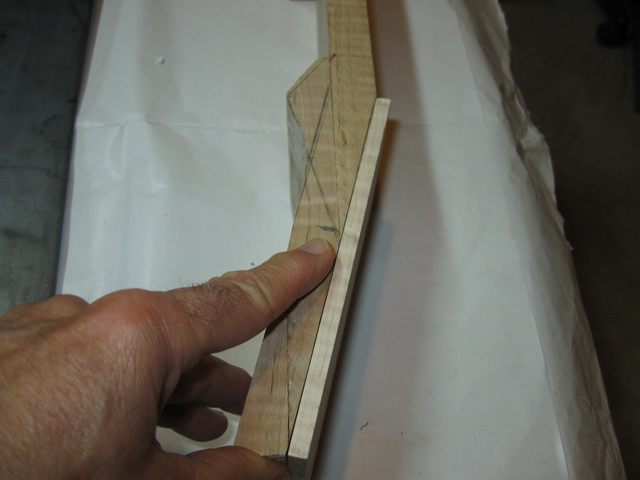
Since I cut the peghead overlay off at an angle, the end of the finger board overlay is also cut at an angle, so I need to square that up.
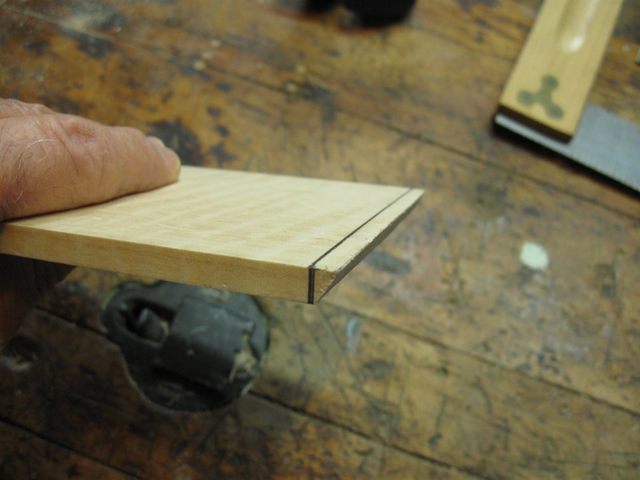
The End of the Board is Marked Square
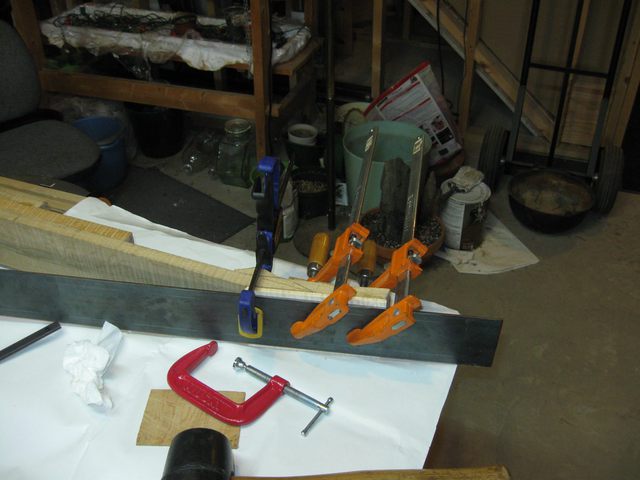
I gave up on the false top for the bench because it was too flimsy and did not provide a stable support for sawing. So I just clamped the board down to the bench and supported the end with some cardboard shims. I need to think about getting a new bench.
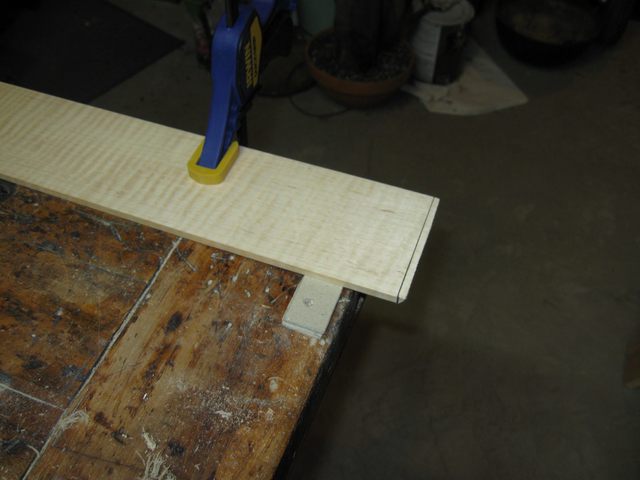
The Shims Take up Slack Under the Board
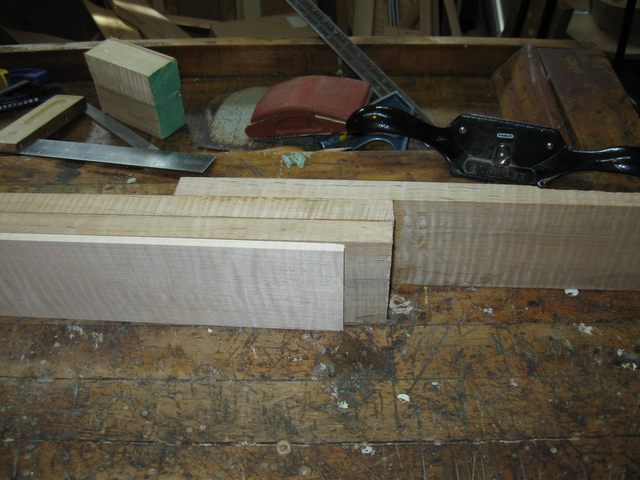
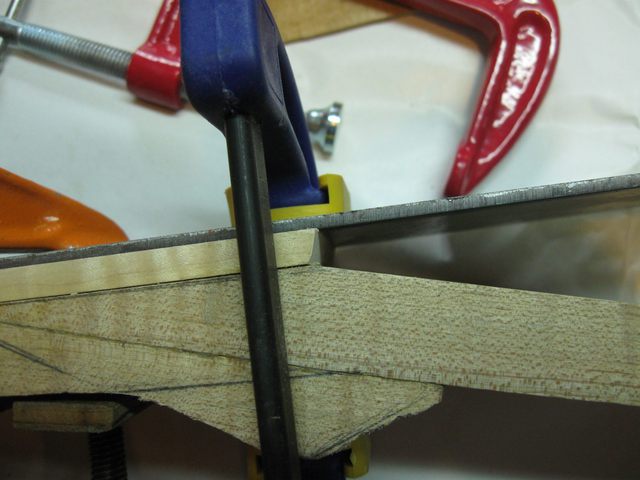
I sawed off that little tiny piece.

Sawing Off the Angled Part
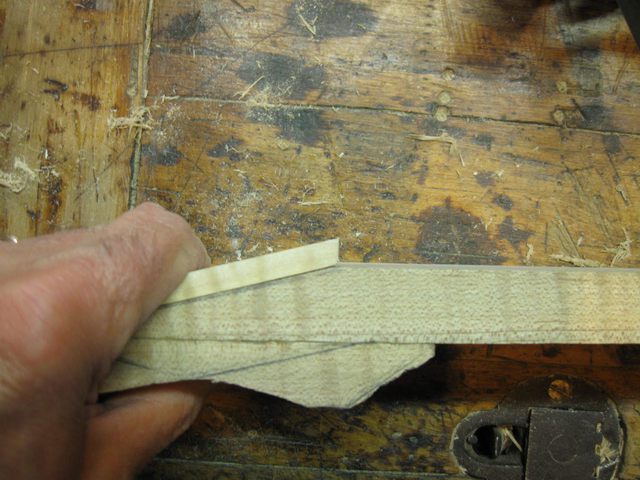
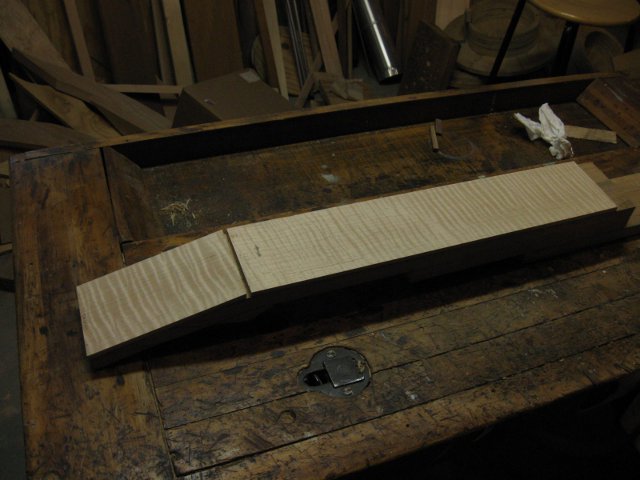
Then I dry fit the boards together to see how they look. Hmmm. Not bad.
The Boards are Dry Fit to Check Them Out
Here is how far the finger board overlay goes down the neck. It does not go all the way to the heel, but that is OK because I am going to cut a 3" long frailing hoop in that space anyway.
Not Quite Long Enough to Get to the Heel
OK. It's time to glue this thing together. My glue bottle worked OK this time. I could just pull the top up on the spout without getting out the hydraulic equipment and it opened up.
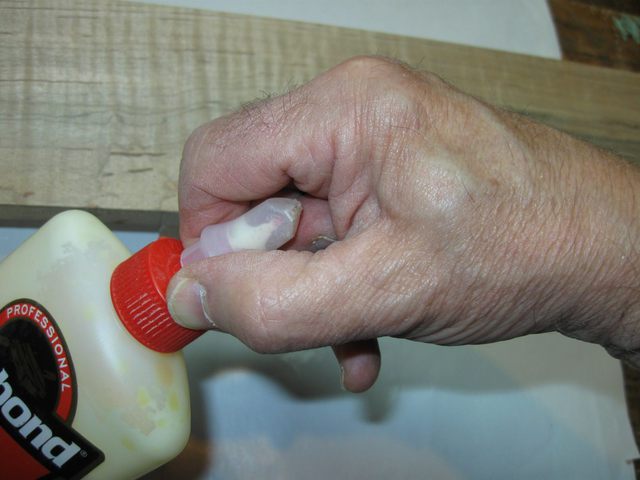
The Glue Spout Actually Worked This Time
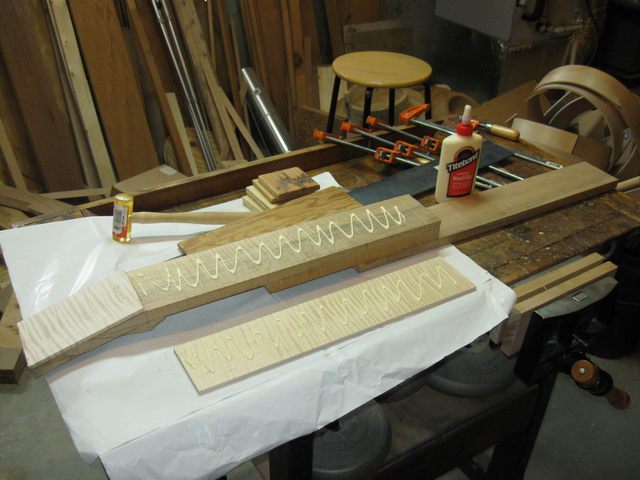
I squiggled some glue onto the wood and smeared it around with my fingers. No photos of all that. You know the protocol.
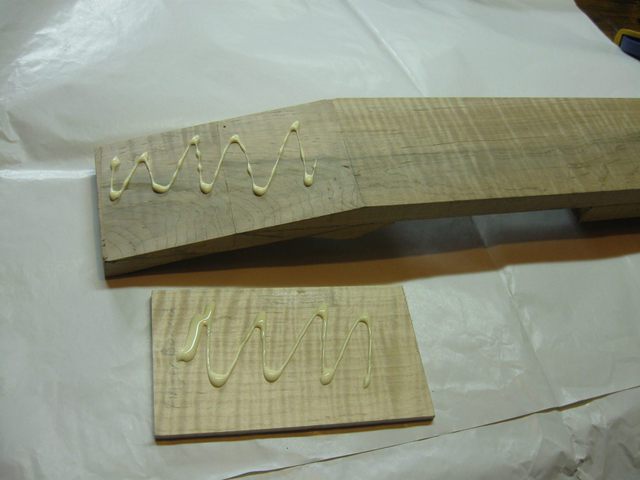
Glue Squiggles on the Wood
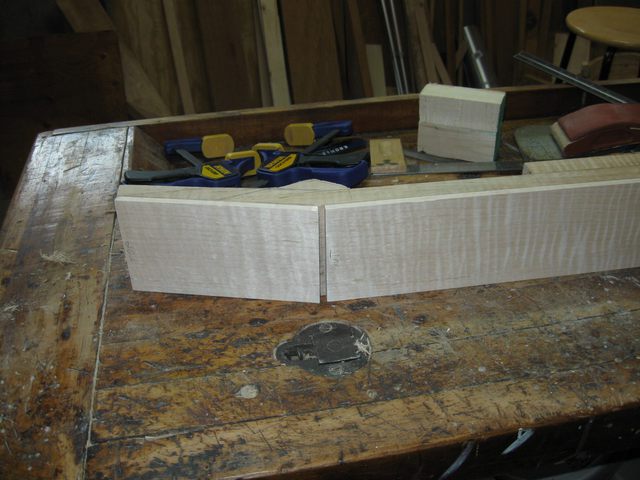
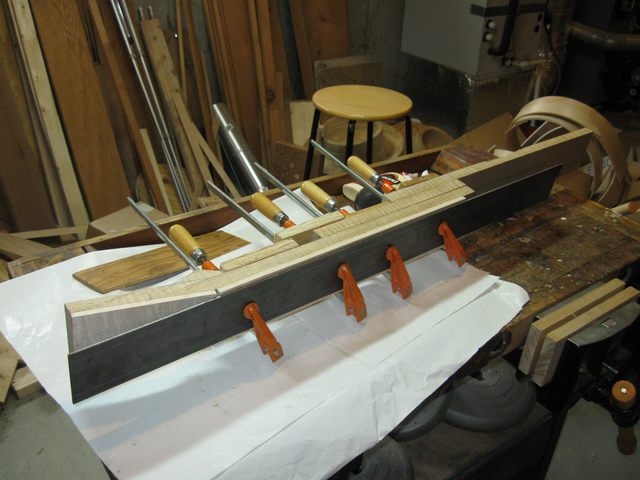
I aligned the boards and held them until the glue got tacky and then clamped it all together using my steel caul.
Peghead Overlay Clamped to the Peghead
Here it is from the other side. The trick when doing this is to keep the wood from moving out of alignment before the glue has set enough that they won't move.
View From the Top
Here is a closeup of the angled part where the nut slot will be.
Closeup of the Angled Nut Slot End
I went away for a few hours to let the glue dry, and then I unclamped the whole thing to see how it came out.

The Overlay is Glued Down
Here is an interesting side note. Just as I was gluing down the overlay I remembered to mark where that hole is in the wood. That is the hole that was supposed to have a wooden peg in it, but then I didn't use it, and now it is a hole in a most unfortunate location. I will have to work around that when I design the shape of the peghead.
The Hole in the Peghead Lamination is Here
The thickness of the nut will be 1/8". So I measured that much off from the peghead side of the nut slot.
The Peghead Slot Will be 1/8" Wide
I used the square to mark the place across the neck. When I glue on the finger board I will have to align it so that it goes on right next to that line.
The Finger Board Goes Here
Again, I dry fit the board to see what it looks like. Looks pretty good sitting there.
The Finger Board is Not Glued Down Yet
Glue squiggles, smear, and clamp as usual.
Lots of Glue is Needed for This Joint
Here it is, clamped together with that steel caul. I had a problem with the finger board overlay moving in too close to the peghead overlay as the glue set, so there was a bit of a panic to pull off the clamps and move the board to open up the nut slot. The glue was setting up fast, and I barely got it clamped again before it was too late. The result was that the finger board ended up just slightly too far away from the peghead board.
The Board is Clamped
There is no fixing it now, but it isn't too bad. Looks to be just over 1/32" too wide. Not the end of the world. I will make a nut that fits the slot.
The Nut Slot is A Bit Too Large
Once again I went away for a few hours to let the glue dry. Then, I came back and unclamped the neck. It actually looks pretty good. Check out the curl in that wood.
The Overlay Is Done
So, the overlay is glued down to the neck blank. The next step will be to draw the face of the neck and the peghead onto the surface of that fancy wood. No time to do that today, so that part will be for next time.
