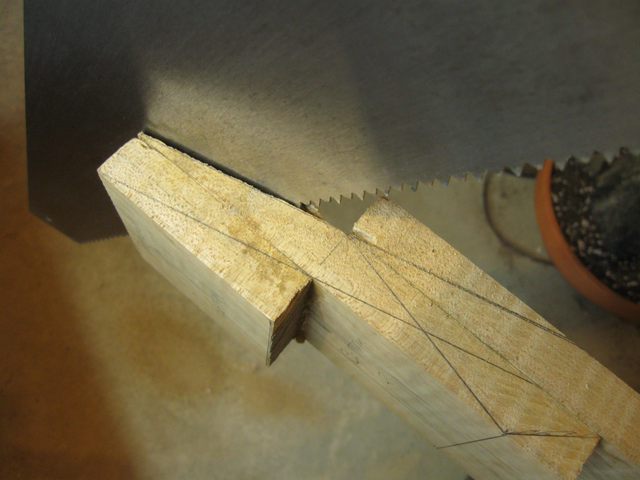
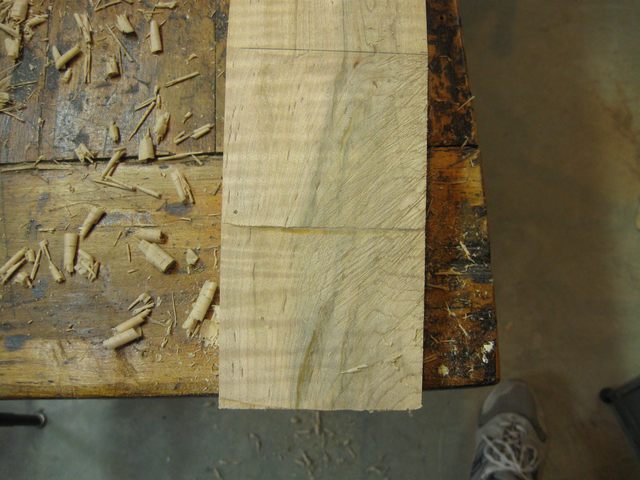
The last time I worked on the neck, I marked off the angles for the peghead after I glued the neck blank together. Now I have to cut along those lines to get the peghead blank at the right angle. This is one of the trickiest cuts to make because it is difficult to start the saw at those angles. In order to do the cuts, I clamped the neck blank in the Workmate®.
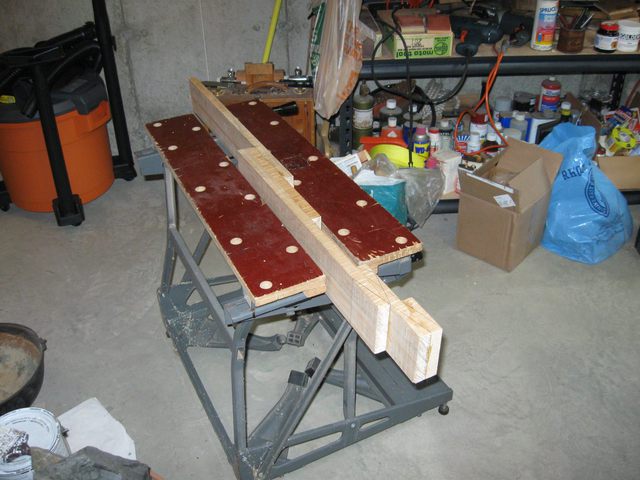
Clamped in the Workmate
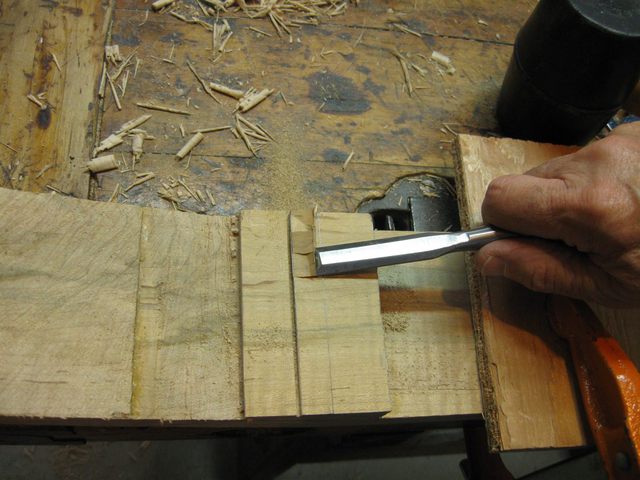
I do these cuts with my rip saw, which has some pretty large teeth. In order to get a clean start at the strange angle, I used a chisel to make a starting notch.
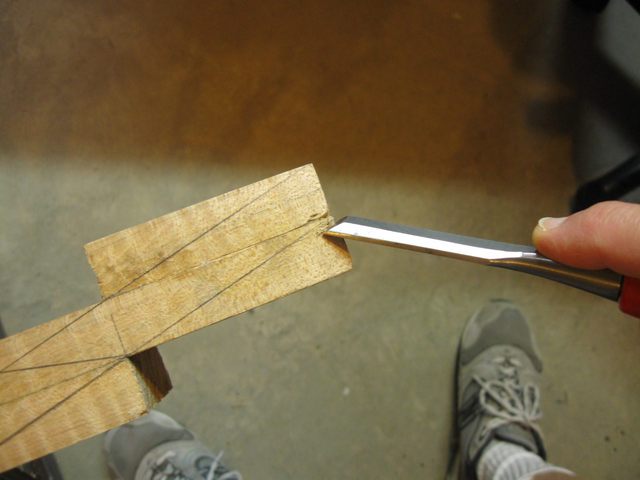
Make a Starting Notch with a Chisel
Here is a closeup of the notch.
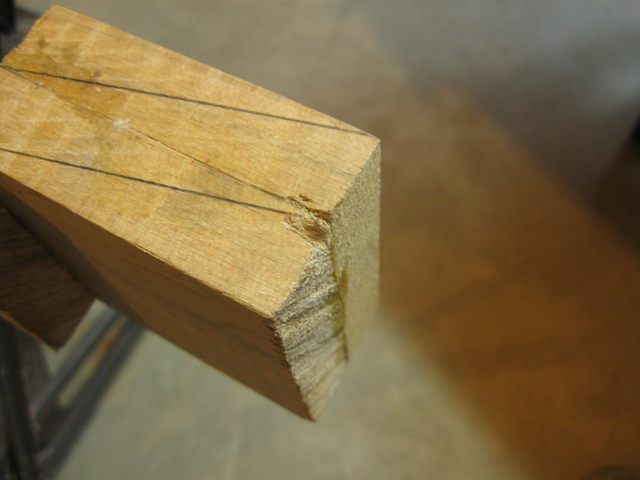
Closeup of the Notch
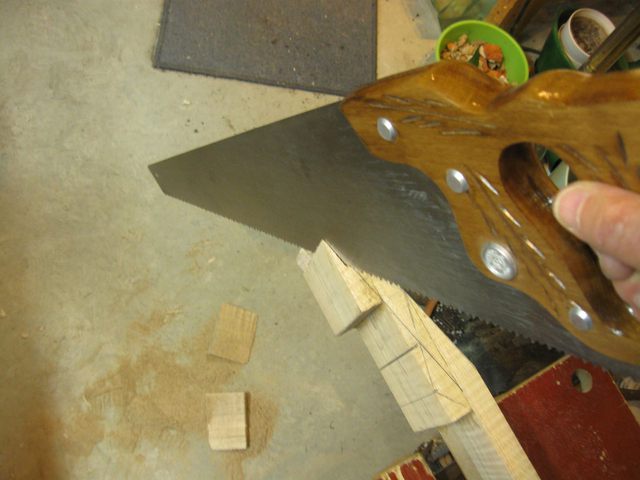
Once I had the notch in the wood, it was fairly easy to get the saw going on that angle cut.
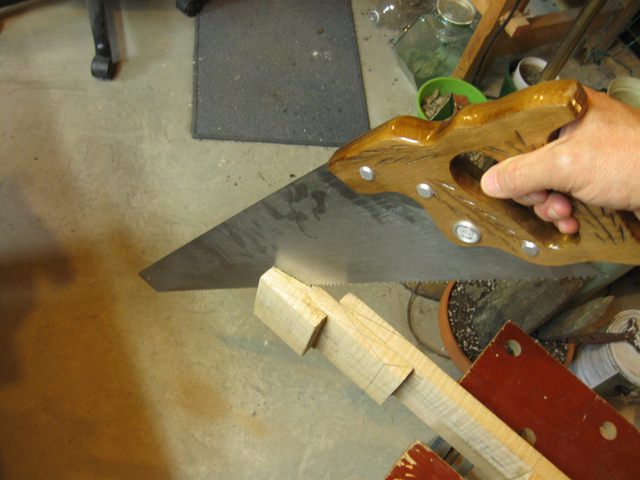
Sawing the Peghead Angle
The saw follows the kerf in the first piece of wood and automatically starts the kerf in the next piece of wood.
When the First Piece Falls Off, the Next One Is Started
In the photo below, you can see that the first piece of wood has fallen off, and the kerf is already set in the next piece.
First Piece of Wood is Gone
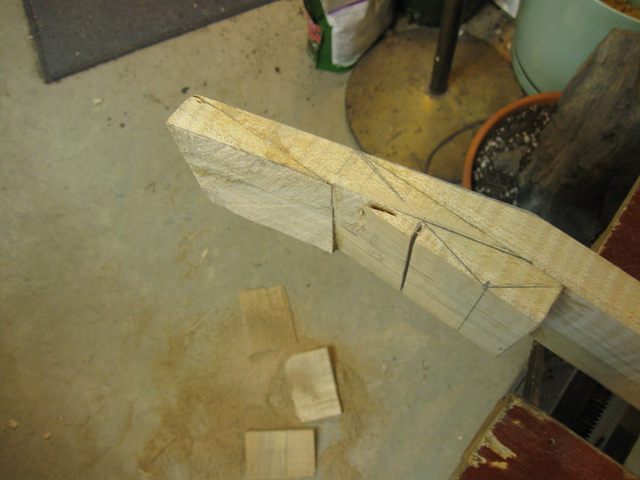
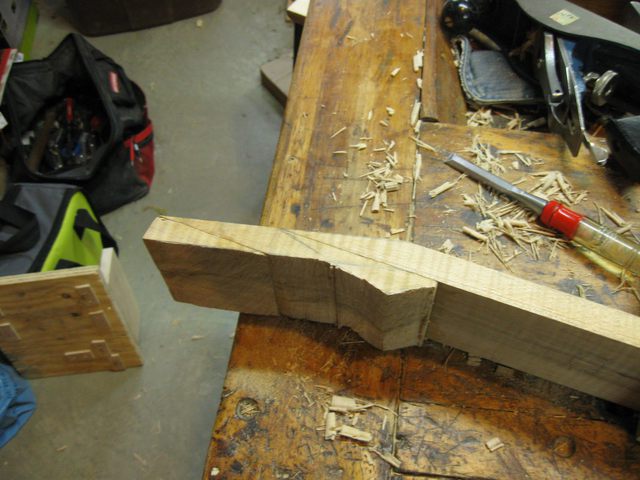
Now that the top of the wood has been cut off you can see the angle of the peghead.
The Top of the Peghead Is Cut
Here it is on the bench. It will take some work to clean up this surface. This side of the peghead has to be flat and square since I will be gluing the veneer to it.
The Surface is Rough
Shoot! There is one of the holes that I drilled when I was trying to use wooden pegs to keep the boards from slipping around on the glue. I will have to work around that when I cut the shape of the peghead out.
This Hole is In A Bad Place
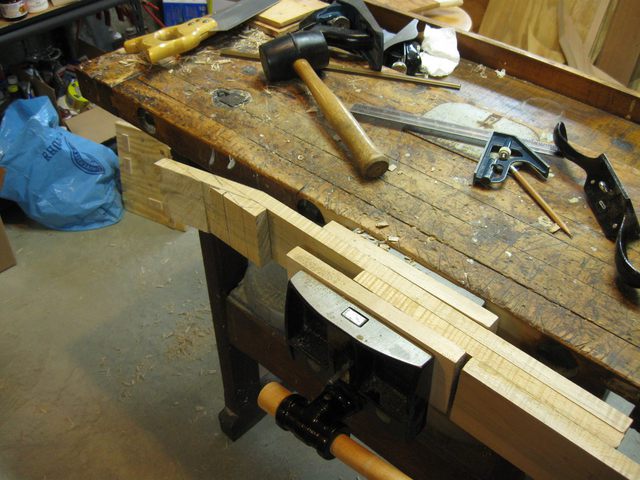
I clamped the neck to the bench and got out my planes to flatten the top of the peghead blank.
The Blank is Clamped to the Bench
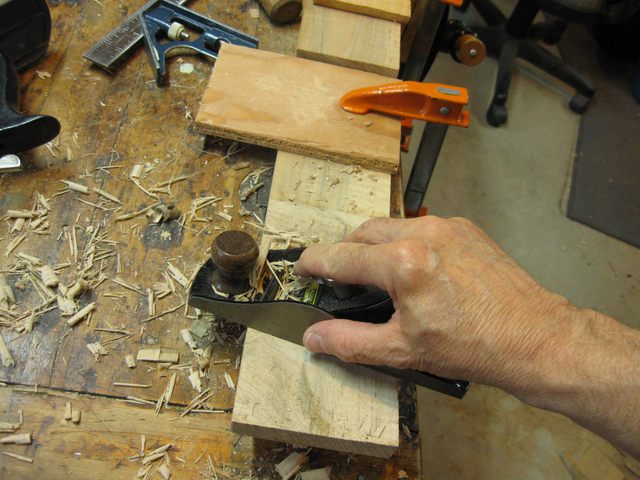
The jack plane was a bit large for this job, but the block plane does a good job in those tight quarters.
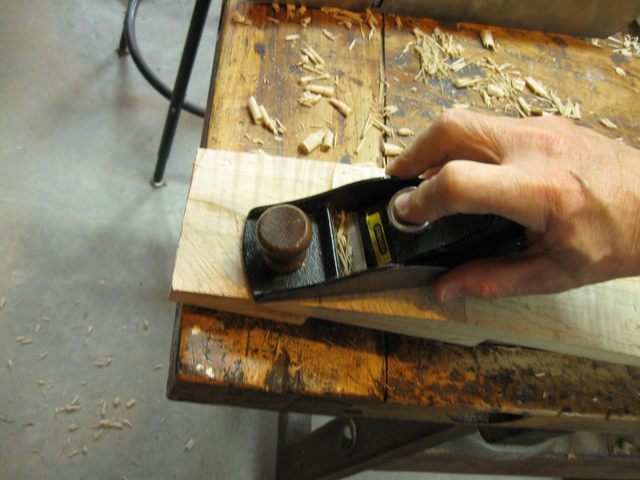
Using the Block Plane
Here is a neat trick to see if the surface is flat and square. If the glue line is straight then the surface is flat, and if it is perpendicular to the sides, then the surface is square.
The Glue Line Tells All
The glue line does not help showing the flatness down the length of the peghead. I used my straightedge ruler for that. You can see light under the edge of the ruler, so I need to make the surface flatter.
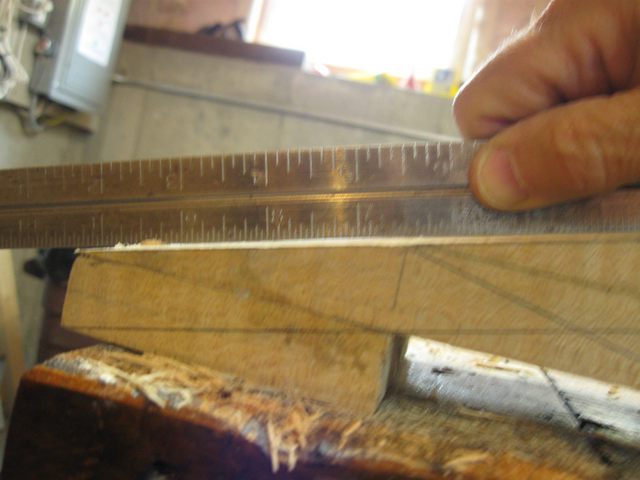
The Ruler Tells All
My next task is to cut the underside of the peghead to match the top. When I do that cut, I need to stop where the edge of the handstop meets the bottom of the peghead. So I drew a line there using the try square. If you look at the photo above, you can see where the two lines come together... on the right side of the photograph.
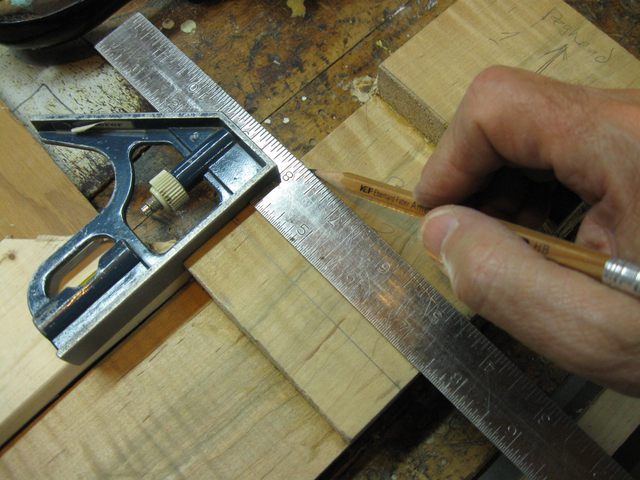
Mark the Intersection Using the Try Square
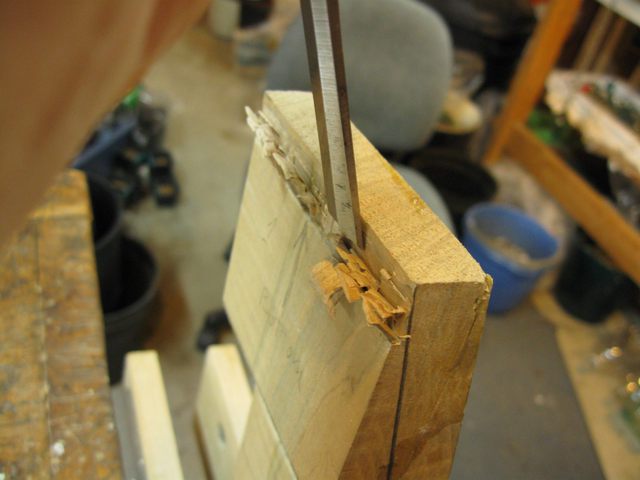
In order to get the wood to break away at that location I need to cut a slot down to where the surface of the peghead will be.
Cut a Notch To Break the Wood Away
I also need to make a starting place for the saw at the underside of the peghead.
Cut a Kerf for a Starting Edge
I chipped it down to the line using my 1/2" chisel.
Chipping The Starting Edge
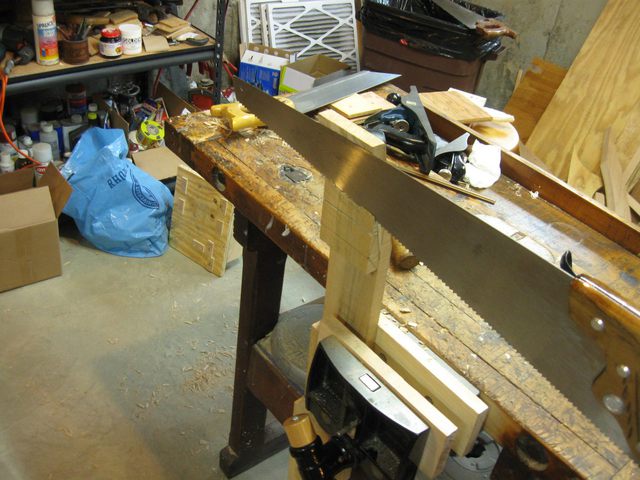
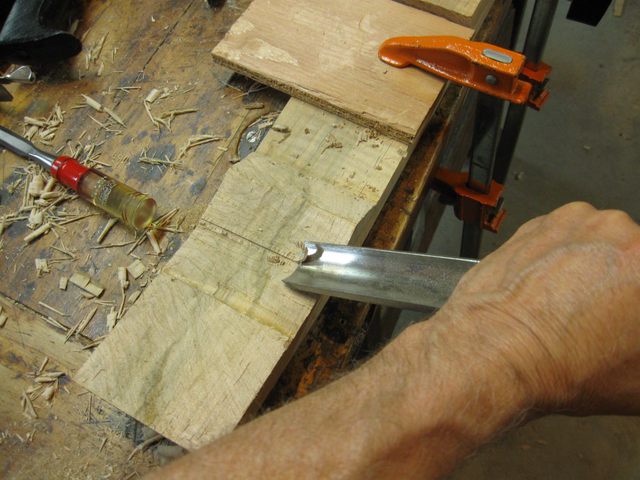
I got the saw started and sawed the wood off along the bottom of the peghead.
Sawing The Bottom of the Peghead
Well, that broke off a bit too soon. Hope I can keep the kerf going.
One Piece of Wood is Gone
You can see the notch in the wood that goes down to where the bottom of the peghead intersects the handstop angle. I need to saw parallel to that notch until the wood comes off.
I was having difficulty sawing in that little kerf, so I tried putting the neck upright in the bench vise to see if I could get it more stable. But the saw was really uncomfortable to use at that angle. The wood really does need to be horizontal.
The Neck is Upright in the Bench Vise
I tried putting the neck in the bench vise horizontally, but it was still too high for comfort.
The Neck is Clamped Horizontally in the Bench Vise
So I just put it back into the Workmate to finish it.
The Angle Has Been Cut
Here it is on the bench. That is another rough surface that will have to be cleaned up.
The Under Side of the Peghead Blank
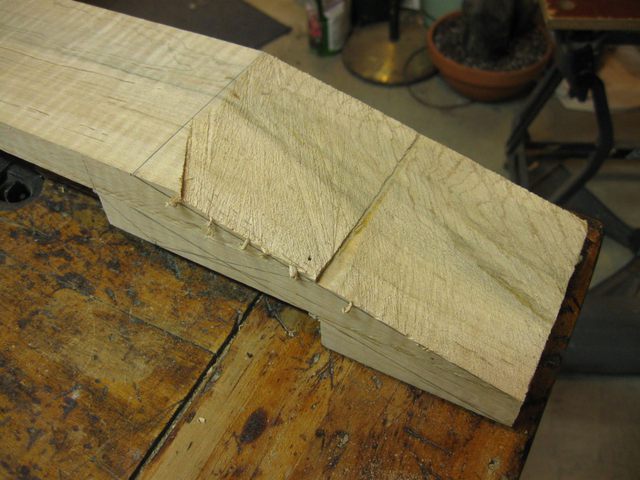
I have to saw the angles around the handstop as well, so I used the same trick with the chisel to get a starting point.
Cutting A Starting Edge with the Chisel
Then I sawed off the wood and here it is.

Half of the Handstop is Sawed Of
Similarly I sawed off the other side of the handstop.
The Handstop Angles Have Been Cut
Eventually I will carve out the upper end of the handstop concave, so I cleaned it up using my gouge.
The Gouge Makes Short Work of the Wood
Because of the concave angle where the peghead meets the handstop it is difficult to get tools in there to flatten the surface. I used the block plane for some of it.
The Block Plane can Reach Some of the Surface
The shoe rasp is helpful in the curved intersection.
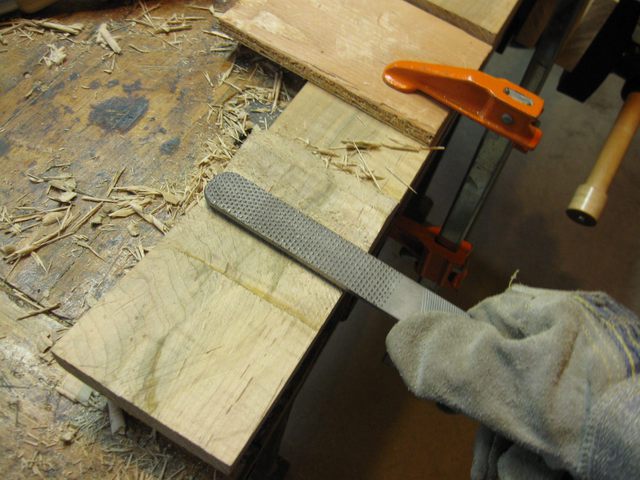
Using the Round Side of the Shoe Rasp
The spokeshave works really well in these tight spaces because it has a short sole.
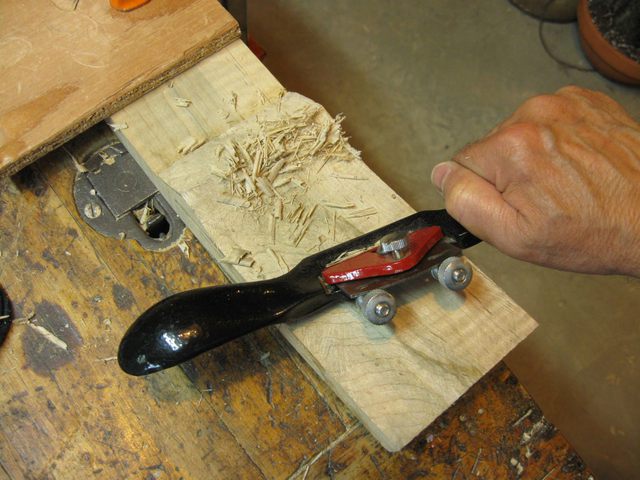
The Spokeshave Works Quickly Removing the Wood
Last but not least is the lowly card scraper. The scraper will reach right into the toughest places.
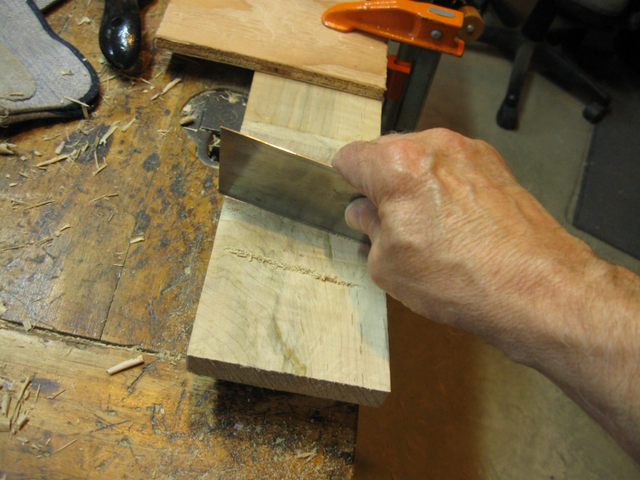
The Card Scraper is One of the Best Tools
When the card scraper is working properly, it takes tiny little miniature shavings. Isn't that cool?
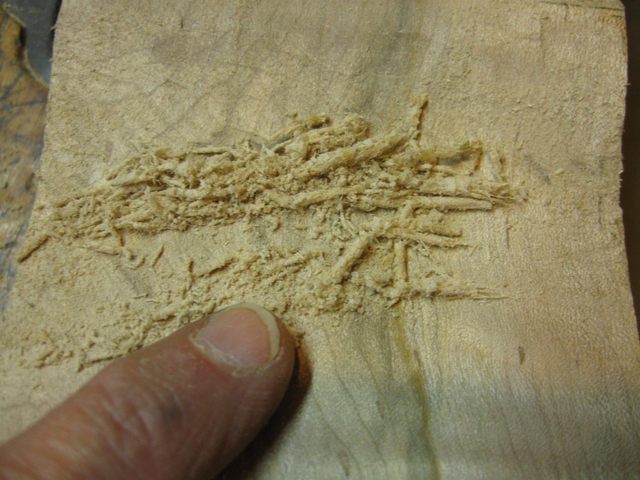
Tiny Miniature Shavings
The peghead should be as flat and even as possible. The actual thickness is not very important because I will be sticking wooden tuning pegs through it. If I were going to put geared tuners on this peghead I would have to thickness it to 5/8" including the 1/4" veneer. That means that I would have to cut it down to 3/8" at this stage. I will make a thicker peghead because the more wood the pegs have to bear against, the smoother it will be to operate the tuners.
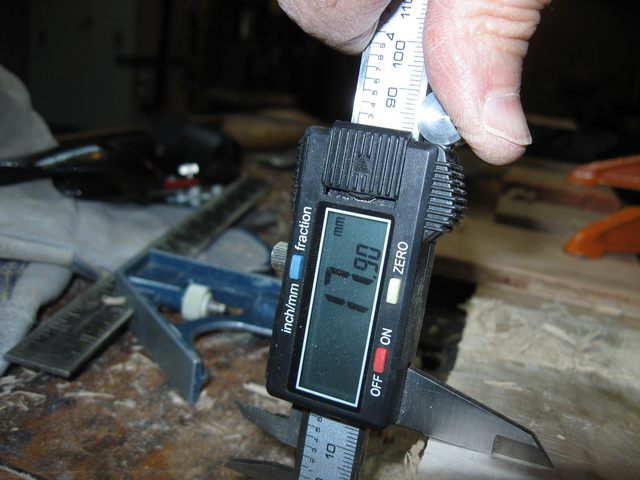
But I do want it to be an even thickness across. I measured it on one side with my calipers.
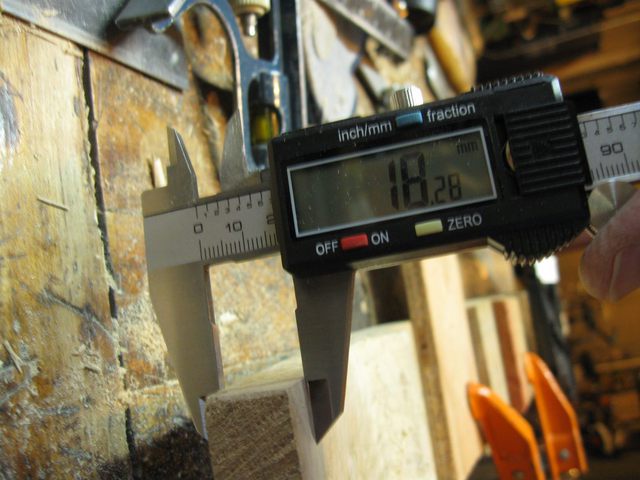
The Thickness of the Far Side
Then I measured the thickness of the other side.
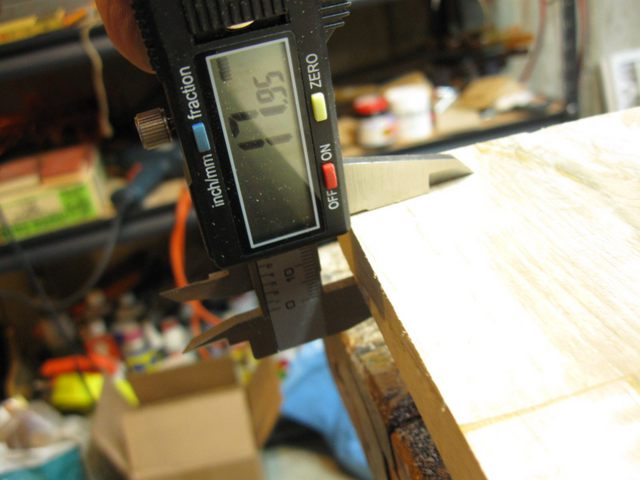
The Thickness of the Near Side
Looks like 17.95 mm compared to 18.28 mm. I need to do some adjustments on the far side. The spokeshave takes the wood off quickly.
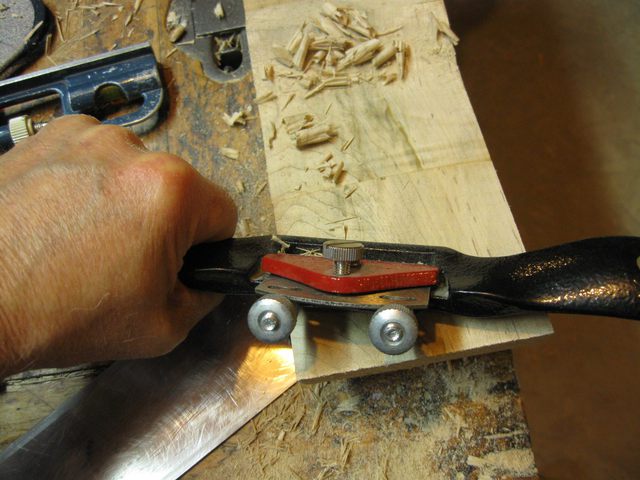
Using the Spokeshave to Even the Thickness
Then I measured the two sides again. Far side.
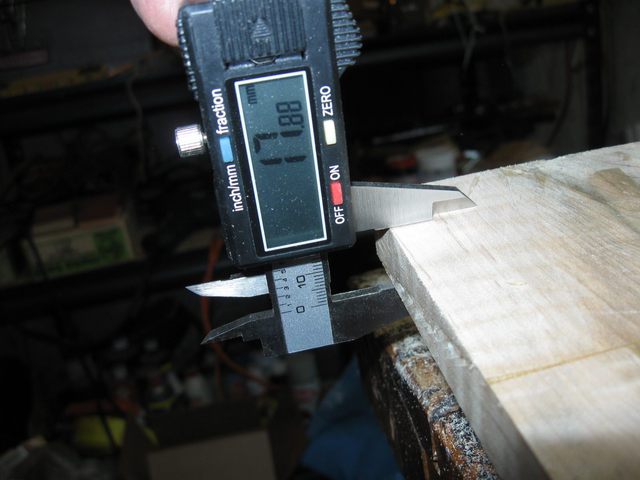
Thickness of the Far Side
Thickness of the Near Side
That is about as close as I need it right now. Once I cut the shape of the peghead out I will work on this some more.
The Peghead Blank Is Cut
The next step is to glue on the peghead veneer and finger board. It isn't really a "veneer" because it is 1/4" thick. But I don't know what else to call it. I am going to use a 1/4" thick board of curly maple that I found when pawing through the wood at the Big Box lumber store.
Check back later to see what I come up with.
