There are a couple of things I have to take care of before I can carve the neck to its final shape. One of those is to cut out the frailing scoop. I have already drawn the shape on the wood. I just need to hog out the waste wood and clean it up.
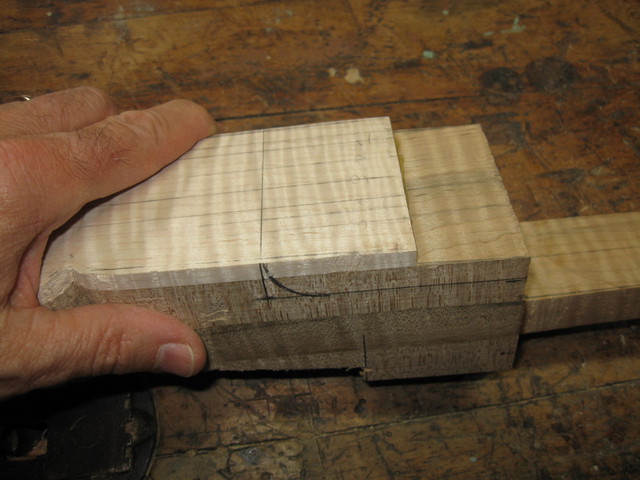
The Frailing Scoop is Already Drawn
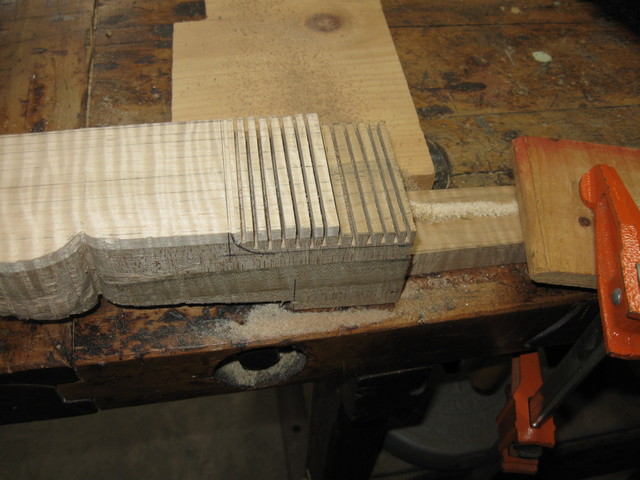
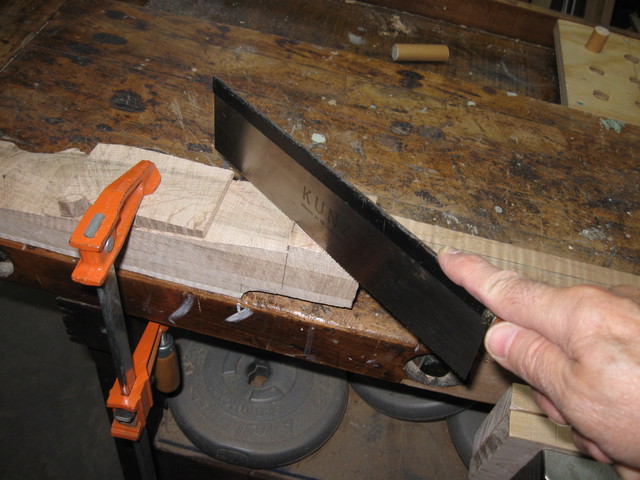
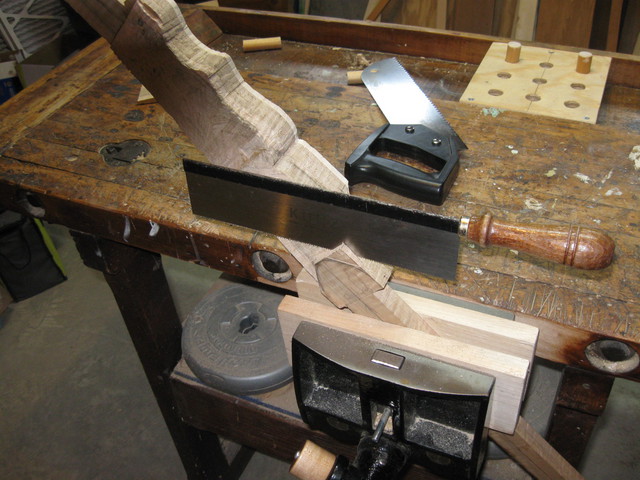
The same technique was used that I used before; I cut some kerfs in the wood down to the bottom line. Then I chipped them out with the chisel and cleaned up. In order to make the sawing a bit easier, I bumped the side of the neck up against a board and then clamped it to the bench. I used my funny bench dogs in the tool tray plus a board to span the distance across the bench.
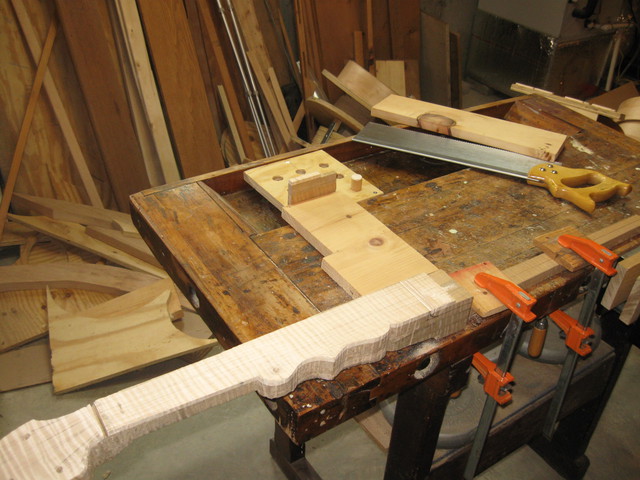
The Bench Dogs Save the Day
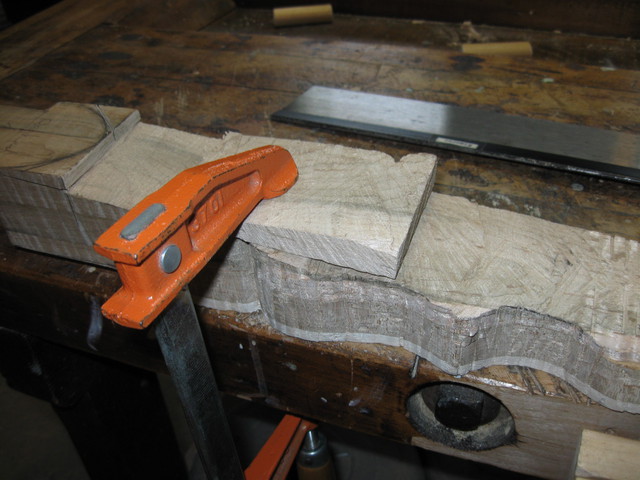
I wedged one of the pieces that I cut off of the bottom of the neck between the dogs and the board since it all didn't quite reach. Here is a shot from the other side.
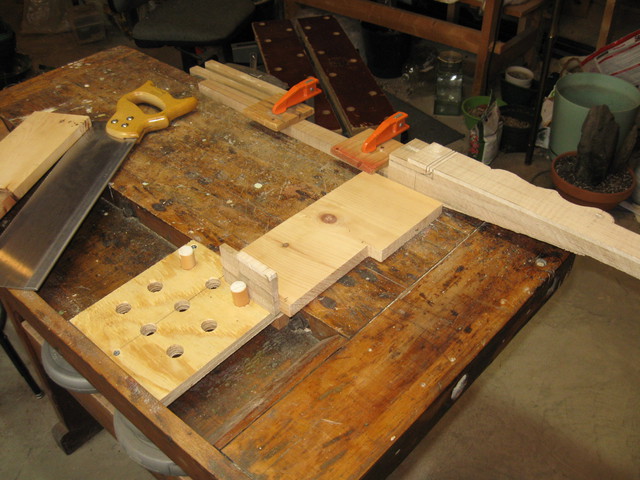
Wedged Between the Dogs and the Board
Having the neck held in place by the board made it easier to saw the kerfs in the scoop.
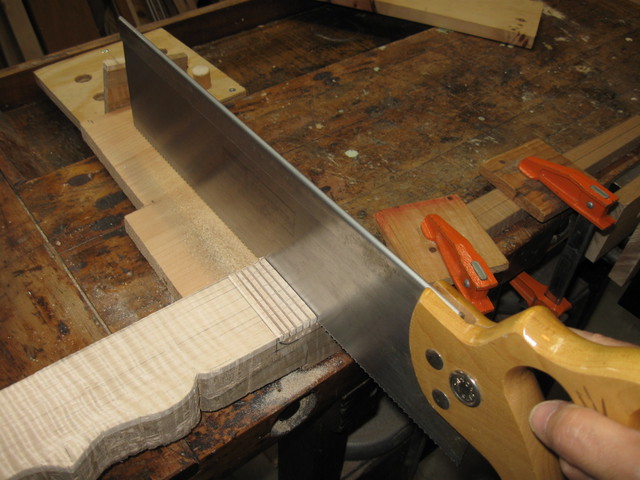
Sawing the Kerfs in the Frailing Scoop
There they are. Once again, I stopped sawing just short of the line at the bottom of the scoop.
The Kerfs are Done
Turning the neck over on its side, I chipped out the waste wood with the chisel.
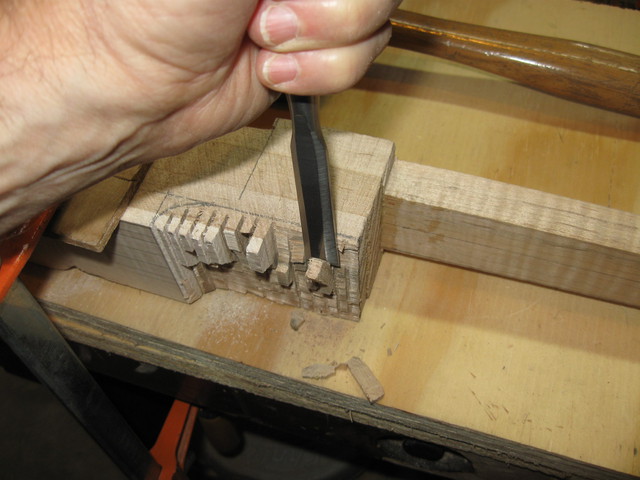
The Waste Wood Chips out Easily
Here is the result. Pretty ugly, but I left enough wood to clean it up.
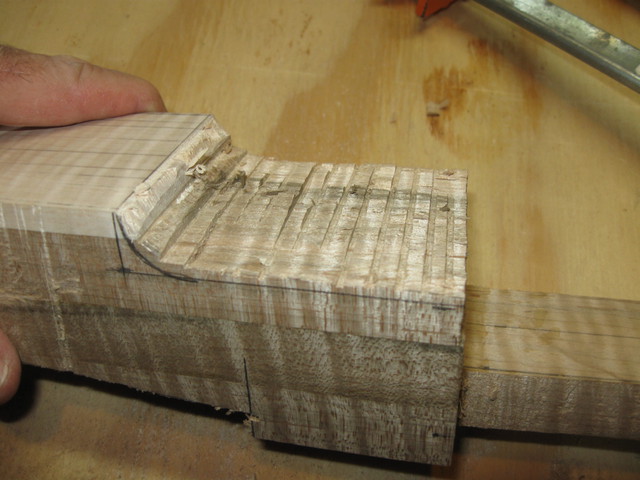
The Resulting Surface is Rough
I used the gouge in the curved part of the scoop to see if I could remove the wood that way. The curvature of the gouge is too shallow to work effectively in that tight space.
The Gouge Doesn't Work All That Well on the Scoop
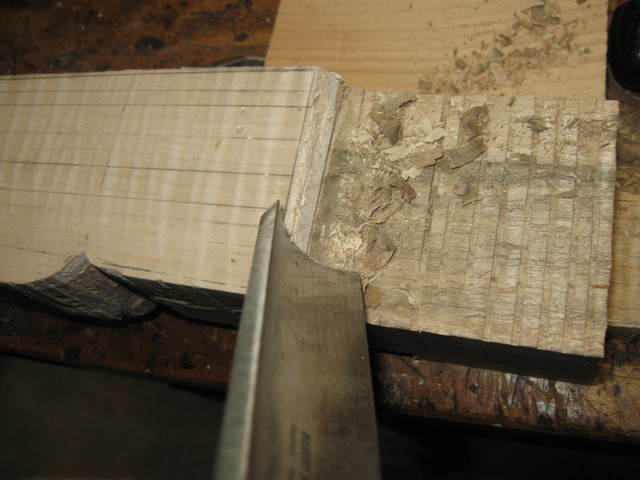
The flat part is easy. The block plane cleans it up.
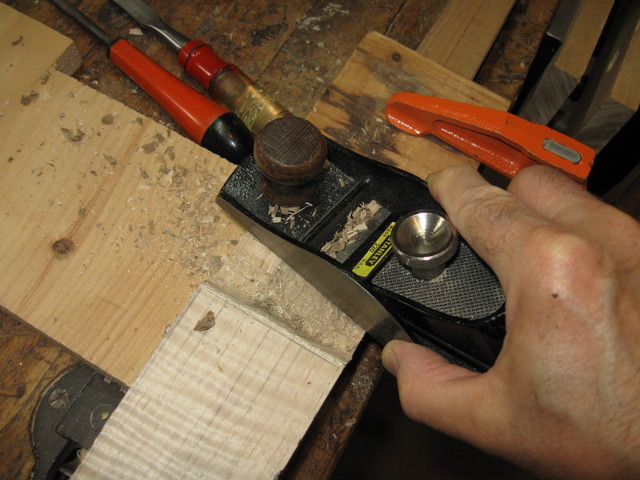
The Block Plane Works Well on the Flat Part
I tried the rattail file in the curved spot. That can get in there OK, but it is very slow compared to an edged tool.
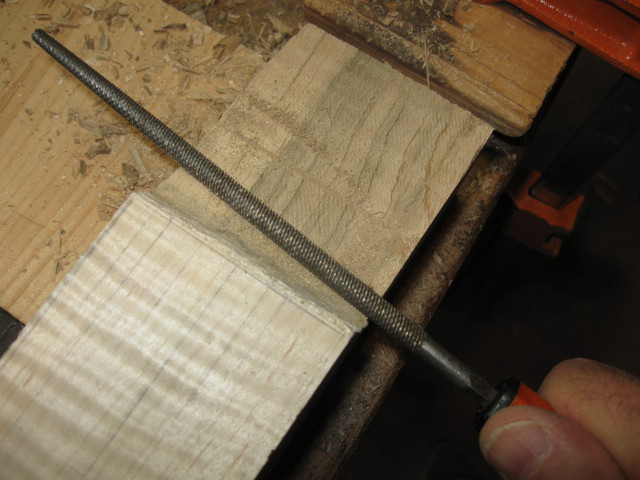
The Rattail File Works in Confined Spaces
I tried the round bottom spokeshave too, but I sill have not figured out how to work that tool. It just chatters and grabs.
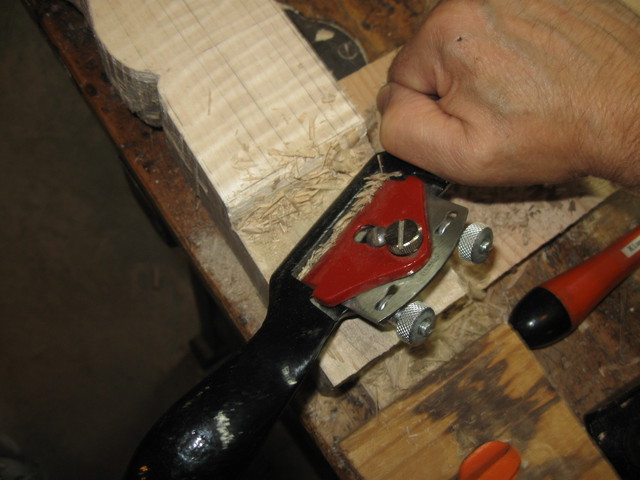
The Spokeshave Chatters and Grabs the Wood
The next trick was the hook knife. It is sharp on its curved edges.
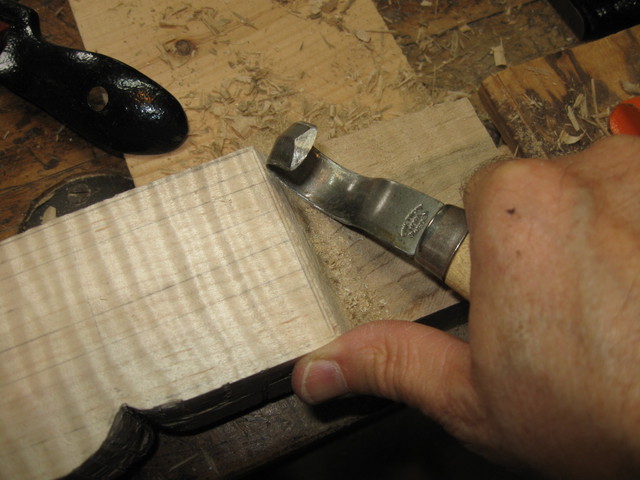
Hook Knife
In the photo below you can see the shape of the blade.
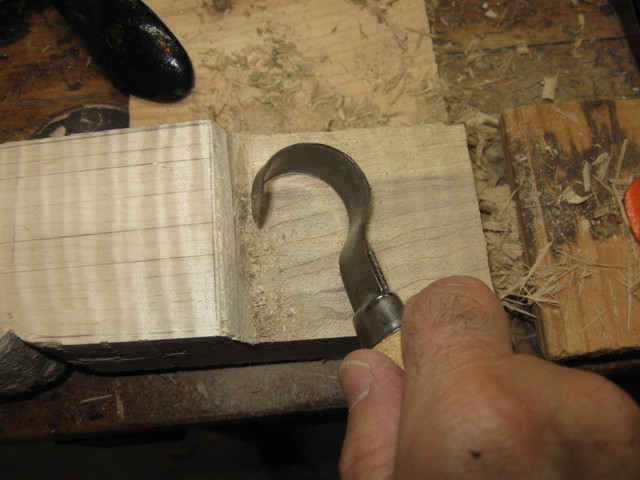
The Hook Knife is Shaped Like a Hook
Here is the sole of the round bottom spokeshave. It has a pretty wide curvature on it. I cannot figure out how this can be effective unless the curve of the wood I am working exactly matches the curve of the sole... which in this case... it doesn't.
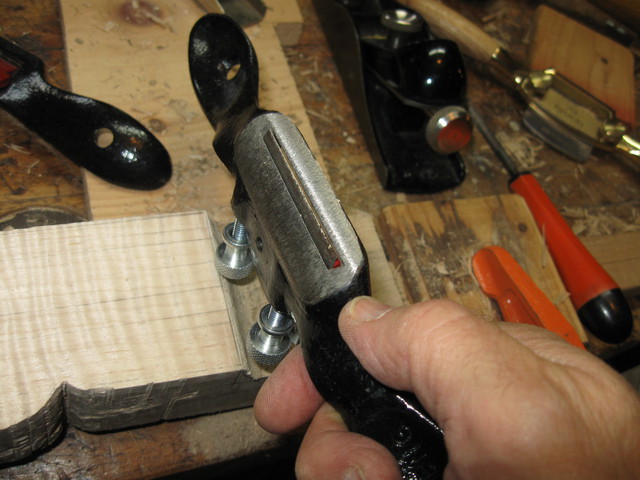
The Sole of the Curved Bottom Spokeshave
A sanding block with 60 grit sandpaper on it helps, but that is a slow way to remove wood.

The Sanding Block Helps a Bit
This is a unique sanding block because one end of it is a bull nose shape instead of square. I have never seen another one this shape. All of the others I have are square on the ends.
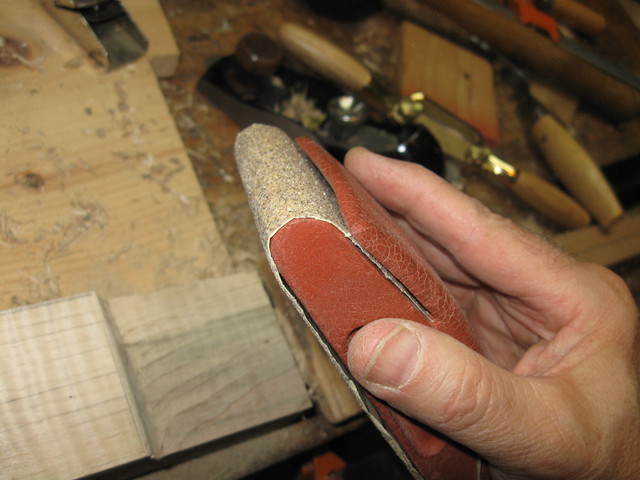
The Sanding Block is Round on the End
I got out the X-Acto knife because it has a very small gouge in the set. It is tight enough to get into the curve, but the edge is lousy. This is a hobby knife, and the steel is pretty soft. The tool won't take a very good edge.
Small X-Acto Gouge
Here is the set, in a nice wooden box. I bought this set 40 years ago. It has some uses for light duty work, but hard maple is a challenge.
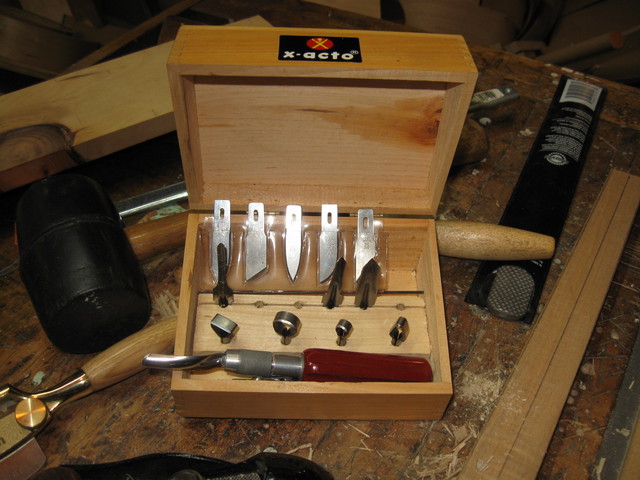
The Complete X-Acto Set
Well, it's back to the hook knife. That tool seems to be the one that fits and makes the most progress. If I use it gently and stay patient it removes the wood fairly quickly. I use it like a scraper.
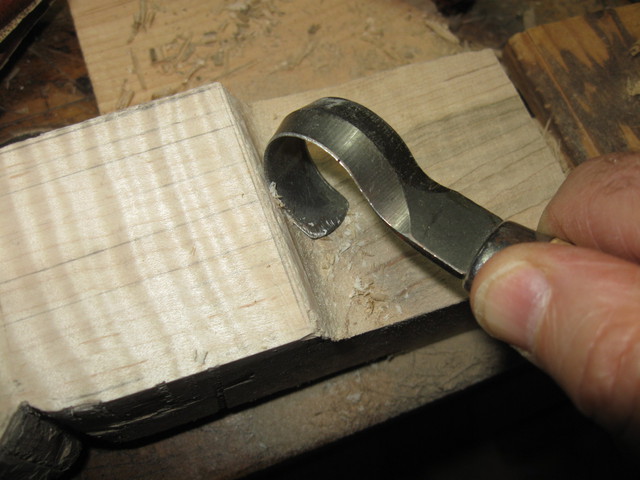
Back to the Hook Knife
Did you ever try to sharpen a tool like that? It is a challenge. For the inside curve, I have this tool that I bought many years ago.
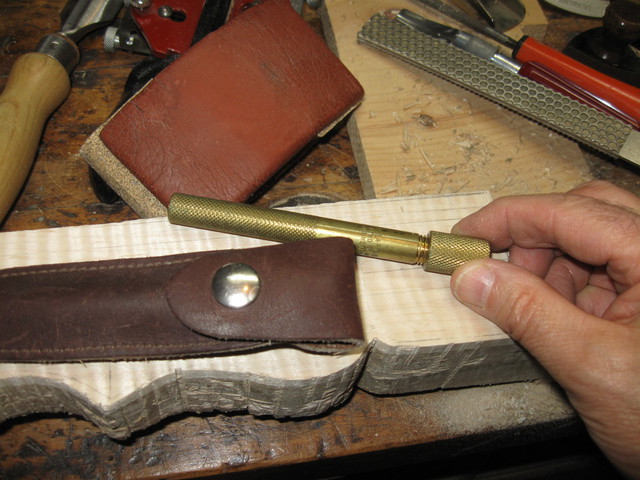
I Use This Tool to Sharpen the Hook Knife
You unscrew the knob, pull out the rod, turn it around, and screw it back onto the handle. The rod is a diamond sharpener. It is actually designed for sharpening fishing hooks and such things. I have not seen these for years. I don't know if you can still get them. It is a nice tool in a leather pouch.
The Diamond Rod is Stored in the Handle
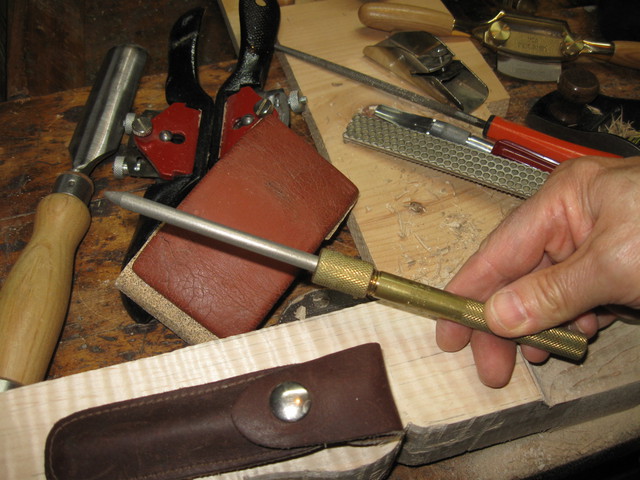
To sharpen the outer edge of the hook knife I use my diamond file, shown here with the fishhook sharpener.
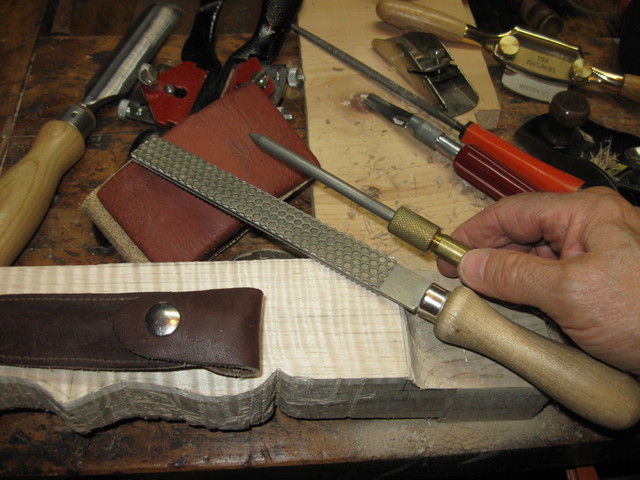
The Diamond File
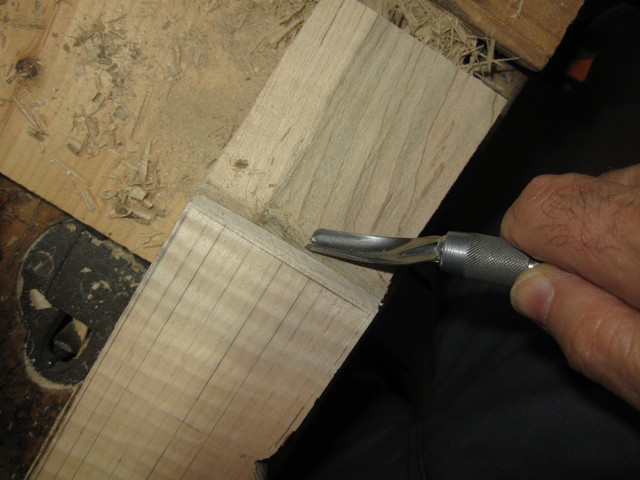
Here is what I have to clean up. The edge of the finger board is pocked with tearout from the saw. I need to get rid of that mess.
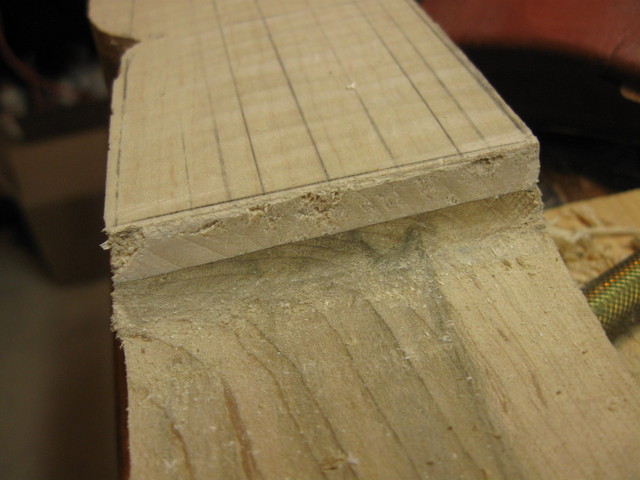
The Finger Board End Grain has Tearout
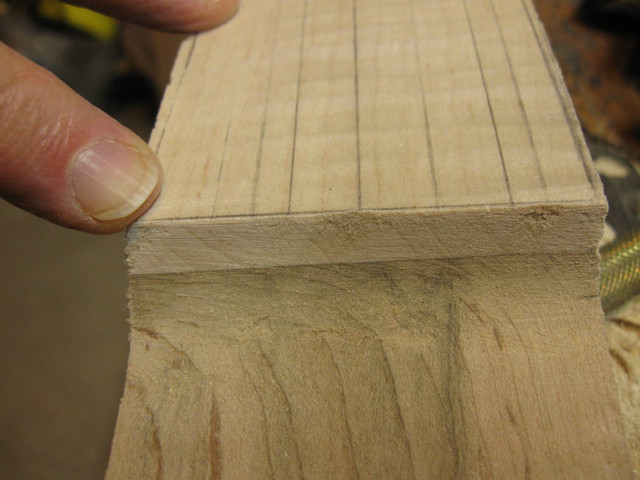
I used the hook knife to scrape it back in order to smooth it out and clean it up. It is better, but there are still some places where it needs work.

Better, But Not Done
Here is another spot on the other side of the neck.
Another Blemish to be Removed
After a little bit more time, they are all gone. The knife works well if I have the patience to go slowly. Any irregularities left will succumb to sandpaper.
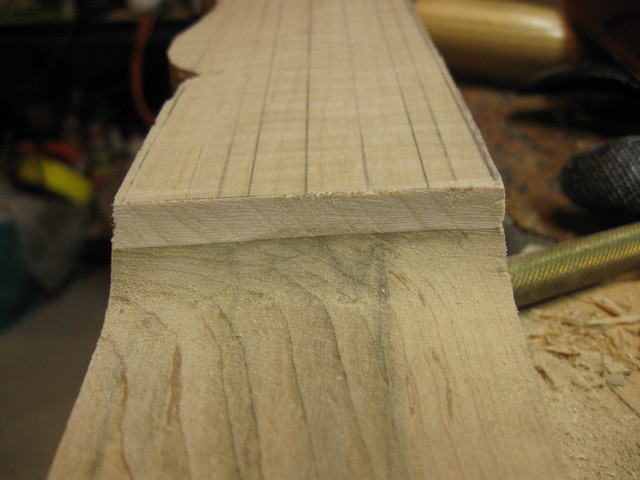
All Cleaned Up
Here is the clutter of tools that I used to get this done. The most effective were the block plane and the hook knife. The others... meh... not so good.
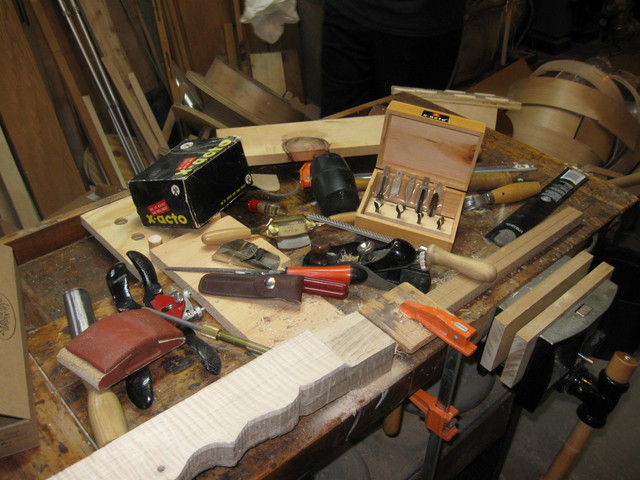
The Tools I Use
I had a little time left, so I cut some corners. Literally. I cut the corners off the boat heel. I used my dovetail saw for that work. It has very fine teeth and cuts well.
The Dovetail Saw Works for Precision Cuts
I made good use of one of the diagonal pieces of scrap that I cut off of the neck bottom. It serves as a clamping caul that just matches the angle of the neck bottom.. go figure.
An Angled Caul Used to Clamp the Neck
After cutting the sides of the heel from the top down, I clamped the neck in the bench vise and cut off the angled bits. First one side.
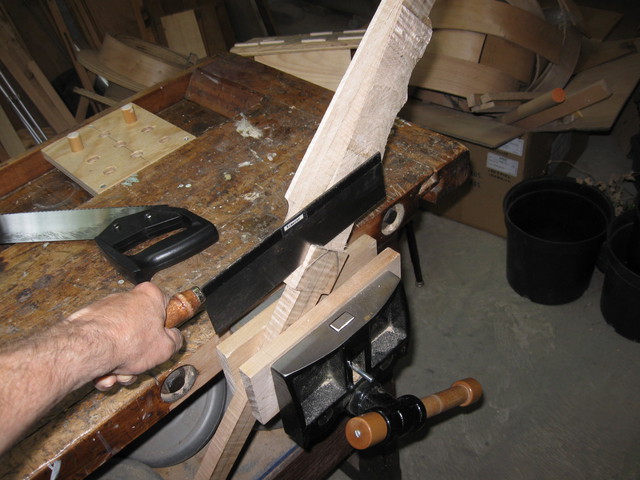
Cutting Off the Sides of the Waste
Then the other side.
Ibid.
Here it is. That is enough for today. Later on, I will take the pointy bits off of the heel and make them round.

Label
It is beginning to look a little bit like a neck.
