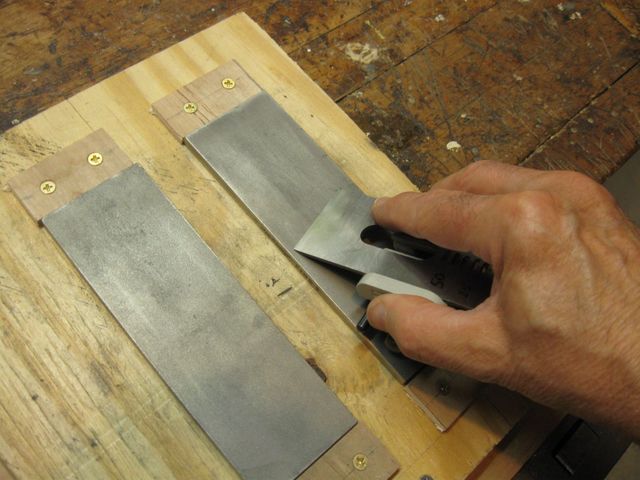
The last time I worked on this, I left the neck with some very rough cuts in the places where I hogged out the wood. Today I cleaned that up to make the surfaces smooth. In order to do that, I needed to make sure my tools were sharp. Using my sharpening jig, I set the plane iron up to 25° and cut back the primary bevel a bit on the coarse stone.
Re-establishing the Primary Bevel on the Coarse Stone
Every now and then, it is necessary to grind the primary, 25° bevel to make the secondary bevel thinner again. You can see in the photo below that the secondary, 30° bevel is just a thin line.
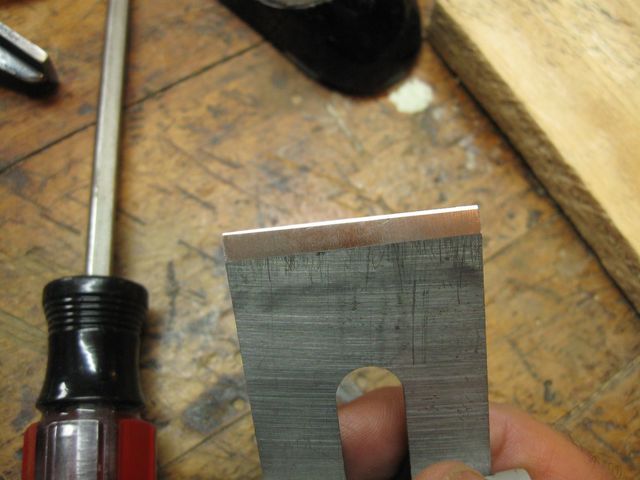
Must Keep the Secondary Bevel a Thin Line
Once the primary bevel had been ground, I set the iron into the honing guide for the 30° secondary bevel.
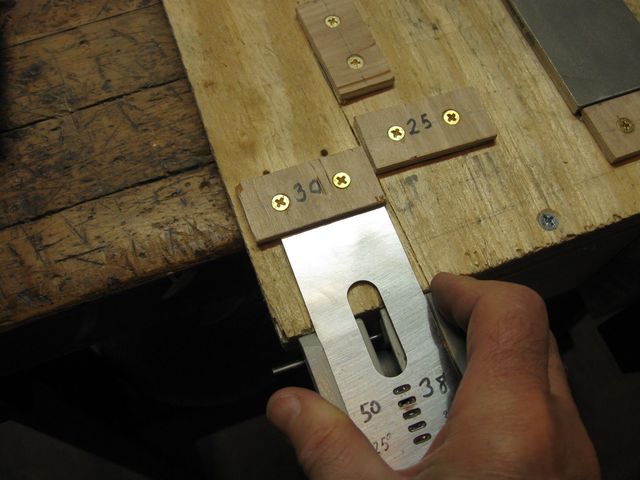
Setting the 30° Bevel on the Jig
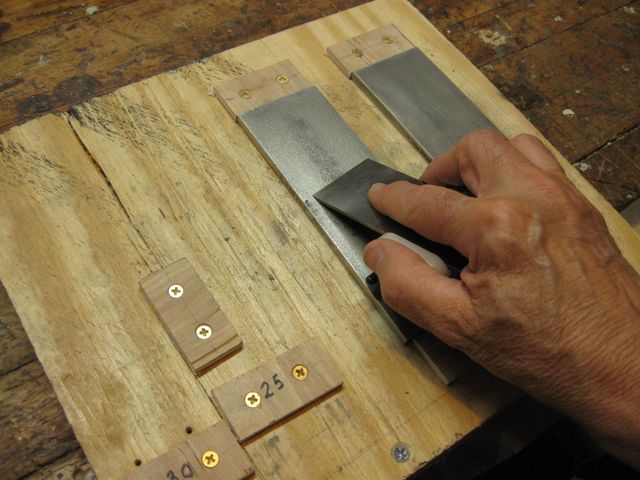
Then, I honed the smaller, 30° bevel on the fine and extra fine stones. I use only the fine and extra fine stones on the secondary bevel to keep the edge from becoming jagged.
Honing the Secondary 30° Bevel on the Fine Stones
That was one of my plane irons. I sharpen my other tools in a similar fashion, but for some of them the sharpening jig doesn't work out. Here's the set of tools that I will be using to smooth out the neck and start to shape it. I have two Stanley spokeshaves, my new Lie Nielsen spokeshave, and a Stanley cabinet scraper.
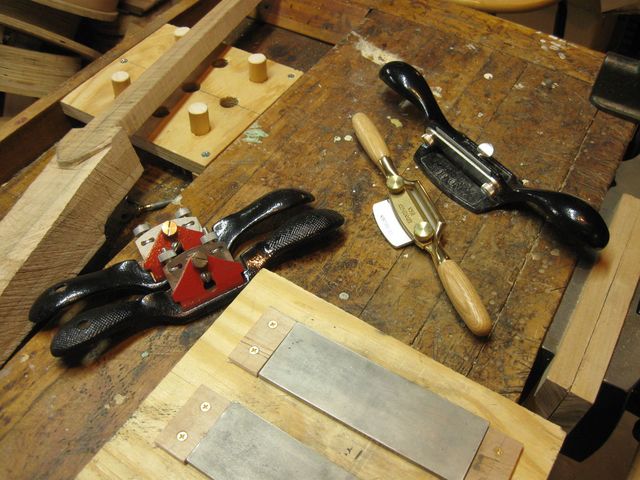
The Tools I Use
The Lie Nielsen spokeshave was sharp right out of the box, as advertised. But that edge will not last forever, so I needed to sharpen it myself.
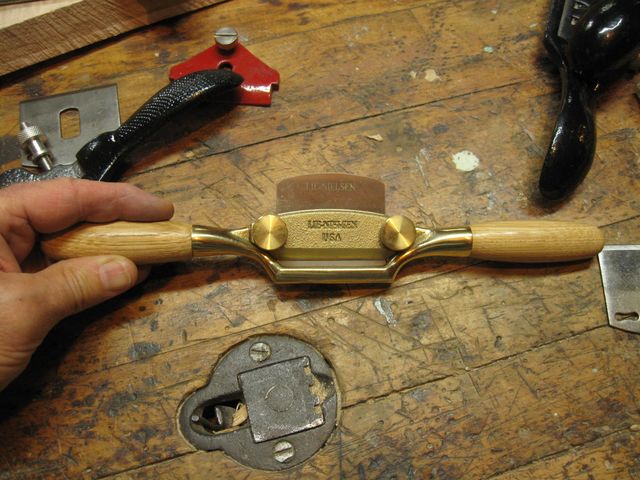
The Lie Nielsen Spokeshave is a Pretty Tool
The blade, as it comes from the factory, is a single bevel blade. You can see that there is no secondary bevel on the edge.
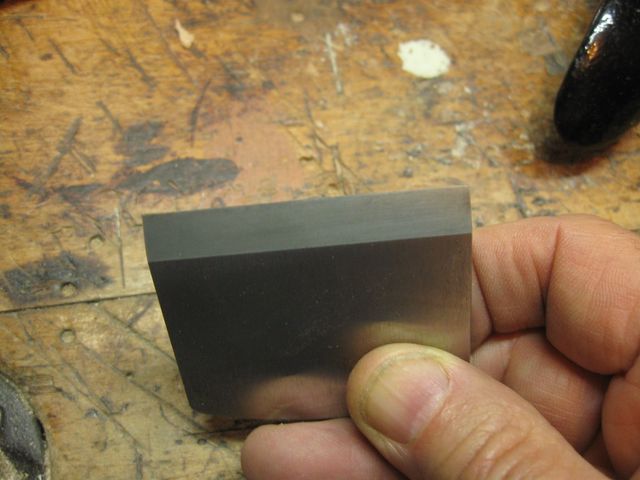
The Blade is a Single Bevel Blade
It is thick; about twice as thick as the blades in the Stanley tools. They explained to me that having a thicker blade helps avoid chatter. I think that is true, because the tool cuts very smoothly.
The blade is far too short to fit in the honing guide, so I had to sharpen it by hand. I hope I can maintain that nice bevel in the future without any crutch or guide. But that was not a problem today. Today I just put a small secondary bevel on it using the fine and extra fine stones. That was pretty easy and fast. I don't know if it is 30° or not because I had to eyeball it.
Honing a Secondary Bevel on the Lie Nielsen Blade
There it is. The photo is a little blurry, but you can still see the small, secondary bevel.
The Secondary Bevel
OK. Back to the wood. I have to get rid of the rough parts where the saw and chisel were used to hog out basic shape of the neck. There are places like this that need to be smoothed.
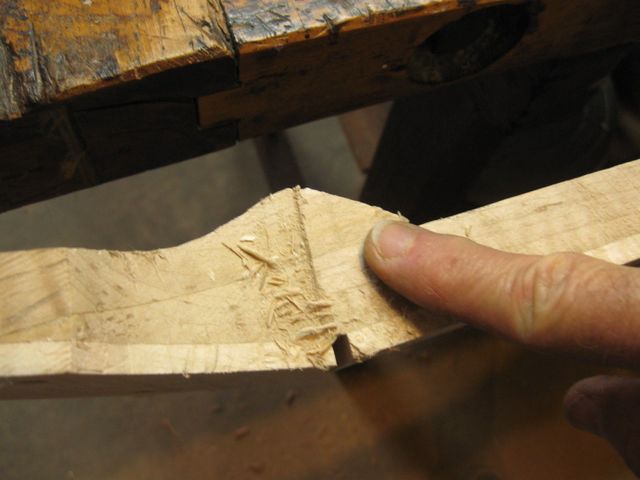
This Bump Needs to be Smoothed Out
I started out using my Stanley flat bottom spokeshave. It has a wider mouth than the Lie Nielsen, spokshave, so it takes the wood off faster.
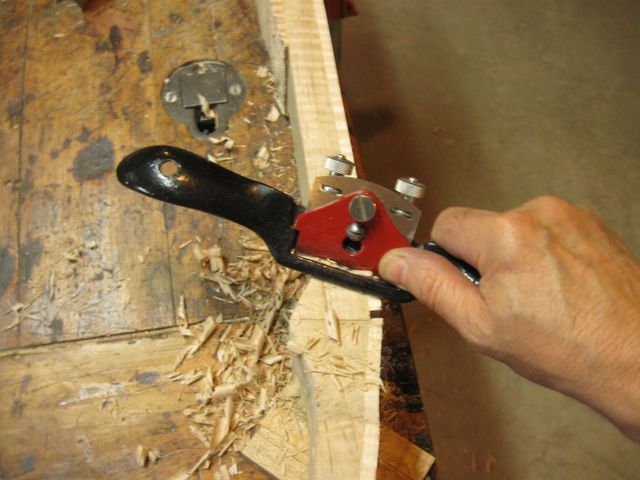
I Started With the Stanley Spokeshave
After I had taken the wood down close to the final shape, I switched over to the Lie Nielsen tool, which takes finer shavings. This combination seems to work well, and it makes quick work of the hard maple. This really is a sweet tool to use. It is like cutting cheese with this thing. I get into a rhythm, and it just feels good to use it.*
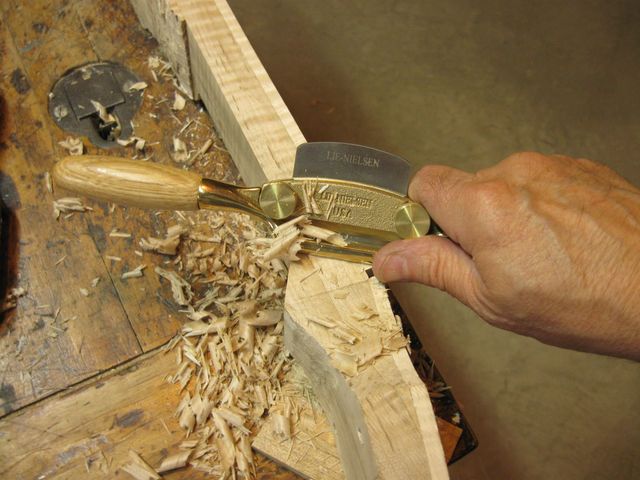
The Lie Nielsen Spokeshave Takes Finer Shavings
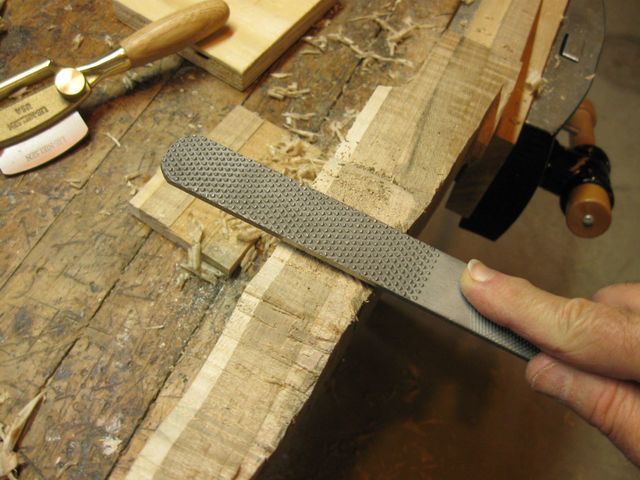
Finally, I got into the concave part of the peghead with the rattail file.
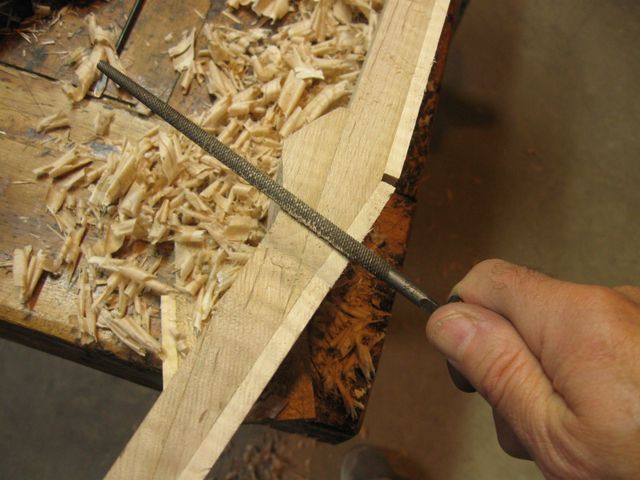
The Rattail File Fits in the Concave Parts
You can see in this photo that the rough bumps left by the saw have been smoothed out into a nice transition from the neck to the peghead.
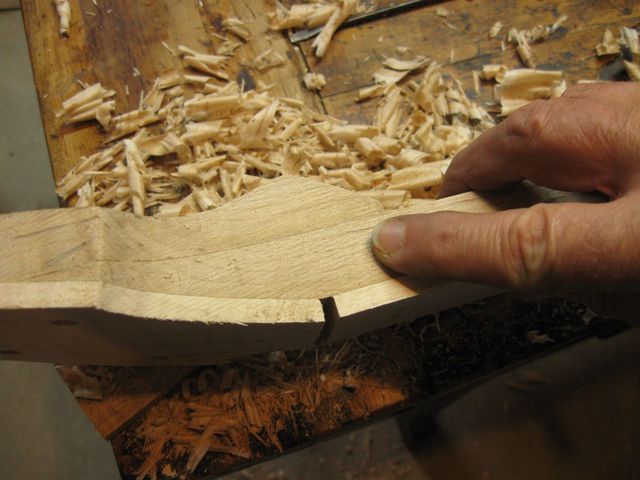
The Rough Cut Part is Now Smooth
The way I laminate the overlay onto the peghead leaves a point on the end of the peghead. So I marked that with my ruler to square it off perpendicular to the overlay.
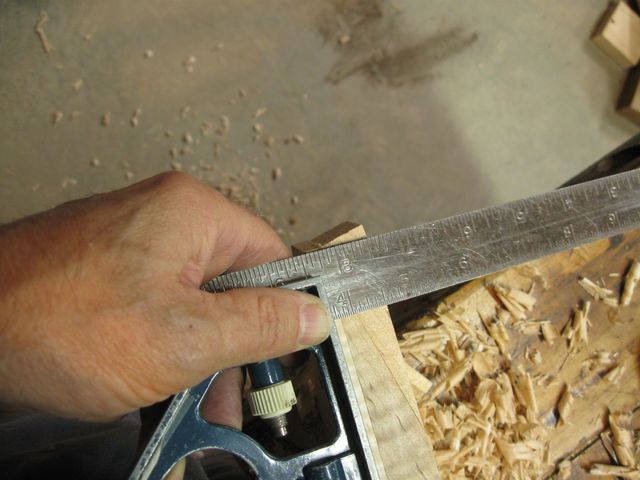
The Tip End of the Peghead Needs to be Squared
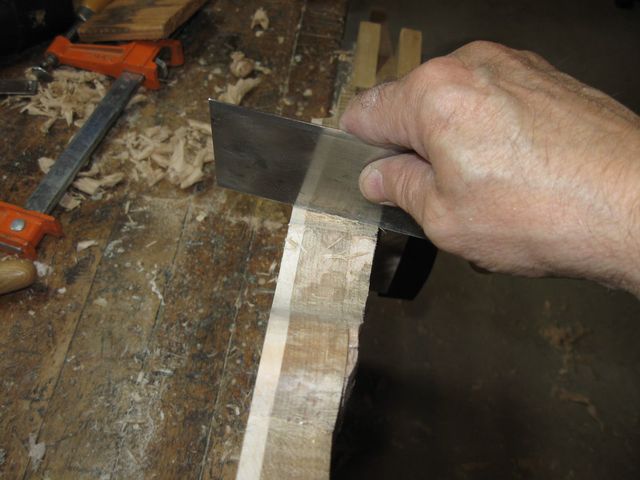
I just sawed it off with my dovetail saw.
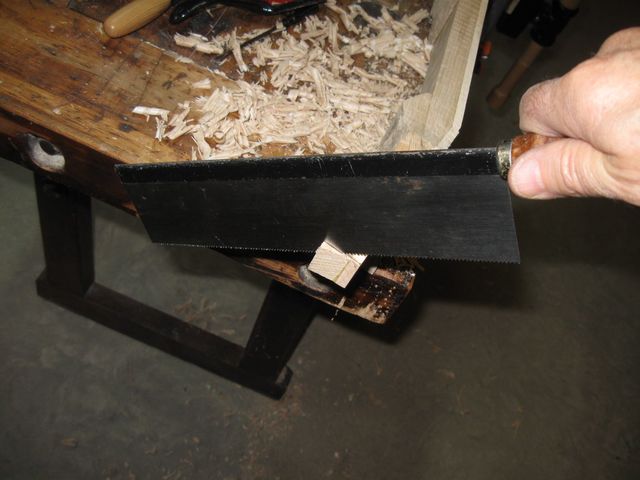
Just Saw the End Off Square
The shoe rasp fits nicely in the more gentle curves of the double ogee.
The Shoe Rasp Is Useful in the Double Ogee
You can see here the rough spots just under the 5th string peg bump that I have to get rid of.
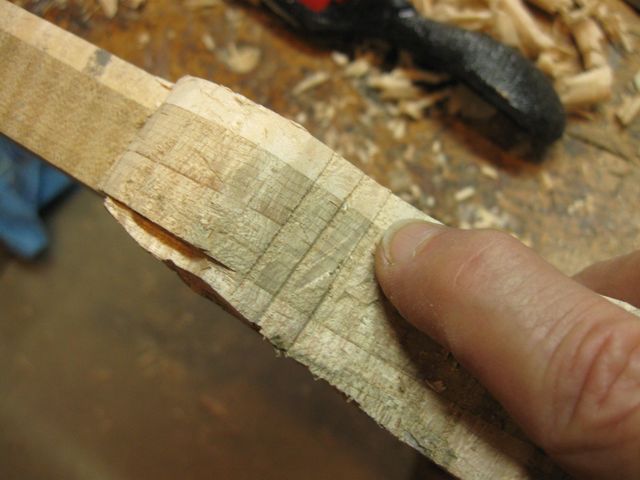
I Don't Want This Bumpy Like That
After taking that on with the shoe rasp, the bumps are gone. The chipped out piece on the left of the photo just under the 5th string peg is not a problem. That will be cut away when I carve the neck round.
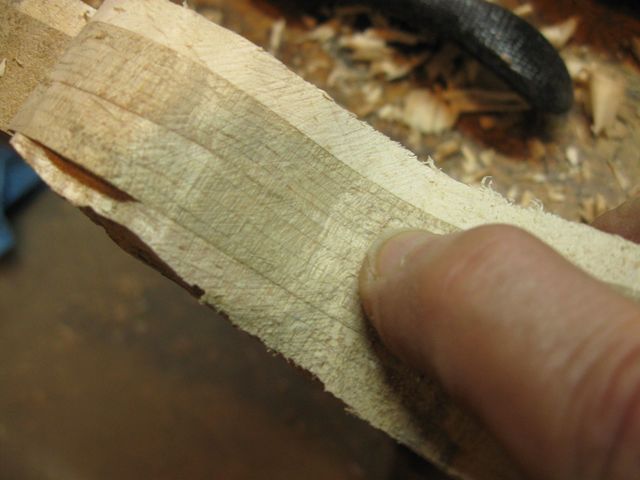
No More Bumps
I won't show you everything. The rest of it is done pretty much the same way. The straight sides of the peghead are done with the spokeshave.
The Peghead Sides are Easy
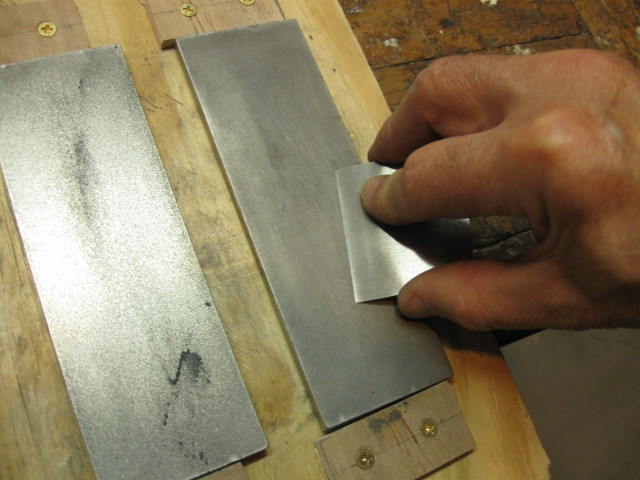
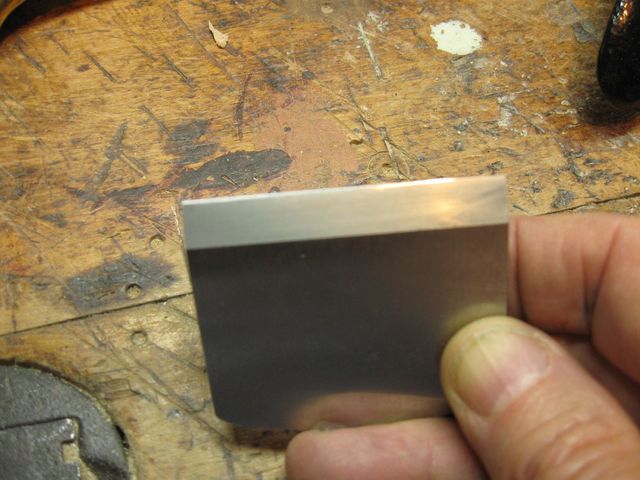
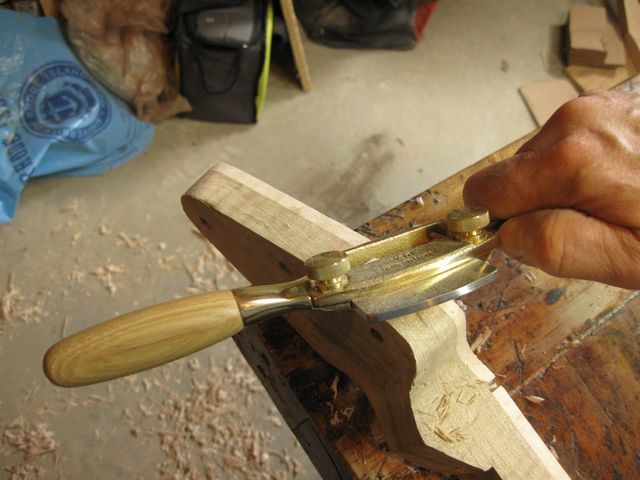
The card scraper gets into the tight places where even the rattail file won't fit. The card scraper is one of my favorite, all-around tools... and so simple too.. just a rectangle of steel.
The Ubiquitous Card Scraper Works Wonders
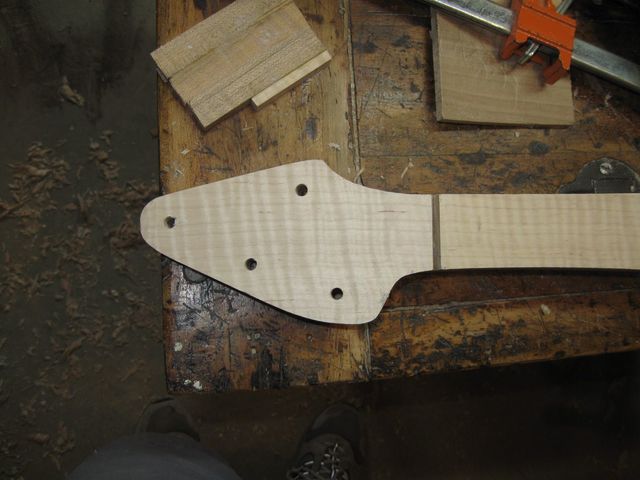
Here's the neck after smoothing it out. It's looking pretty good.
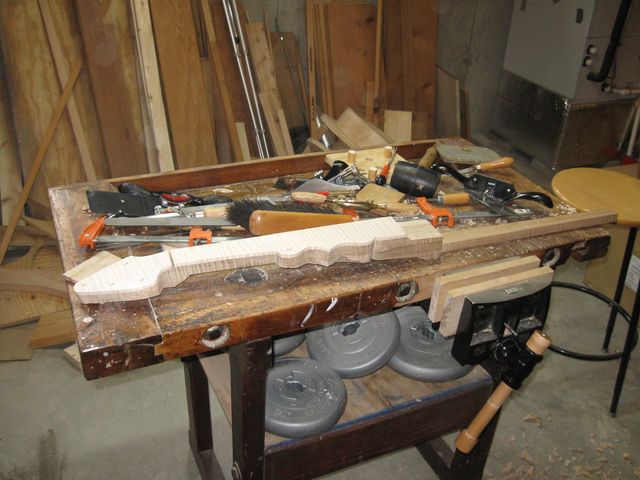
The Neck Has Been Smoothed
In this closer view you can see that the curves of the double ogee are nicely shaped now.
The Double Ogee is Nicely Shaped
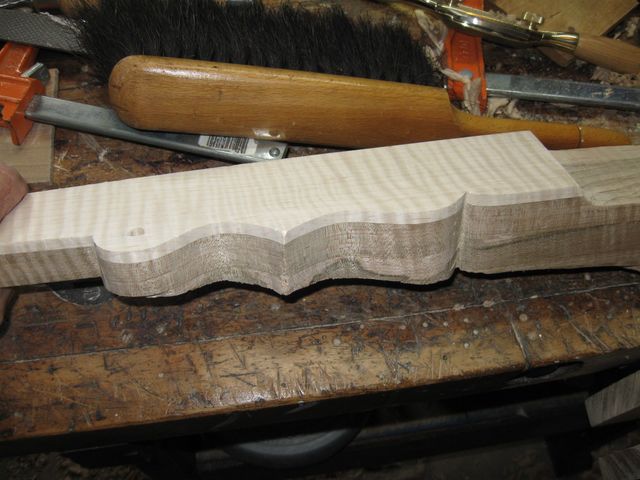
Here is a top view of it. I really like that shape. I guess I will never be able to make guitars because you can't put a shape like that on the neck.
That is Such a Cool Shape!
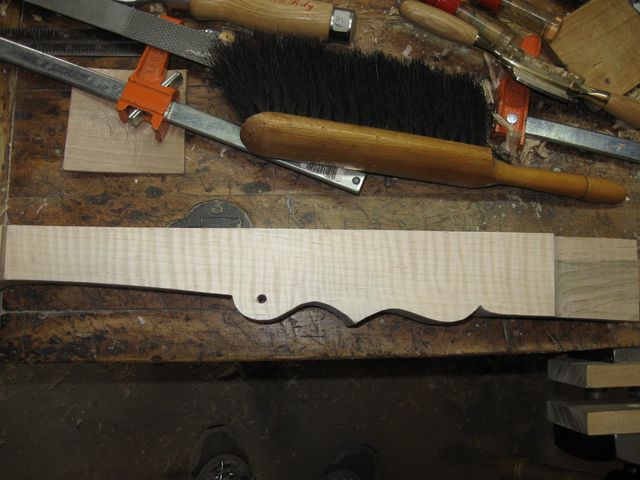
Here is the shape of the peghead. I invented that shape myself, and I like it a lot. It is aesthetically asymmetrical, but nicely serpentine. My son thinks that I should put a serpent inlay in the peghead twisted around the pegs. I wish I could do that, but I would have to learn another completely different skill. That will have to be done on a different banjo.
The Peghead Shape is Really Cool Too
That's it for today. The next step will be to carve the neck round. That ought to be fun.
* I am not selling Lie Nielsen tools. Seriously. I have no financial arrangement with those folks. But that spokeshave really is a seriously nice tool to use. Very smooth.
