We just got back from a short vacation trip to Maine. While we were up there, we stopped in to see the Lie-Nielsen tool factory and showroom in Warren. We had driven by many times, but never stopped in. This time we stopped in to look at the tools.
What can you say but "Wow"! The tools he makes are really beautiful. One of his staff members spent an hour with me showing me how to set up a plane. It was a great lesson.
I didn't buy a plane, but I did pick up a new Boggs style, flat bottom spokeshave. Here is a photo of it.

My New Lie-Nielsen Spokeshave
Wooden handles. Bronze body. Extra thick blade to prevent chatter. Is that gorgeous or what? Here is a close up of the blade showing Lie-Nielsen's name etched right into the blade.
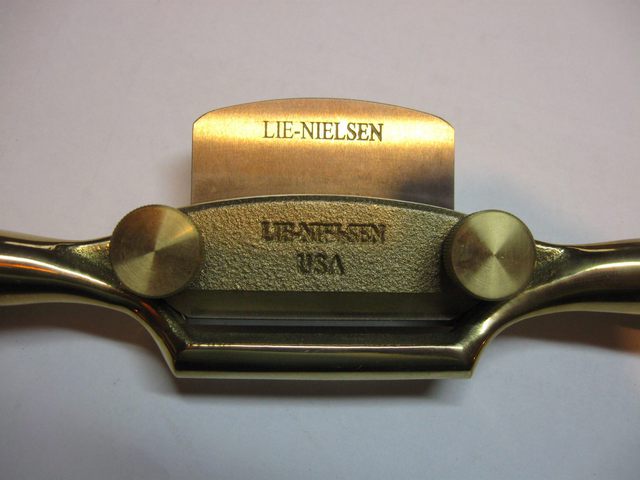
Up Close
That is a very pretty tool, and I am looking forward to carving out my neck using it. However, while I should be gluing my neck pieces together to make the neck blank, instead I procrastinated again and made a jig for sharpening my plane irons.
While I was in the showroom getting a lesson on how to set up a hand plane they emphasized the importance of having a very sharp plane iron. To do that, they have a jig that they use to set up the irons in a honing guide. The honing guide keeps the angles correct and the edges square.
You can see how their jig works at the Lie-Nielsen web site. Lie-Nielsen Sharpening Jig
I decided that I should make a jig like that for sharpening my irons as well. Here is a photograph of my plane iron in my honing guide. Disregard the markings on the top of the blade. I made those during my previous attempt to use the honing guide. They worked OK so I wrote them on the blade with permanent ink. I think I will have more accurate results with my new numbers.
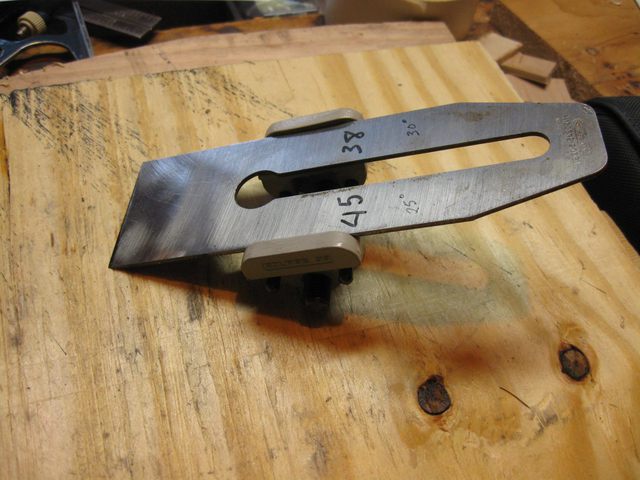
Plane Iron in My Honing Guide
The guide has a little wheel on the bottom of it that rolls across the stone. The angle of the blade against the stone is determined by how far out the iron is from the edge of the guide. The trick is to calculate how far out to put the edge of the blade in order to achieve a desired angle of the bevel.
I use a double bevel sharpening system because it makes it quick and easy to put a sharp edge on an iron while working. Here is what a double bevel edge looks like.
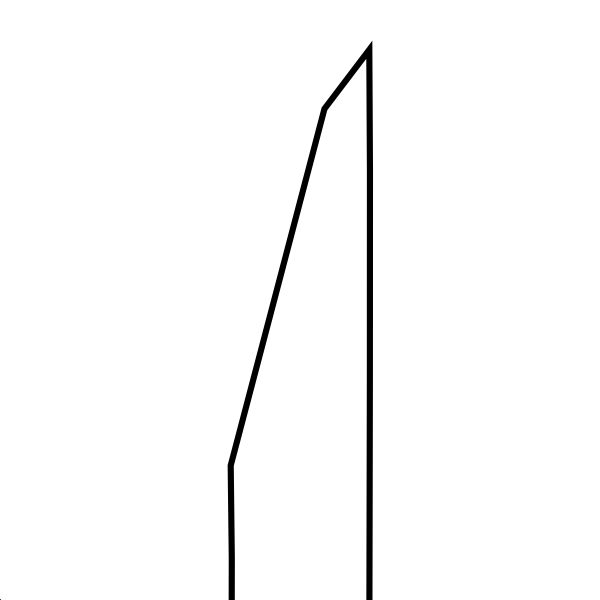
A Double Bevel Edge
The long bevel is at 25° and the short bevel is at 30°. When using the iron, you normally hone just the short bevel to make the edge sharp, which is quick. The honing makes the short bevel a bit longer each time. After it gets too long, you must re-establish the longer bevel by honing the basic bevel at 25° again. The jig is used to set up the honing guide quickly so that sharpening will be quick.
Here is a figure that explains how the honing guide works.
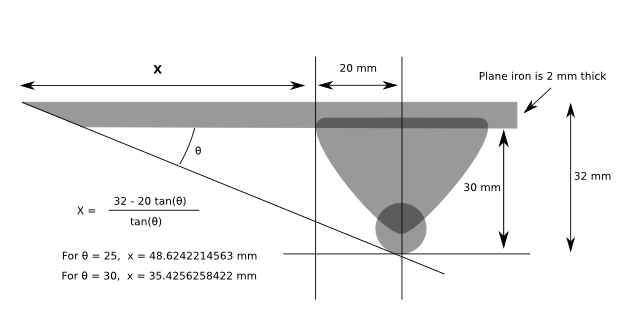
Calculating the Distance for Each Angle
You can see from the figure that if you move the edge of the blade out farther from the center of the guide the blade will be sharpened to a more narrow angle, and if you set the blade closer to the center of the guide it will obtain a thicker angle.
I took some measurements from the honing guide and from the plane iron and used them to calculate how far the blade should stick out to obtain two angles
- 25°
- 30°
The angle depends on the distance that the point of the bevel is from the center of the guide.... with the center of the guide being right over the center of the wheel. It also depends on the height of the top of the iron above the bottom of the wheel. The distance of the top of the iron above the wheel is the summation of the height of the guide surface (30 mm) plus the thickness of the blade (2 mm).
OK. I am going to show you the derivation of the formula I used. It has trig in it, so try to keep up.
The tangent of the angle θ = Side A / Side B
Side A is the height of the top of the blade above the surface
that the wheel sits on.
A = 30 mm + 2 mm = 32 mm.
Side B is the distance we want to calculate, X,
plus distance the edge of the jig is from its center, which is 20mm.
(I measured it).
B = X + 20.
Now we have the formula with X in it.
tan(θ) = 32 / (X + 20)
All we have to do is solve the equation for X.
Multiply both sides by (X + 20)
(X + 20) tan(θ) = 32
Expand the left hand side.
X tan(θ) + 20 tan(θ) = 32
Move the left hand part without X in it to the right side of the equation.
X tan(θ) = 32 - (20 tan(θ))
Finally, divide by tan(θ) to solve for X.
X = (32 - (20 tan(θ))) / tan(θ)
That is the formula shown in the figure above. Since we are only interested in the values for 25° and 30° we just need to run those two numbers through the formula.
| θ | X |
| 25° | 48.6242214563 |
| 30° | 35.4256258422 |
I am going to create a quick setup jig that has blocks at those distances from the edge so that I can set the blade up in the honing guide quickly to keep my plane irons sharp.
Oh. Here is something interesting to look at. A while back, when I was attempting to set up my jack plane, I noticed that I could not get the edge of the plane iron square with the mouth slot. I eyeballed the edge of the iron and found that it is not square with the sides. Look at this.

Not Square
Here is a closer view. I need to square up that edge if I am ever going to get the plane to set up properly.
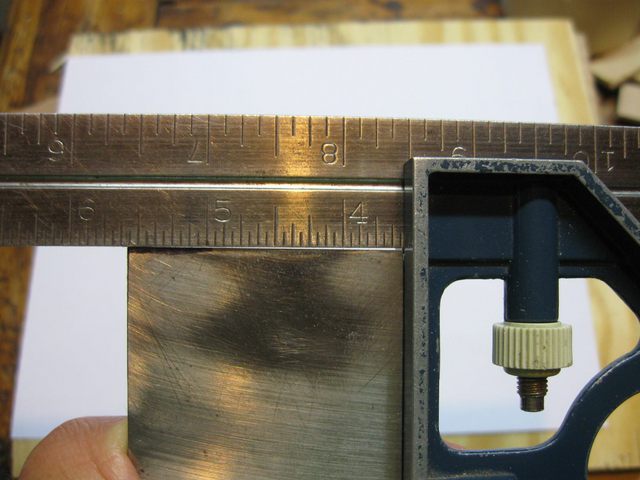
Closer View of Crooked Edge
I will have to take care of that once I get the jig made. Here is all the stuff that I used to make the jig.
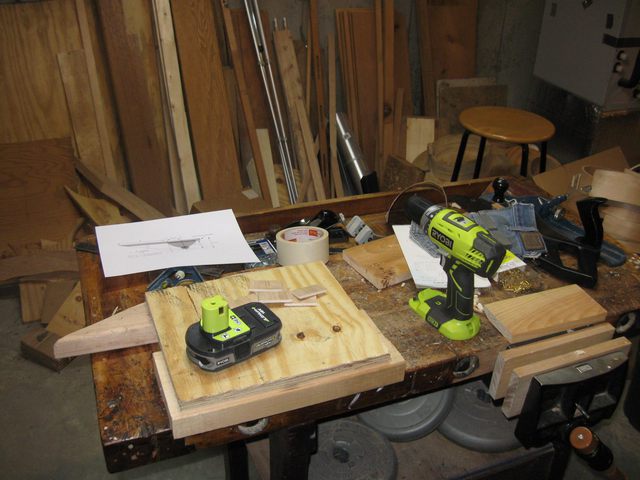
Tools and Stuff
By the way, that green thing is my new cordless drill. Here is a closer view of it. It uses the battery sitting to the left of it. The same battery goes into my weed whacker and a bunch of other tools.
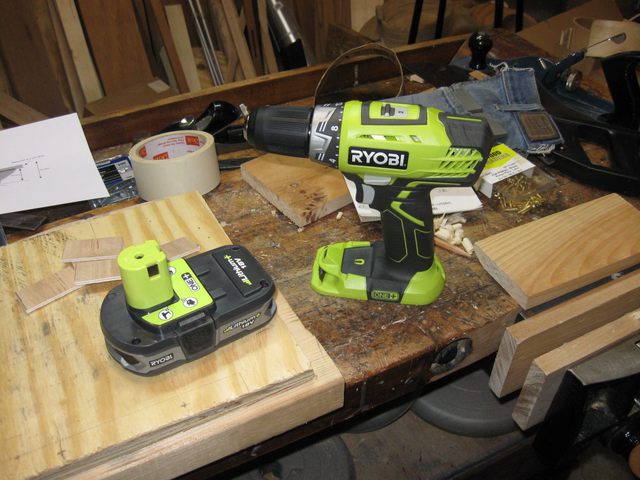
Closer View
The cordless drill works pretty well. The batteries last longer than I thought they would before recharging.
It is a lot easier to move around my work without having to drag the cord across the floor and bench... although I do still brush it aside while I am working.. even though it isn't there. LOL.
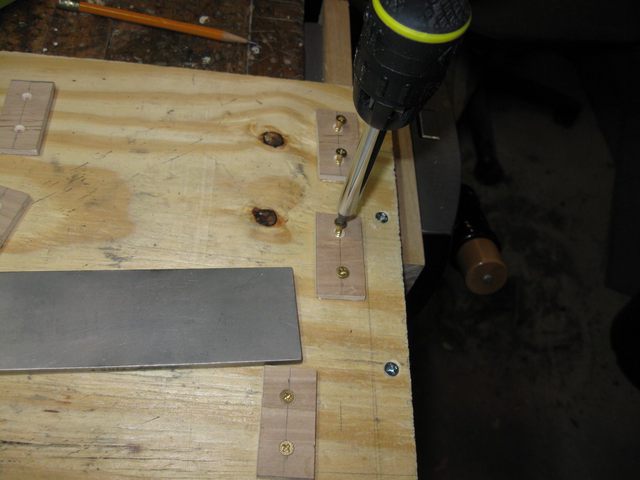
Back to the jig. First off I installed a cleat on the bottom of the board so I can clamp the jig in my bench vise. I used my usual #8 screws. These screws were 1 1/4" Phillips head screws.
I drilled pilot holes as usual and secured a piece of scrap 1 X 4 pine board to the bottom of the plywood.
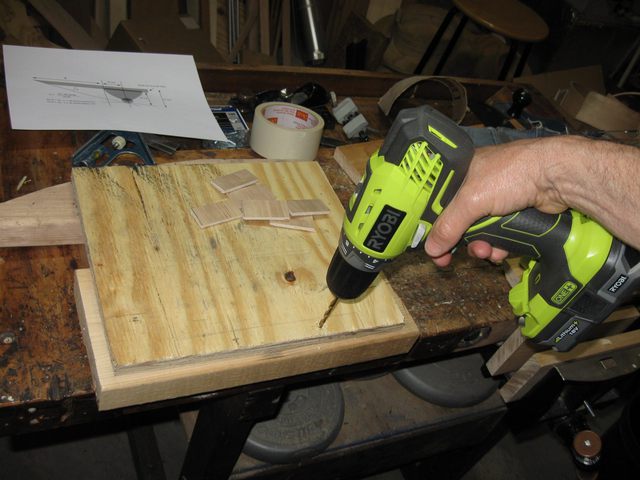
Drill Pilot Holes
I made the little blocks that work as bumpers for the blade out of 1/8" plywood. I cut out a bunch of them and marked them for some screws to secure them to the plywood base.
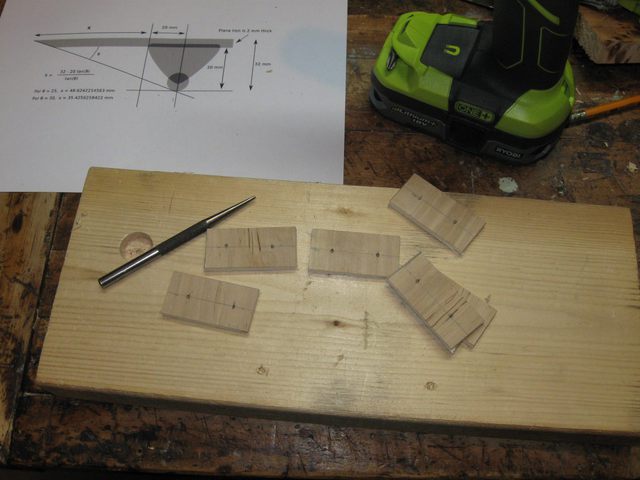
Center Punched Blocks
Since these blocks are so small (1" by 2" by 1/8") I decided to use some nice brass #6 screws to secure them to the base. To determine the size of the pilot holes I used my caliper to measure the size of the shaft inside of the threads. It showed up as 3/32".
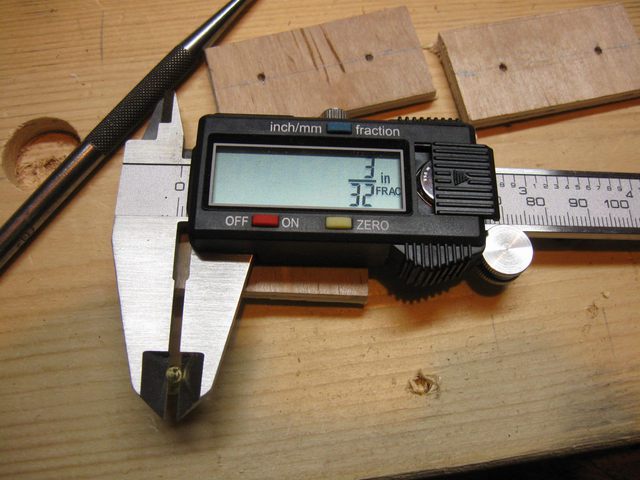
The Small Hole Must Be 3/32"
Then I measured the size of the unthreaded shaft and it came in at 1/8"
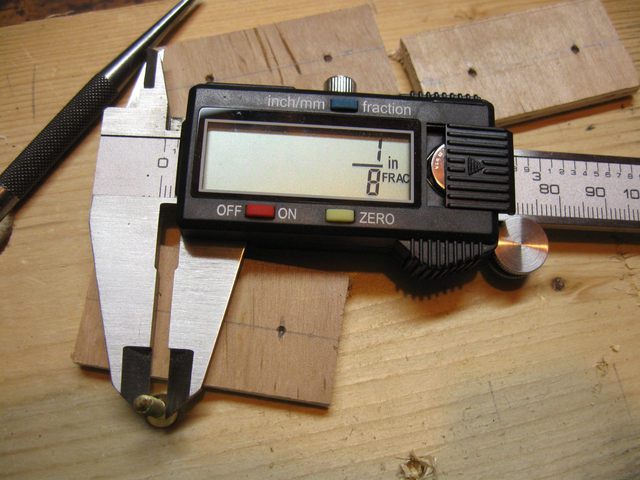
The Large Hole Must Be 1/8"
Based on the calculations I made earlier, I need to set one of the blocks 48.6242214563 mm in from the edge of the board to set up the irong for the 25° bevel.
OK. So I can't measure it at that precision, but I tried my best to get it close.
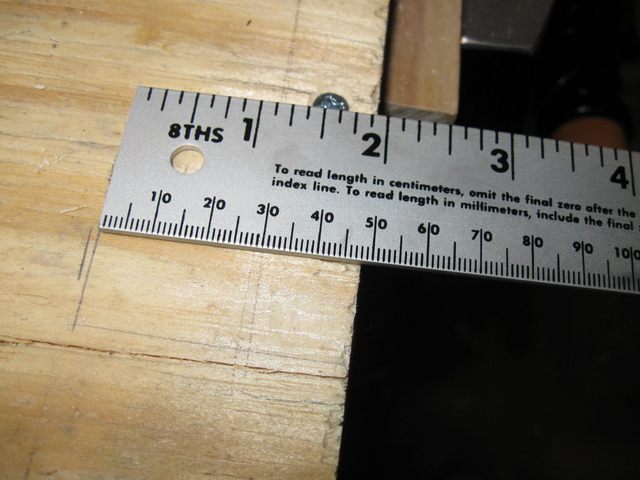
Marking Position of 25° Block
The second block should sit at 35.4256258422 mm from the edge to get a stop block for the 30° angle.

Marking Position of 30° Block
I drilled the holes in the blocks, recessed the screws and screwed the blocks down to the plywood base board. After those blocks were secured, I put some on the other side of the base panel to hold the two hones in place.
Space for Hones
Here is the setup, with the hones sitting in their pockets.
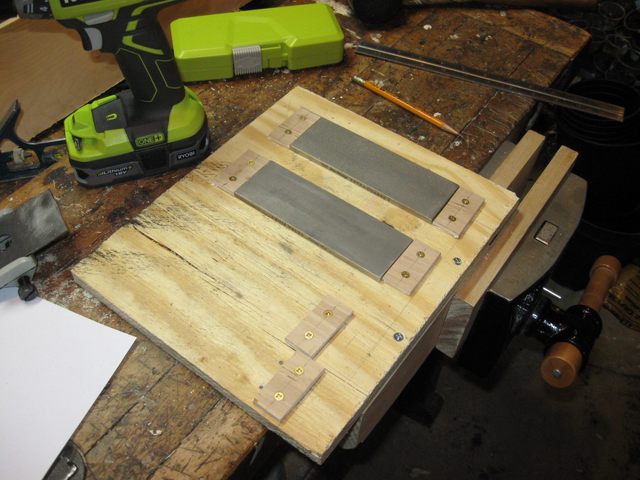
Hones on Board
To avoid all possibility of confusion I marked the two blocks with the angle each one is used for.
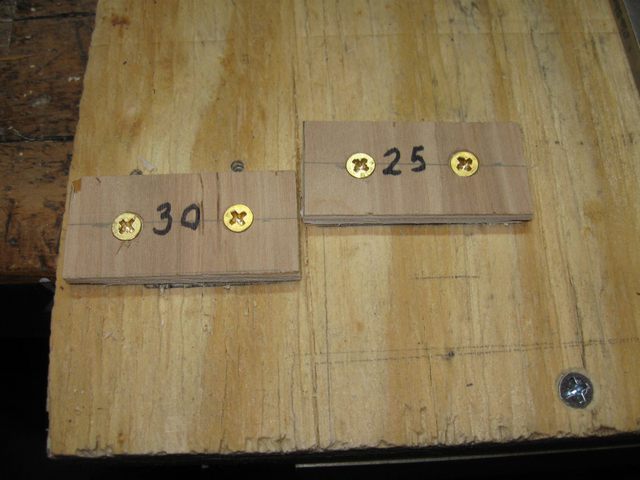
Two Angles Marked
Here is how the jig is used. I put the edge of the honing guide against the edge of the board, then I move the blade out until it just touches the edge of the block. Then I tighten the screw that clamps the iron in place.
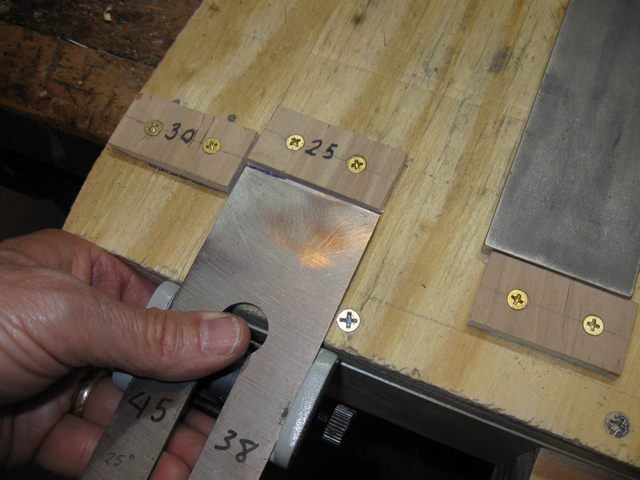
Using the 25° Block
The secondary bevel is set up using the 30° block next to it.

Using the 30° Block
Once the blade has been set into the honing guide, I just move over to the hones and move the blade and guide over the surface.
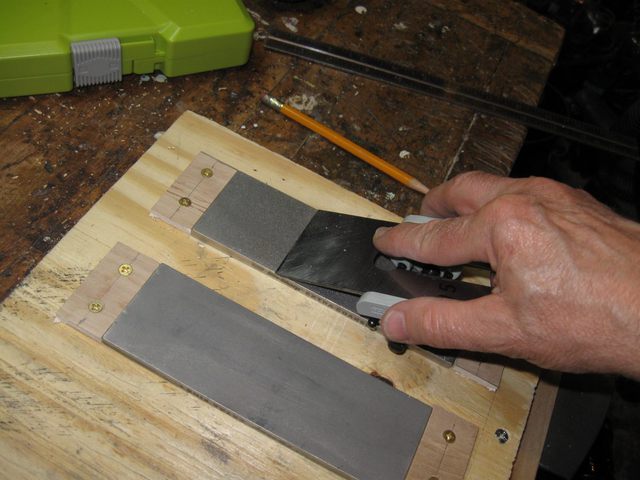
Honing
That is about it. Now, I have a lot or work to do in order to get the angle of the blade edge square with the sides of the iron. That's going to take a while, so I will take my leave and get to work.
