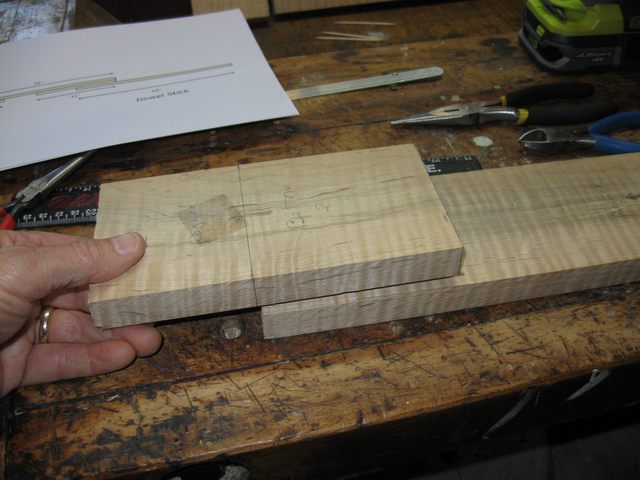
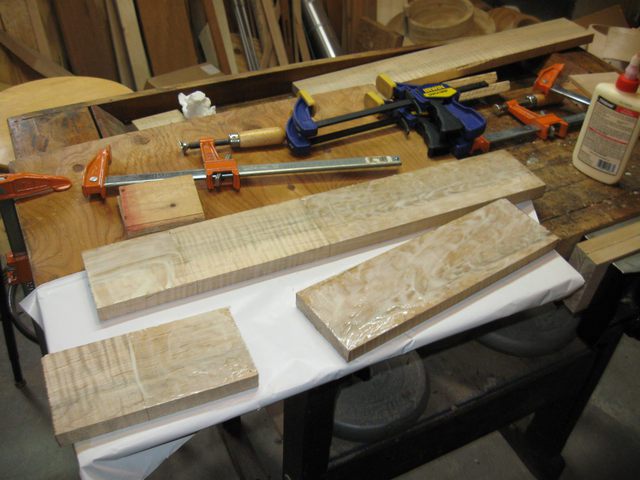
I finally got around to gluing up the neck blank instead of procrastinating and fooling around with the tools. At some point I actually have to work on the project itself or I will never get it done. I started by finding all the parts of the neck and laying them out on the bench to see how they will fit together.
The part at the left is where the peghead goes, and the board at the right will be cut into the tailpiece.
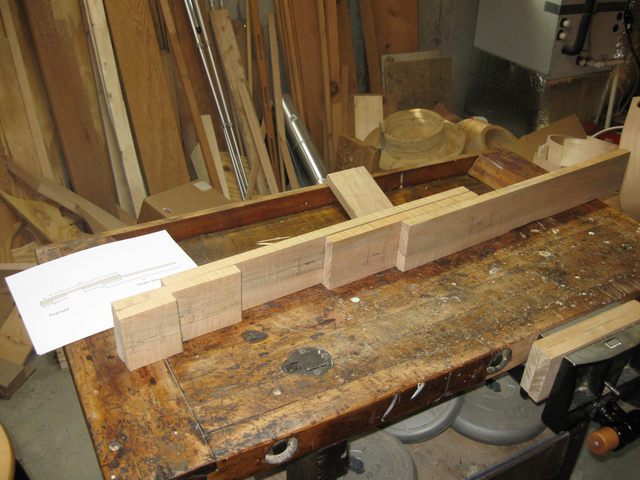
This is How the Pieces Go Together
In the past, when I glued the boards together sometimes they slipped when the glue was still wet, and then they were out of alignment after the glue had dried. That is a difficult mistake to correct.
So to keep the boards from moving around, I make tiny pegs out of toothpicks and put them into holes in the boards. The little pegs keep the boards from moving around and are then sacrificed when I cut the neck to shape. Here is a peg.
A Toothpick Peg
In order to line the boards up I drill some holes in one board, then put some sharp metal pins made out of nails into the holes. The nails are used to mark the other board. I drill out the marked places, and that gives me aligned holes in both boards that the wooden pegs will go into. The wooden pegs keep the two boards from sliding while the glue is still wet and slippery.
I found some tiny brads in the junk box.
Tiny Brads for Pins
Here is a closeup of the brads before I cut them. Closeup stuff is really cool.
Closeup
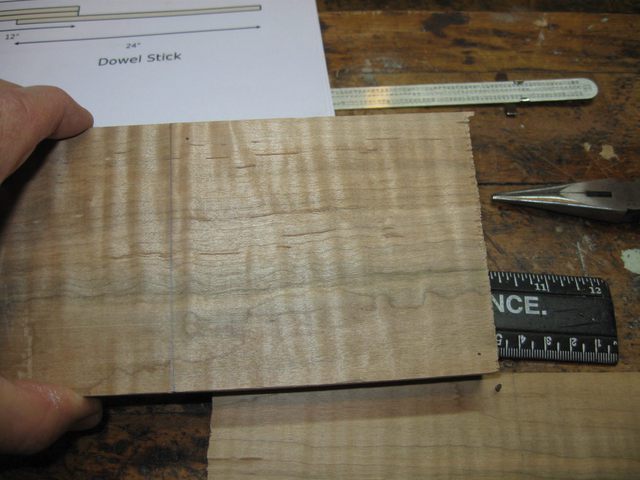
I measured one of my other necks to see how wide it is, and the widest part at the heel is 2 3/4" across. I want to place the pegs so that they will remain outside of the neck area. That way, the pegs will be cut away with the waste wood.
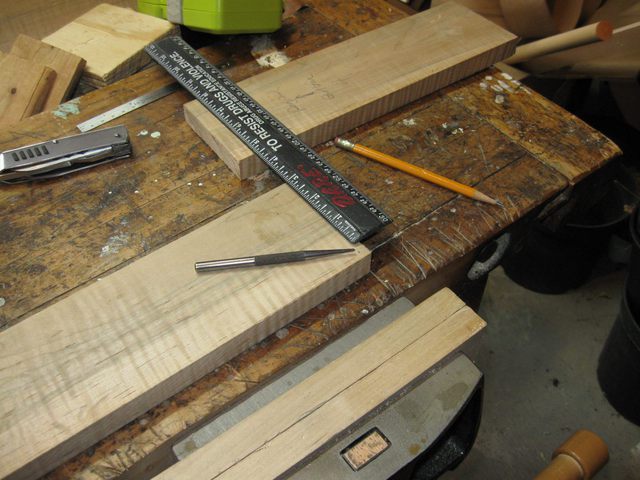
Measure Peg Locations
The board is 3 1/2" across, and you can see that the place marked for the peg will be outside of the neck itself once the neck has been carved.
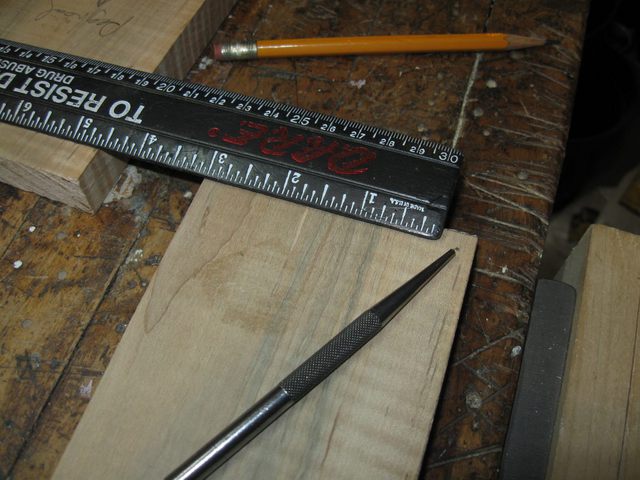
The Pegs Will Be Outside of the Neck
I drilled a hole for the peg with a 1/16" drill bit. That is the smallest drill bit I have. I drilled the hole about 1/8" deep.
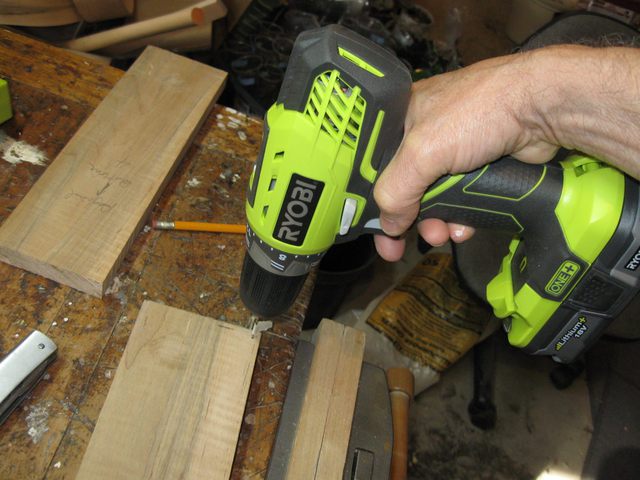
Drilling a Pin Hole
I used the side cutters to snip off the heads and cut the pins to about 1/4" in length.
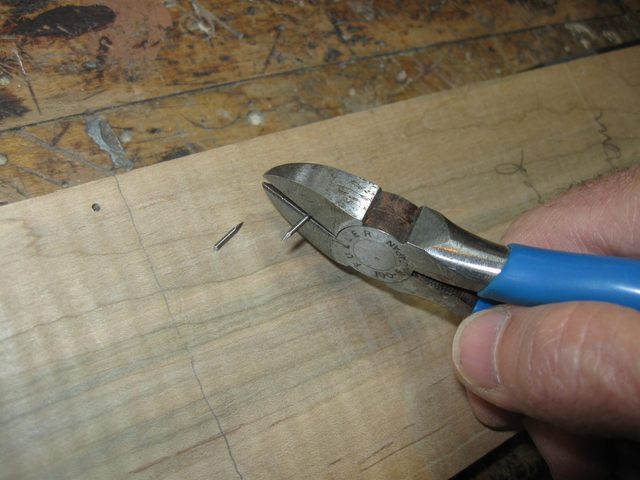
Cut the Heads Off the Nails
More really cool closeup stuff.
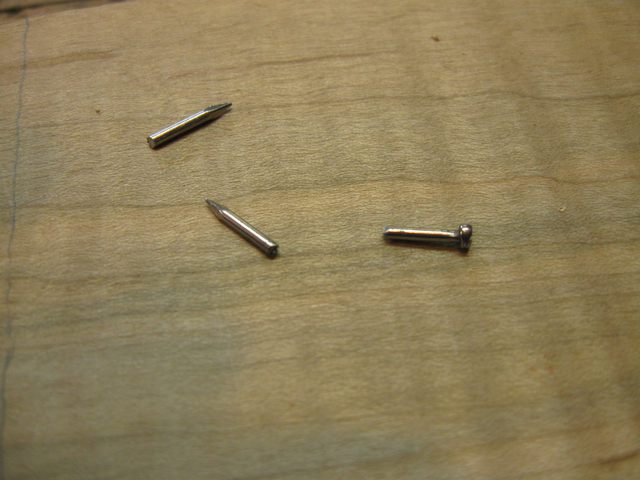
Close Up of the Pins
I dropped the nail into the hole with the point up. Turned out that the hole is too big for that nail. Notice how the nail is leaning to the left?
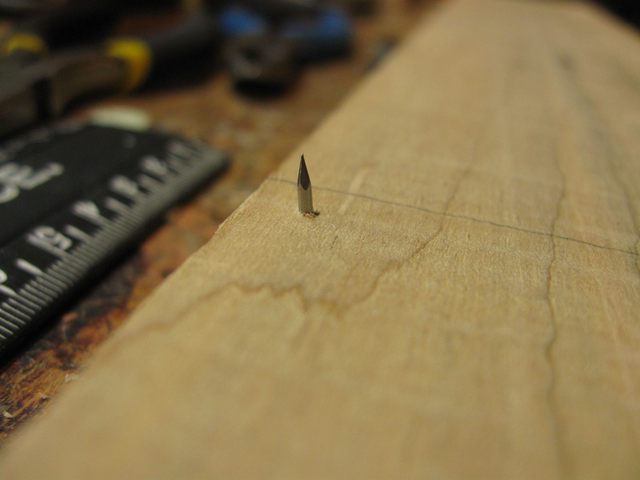
The Nail Leans in the Hole
The other board is not going to be very well registered if the pin isn't centered in the hole. This is a problem.
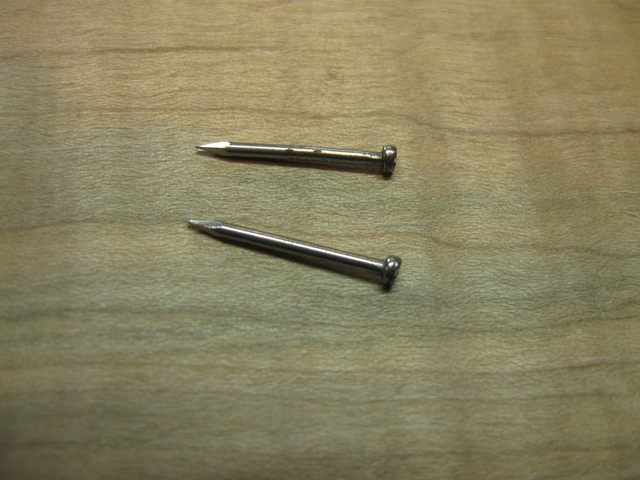
OK. I need a larger nail. So I groped through the junk bin again and found these.
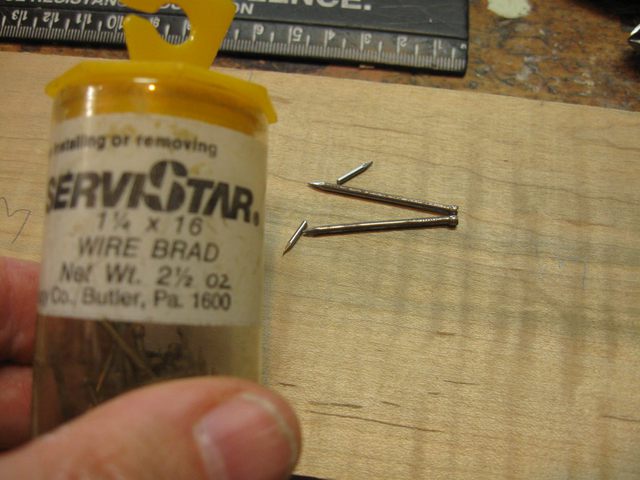
We Need a Bigger Nail
I could not cut through the larger nails with the little side cutters, so I got out these mongo Vise Grips to chop 'em off.
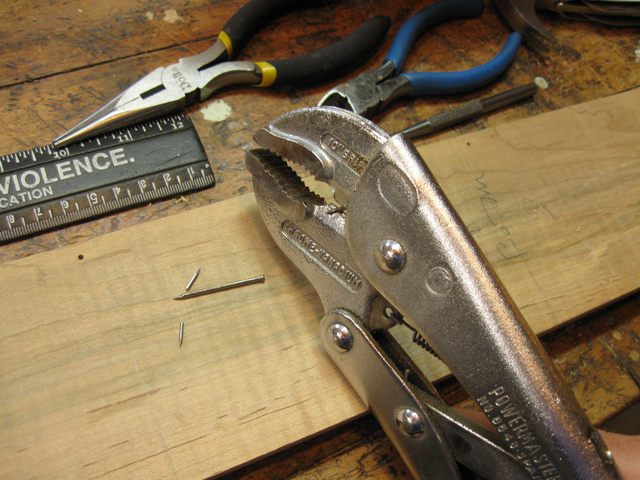
Trimming Bigger Nails
Here we go. These pins are bigger than the others, so maybe they will fit tightly in the holes and remain centered.
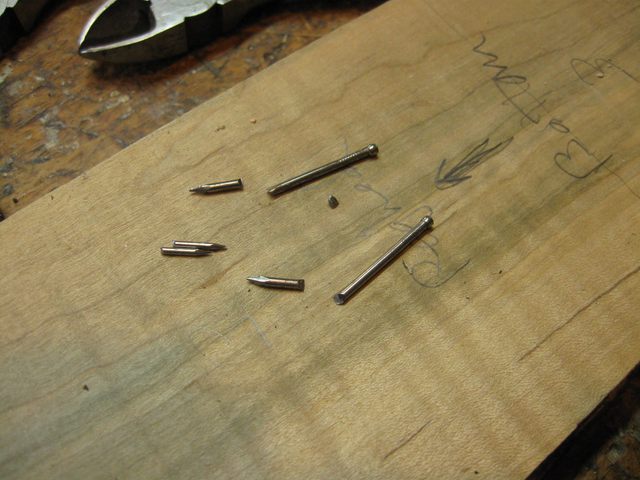
Bigger Pins
Yep. That one looks pretty good.
Centered Pin In the Hole
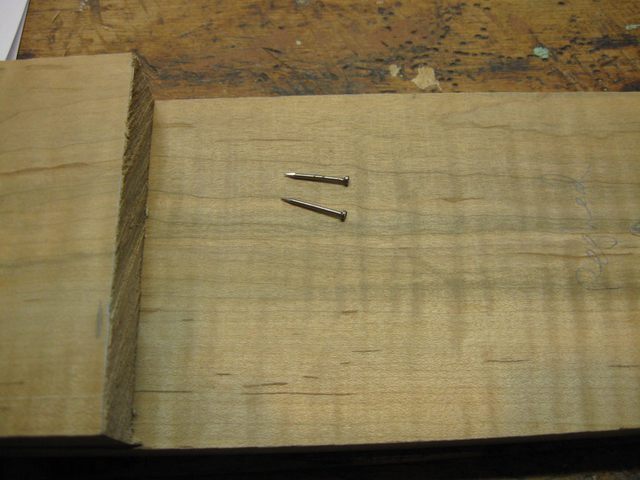
I put a pin in each hole, then aligned the board that is part of the peghead with the other board and gently pushed it down onto the pins.
Marking the Other Board
Here are the results. The points of the pins have marked where to drill the peg hole in the other board.
Marked Board
It is a bit difficult to see the marks in that photo.
Here is some more cool close up stuff.
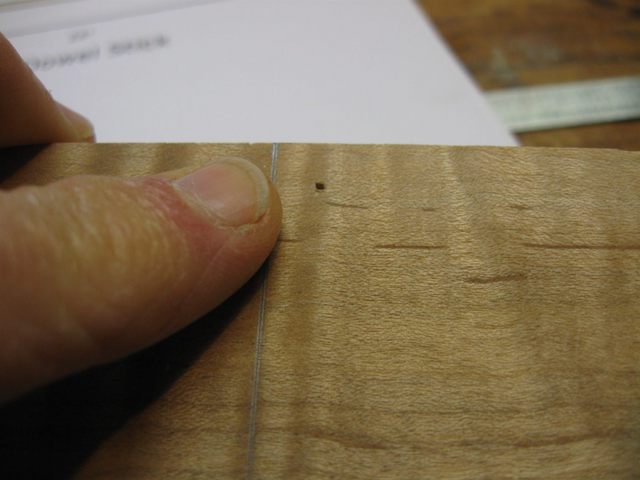
Closeup of a Mark
I drilled the holes where the nail marked them on the other board. Now, when I put a wooden peg in the holes and glue them together, they will not slip out of alignment.

Drilling the Other Holes
Same procedure on the board that is part of the heel.
Marking the Heel Board
OK. Now we do a little skip in time.
I struggled with those wooden pegs. They would not go into the holes. They are too large. By the time I got them stuffed into the holes, they were totally crushed and useless.
So now what? Drill larger holes? Find larger nails to make larger pins?
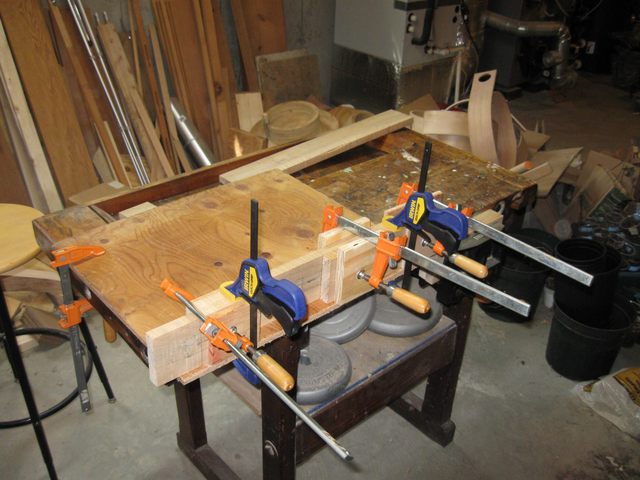
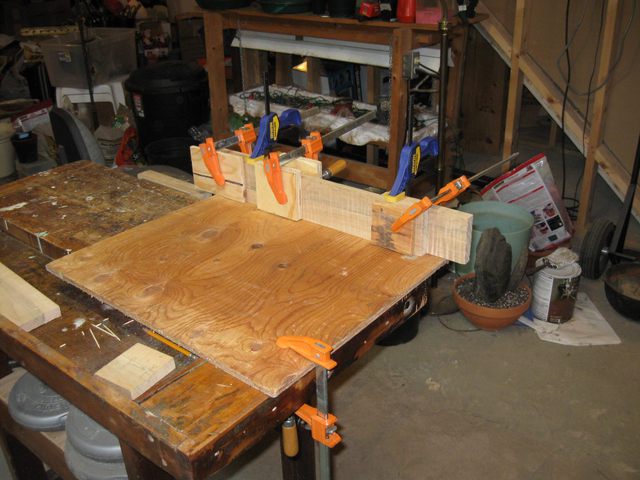
What I did was to give up on the wooden pegs entirely and just glue the boards together, clamping them in all different directions to make sure that they don't slip.
I clamped a sheet of plywood to the bench so that I could clamp the boards to the plywood. The bench itself has holes in the bottom of it that prevented me from positioning the clamps in the proper places. The bench is also rounded at the edges after years of abuse (not by me!) and presents a really bad surface for precise work. So the plywood is sort of like a giant, flat caul for all of the clamps.
I really ought to make a new, flatter surface for the bench that I can clamp to it for more precise work. I will have to look into that.
Here is a dry fit of the boards clamped together.
Dry Fit of Boards to be Glued
This is a photo from the other side. I have clamped two boards to the main neck piece. One board adds depth to the peghead and the other board adds depth to the heel.
Dry Fit From the Other Side
I wrapped some paper around the plywood to keep the glue squeeze-out from gluing the neck to the plywood. Then I laid out the pieces of wood in the orientation that I will be gluing it. The surfaces that are to receive the glue are facing up.

Ready For the Glue
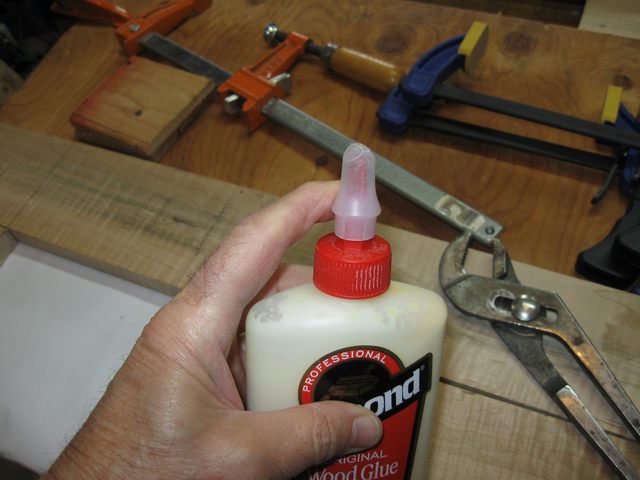
HA! Fat chance on the glue. The glue bottles have these pull-up nozzles on them that always get glued shut after using them. A small amount of glue is always left in the tip, and when it dries, the tip is jammed shut by it. The plastic is designed so that the glue will not stick to it, but even so once there is a wad of dried glue inside the tip the mechansim is jammed.
I could not pull the nozzle open, so I got some pliers and yanked until the whole gizmo just came apart. Can you see the glue wad in there?
Wad O' Glue
I picked at it with a tiny screwdriver to get the dried glue out of the nozzle and then put it back together. It seems to be OK. Who designs these things?
Reassembled Glue Nozzle
Back to the task at hand, I squiggled some glue onto the mating surfaces of the boards.
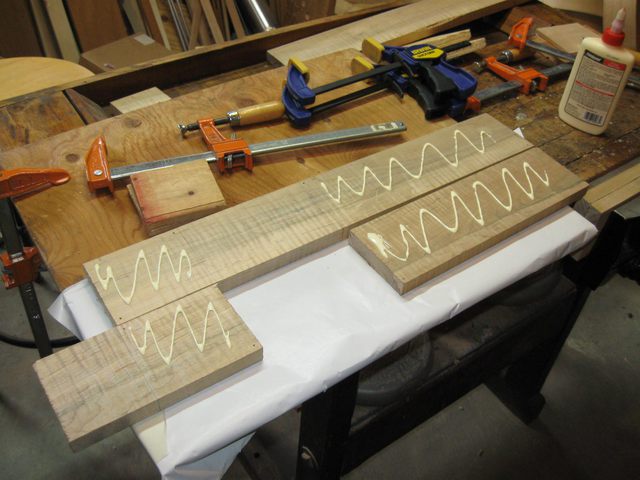
Glue Squiggles
Then I used my fingers to smear the glue into an even coating on the boards.
Smeared Glue
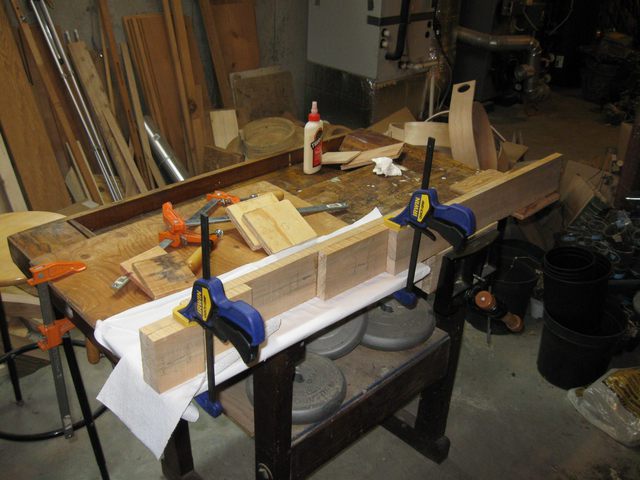
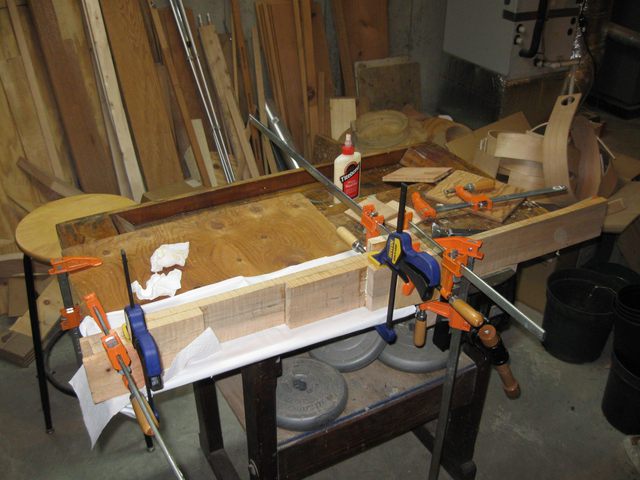
I clamped the boards together the same way I had them when I dry fit them together. The blue vertical clamps are there to keep the boards from slipping out of alignment. Hopefully by clamping the boards in both directions they won't move as the glue dries.
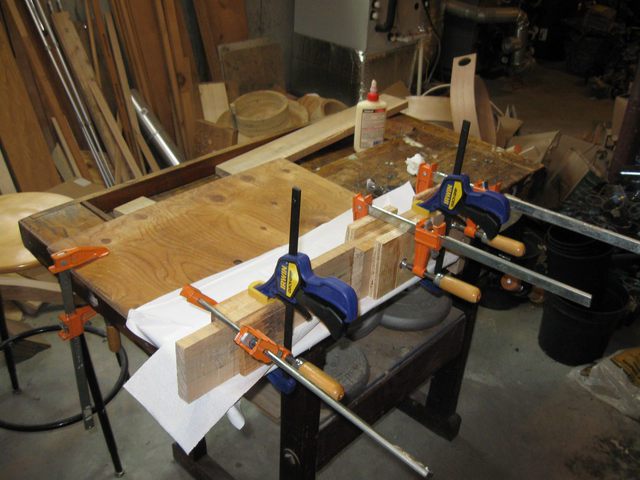
Clamped
Once clamped, as the glue began to set I gently tapped the boards side to side to align them in that direction as well. After a few minutes the glue is tacky enough that the boards will not move around anymore.
Here it is from the other side.

Other Side
I have found that for spreading the glue around there is nothing that works as well as your fingers. All of the fancy applicators in the world don't work as well. Unfortunately, there is a downside to using your fingers for such things.
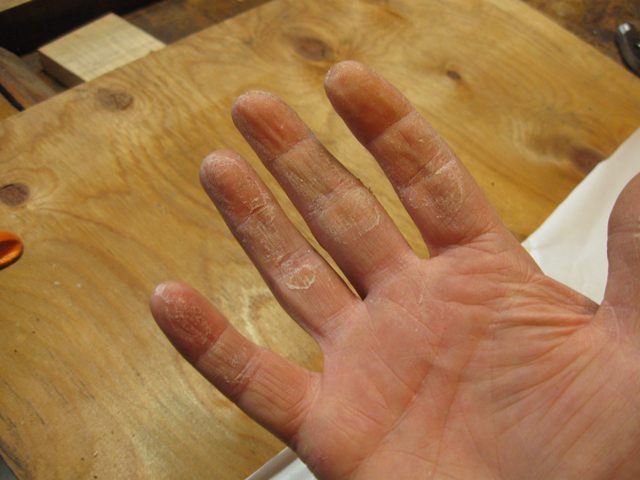
Fingers
Ew.
Here is another cool closeup.
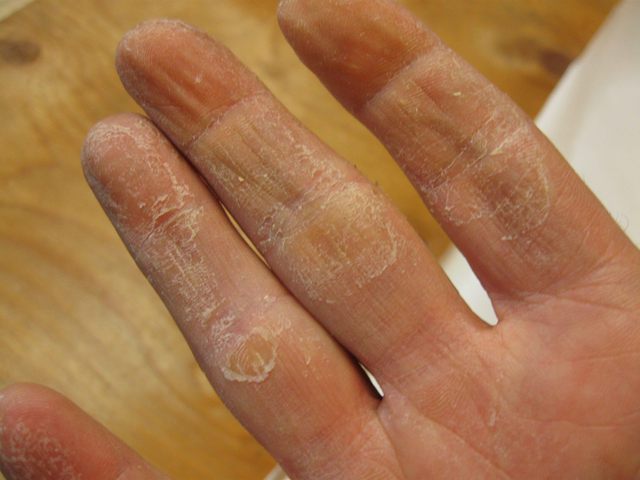
Cool Closeup
It looks pretty awful, but it came right off with Gojo® Orange Pumice hand cleaner. The pumice is abrasive enough to grind that crud right off. I suppose you could also use Lava® soap as well. The pumice works for removing acrylic paint from your hands too, but that is a different hobby.
A few hours later I pulled the clamps off and turned over the board. This is why I put the paper between the plywood and the neck.
Paper Scraps
The paper will tear off, but if the glue had contaced the plywood itself this would be a problem to remove.
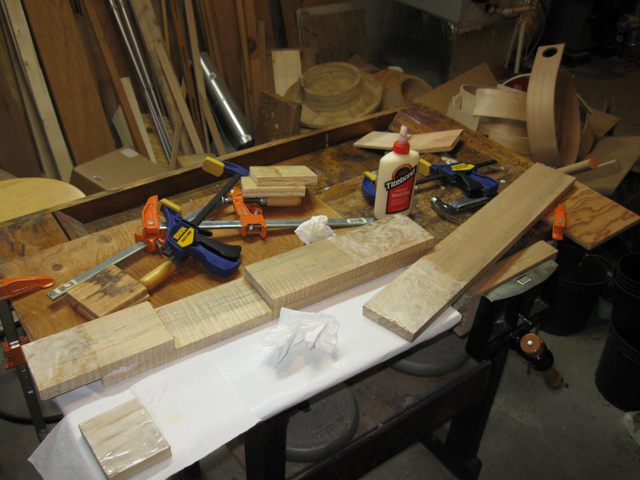
I dry fit the next layer of boards together again in the proper orientation.
Dry Fit
OK fine! That nozzle on the glue bottle is stuck again. So get out the Channel Locks® and pull the beast apart again.
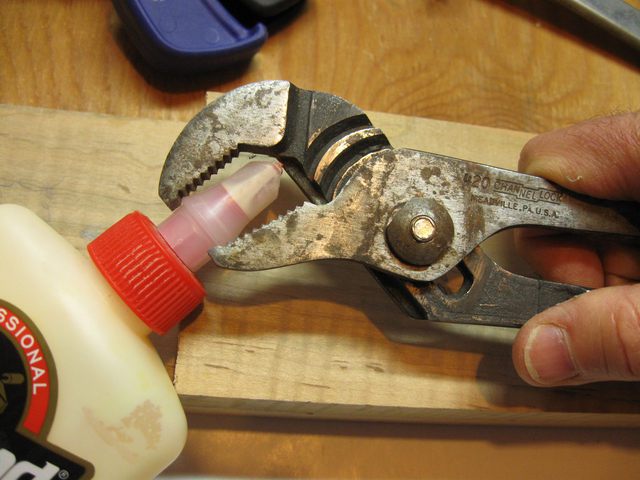
Stuck Again!
Squiggle the glue.
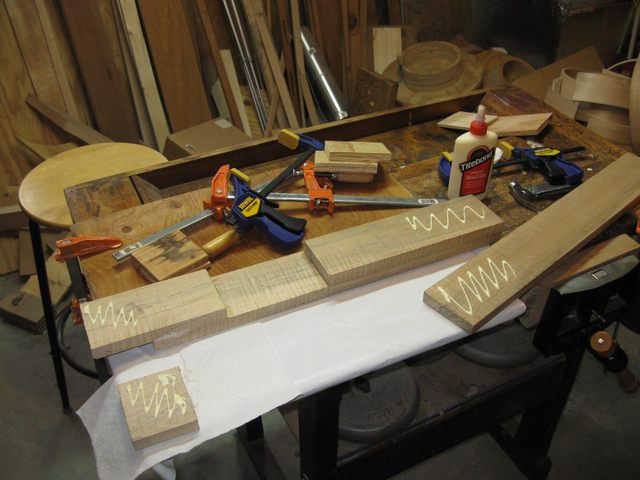
Squiggle
Smear with the fingers.
Smear
Clamp it all together before it dries.
Clamped
Here is an interesting tidbit. See that paper towel wadded up under the left end? That is there because I had put the piece of wood on that end down on the paper glue side down. I don't know how that happened, but when I went to clamp it up there was giant smear of glue on the paper. So I grabbed a paper towel to throw on top of it before I put the board down on it.
Tip: Don't put the boards on the bench glue side down.
Here is the other side of the blank.
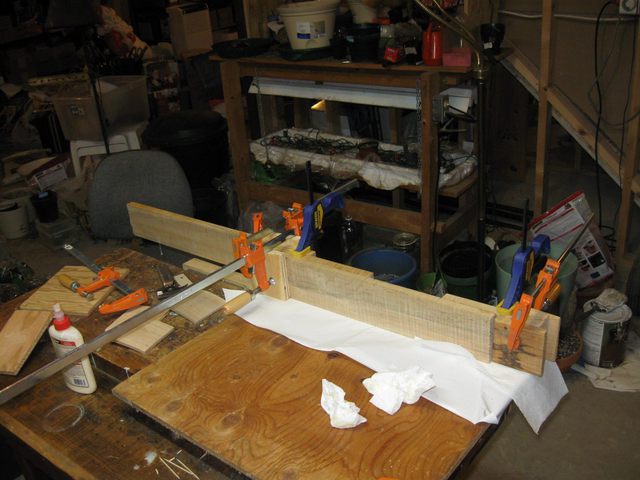
Other Side
I had to add an extra clamp on that tailpiece board because it was twisting out of alignment. The orange clamp on the right side was added to keep the board aligned with the rest of it.
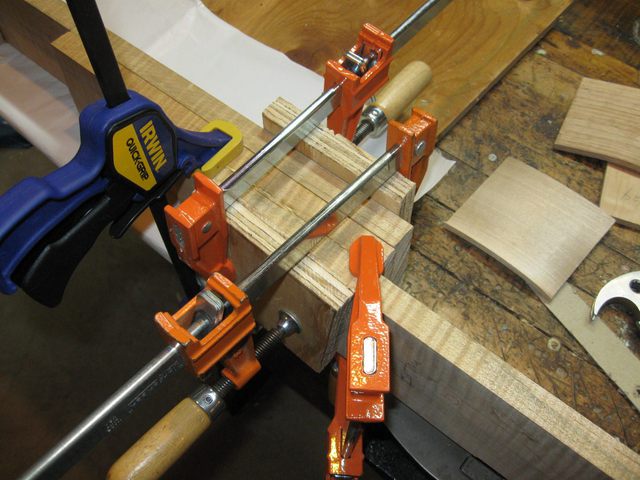
Clamping Detail
I waited a few hours for the glue to dry and then unclamped the neck and turned it over. The paper towel is a mess, but it wasn't glued down to the plywood.
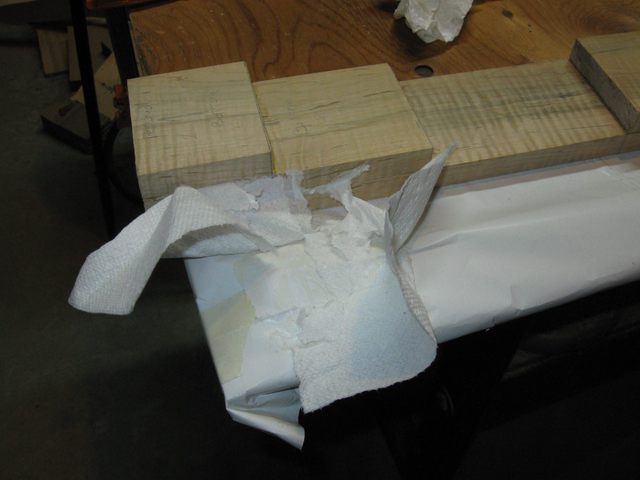
Glued to the Paper
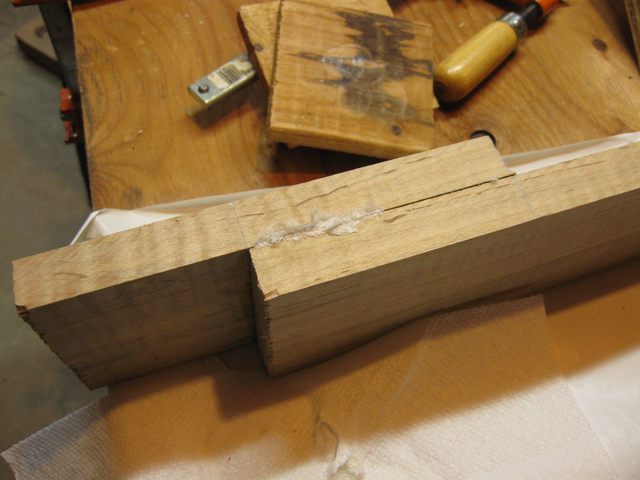
I clawed off the paper to see what I had, and it wasn't really that bad. This stuff is easy to remove.
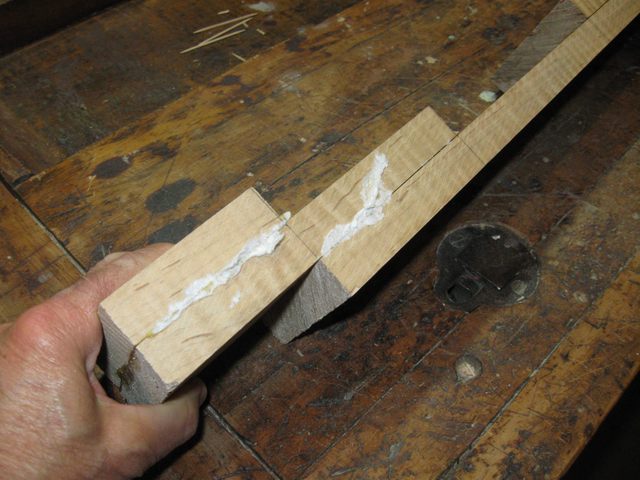
The Glue Line and the Paper Towel
I got out the cabinet scraper and made short work of the cleanup. It doesn't matter much anyway because I will be cutting that wood away when I carve the neck.
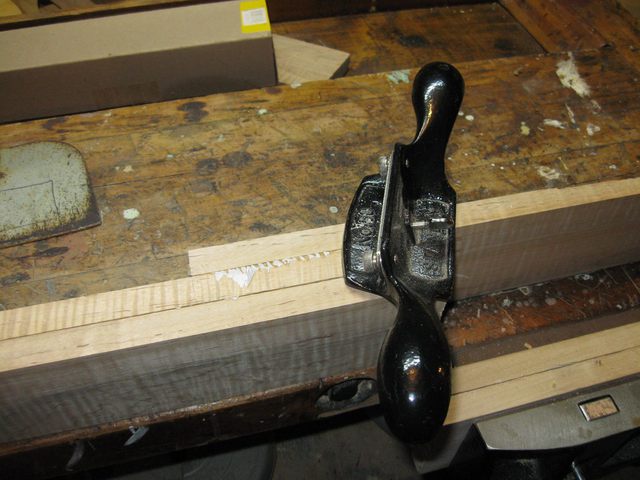
Cabinet Scraper Removes Glue Lines
Since I had a little more time, I went ahead and drew the lines for the peghead shape. In the photo below I am measuring the location of the hand stop one inch from the edge of the board.
Hand Stop Location
The drawing is done according to the plan, shown at the top of the photograph. I will cut along those lines with my rip saw to create the angled peghead.
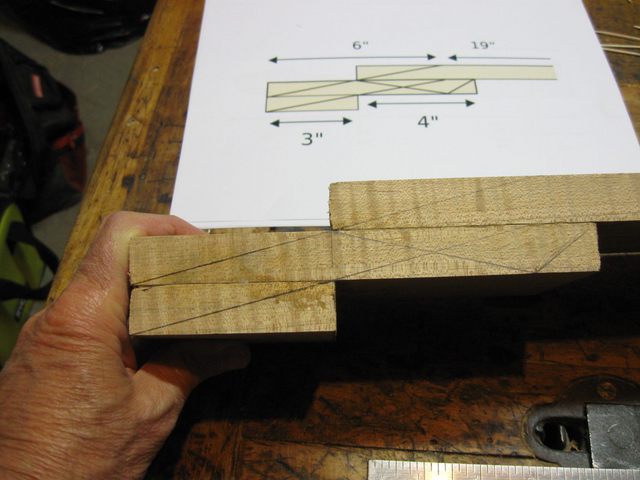
The Drawing is Done
Just for fun, I found the hoop that I will use with this neck and set it on top of the blank to see what it will look like. I have a long way to go on this project, but it looks more like a banjo than it did a week ago.
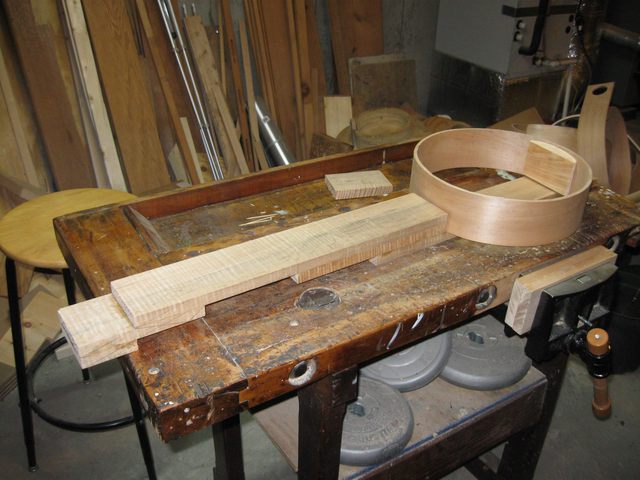
Neck and Hoop Together
