Now that I have my slab to grind the irons on I decided to finish putting together the new sharpening jig so that I can re-establish the 25° bevel on the new plane iron. The new jig is more compact, more accurate, and easier to use. I just need to put the stops on it so that I can set up the irons and the chisels.
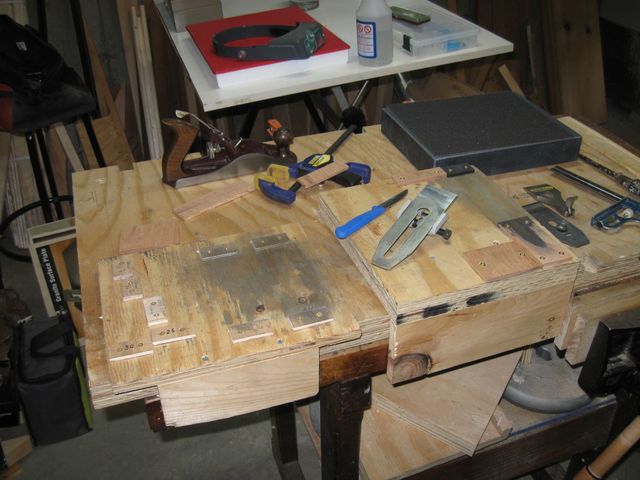
Both Jigs Side by Side
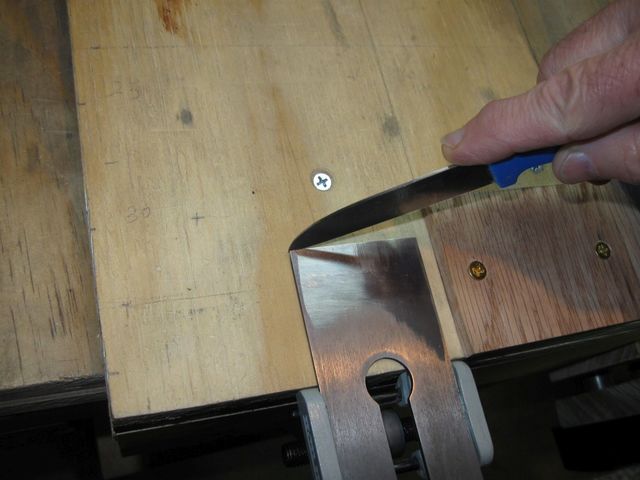
I transferred the locations of the stops from the old jig directly to the new jig. First, set up a plane iron using the old stop.
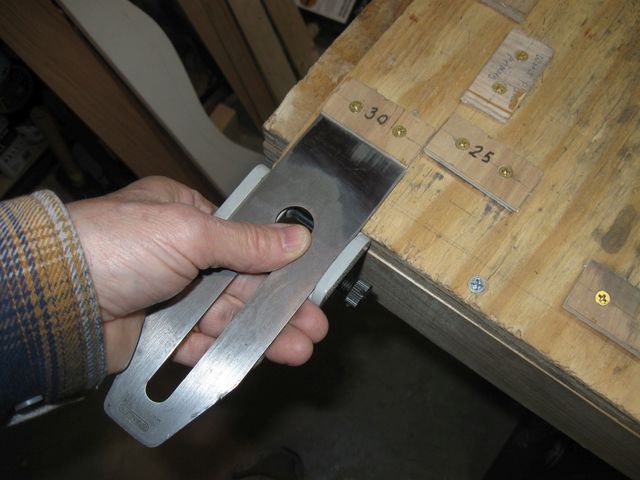
Setting Up 30° Using the Old Stop
Then, move the iron over to the new jig and mark where the end of the iron is located.
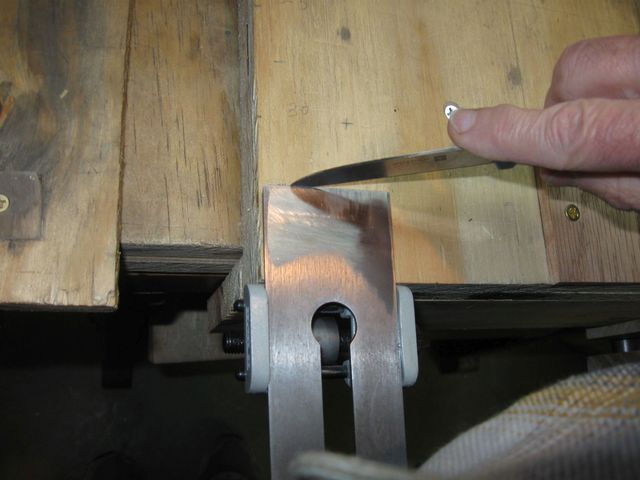
That is Where I Need to Put the New Stop
I did the same thing using the old 25° stop.
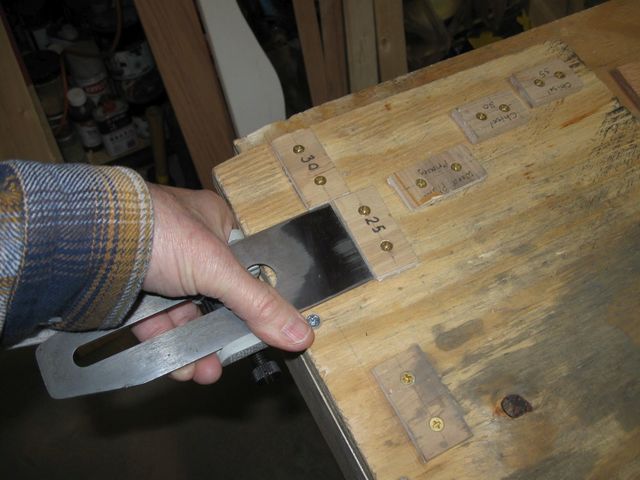
Set Up Using the Old Stop
Transfer to the new jig.
Mark Where to Put the New Stop
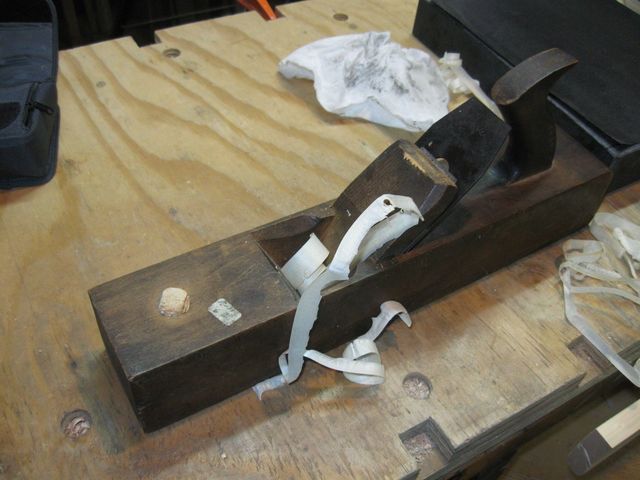
I also have this old wooden jack plane which I use occasionally. I picked it up for a few bucks at a rummage sale a long time ago. It has a really nice, thick iron. But since the blade is thicker than the Stanley blades, I have to set up the jig to a different stop. The cutting iron on this one is actually tapered from the tail to the edge, so it is definitely an odd duck.
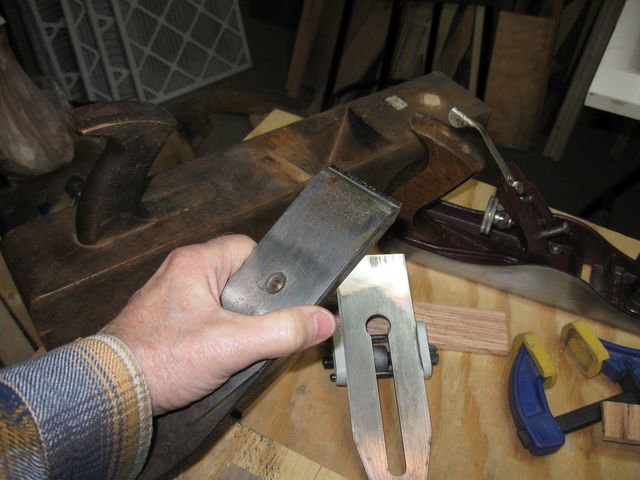
This Old Wooden Plane has a Massive Iron In It
The iron is also a tad wider than the other irons. This one is 2 1/4" wide, whereas the Stanley irons are 2" across.
I Need to Leave Space Between the Stops
It is a chore to grind this iron down because the iron is so thick. It has a very wide primary bevel.

Look at the Size of the Bevel
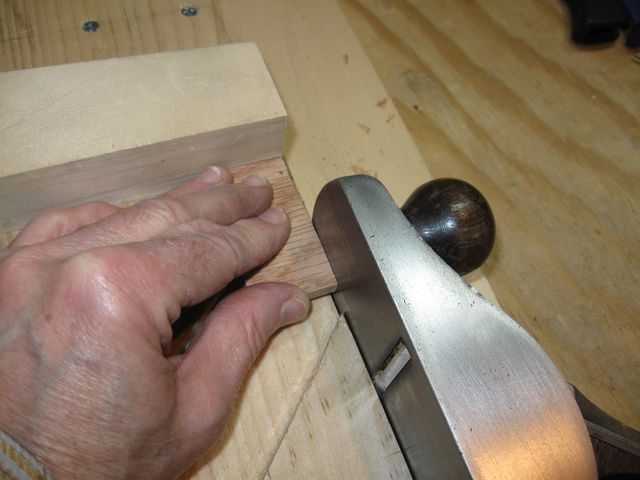
Before I went any farther, I cut some stops out of the 1/4" oak that I used to make the holders for the stones. I cut them out and then squared them up on the shooting board.
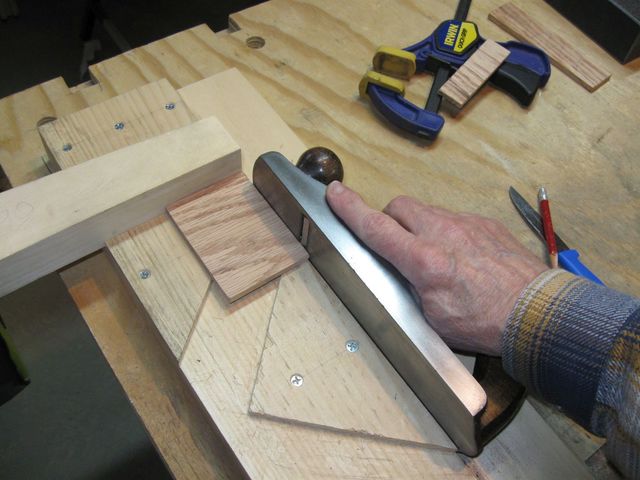
Using My Smoothing Plane on the Shooting Board
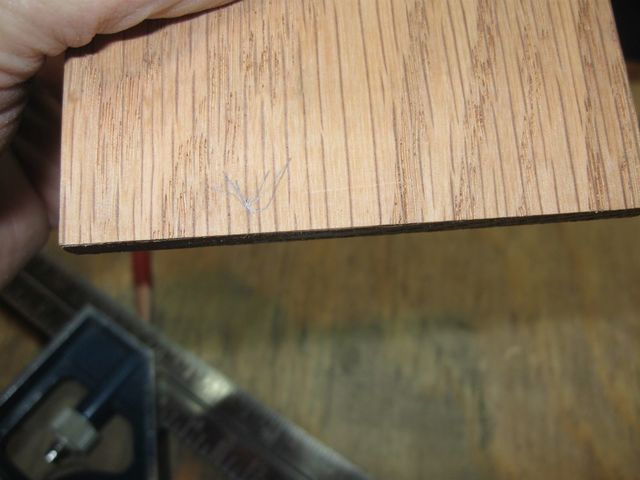
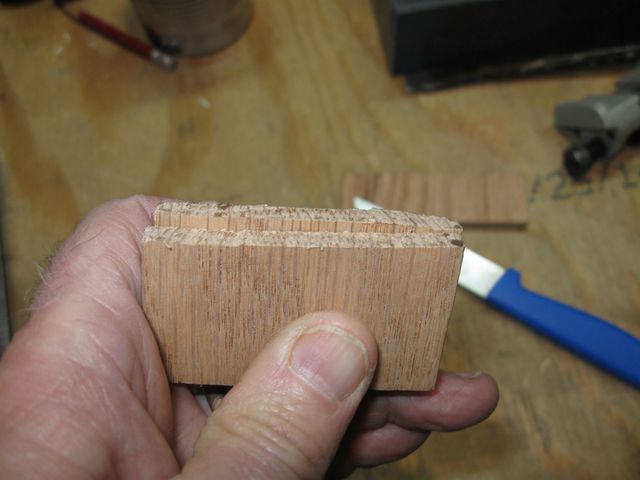
When I cut the boards out, I made a knife mark across the grain to avoid tearout.
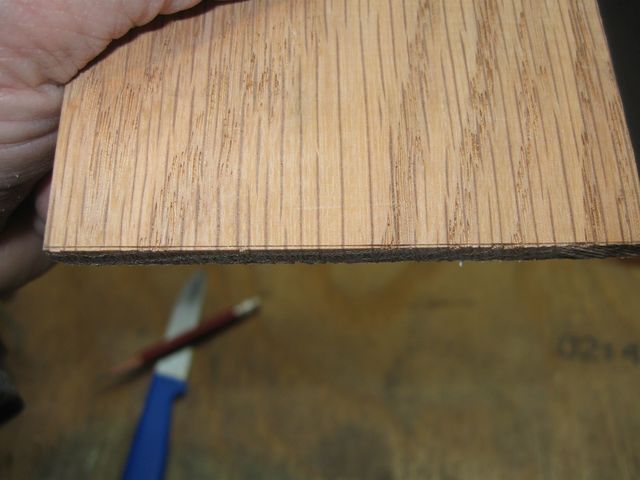
The Knife Cut is Visible on the Edge of the Board
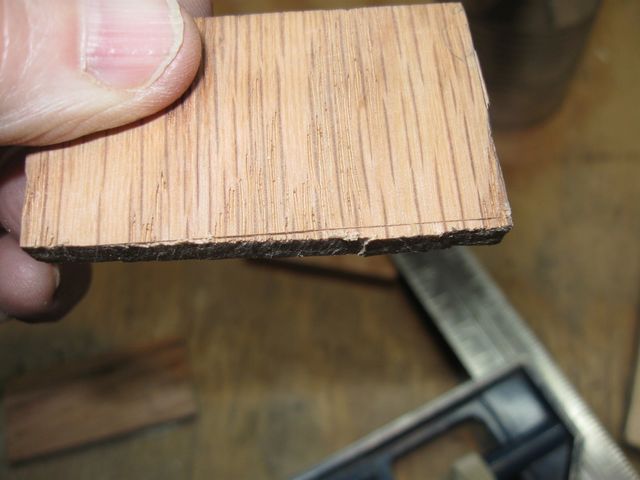
To make sure that the board is clean and square, I used the shooting board to cut the wood down to the line. Once the line is gone, the board is trimmed properly.
The Knife Cut is Gone
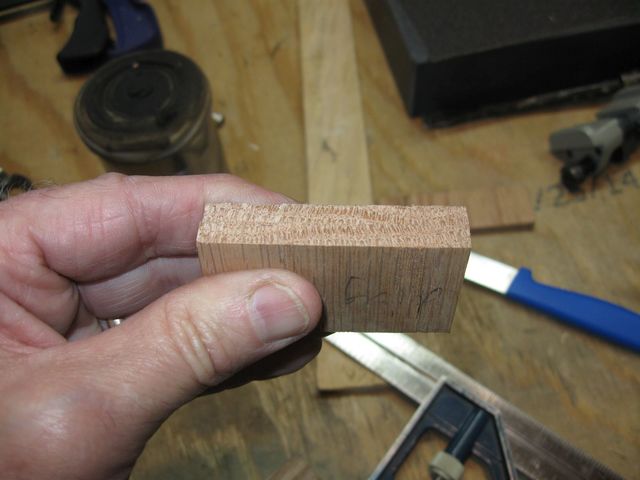
On all of the stop boards I cut them so that the end grain would be presented to the edge of the blade. That way, the edge of the board will be somewhat self healing.
In the next few photos, you can see the fine quality of my saw work. For example:
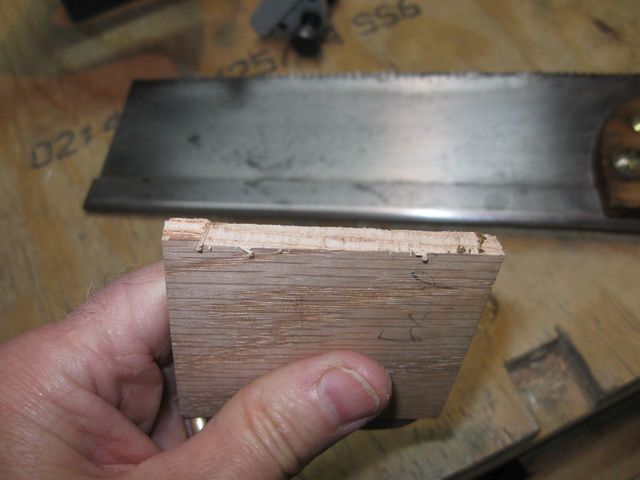
This One Broke Off Early
I need to fix that saw. But, it isn't a big problem. I put it in the vise and dashed off the edge square.
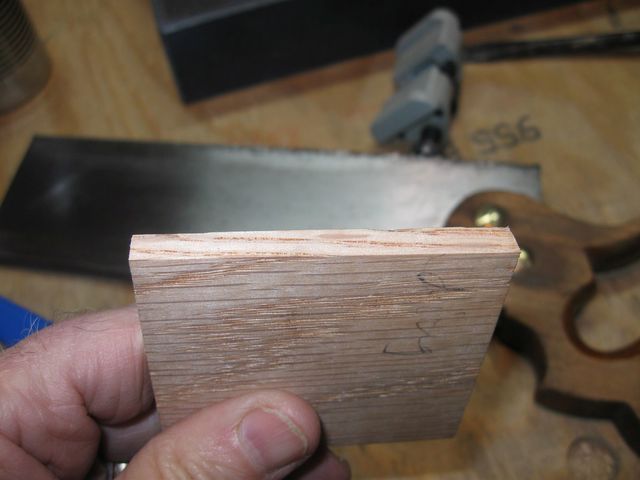
That's Better
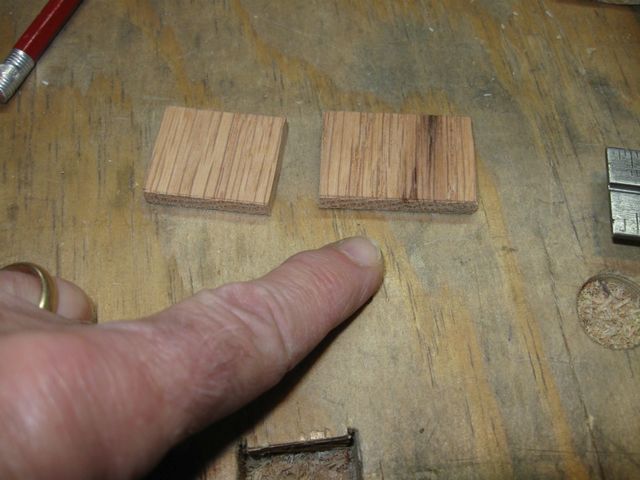
I split the board in half, crossgrain, to make the two plane iron stops. The two pieces of wood in the photo below are supposed to be the same size.
That Isn't Even Close!
However, I cut the pieces square on the shooting board. I just have to be careful about the fingers when holding those small pieces. I don't want square fingers.
Shooting the Stop Boards Square
Here is the knife line on one of those boards.
I Think I Missed That One With the Saw
After squaring up the two pieces, here they are together.
See the Seam? Hunh? See it? I Don't Think So
I did the same for the chisel stops. Unfortunately, after I got them done, they weren't the same width.
These Are Suppose To Be the Same Width
Each of those is supposed to be 1 1/2" wide. I wonder how that happened?
"Measure twice and cut once".
I have to remember that more often. Oh well. I cut off another section of wood from a scrap that is just shy of 1 1/2" wide.
I Have to Cut Another One
I won't bore you with all the other mistakes I made on the way there. I cut out all of the boards for the stops, then I transferred the distances for the chisels.
Set Up a Chisel on the Old Stop
I did the same thing for the blade from that old wooden plane.
Setting Up the Old Wooden Plane Blade
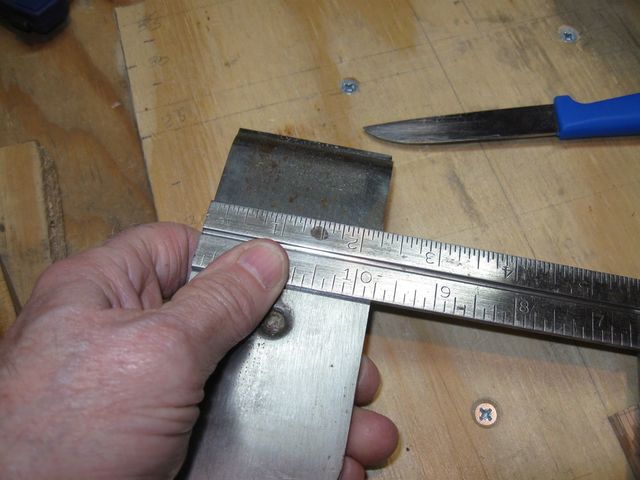
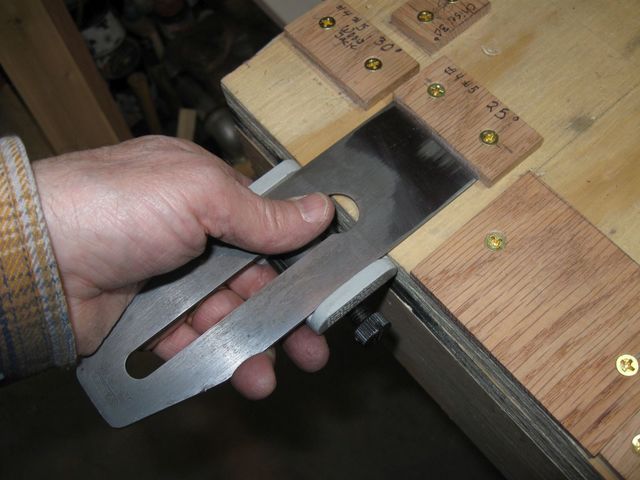
Just for grins, I measured the angle of the bevel that I had on that old iron.

Set the Dovetail Gauge to the Iron Angle
I drew the line on my piece of paper.
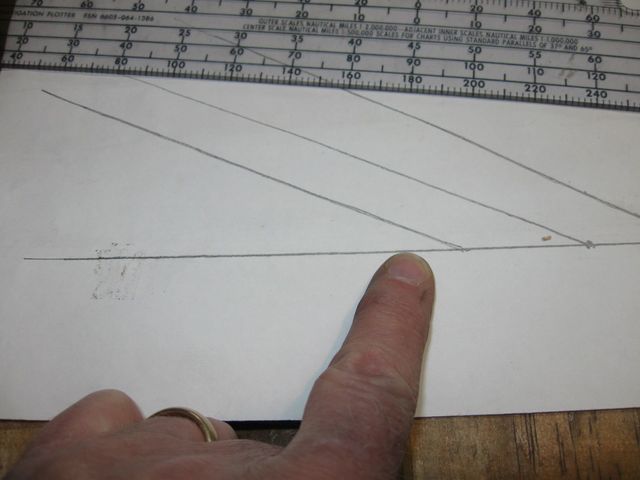
I Am Pointing At the New Line
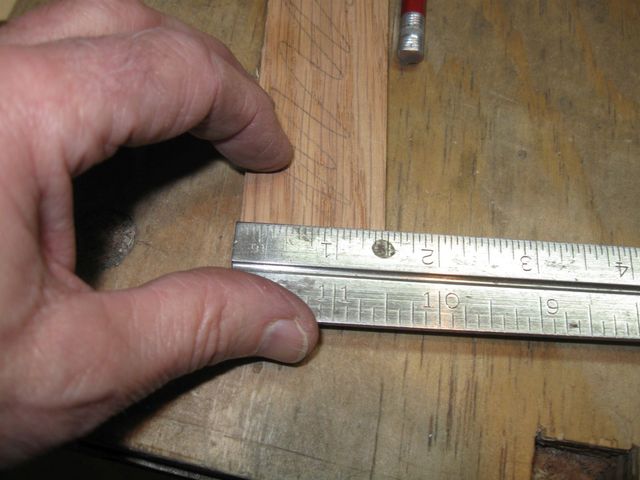
Then I measured the angle.
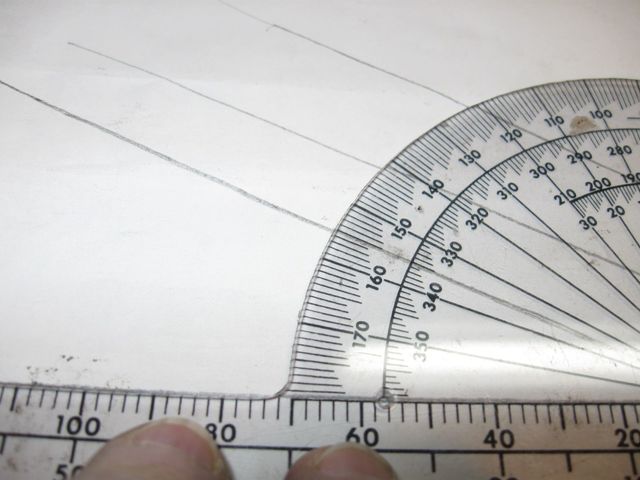
Looks Like 25°. Perfect.
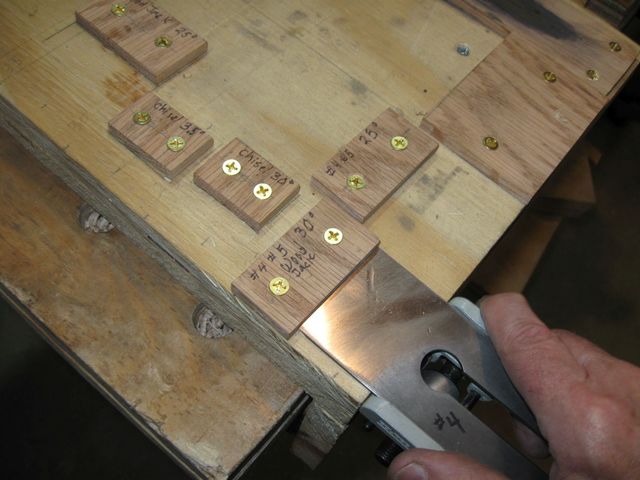
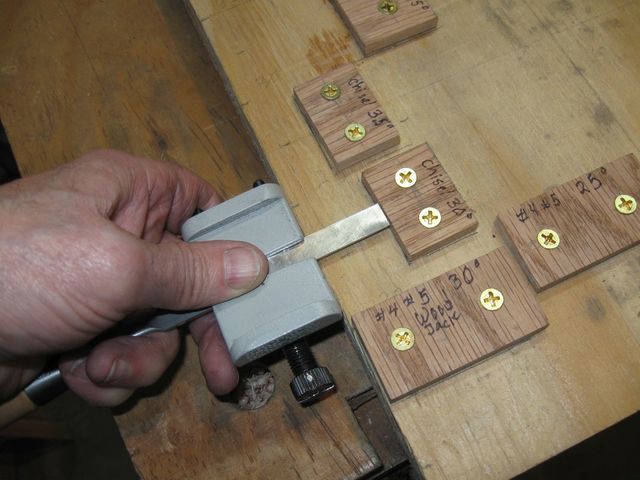
I transferred all of the measurements to the new sharpening jig and screwed down the wooden stops in their proper locations.
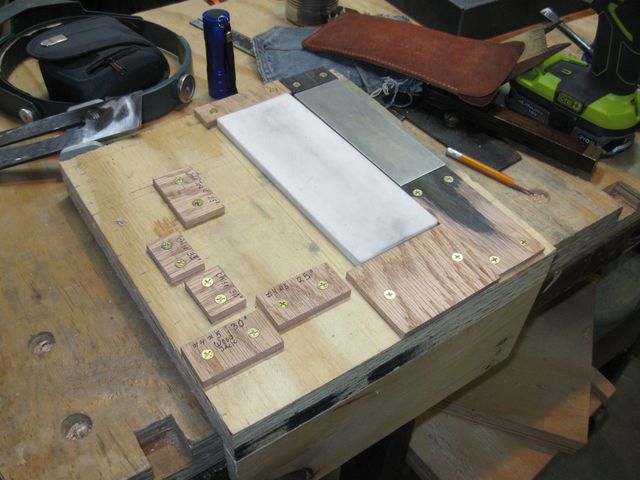
Here Is the Completed Jig
I marked the purpose of each stop on the wood with a permanent marker.
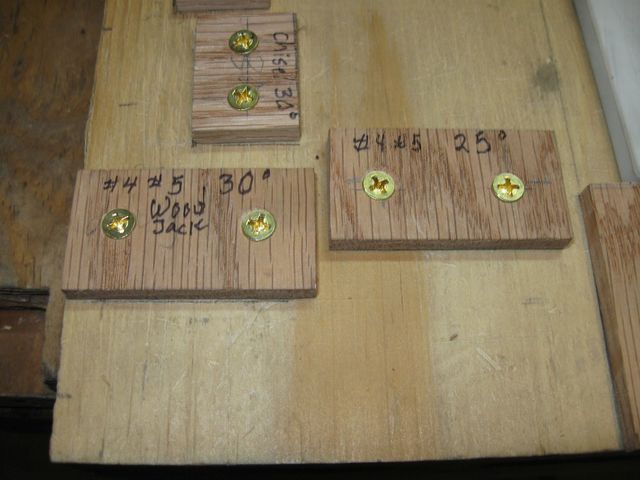
The Regular 30° Stop Works Fine for the Old Wood Plane
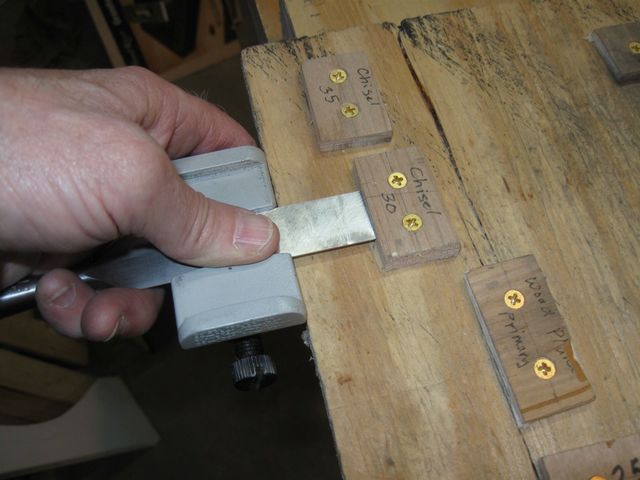
The plane iron stops are on the front of the jig for easy access. Around the corner, I put the stops for the chisels and the old wooden plane iron. I don't use that plane as much as the others, so it is OK to have it around the side.
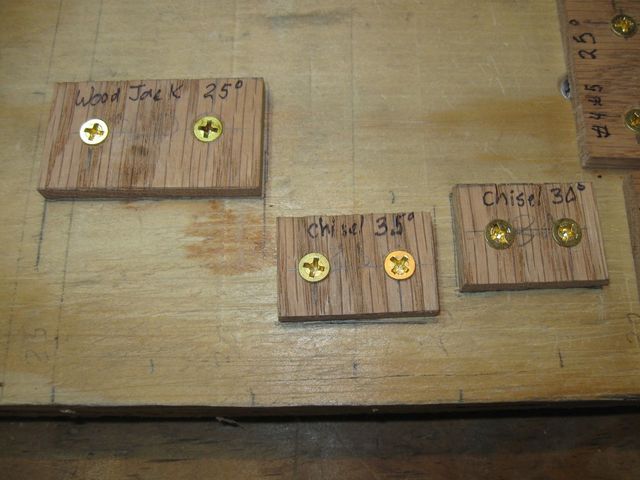
The Stops for the Chisels and Wooden Plane
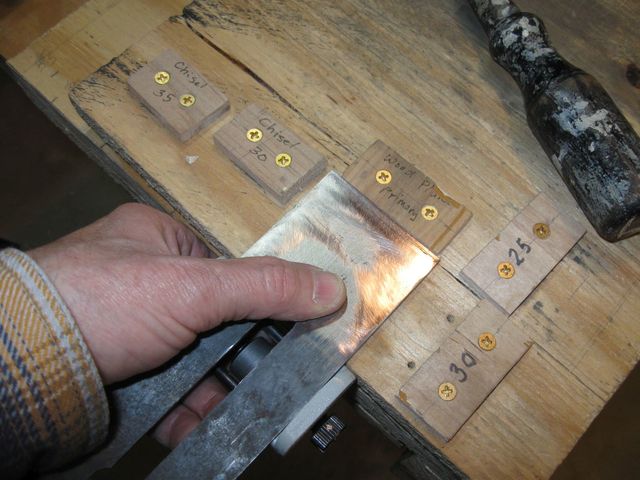
There was an issue with the positioning of the 35° stop for the chisels. It looks like it slipped a tad as I was screwing it down.
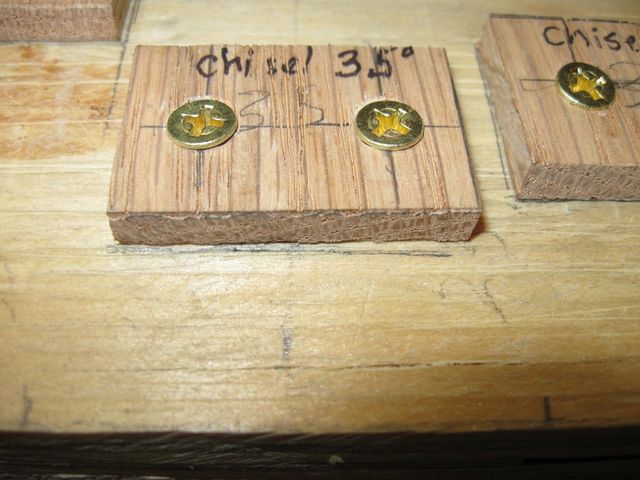
The Edge is Supposed to Line Up with the Line
It is what it is. I am not going to try to fix that. It is the secondary bevel on the chisels, so if it is off a tad, that is OK too. I declare it done.
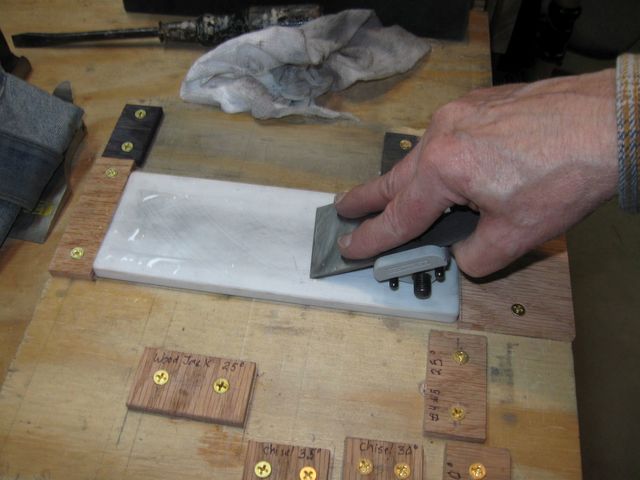
My new sharpening jig is done. Finally! Now it is time to use it to regrind the bevel on that smoothing plane iron.
Setting Up the Iron for a 25° Grind
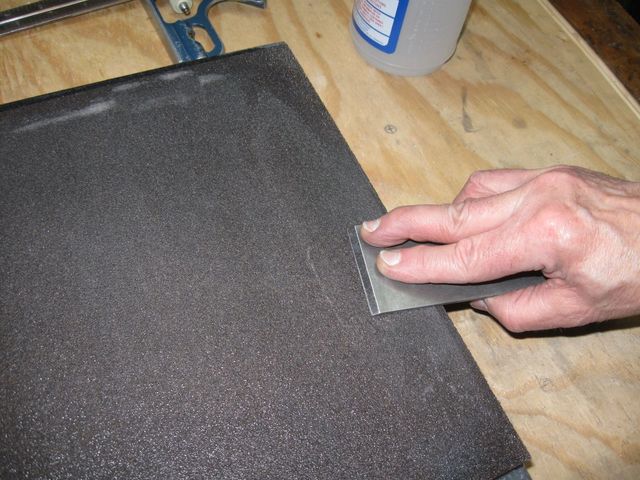
I am using 80 grit sandpaper to cut through the steel as quickly as possible. To stick the sandpaper down to the slab I only need to spray it down with water.
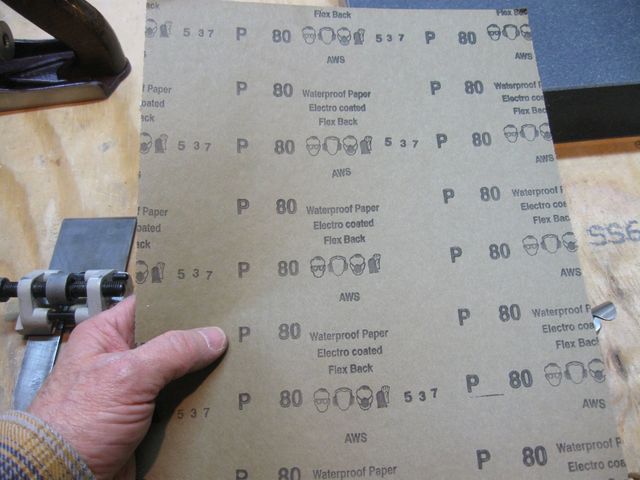
This is 80 Grit Wet/Dry Sandpaper
Spray the paper and the slab down with plain old tap water.
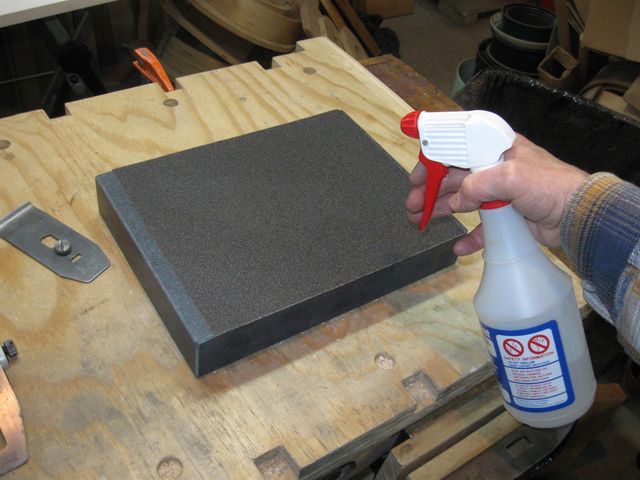
The Paper Sticks to the Slab With Just Water
I put the blade on the sandpaper and started to grind.
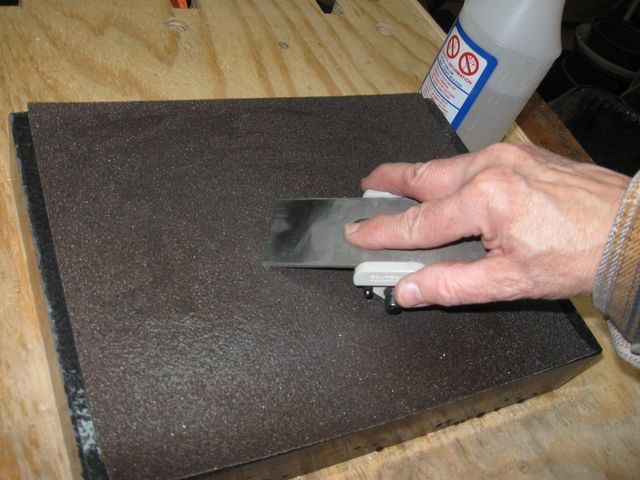
The Slab Sure Feels Solid
After a while, I checked out the bevel. It is coming along nicely, and is square to the edge.
The Sides are Not Rounded Either
Grind. Grind. Grind.
That Is Looking Good
Even though I had already ground the back flat on the diamons stone, I spent a little time grinding the back of the blade flat again on the sandpaper.
Grinding the Back Flat
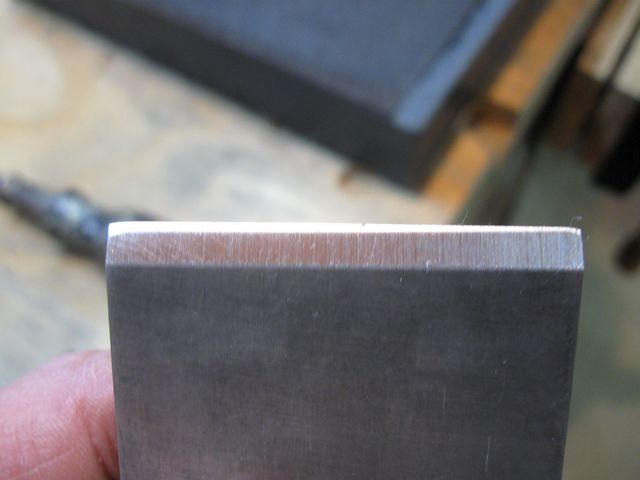
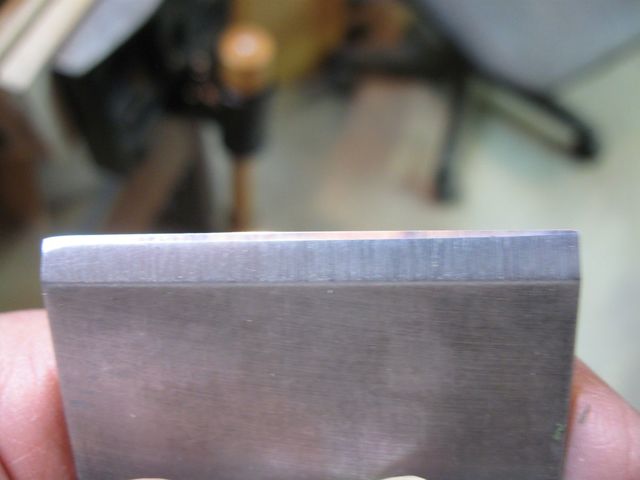
I went back to the bevel, and I ground it until I got to this stage:
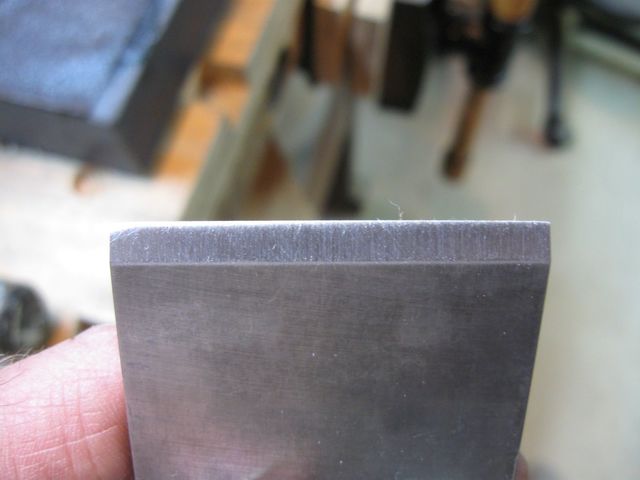
That's As Far As I Need to Go
I don't need to go down any farther than that because I am going to re-establish the secondary bevel on the edge anyway. I set the iron up in the jig using the 30° stop.
I Just Push the Edge Against the Stop and Tighten the Screw
I didn't use the sandpaper for the secondary bevel. It is too coarse. I didn't even use the coarse stone. I went straight to the Fine stone, and then to the Extra Fine stone.
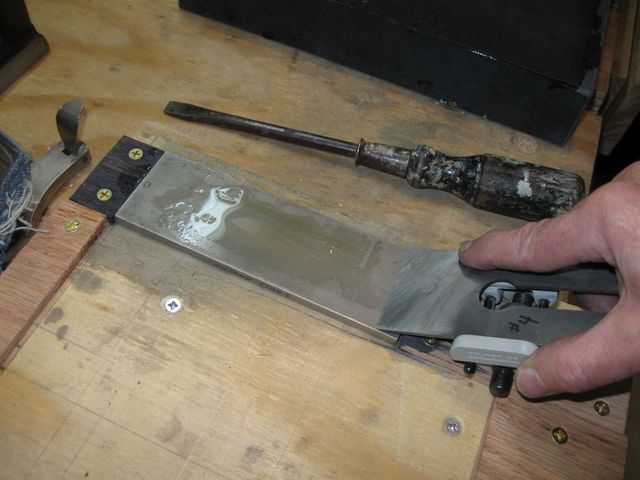
This is "Honing", Not "Grinding"
After the Extra Fine diamond stone, I took it to the Spiderco® 8,000 grit ceramic stone.
This is a Very Extra Fine Grained Stone
After the 8,000 grit stone, I polished it on the strop with honing compound.
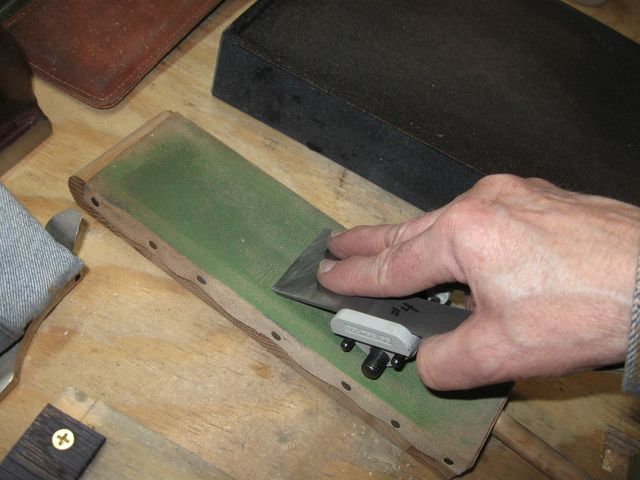
Just a Piece of Leather Tacked to a Board
I have to be careful to only pull on the iron when using the strop or the sharp iron will cut the leather off of the board. After I was done, I had a mirror polished secondary bevel on the edge.
This is Really Sharp, and It Is Square
The picture does not do justice to the edge. The secondary bevel is really really smooth and shiny.
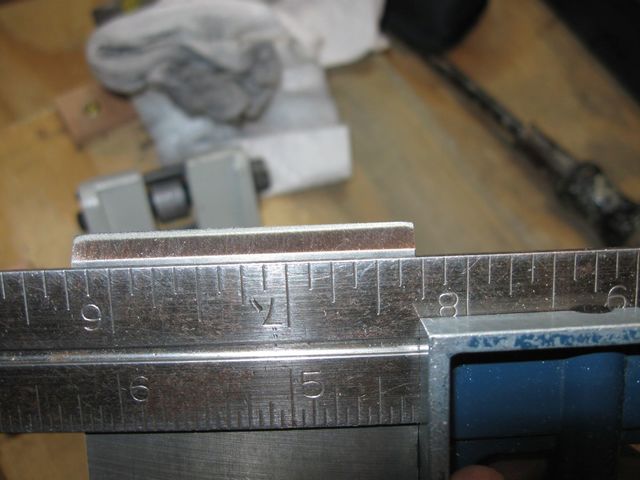
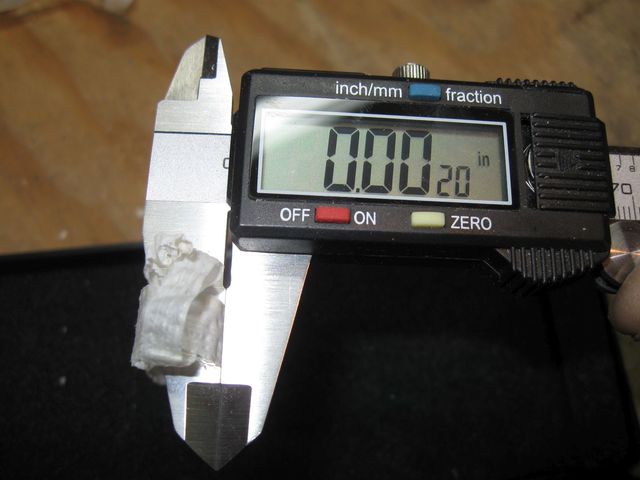
I set the iron into the plane and set it up for a fine cut. Then I took some shavings off of a scrap piece of pine. On a lark I got out my calipers and measured the thickness of the shaving.
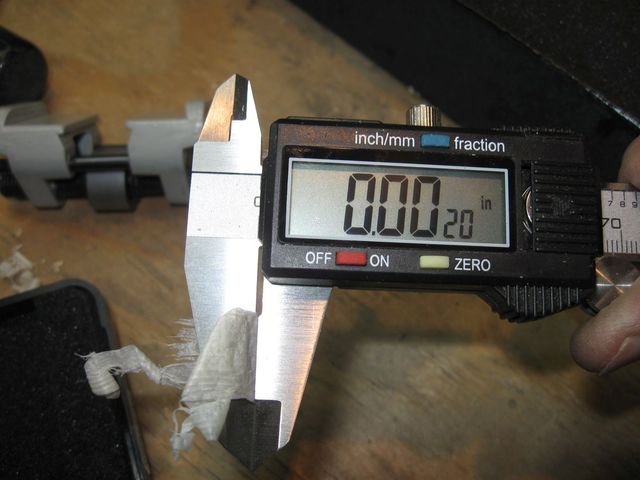
Looks Like Two Thousandths of an Inch
One thing that I noticed was that my rag-in-a-can oiler has become dirty with all that ground off steel. I attempted to remove some of the black stuff onto a paper towel.
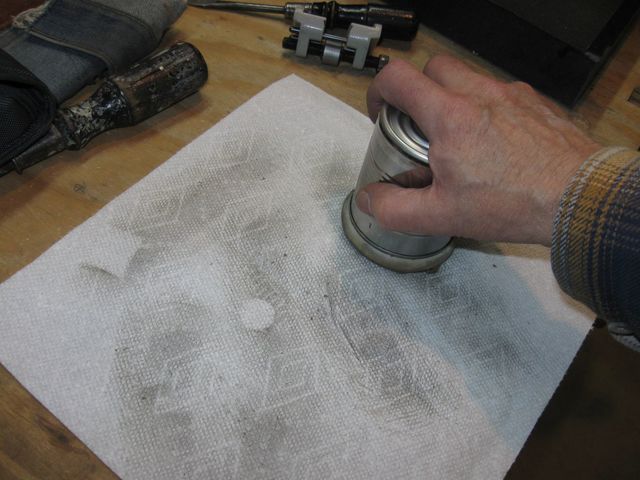
The Rag Puts Black Dirt on the Planes Now
There isn't much I can do about that. I won't bore you with a bunch more pictures, but I did grind and sharpen all of my chisels.
The Primary Bevel is at 30° On the Chisels
I also sharpened the iron from that old wooden plane and then set it up for a fine cut. I took some shavings from the scrap pine board.
This Plane Took some Fine Shavings Too
Looks like this one is also about 2 thousandths of an inch.
Not a Bad Shaving for an Antique. The Plane is Old Too
That was all I did today. Once I got going, I kept going and sharpened just about every edge tool that I have. I sharpened my block plane and my rabbet plane too. I didn't get to the spokeshaves, but then I need to figure out how to lock those tiny blades into the jig first.
Next time I hope to get back to bending my wood. This has been a rather long tangent, and there is work to do on the dulcimer.
