While I was pondering how to proceed with finalizing my side wood, my hardware came in from Stewart-MacDonald. I ordered some fret wire and some dulcimer pegs so that I would have them before I started cutting the wood. The pegs came in a really nice box.
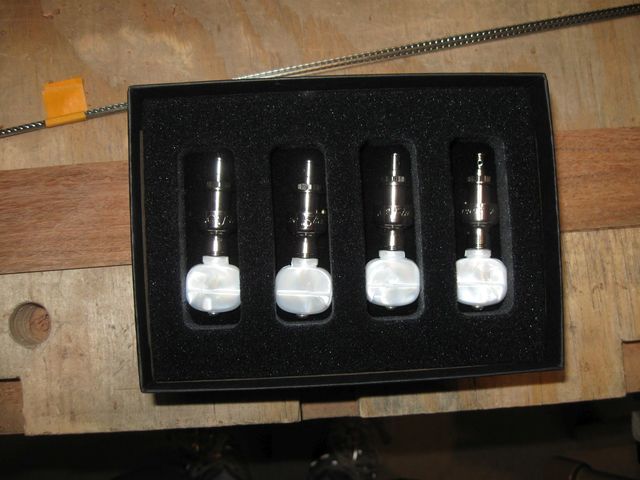
Pegs in a Really Nice Box
These pegs are quite nice. Here is a closeup of one of them.
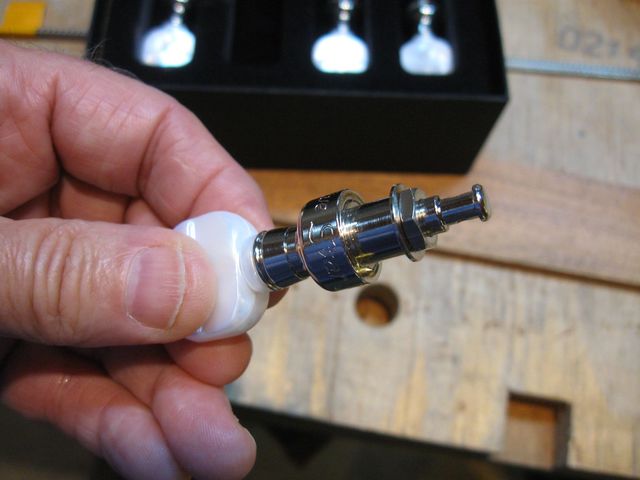
A Peg
From the description and the photos on the web page, it was not totally clear to me what the difference is between a "Dulcimer Peg" and a "Banjo Peg" since they look the same in the photographs. And, taking a look at the box that the pegs came in...

Apparently, They Are the Same Thing
On the web page, there is a diagram showing the dimensions of the peg. The image is shown below. Those are the numbers that I used to convince myself that my peghead design will work with the pegs.
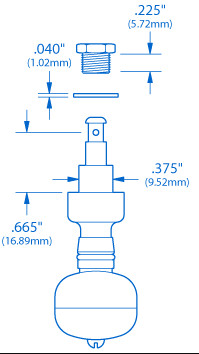
The Dimensions of the Pegs
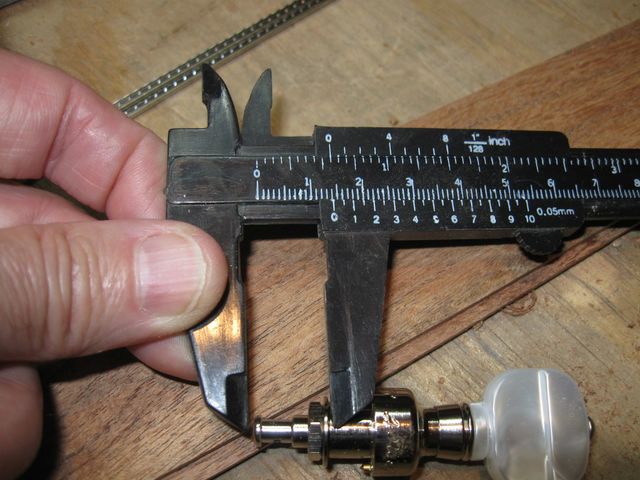
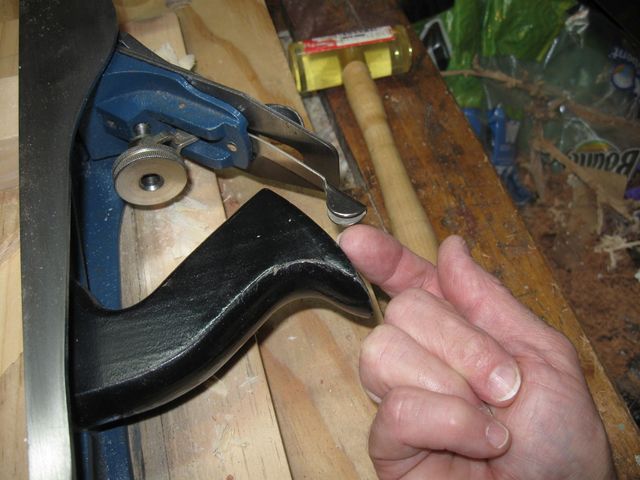
But since the box says "Banjo Pegs" on it, I decided to measure them to make sure that what I got is what I ordered. I screwed the nut all the way into the shaft and measured the distance between the peg surface and the washer.
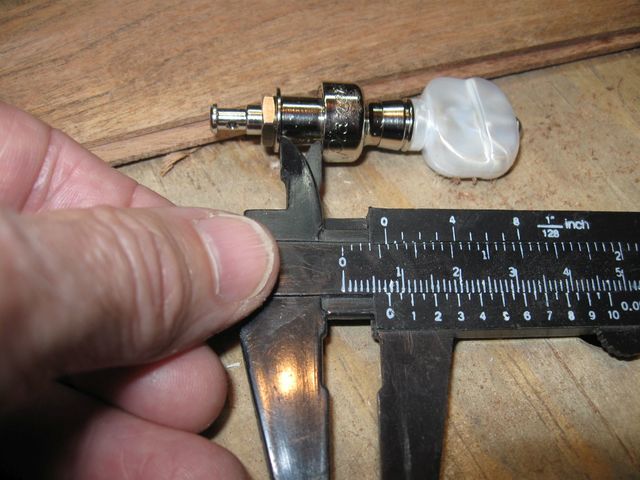
The Distance is Just Shy of 5/16"
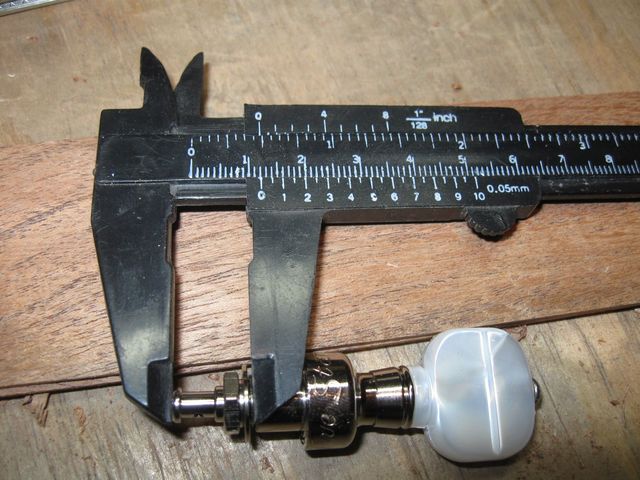
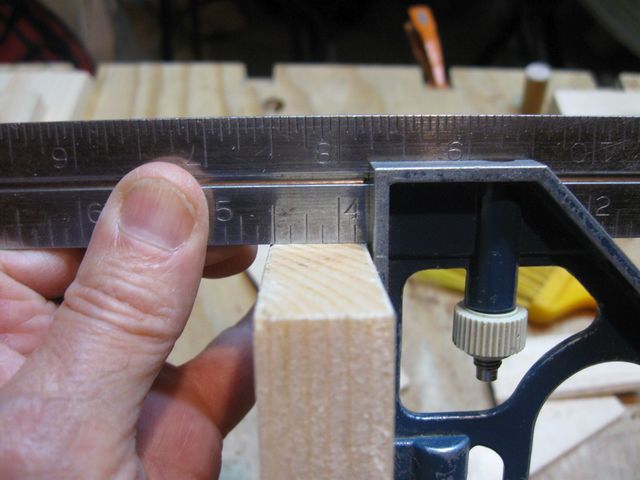
The specifications say that the peg can handle a peghead thickness of 5/16" to 3/8". So it looks like it would cinch down onto a piece of wood that is 5/16" thick. Cool. When attached to a 5/16" piece of wood, the peg would extend how far above the surface?
Looks Like About 9/16"
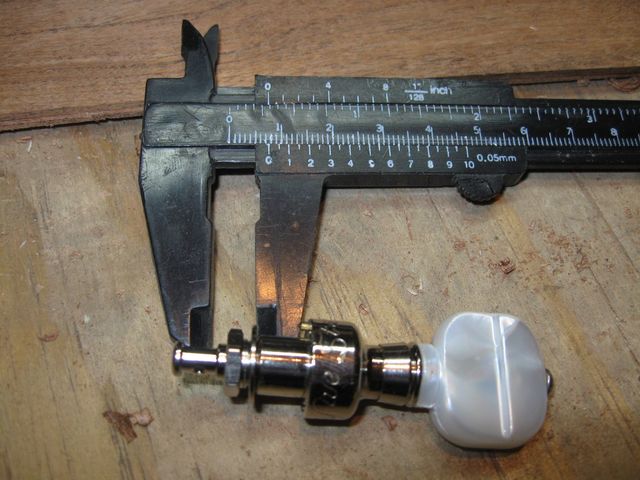
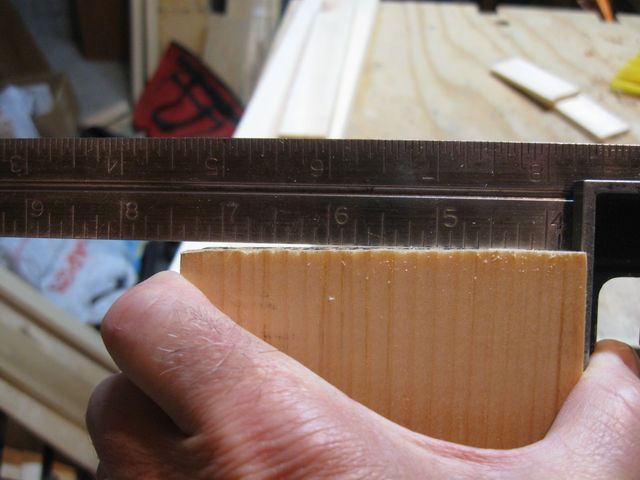
I plan on making the sides of my peg box 3/8" thick with a 3/4" space between the two sides. So I opened up the nut as though it were clamped down on a piece of wood that is 3/8" thick.

The Washer is 3/8" Above the Surface of the Peg
Now the peg extends just a tad less than 1/2" above the surface of the wood.
Looks Like About 1/64" Less than 1/2"
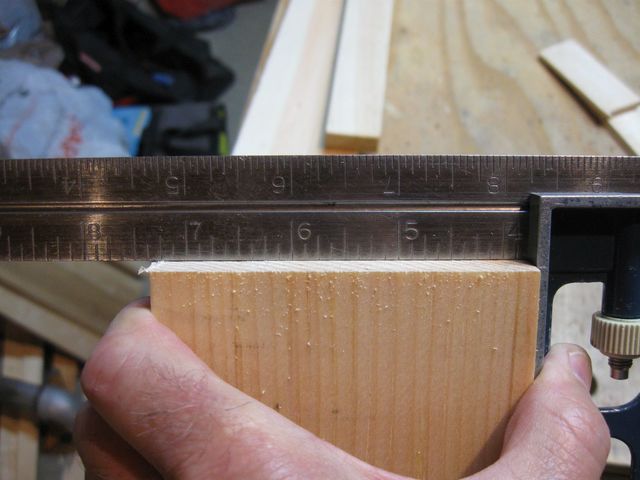
Since the space between the two sides of the peg box is going to be 3/4", this will certainly fit. But each one will extend 2/3 of the distance between the sides, so they will have to be staggered in the box. The hole for the string, however, will be less than that distance into the box.
The Hole is 5/16" Above the Surface
That would place the string itself about 1/4" from the surface of the wood. And if I wrap the string down toward the base of the peg, the string position would be even closer to the side of the peg box. The issue that I am dealing with is overlap of the strings that might cause them to rub together in the peg box. But the numbers look like the numbers on the diagram, and I think we are good to go. I will diagram the locations of the pegs later as I work on this.
So, the bottom line is...dulcimer pegs are, indeed, banjo pegs.
Enough of that. Move on to dimensioning the wood for the sides.
Since I have only a limited amount of Mesquite, I don't want to mess up the wood that I have. So it is worth the time for me to set up jigs and tools that will allow me to dimension my wood correctly the first time. I made some progress last time on planing the wood, but I was not convinced that I have good enough tools in place to do the whole job.
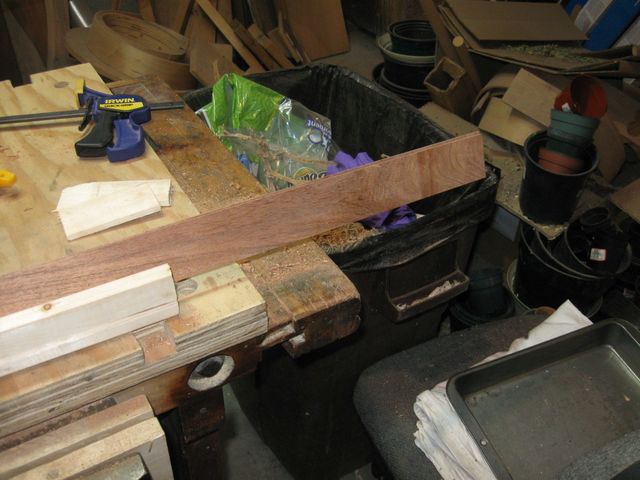
The planing jig that I tried last time worked well enough for shorter wood, but the Mesquite I am using was left hanging out the back of the jig.
Planing that Tail End Will be a Problem
This wood sticking out the back has no support so it gets all wobbly when I try to plane it.
This End Needs Support Too
I could turn it end to end often and only plane the part that is supported, but then I would be planing against the grain half the time. So I decided to make a new jig that is long enough to support all of the wood. Here are my materials.
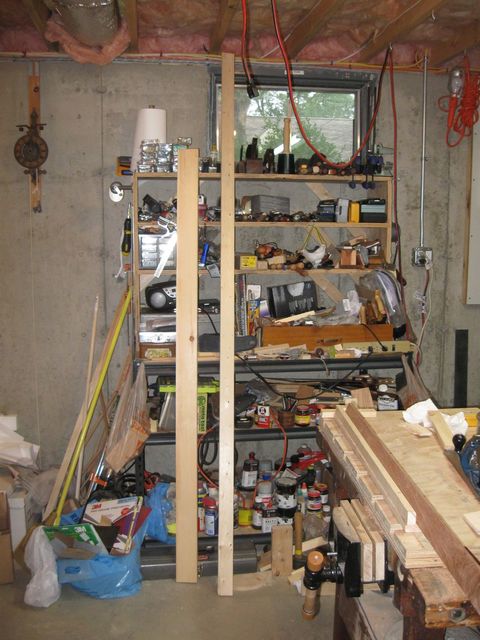
8 Feet of Strapping, and 6 Feet of 1 X 4
I used 1 X 4 lumber for the base this time because it will leave an overlap that I can use to clamp the jig down to the bench.
The strapping is 11/16" thick, and with two of them screwed to the 1 X 4 with 3/4" between them, that leaves an covered distance 2 times 11/16 (22/16) plus 3/4, which is 12/16, so we have used up 34/16, which is 2 2/16, or 2 1/4".
Since the 4" board is actually only 3 1/2" wide, the overlap for clamping should be 1 1/4".
Don't get me started on on how they specify dimensioned lumber....
You see, a 2" board is really 1 1/2". A 3" board is 2 1/2", and a 4" board is 3 1/2"
The 6" board is 5 1/2", so the 8" board is..... 7 1/2", right?
WRONG!
The 8" board is 7 1/4". Go figure.
Like I said, don't get me started on how they measure wood.
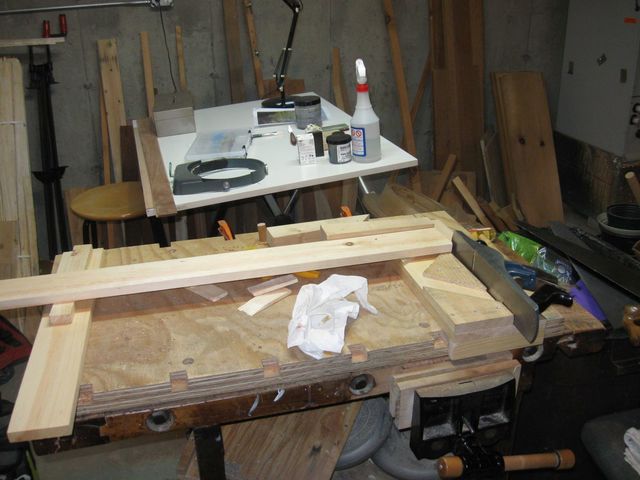
So I used a 1 X 4 pine board for the base to give me some overlap for clamping the jig down to the bench. I measured four feet of the lumber to use for the jig. That is long enough to handle this job, and that is about the longest I would want to deal with for making frames.
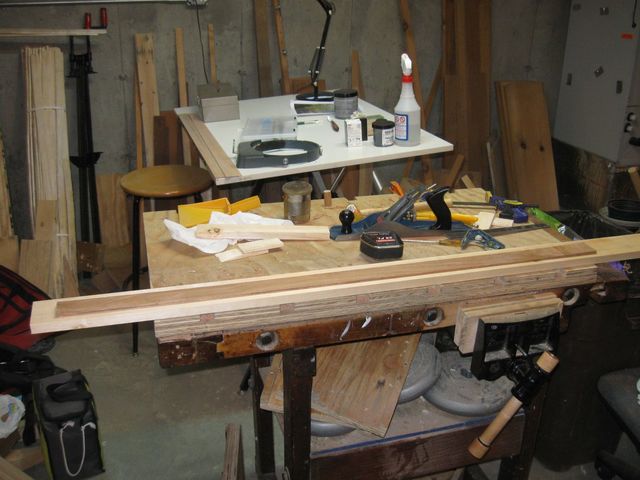
The Mesquite Fits in Four Feet of Board
I put the board down on the lumber to make sure, visually, that it does fit inside of the 4' length. You can't be too careful.
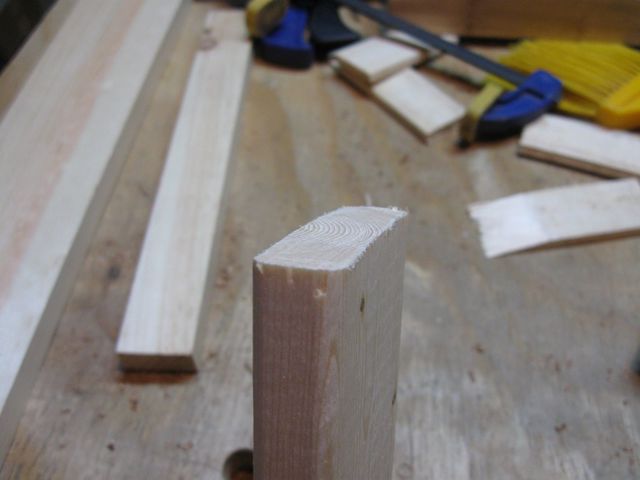
Measure Twice and Cut Once
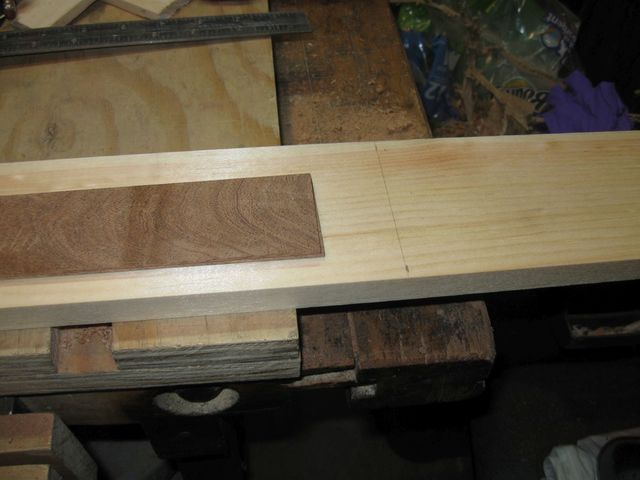
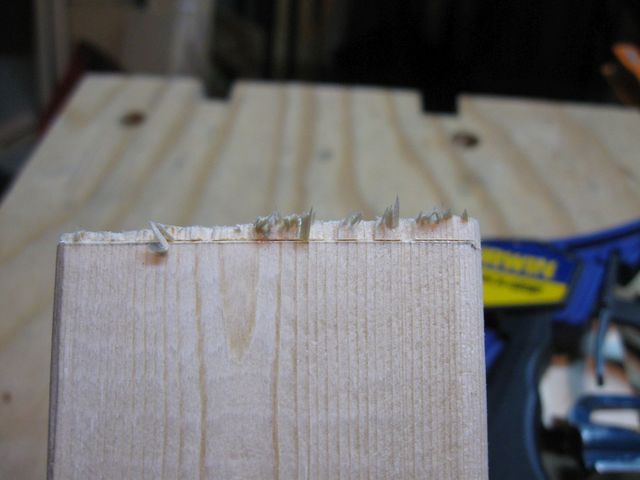
I marked the location with a knife and cut it with my crosscut saw. Unfortunately, I really butchered this cut. Look at this!
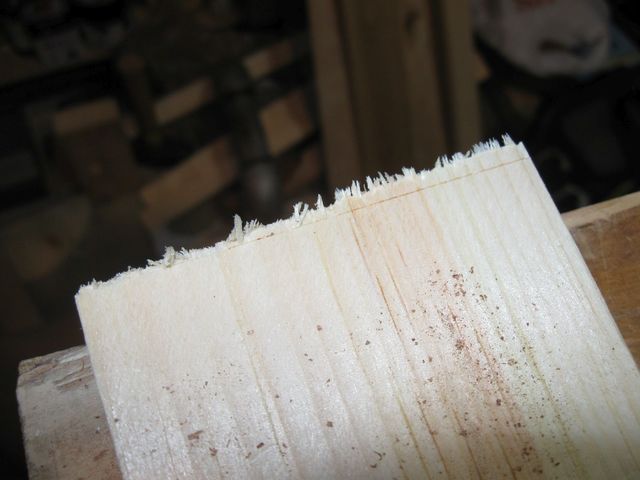
How Did I Go Off the Mark Like That?
I must be out of practice with the saw. I set up the shooting board to make the end properly square.
The Shooting Board Will Make the End Square
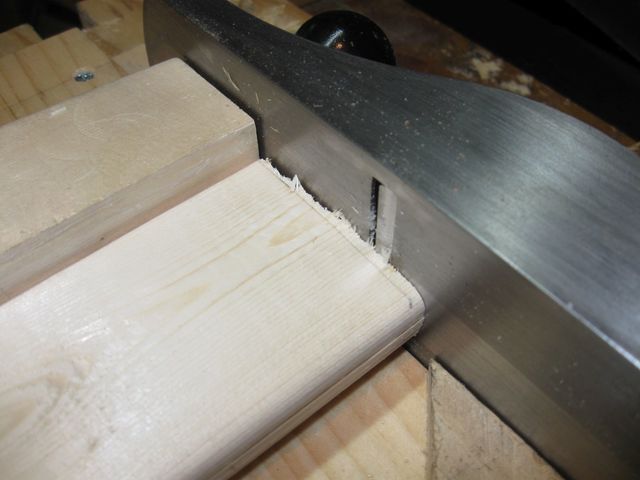
I trimmed off the end until I had cut down to the knife line.
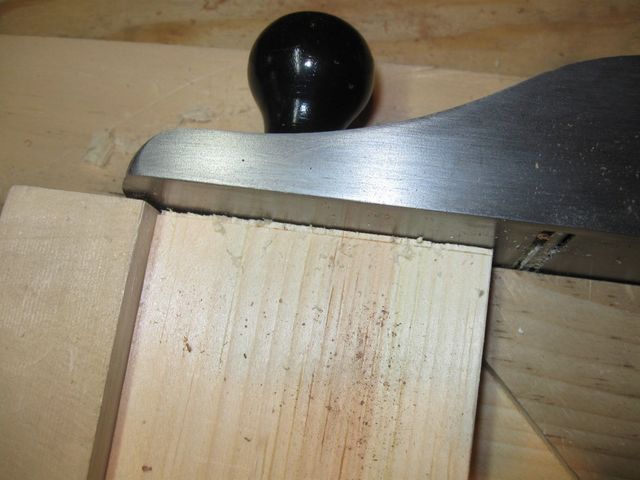
Almost Down to the Line
Just to be sure, I checked it for square in the other direction too.
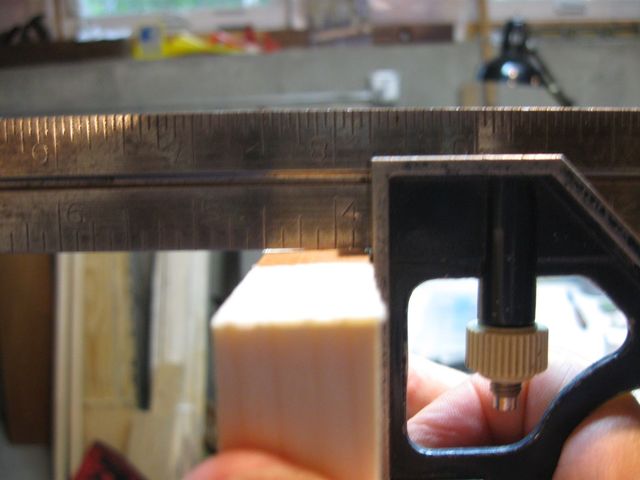
Dang!
The plane iron is not set square to the sole, so the edge is not square. I need to correct that. The correction goes like this:
The side of the board on the left of the photo was on the top when I squared it on the shooting board. Since that is the low side, the plane iron is cutting deeper on that side than on the other. So the iron is cutting deeper on the top. To correct the angle, push the lateral adjustment lever toward the side that is cutting too deep. So, I pushed up on the lever.
Pushing Up on the Lever Raises the Top Edge of the Iron from the Sole
That should make the iron cut more on the bottom and less on the top, which it did.
Now the Edge is Square
OK we can press on.... or can we? On a lark, I checked the squareness of the other end of the board. That end was cut at the factory, so it should be square, right?
Nope
The factory cut end is not square either. This time it isn't my fault. I put that end through the shooting board, and made it better.
Now It's Square
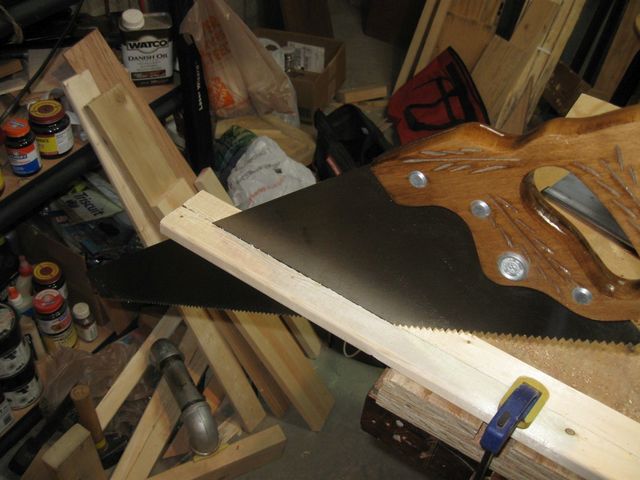
I measured off four feet of the strapping material, and cut that off as well.
Yikes! I'm having a really bad saw day.
I Think This One is Worse than the Previous One
And that's nothing. Look at this!
The Saw Wasn't Straight Up and Down Either
Something is seriously wrong here. Back to the shooting board with this one too.
Cut It Down Square to the Line
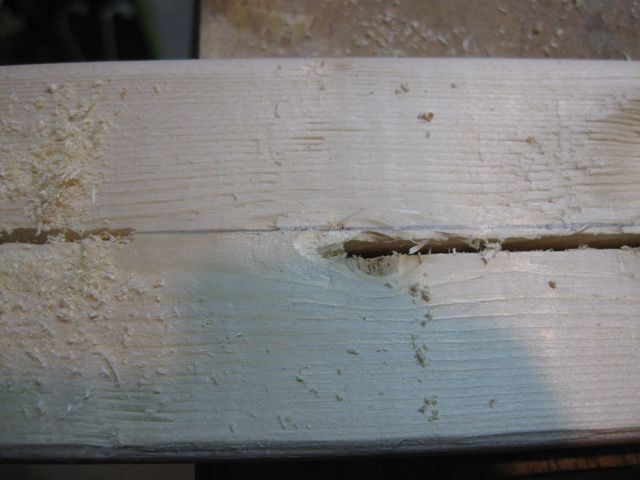
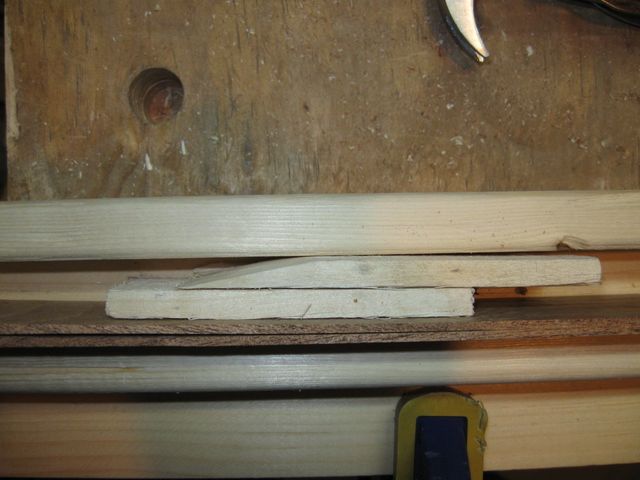
Then I turned the board over to cut it from a different side and saw this.
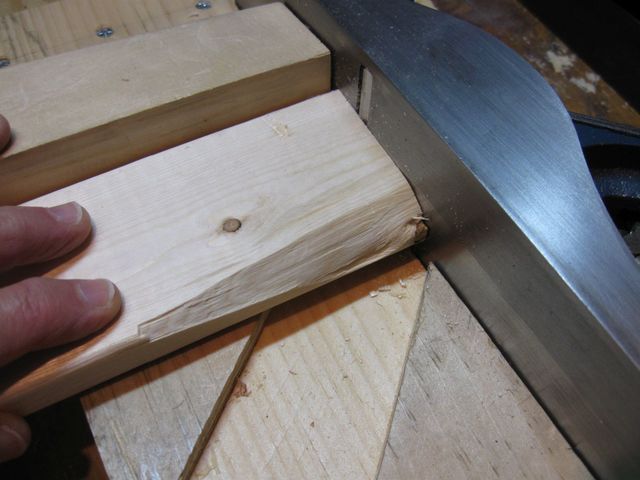
I Have Been Working a Board With A Huge Chip Out of It
I can't use this end of the board. But since the strapping was 8 feet long, I just grabbed the other end that I had cut off and used that one, squaring up the end.

Squaring Up the Other Half
OK. That isn't too bad.
That is Square Enough
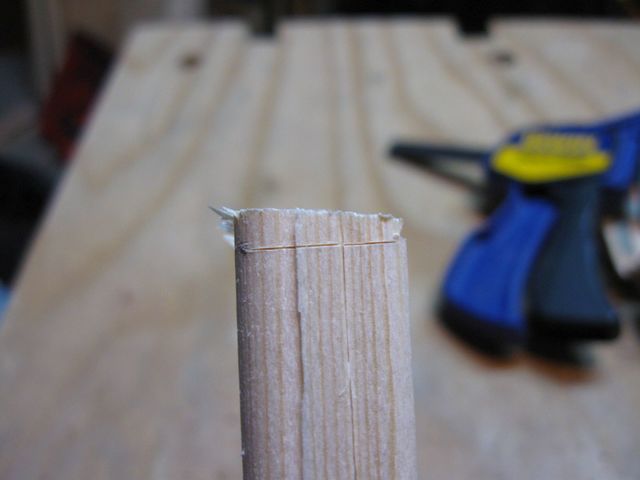
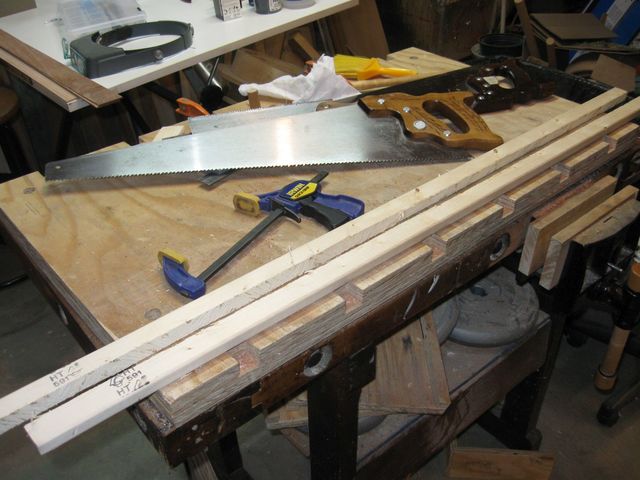
I marked the center of the strapping board the same way I marked the center of the Mesquite, and cut it in half the same way.
Cutting the Strapping In Half Lengthwise
But...... the saws just won't behave today. The kerfs don't meet in the middle.
This is Not Good
Maybe it was that knot that threw it off. Oh well. I will fix that with the plane. Here are the two strapping boards.
Two Boards from the Strapping
I clamped each one in the vise and planed the bottoms flat and square. There was plenty of wood left to do that. It went well. Really. This time it went well.
Planing the Strapping Wood Flat
I screwed down one of the boards flush with one edge of the base board. I did not glue it. I just used screws.
Screw It
I clamped the other strapping to the first one with a piece of 3/4" scrap between them to get the spacing right.
This Guarantees That a 3/4" Board Will Fit Between Them
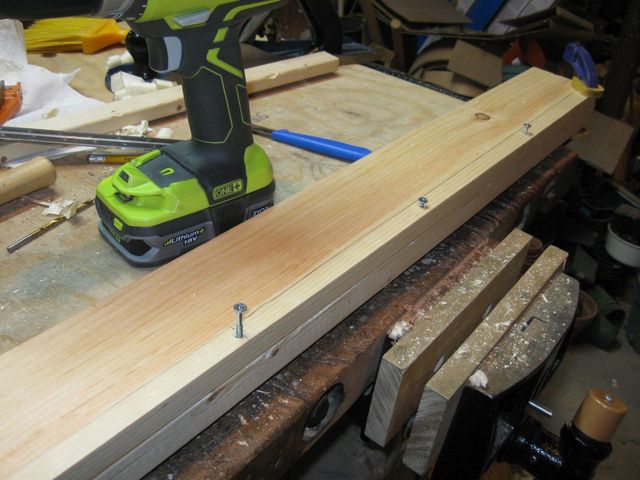
I tuned it over and screwed the other strapping board to the base.
Screwing Down the Other Board
I used some of the 3/4" scrap to make a stop at the end between the two boards.
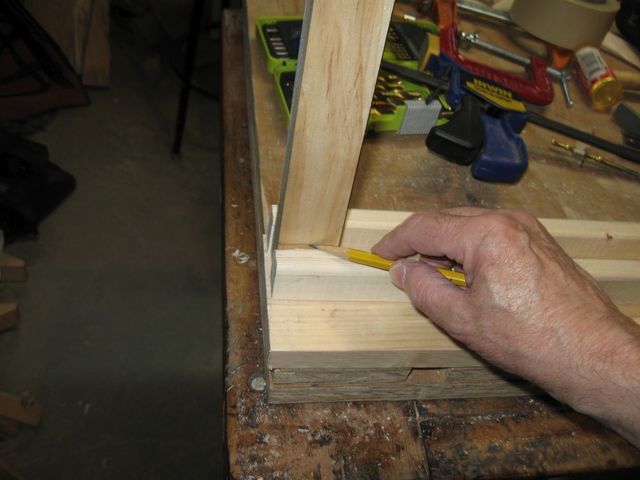
Marking the Height of the Stop
I cut it off square at the mark.
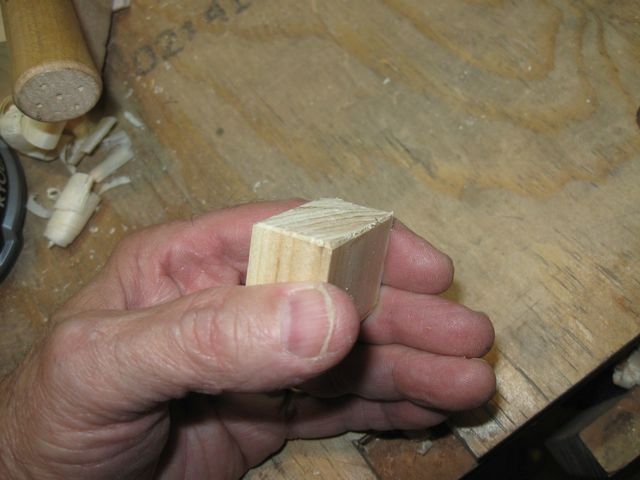
Hey! Not Bad!
I put it on the shooting board anyway, just to make sure.
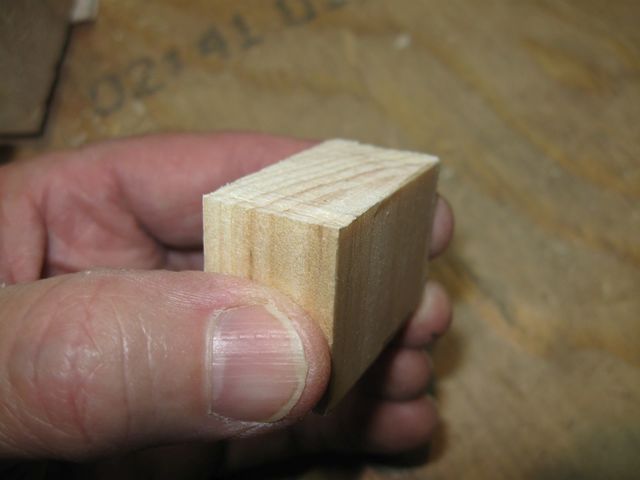
That's Square
I turned the jig over and drilled a pilot hole into the stop.
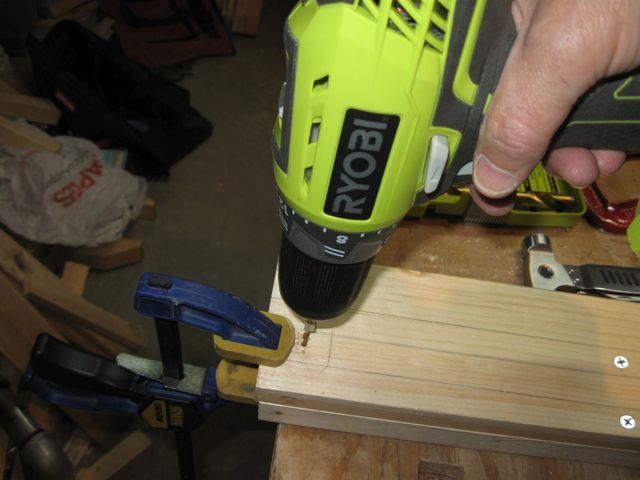
Drilling the Pilot Hole
I screwed in one #8 by 1 1/2" wood screw.
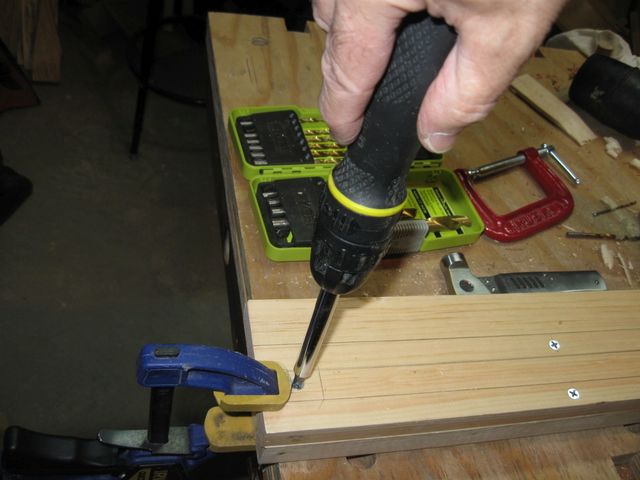
The Last Screw (Yay)
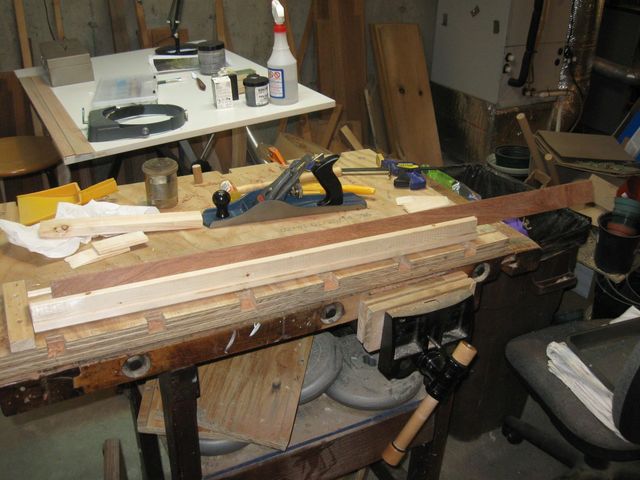
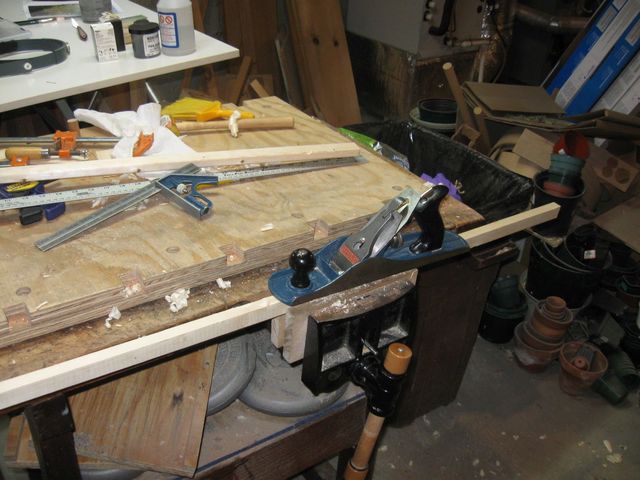
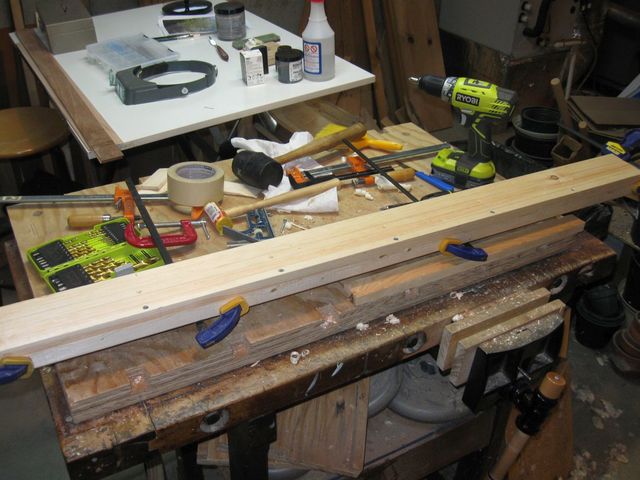
And there it is, clamped down to the bench and accepting the full length of the Mesquite.
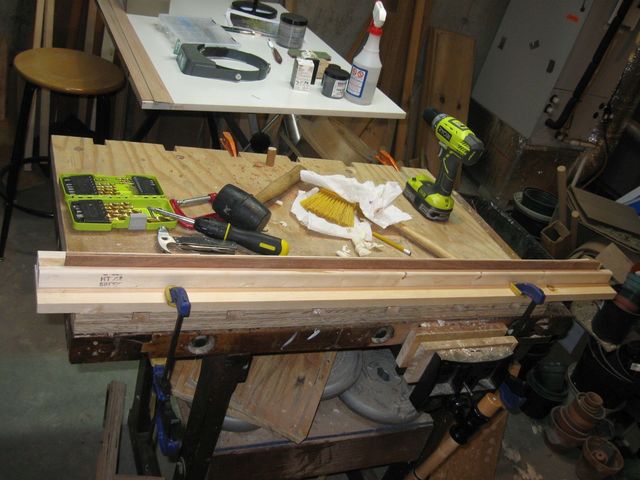
Done
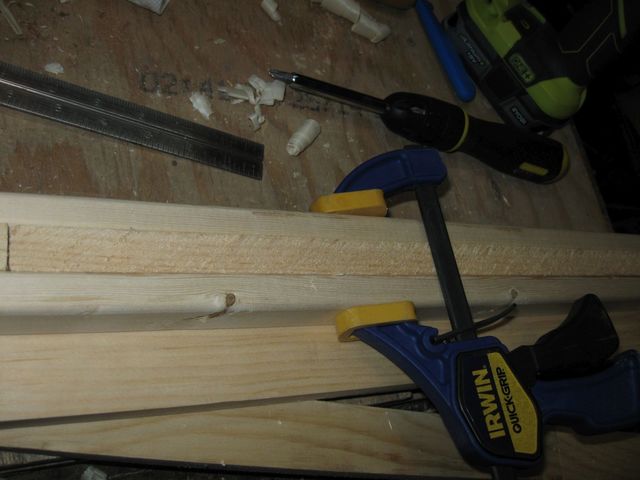
Well, actually....... the wedges don't work on this jig because they are too thin.... even with two of them. I guess this jig is wider than the other one.
The Wood is Not Tightly Clamped in the Jig
I will have to make some better wedges next time. I ran out of time today.
But the jig is good. After the dulcimer is done, I can use it to make more picture frame molding. Here is a frame that I made as a trial run.
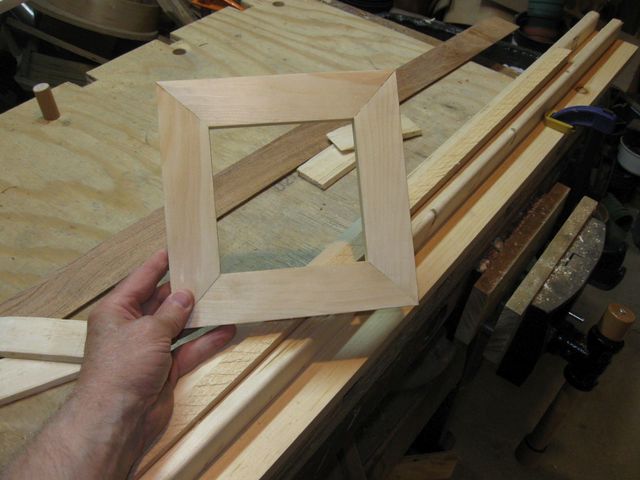
A Hand Made Frame from Clear Pine
This frame was just a first trial run to see if I could do it. I made plane, square molding to figure out how to get the miters right. It is harder than you might think. Later on I made some more frames that had fancier molding.
Anyway, the jig is done. After I make some better wedges I can get back to planing my Mesquite.
