It is time to get back to bending wood. I want to try bending two sides during the same session. That is important because I need to make the two sides as nearly identical as possible, and it would be good to see if I can do it and how long it takes. If it proves to be impractical or the results are bad, I will split it up when I do the real sides.
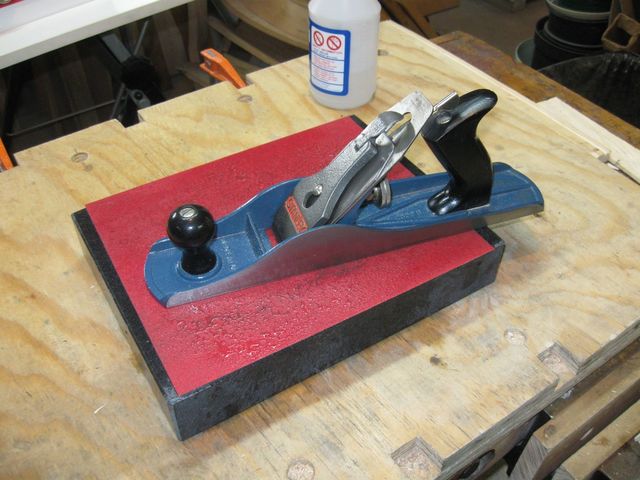
But, while I still have my sharpening slab out, I decided to take a quick side trip to see if I need to flatten the plane body again. I did that job a while ago, but I did it on the MDF. Now that I have a truly flat surface plate, I want to see if I did a bad job by using that soft board for my surface. So I got out some more sandpaper.

This is 120 Grit Paper
I backed off the iron all the way until the wheel stopped turning. I need to apply the camping force on the iron, but I do not want to grind down the edge that I fought so hard to create.
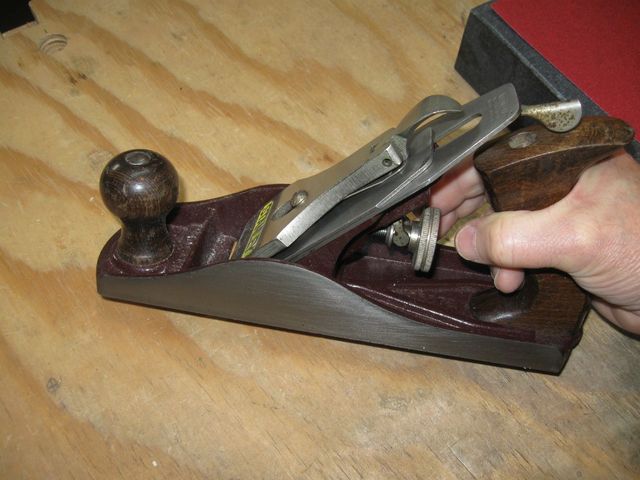
I Turned the Wheel Until it Stopped
You can see that the iron is totally retracted away from the mouth opening.
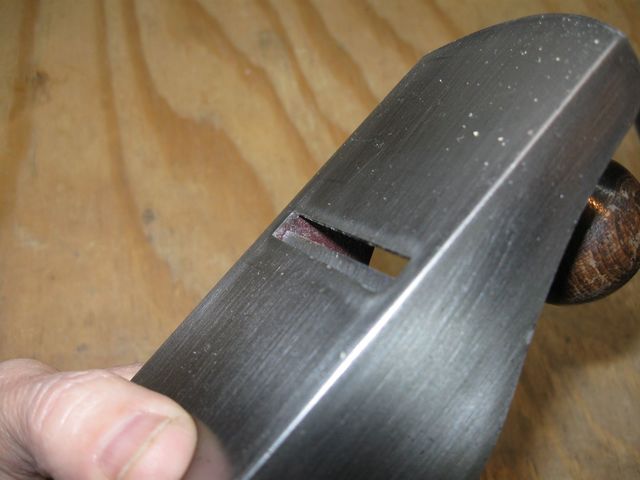
The Iron is All the Way Back
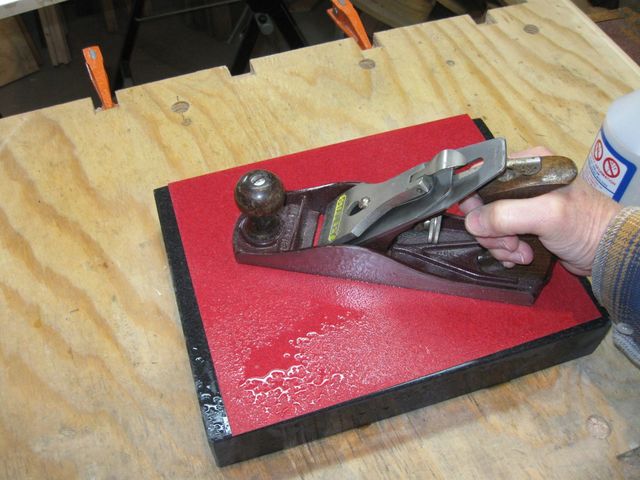
I sprayed down the sandpaper to stick it to the surface plate.

You Need Wet/Dry Sandpaper To Do This
To check my progress on flattening the sole, I put marks across the surface with a permanent marker.
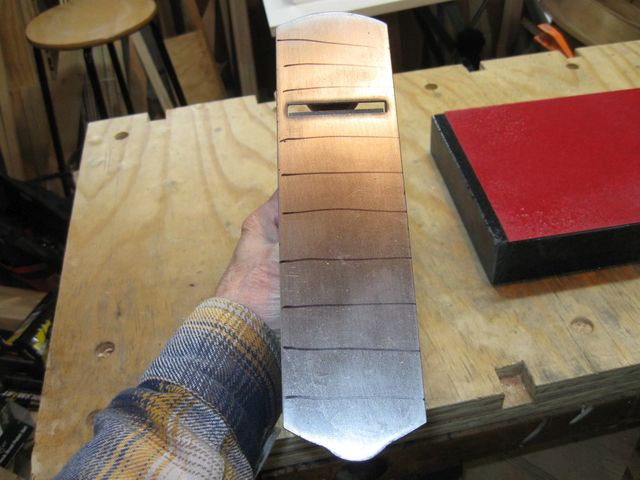
The Marks Will Show Me Where the Iron is Being Removed
I did a few passes on the sandpaper just to mark where the iron is being ground off.
The New Sandpaper Cuts Rapidly
After only a half dozen passes across the paper, here is what I had.
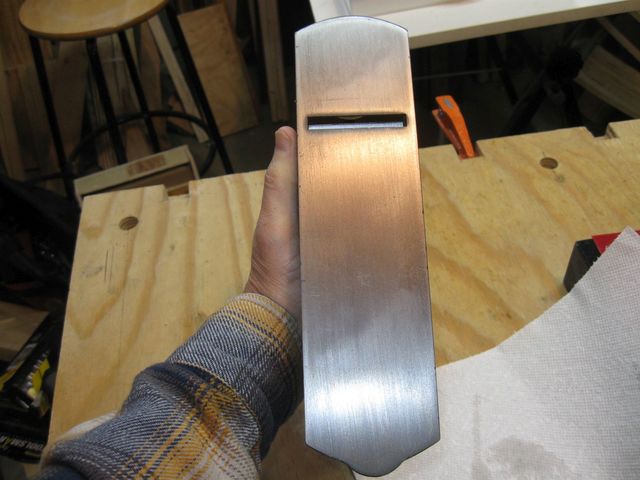
The Marks are Already Gone
I guess it is pretty flat. So there is not much to do here. I turned the plane over on the sides and did a few strokes on the sides.
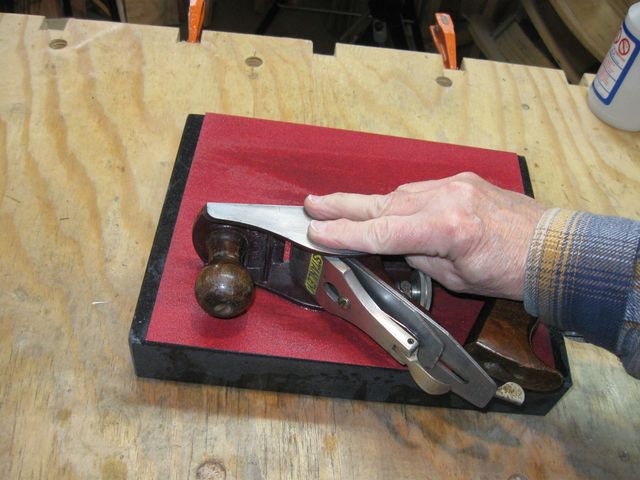
I Did Both Sides of the Plane
Finally, I rolled the plane side to side on the sandpaper to relieve the sharp corners between the sole and the sides.
I Rolled it Side To Side While Grinding
That puts a gentle curve on the corner of the body so that the plane won't catch on small steps in the wood.
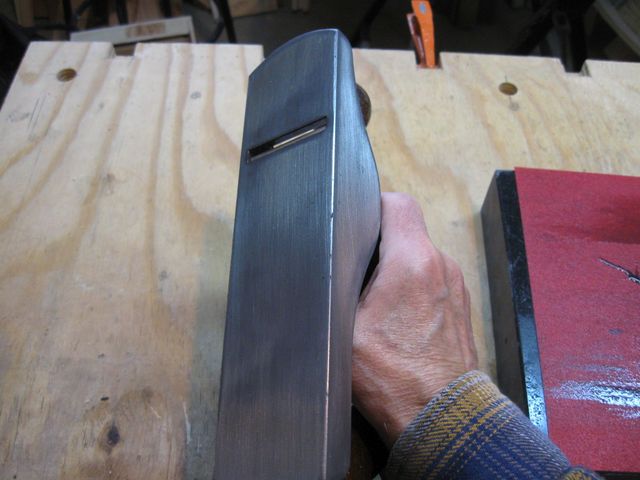
The Corner of the Plane is Round Now
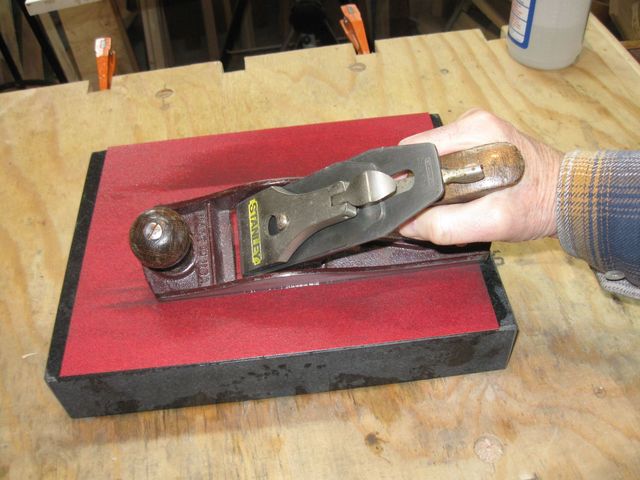
While I had the slab set up, I did the same thing to my #5 jack plane with the same results.
The Jack Plane Is Bigger than the Surface Plate
Enough of that. I wanted to get busy bending wood. So I found a very thick, strong bag to store the Surface Plate in. The slab weighs >25 pounds, and I do not want to drop it, so I put it in this strong canvas bag for storage...... on the floor so there is no chance it can fall.
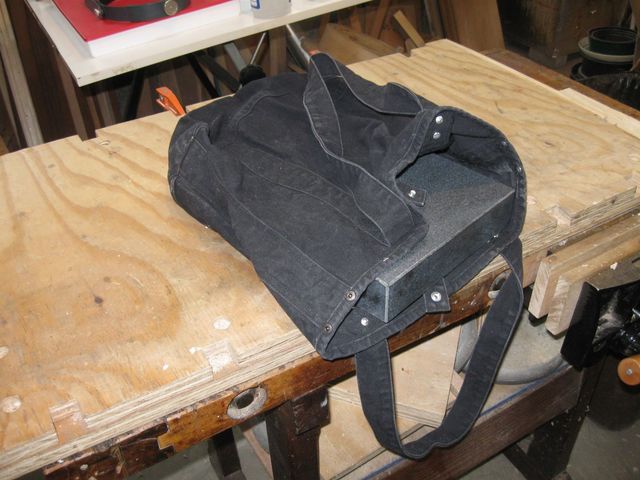
My Storage Bag.
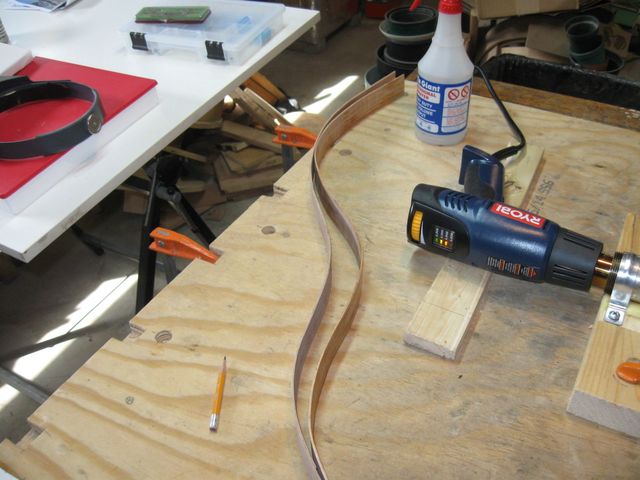
I set up my bending iron and turned on the heat. I set the heat gun to maximum temperature 1050° F, and let it run for 10 minutes. After the 10 minute warmup I turned it down to 800° F for the bending.
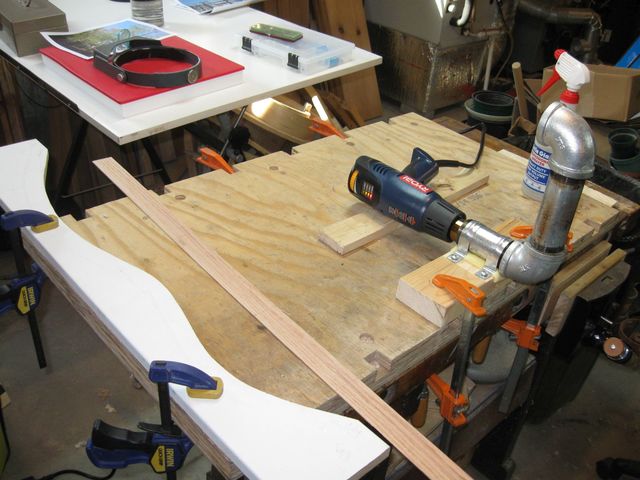
The Pipe Heats Up in 10 Minutes
I don't have any photos of me bending the wood because it takes both hands to do the bending. I found that I could bend the wood most effectively by making many small bends as I moved down the board. I bent the waist first, and once that approached the shape of the template, I bent the bouts in the other direction.
I found that it is difficult to see where the corrections need to be made because the angle that I hold the board at when I compare to the template is critical to that decision, and it was difficult to get that angle the same for each bend. I would see a correction needed, and as soon as I made it, I would see that I needed to take it out. It all depends on where I place the inflection point and the angle that I hold the board with respect to the template.
The process was to to make a few small bends, and then compare to the template, then go back to the pipe to make corrections. It was a rather tedious activity and not nearly as fluid as the people I have watched on the web bending guitar sides. I think that the difference is due to my novice experience level doing this.
At one point I was having trouble getting the wood to bend, so I turned the heat gun back up to 1050° F. But that started to scorch the wood so I turned it back down to 800° F.
Here are some photos of the outcome of bending the first side.
The Waist
The Upper Bout
The Lower Bout
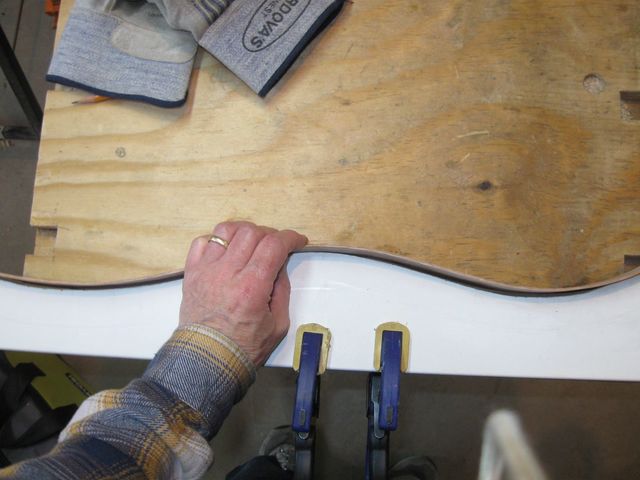
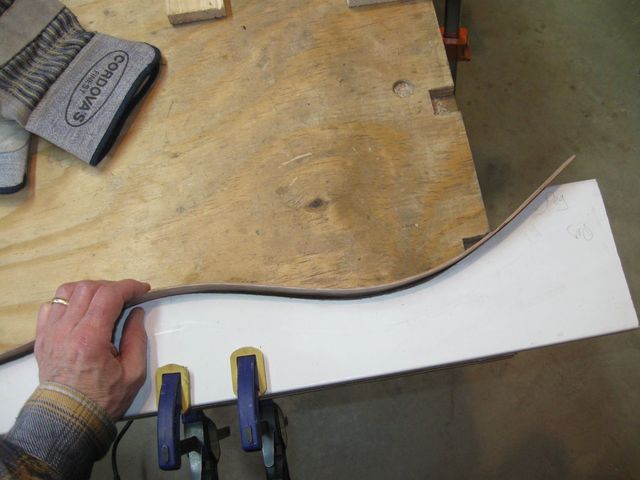
Here is what the bent side looked like, free of the template.
This Side is Done
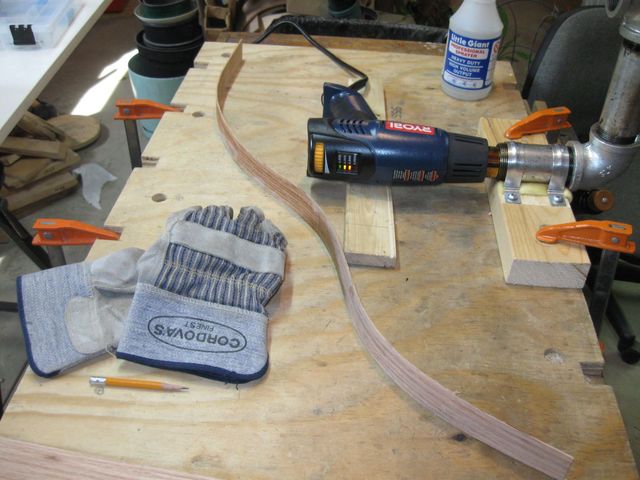
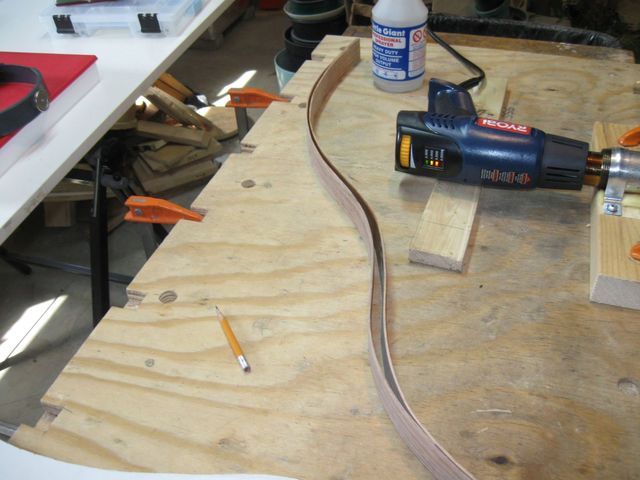
That took somewhere about an hour, so I went ahead and started bending the second side.
This is the Second Board
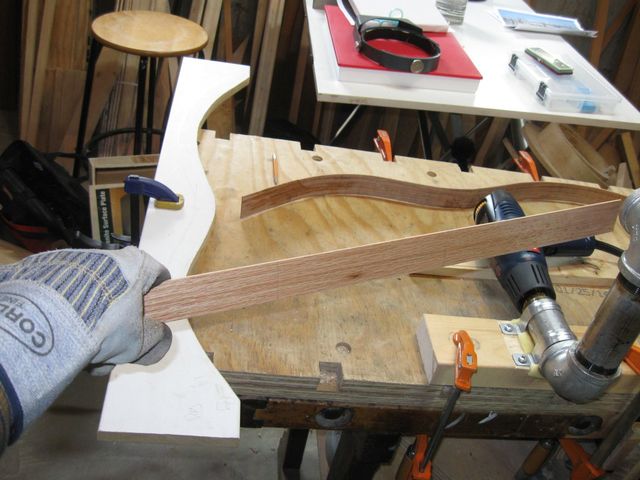
While I struggled with it, I discovered that it is easier to compare the second side against the first side rather than against the template because it is easier to see where the differences are. I just set the two sides on the bench next to each other, and it became clear where I had to make changes.
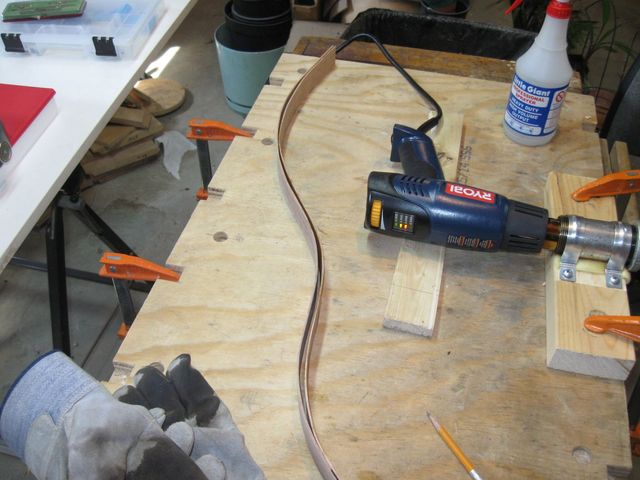
The Second Side is Closest to the Heat Gun
In the photo above, you can see that the waist area of the second side is bent too tightly, pushing the far bout into the other board too aggressively. I needed to take out some of that bend to make the two boards spoon together. So I did that and compared them again.
These Shapes are Closer
You can see that I took out a bit too much of the waist bend on the end that is closer in the photo, and that I should add a bit more to the bout on that end. I did that and got closer.
This is Really Close
I found that I had better luck getting the bends right if I just eyeballed the shape and made the change instead of making micro adjustments along the length of the board to follow the curve. I could do this more easily as I got closer to the correct shape. So next time I might just bend the overall shape freehand, making sure that the bends happen at the marked points of inflection, and then adjust the curves appropriately by comparison with the template or other side.
I also discovered some interesting tricks I could do with my pipe. I have that round elbow attached to the top to deflect the hot air away from me. It turns out to be useful for the bending as well.
At one point I discovered that I had caused some cupping of the board at the end (sorry, no photo). It is impossible to remove that using the side of the pipe, but I could heat up just the center of the board on the round section of the elbow.
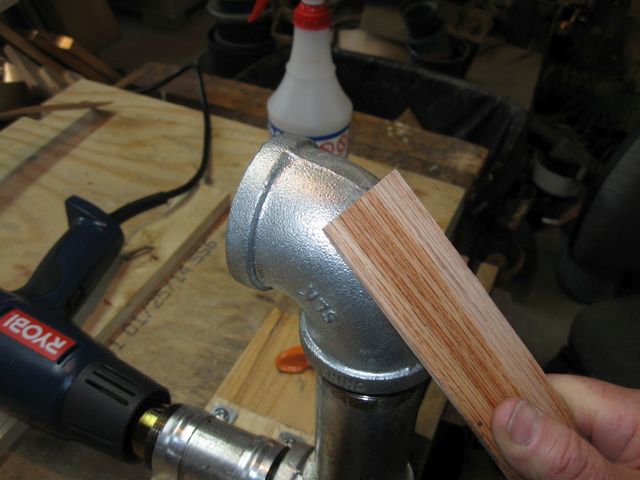
I Am Heating Just the Center of the Board
Heating up just the center of the board and applying gentle pressure removed the cupping completely.
I took that idea farther by using the same round surface of the elbow to apply heat only to the top and bottom edges of the board, like this...
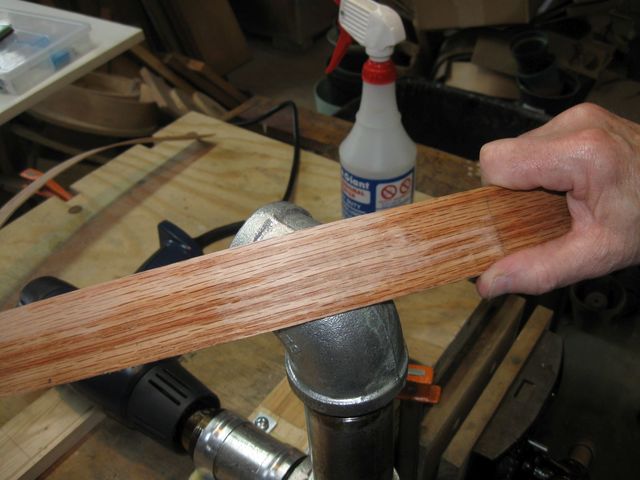
Applying Heat Only to the Bottom Edge of the Board
... and this...
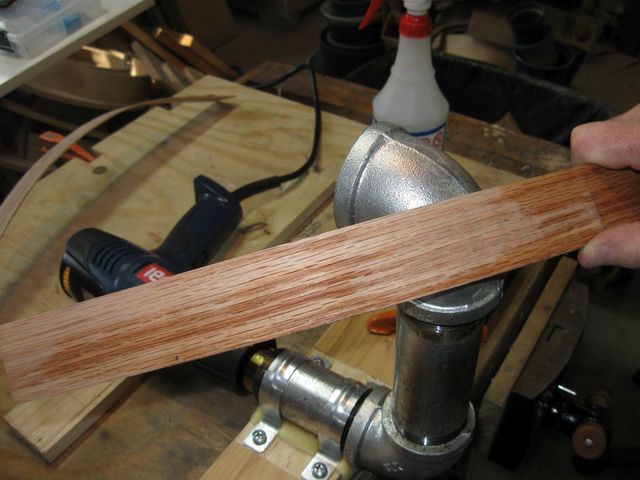
Applying Heat Only to the Top Edge of the Board
By doing that, I could eliminate much of the winding that was showing up. I think that the winding happens because the wood is not a homogeneous material, so the equal heat applied across the width of the board by the flat section of the pipe will cause one edge to bend more than the other. The round section of the elbow allows me to apply heat to a very small area of the board to make corrections.
After I got the boards "close enough", I clamped them both together in the template to dry.
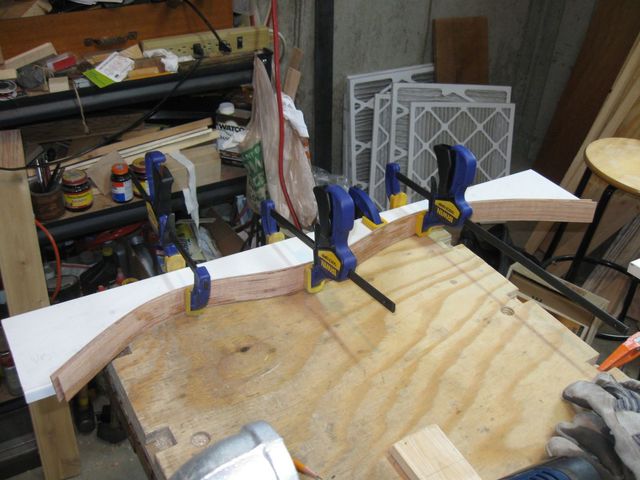
They Are Clamped at the Points of Inflection
They fit nicely when clamped.
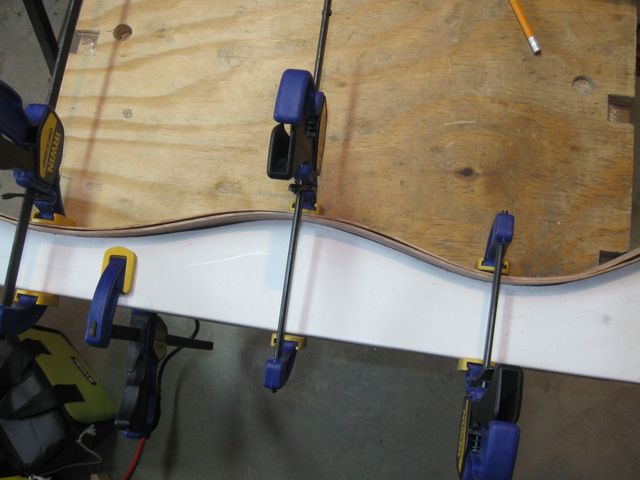
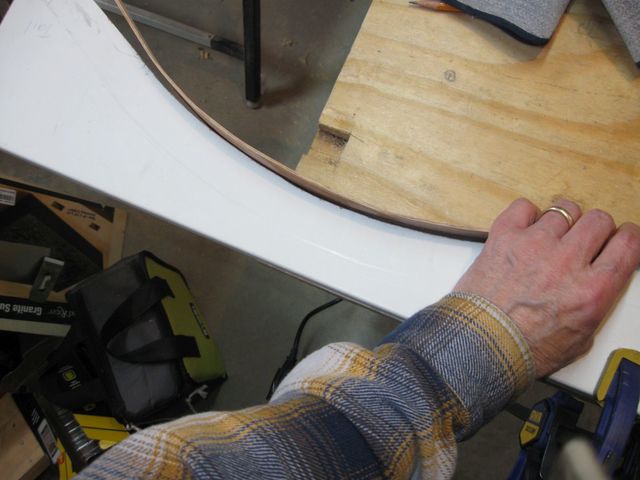
Here is a Top View of the Shape
I will let those dry over night and then take them out and see what I have.
As far as the timing went, here is the bottom line for this bending session.
- 8:31 - turned on the heat gun.
- 8:41 - started bending the first side.
- 9:40 - started bending the second side.
- 10:48 - done
So it takes about one hour to bend each side and 10 minutes to heat the iron. If I practice a couple more times, maybe I can get that time down.
