I usually post a page that shows the mistakes I made on the banjo. This is not just self-flagellation. It serves as a reminder of what not to do next time.
I am really quite happy with the way this banjo turned out. There are fewer mistakes on it than there were on my previous work. But we learn from our mistakes, so they are documented here. Here is the worst one of all.
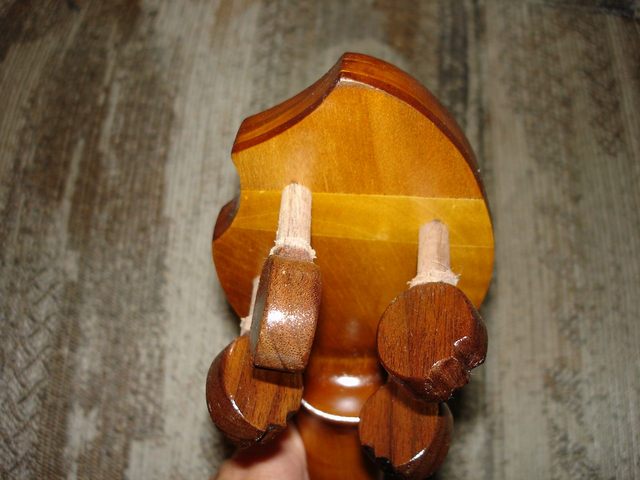
The back of the peghead, where I put the patch after taking a chip out of it, is really ugly. The funniest thing is that the ugliest part of it is the color of the original wood. The patch itself looks OK. But that stripe across the back is really horrid looking. Fortunately it is in the back and not very visible.
The lesson here is to be more careful with the chisel so as not to do such damage to the wood. But I think a more important lesson to take away is to be more careful when matching up the wood. The reason that the stripe in the back is so obvious is that I used two different boards for the neck blank and the color of the two pieces is significantly different. I noticed that when I first glued the blank together, but by then it was too late.
I have been buying eight foot boards for my necks, and I think that I will try to get all of the wood for a single neck out of the one board...except for the finger board. I will have to add up the numbers again, but I think that I use about six feet of wood for a neck. Using the same board for the entire neck will make the colors match up better. I also might mark the boards so that I can preserve the direction of the wood as well, in order to make the figure and grain match up better. Things to think about over the long Winter.
Here is what is left of my peghead disaster where I nearly cut the peghead off of the neck. In case you don't remember, here is a link.
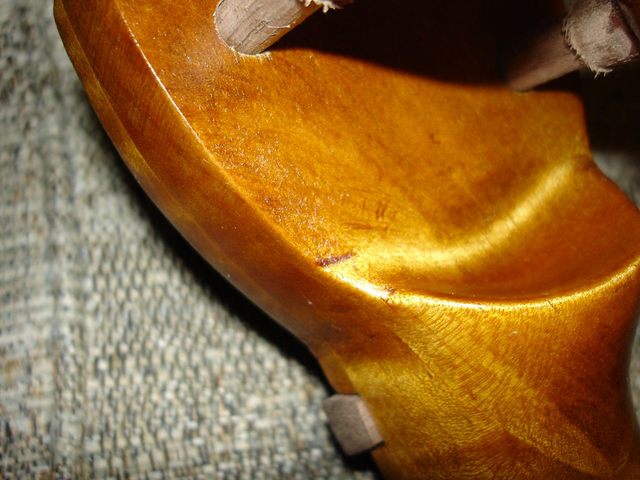
There is nothing left but a little notch. This mistake is also on the back of the peghead and will be overshadowed eventually by wear and tear if I play the banjo very much. This was a pretty good recovery, if I do say so myself.
The size of the nut is a little bothersome.
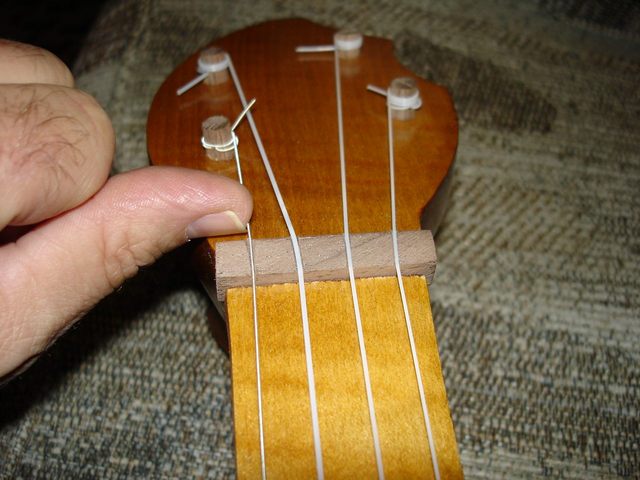
That is one massive nut. A nut is usually a delicate thing on a banjo, about 1/8" thick. This one turned into a huge 3/8" thick, almost as big as my thumb. Ick.
The nut works quite well with no buzzes, it just looks a bit funny. But then the whole neck is chunky too. It is a lot wider than most banjo necks, and is almost as wide as my guitar neck. But I don't dislike it. It has a manly feel to it, and the nut seems appropriately sized for a chunky neck. So I am going to give myself a pass on this one with the caveat that others might not like it as well as I do.
Here is one that is intersting. One of the pins that I used to register the boards when I was gluing them into the neck blank is still visible.
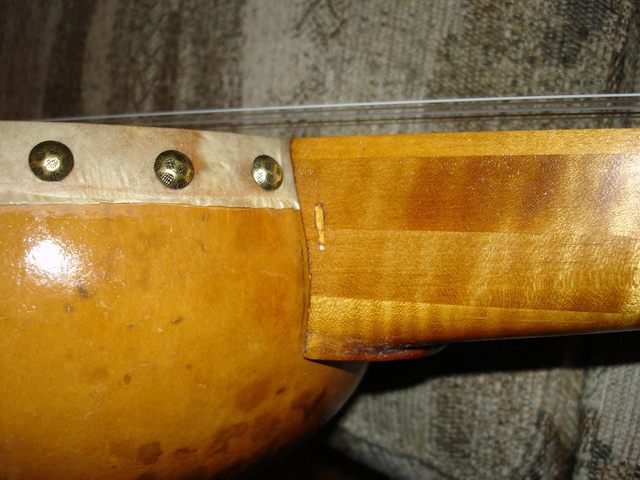
Once again I lucked out and the disfigurement is on the under side of the neck and not very visible. I still need to come up with a better way of securing the boards or at least be more careful to place the pins in a location that will be cut away.
I can always tell people that it is a worm hole or an "artifact of the manufacturing process" if they ask about it.
That is about it. In general I am very happy with the outcome of this project. So now I can proceed with a photo gallery of the banjo.
Original post date September 28, 2008