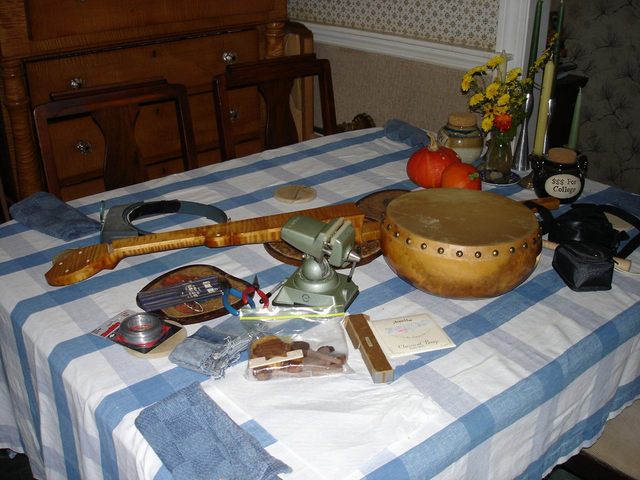
Today was the day that I put it all together. I fetched all the parts that I had made plus some tools.
The first thing I did was to put the tailpieces together. I did that with baling wire.
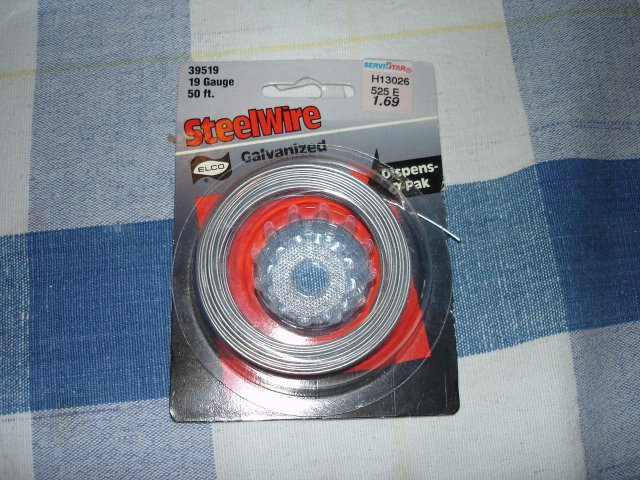
It doesn't say "baling wire" on it, but that is essentially what it is. It may seem a bit crude to wire the banjo together with baling wire, but it works. And I suspect that it might even be period accurate. Baling wire was the duct tape of previous centuries. I have even heard stories of a mountain dulcimer that was strung with fence wire. Country people used whatever was at hand.
I cut off a length of the wire.
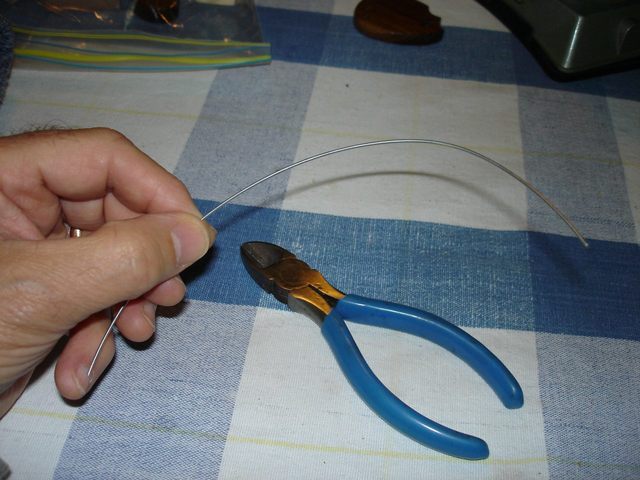
Then I bent a flat place into it right in the middle.
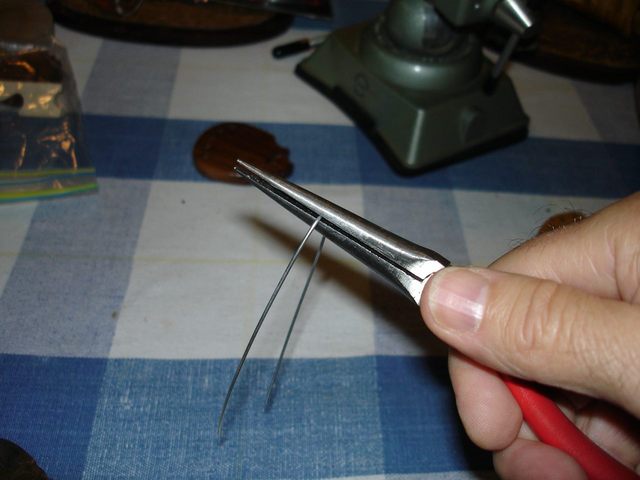
I simply put my needle nosed pliers on it where the pliers are about the proper width and then bent the wire around them. The bent wire goes down through the two holes in the tailpiece.
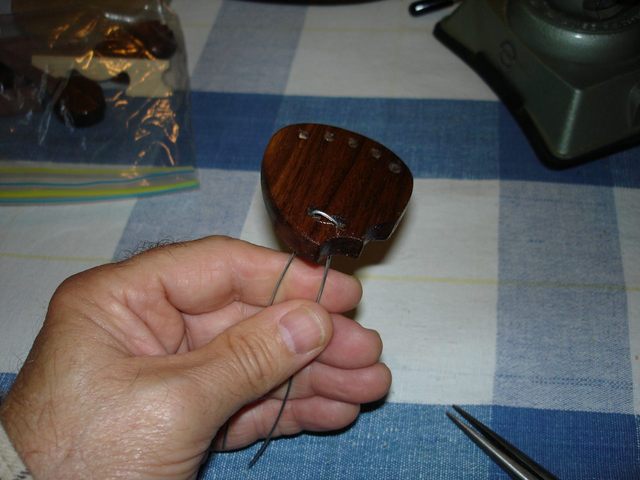
The wire was then bent 90 degrees and put through the two holes in the other tailpiece.
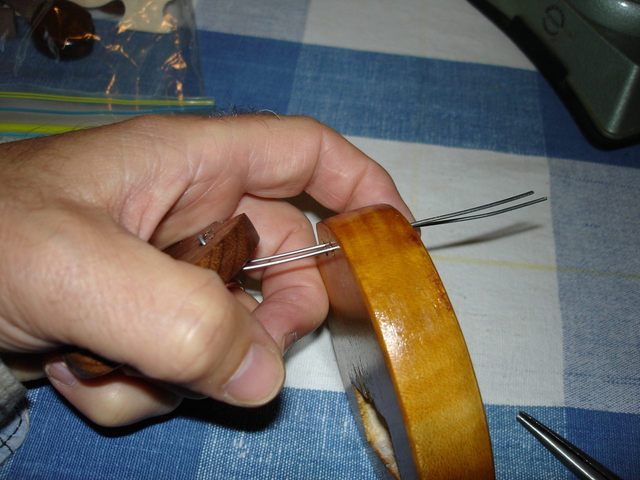
I twisted the wire together on the back side of the tail piece.
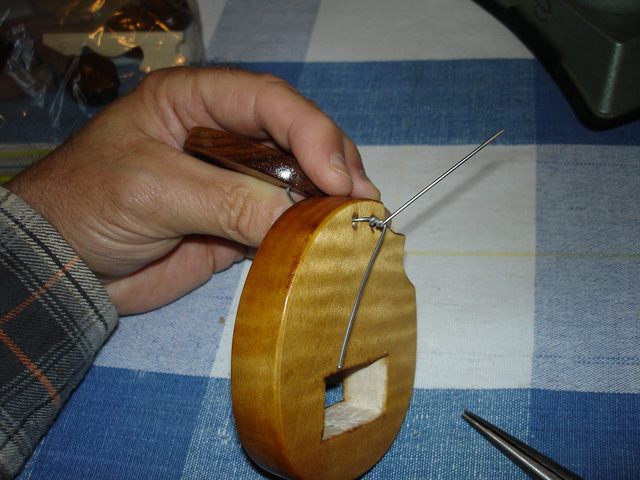
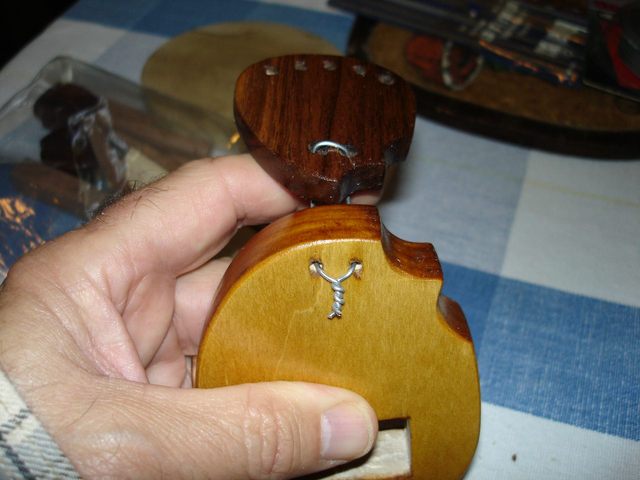
And then I clipped off the ends and tucked it down out of the way.
Now on to the strings. I used a set of Nylgut® strings. There are two gauges of Nylgut strings sold as banjo sets, the Classical set and the Minstrel set. The minstrel set contains gauges that allow the banjo to be tuned down to D rather than the more modern G tuning for the Classical set. I chose to use the Minstrel set. Here are the strings.
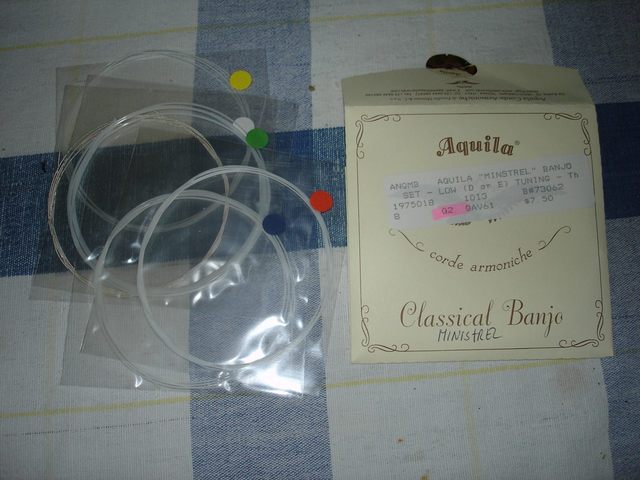
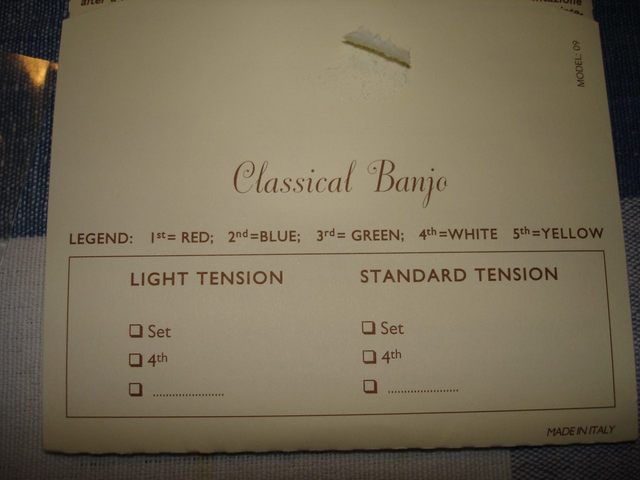
The strings are not marked with gauges, but are color coded with little round stickers. Here is the legend for the colors.
I prefer to know what the gauges are, so I measured them with the micrometer. Here are the sizes that I measured.
| String No. | Gauge in inches | Gauge in mm |
| 1 | 0.0265 | .67 |
| 2 | 0.0315 | .80 |
| 3 | 0.0390 | .99 |
| 4 | 0.0265 W | .67 W |
| 5 | 0.0265 | .67 |
Those might not be the official sizes for the strings, but that is what I measured. The wound 4th string is really nice. It is wound in silver colored wire, which makes it the same color as the other strings. That is a really nice visual effect.
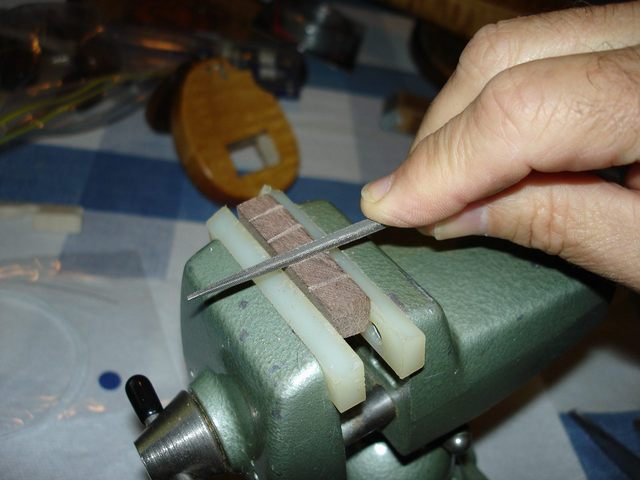
Before I could string the banjo I had to finish cutting the notches in the nut and the bridge. Each string has to be set into the nut and the bridge so that it will not buzz and will stay in place under tension. To get the size of the notches correct, I shaped the notch while I used the string to test the fit.
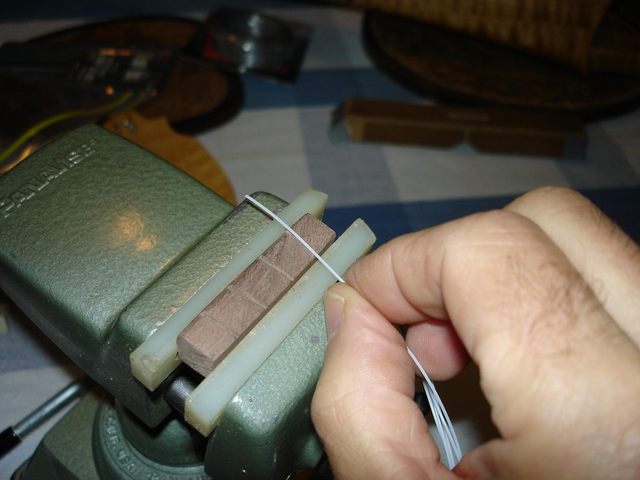
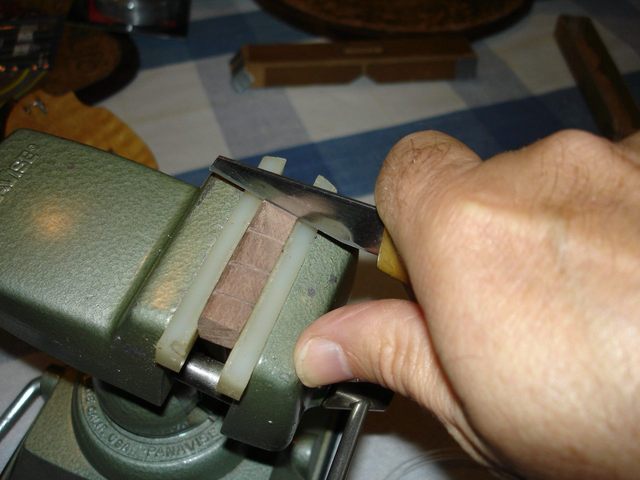
I used my shop knife and a small needle file to cut the notches to size.
|
|
I literally carved the notches to fit the strings. Here is a view of the finger board side of the nut after I was done.
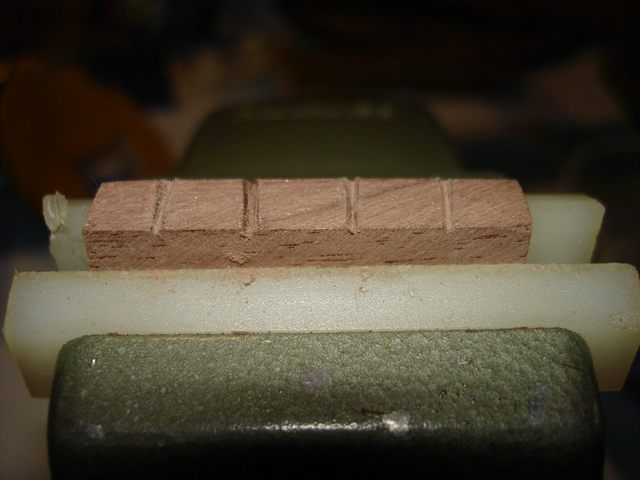
You can see that the notches are different sizes for the different strings. What is important here is that the string must be held snugly in the notch where it comes off of the nut so that it will not buzz. I notched the bridge the using the same technique.

|
|
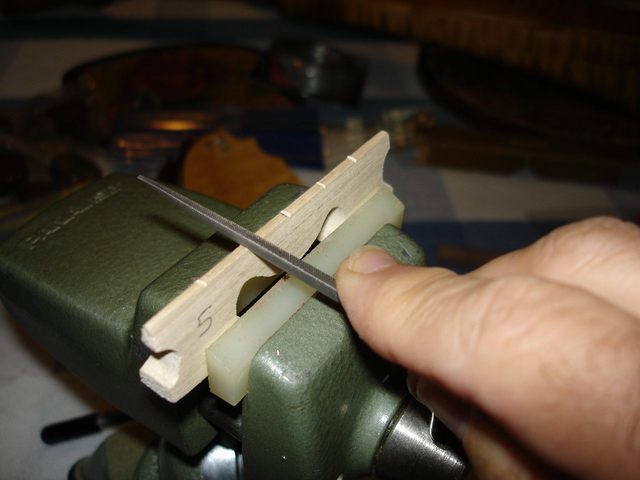
In the case of the bridge, I made a small undercut where the string is pulled sideways by the tailpiece. If you just make a V cut in the bridge, the string will jump out of it because the tailpiece pulls the string sideways. When the notches were all cut, I laid out all the parts again.
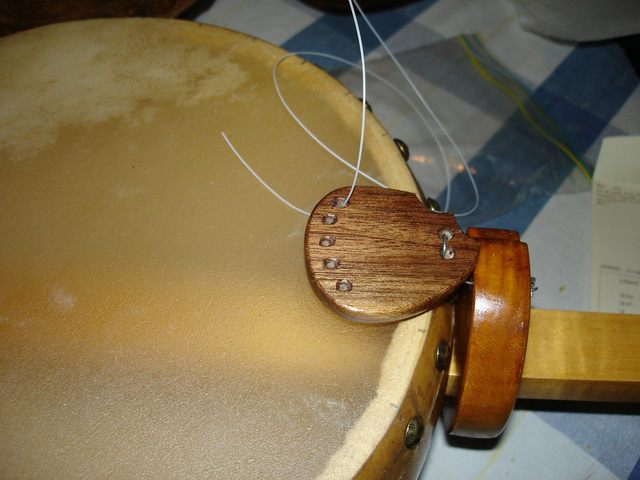
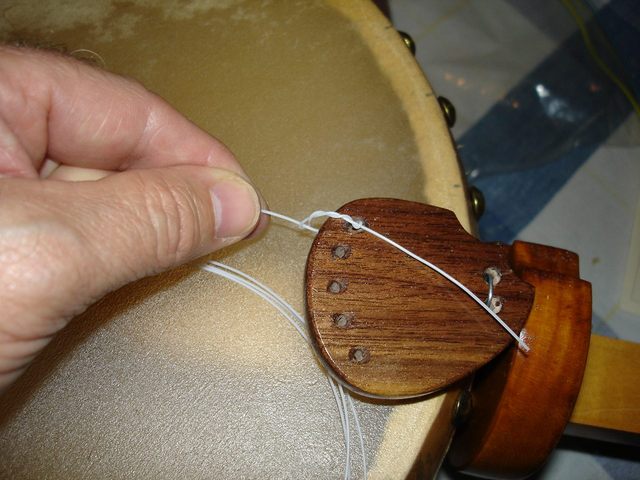
Here is how I tie the strings to the tailpiece. This is basically the same knot that is used to tie strings onto the bridge of a classical guitar. I put the string into the hole from the top.
Be careful not to push the string through the head. Then I grab the string and pull it almost all the way through.
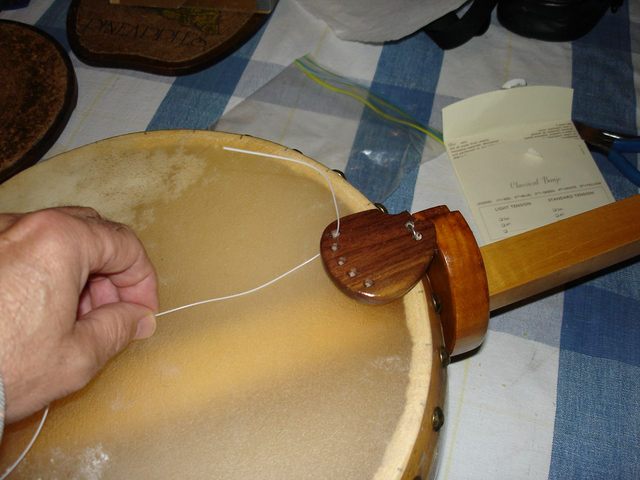
I do it this way because it is easier than trying to wrestle the string between the head and the tailpiece and up through the hole. I take the short pigtail and wrap it under the string in front of the tailpiece, up, and then back around itself through the loop.
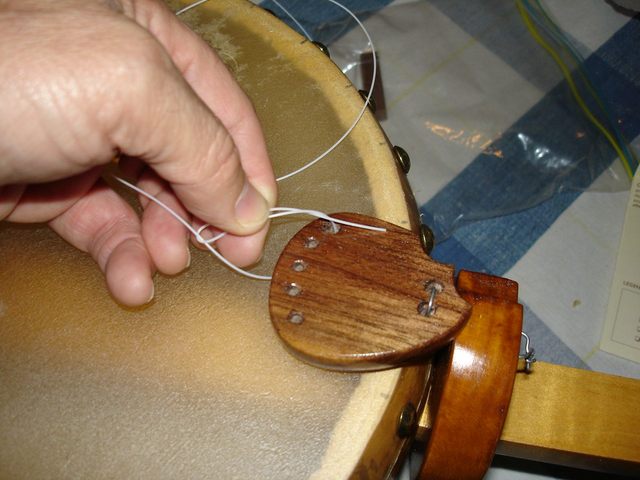
I wrap the string around itself three (3) times by pushing the tip through the loop.
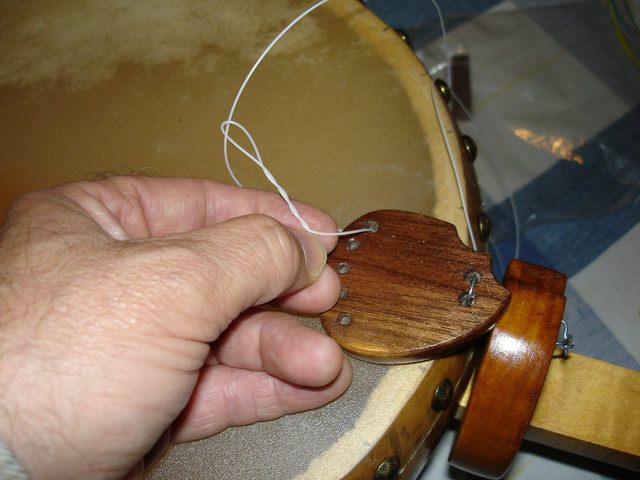
Pull the string tight. The string itself should come off the tailpiece from the bottom with the loops sitting on top.
To get the string a little tighter I grab the pigtail with some pliers and give it a gentle yank while pulling on the other side of the string with my fingers.
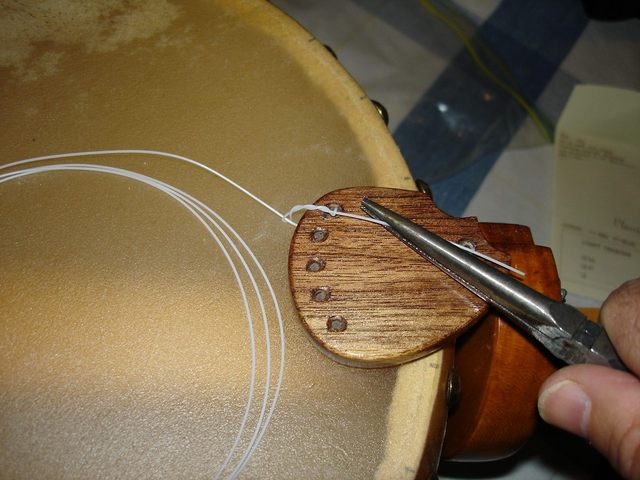
With the Nylgut strings the knot will stay in place. They are not as slick as nylon so they hold a knot pretty well. The next thing to do is to tie the string to the peg. I put the string through the hole in the peg from the side toward the middle of the finger board. Then I wrap it around once and pass it through the hole again making a loop.
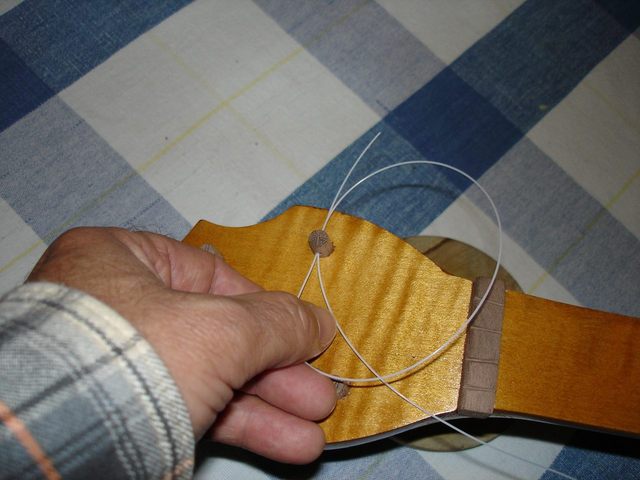
I pull the string snug into the notch of the nut and pull the knot tight. The bridge is still not under the string so it goes directly from the tailpiece to the nut. With Nylgut strings you should not leave any slack in the strings when you first put them on. They are very stretchy, and if you leave them loose you will end up with too many windings on the pegs. So pull the string snug, not under enough tension for playing, but just snug.
I put all of the strings on this way, and here it is. Notice that the bridge is not on it yet.
Now it is time to bring the strings up to pitch. Some people say that they leave the long ends on the strings up at the peghead so that if a string breaks they can pull out some of the extra and reuse the string. But look at this peghead.
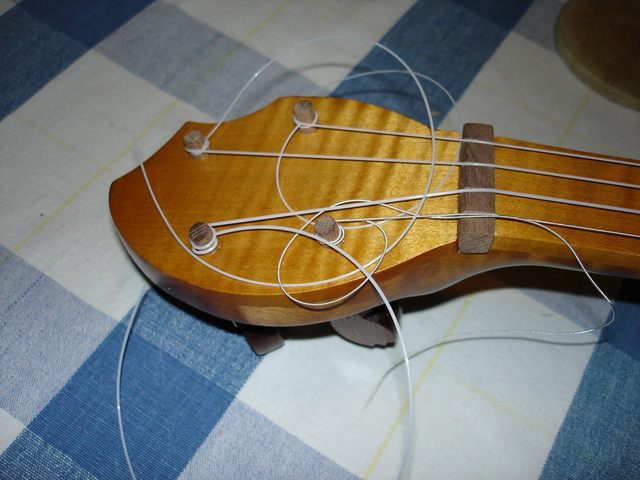
What a mess! Those extra pieces get all tangled up and ugly, and the one on the 5th peg got tangled in the other strings and made them rattle. So I got out the nippers and cut off the ends.
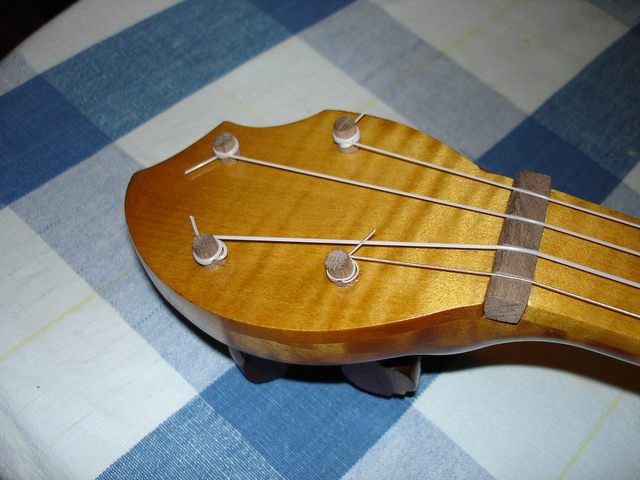
That's better. Now I can tune it up without all of that ugly mess. I slipped the bridge under the strings and then stood it up on the head. As I said before, the Nylgut strings are very stretchy; more stretchy than nylon. So I try to pre-stretch them a bit as I tune up. Just grab a string and pull it up a bit to put a little extra tension on it.

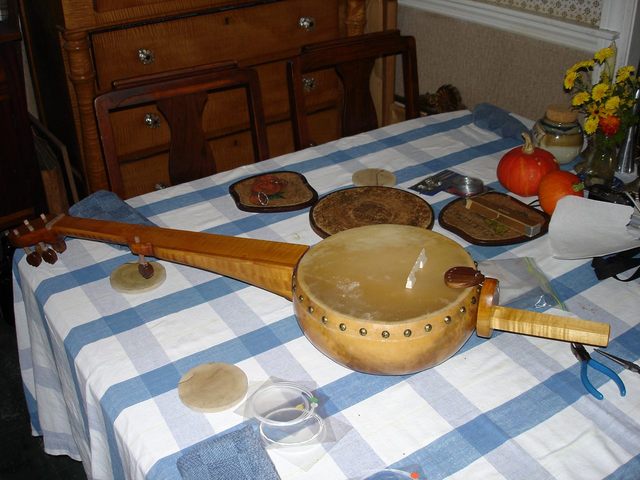
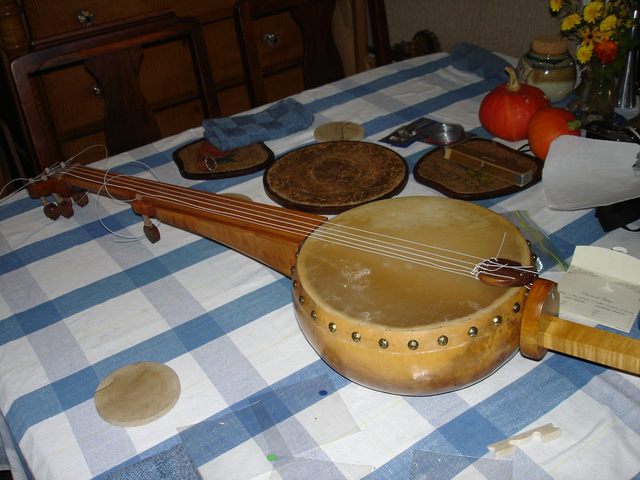
Be gentle. This is a slow process. There it is; all strung.
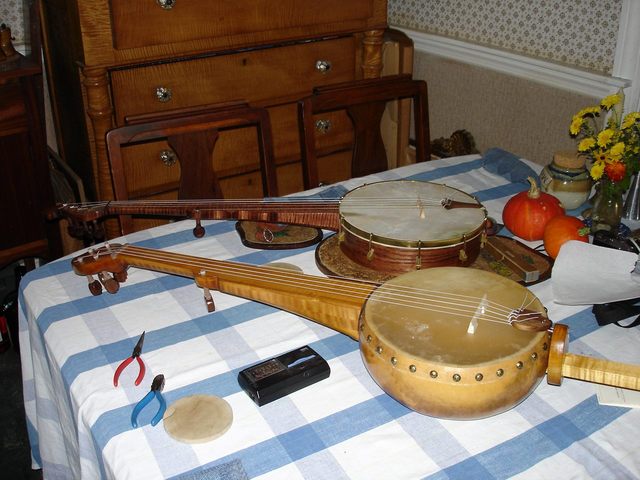
The minstrel is there as an aid for tuning the new banjo. I find that it is easier to get the notes if I tune new strings to a set that are already in tune. It helps me find the correct octave. You can tune the new strings using an electronic tuner, but if you tune to the wrong octave you risk putting too much tension on the strings and breaking them.
The Nylgut strings will stretch all day before I can actually get them to be reasonably in tune. And after that they will slowly go flat day by day for a week or more. This is similar to nylon strings, but a bit more stretchy. Here is a closeup of my tailpiece construction.
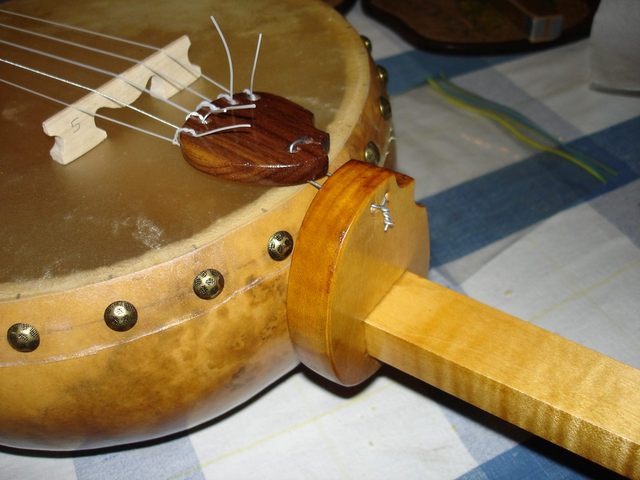
Here it is from the side so that you can see that the extra, vertical piece keeps the tension of the strings applied to the dowel stick and not to the gourd. The vertical tail piece is not really pushing on the gourd. The strings pull the top of it forward, and the dowel stick binds in the hole in the tailpiece, thus applying the string tension through the tail piece and into the dowel.
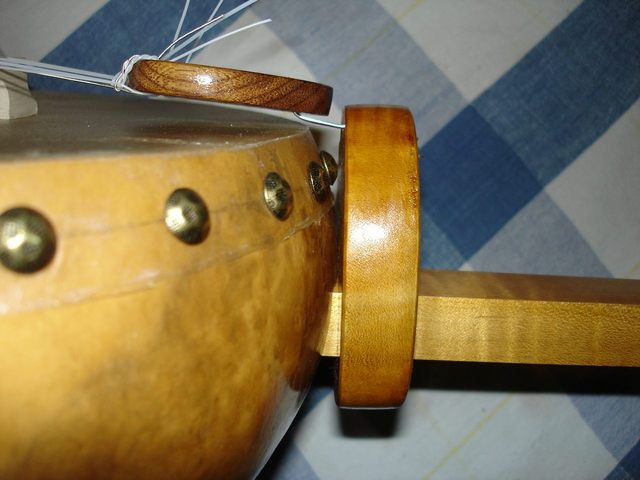
After I took that photo I snipped off the pigtails from the strings at the tailpiece to clean it up a bit.
So, here you are, a photo of your Author sitting in his Pickin' Glider with the new banjo.
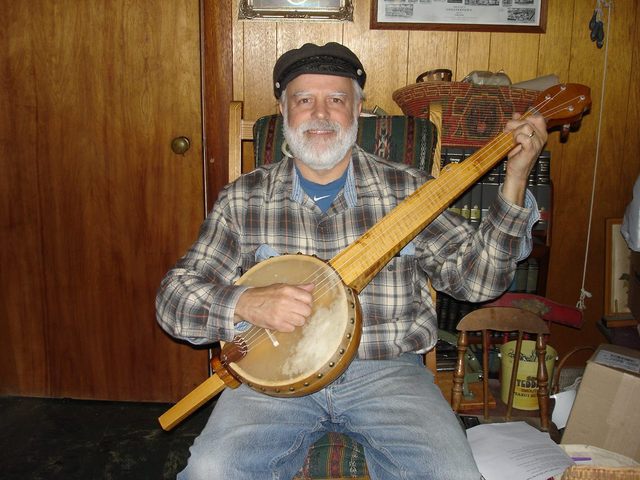
That is it for now. I had to stretch the strings and re-tune a lot more times. After the strings are all stretched out and I get used to the new instrument I will record a brief tune so you can hear how it sounds. I will also take some better photos of it and brag.
I spent 2 hours with the final setup and stringing.
Original post date September 22, 2008