I am going to make the neck blank out of some dimensioned lumber by laminating it into a banjo neck shape. The plan for this is on the Plans page. I have some nice curly wood left over from the project last year, so I will use that piece first. It has the most curl in it. Here is a photo of the wood.
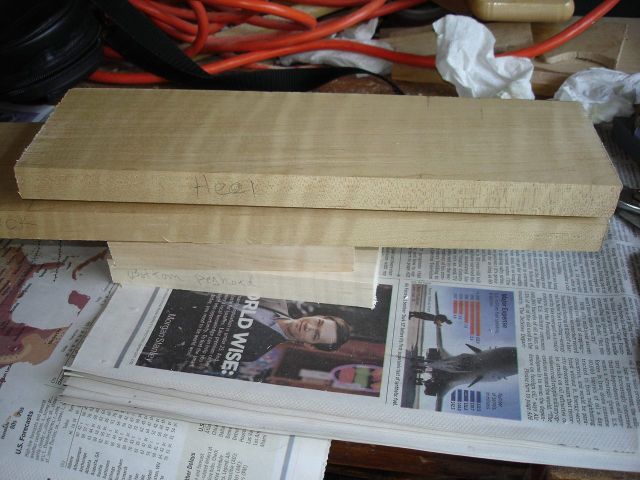
You can see the luscious curl in the photo. Unfortunately I only have about four feet of that wood left. According to the plan I need six feet of wood for this neck, so I will have to supplement with some of the new wood that I bought this year. I won't bore you with photos of how I cut the pieces of wood to length, but here is a photo of all the pieces stacked up in their proper places for gluing.

Wow! That is an interesting difference in color between the old wood and the new wood! I did not think that maple would change color that quickly, but evidently it did. The top pieces are made from the old wood, and the bottom peghead piece and the dowel piece on the right are made from the new wood. I am hoping that the stain and some further aging will even out the color. Otherwise, we will have an "interesting" neck.
I made the dowel end from a piece out of some new wood which does not have such striking figure in it because it will be buried inside of the gourd anyway, and why waste the truly fine wood for that? Now that I look at it, the new wood has some curl in it as well, but it is not as evident as it is in the older wood.
Whatever the color is, there's nothing to do for it now. I will just start gluing the pieces together. First, I orient the pieces properly. Then I squeeze some glue onto both surfaces, like this:
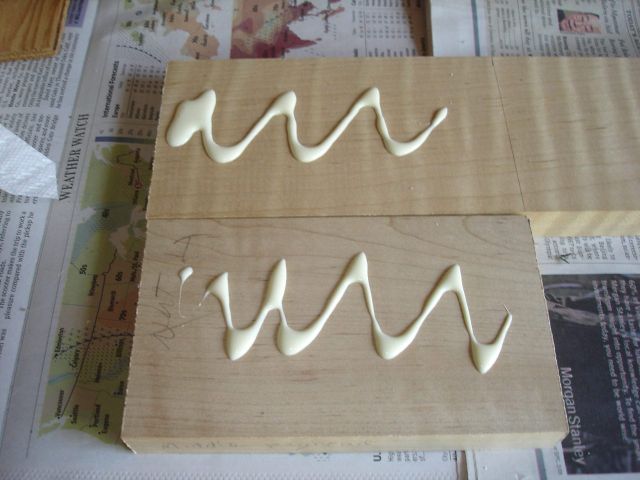
The goal is to put an even coat of glue over all of both surfaces of the wood. I need to have a good bond between the pieces all over both surfaces because I am going to cut away a significant part of the wood, and the parts that are left must remain glued. I do not want any cracks between the pieces. I do this by smearing the glue all over the wood using my fingers.
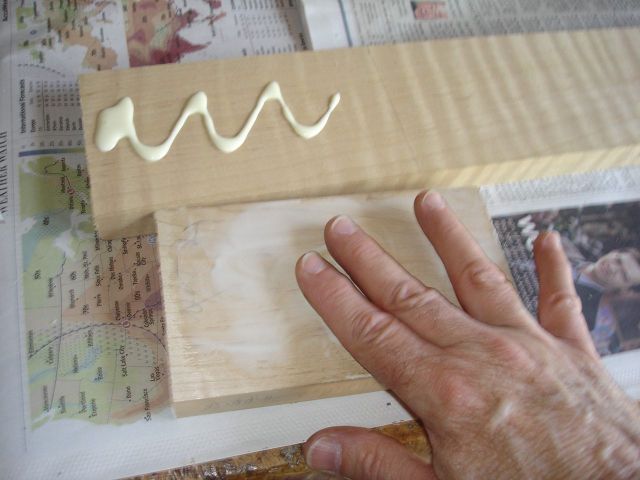
Ya. Ya gotta get yer hands dirty to do this job. Anyway, here is what I ended up with.
The dark places are where the glue is. After the glue gets tacky, I flip the block up against the other one, then clamp it with my C clamps.
.....
OK. It is 10 minutes later, and the cursing is over, and it seems to be all lined up properly.
What was all the cursing about? Well that block wanted to slide around a lot. Each time I got it clamped, it would slip out of alignment, so I had to unclamp it and pound it back into shape and then clamp it again... just to have it slip again. I must have clamped it a dozen times. I really was afraid that it would finally set up while out of alignment and I would have a mess. I fought with this problem last year and it was a mess. In fact, last year the finger board ended up 1/4 inch out of alignment in the end because of this problem. Sorry I don't have any photos of the block out of alignment, but I was busy with both hands tossing the thing around the room and smacking it with my hammer.
This year I am going to fix this problem by pinning the boards before I glue them!
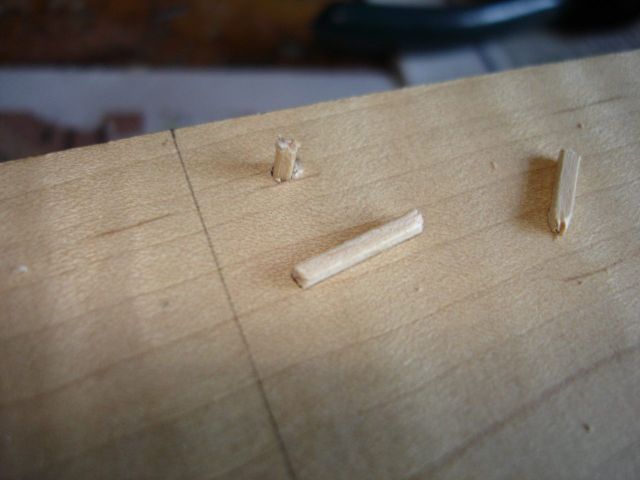
First I made some pins out of a tiny wire nail (3/4" #19) by cutting off the head and then cutting it in half.
I also made some wooden pins by cutting a toothpick into short sections.
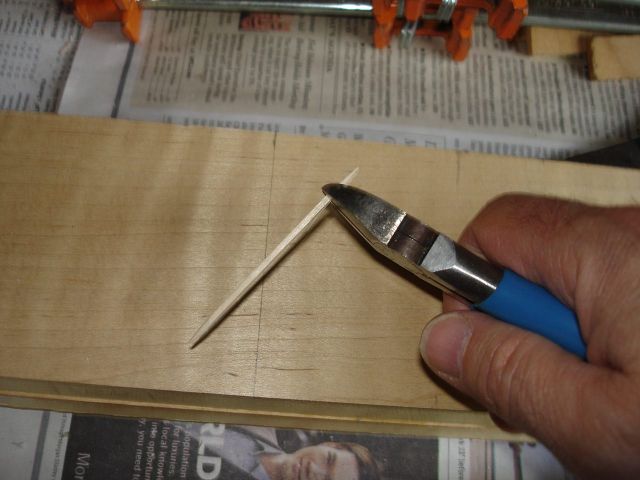
You see, I don't want to pin the boards together with metal pins because I will be cutting the wood away with my saws, and I do not want to wreck a saw by trying to saw through a pin. So I will mark the wood using the metal pins and then pin it together with the wooden pins made from the toothpick. I can saw through the wooden pins with ease. The pins will not be necessary after the glue dries because the glue will hold the wood together. They are only there to maintain the alignment while the glue is still wet. I place the pins in parts of the wood that will be cut away so that they will not remain in the neck when the neck is done.
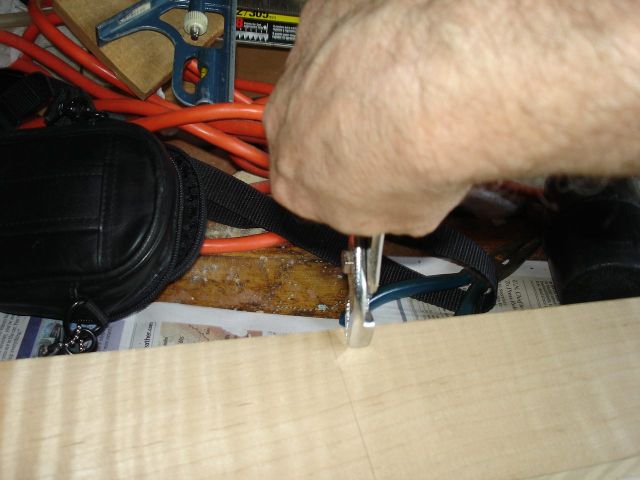
I pounded a metal pin into opposite corners of one of the boards.
Then I carefully aligned the other board on top of it.
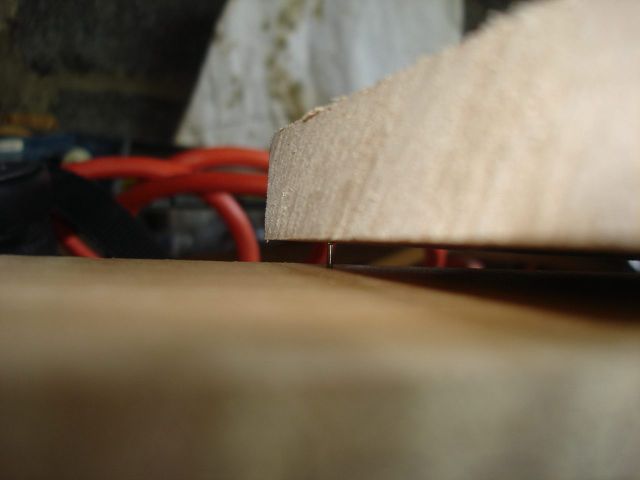
Here you can see the top board perched on one of the pins.
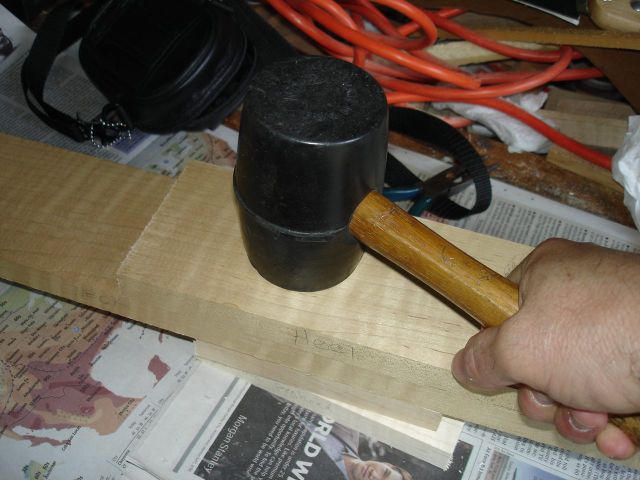
Once it is properly aligned, I smack it with my rubber mallet.
Ta Daaa! The boards are marked. I separated the boards, and pulled out the metal pins.
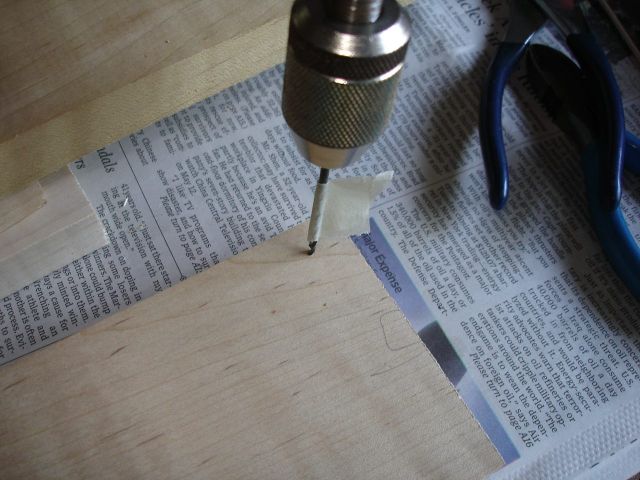
I drilled the pin holes out using a 3/32" drill bit to make the holes large enough for the toothpick pins. I put a flag on the drill so that I won't drill too deeply.
Here is a wooden pin in one of the holes.
Finally, I put glue on the boards, put the wooden pins in the holes, and put the boards together.
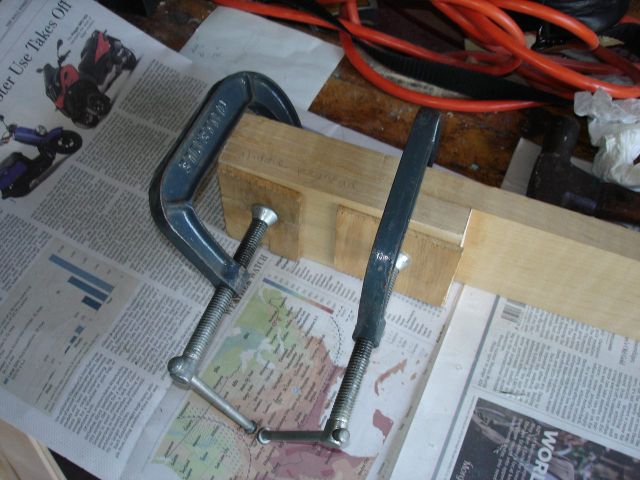
It went together much better this way. The wooden pins hold the boards in alignment while I clamp them together. Here it is clamped together.
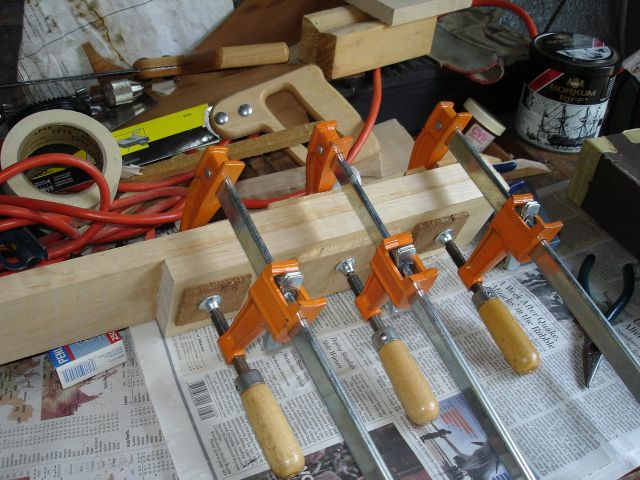
I finally got all five pieces clamped together, doing the dowel stick last.
Interesting thing about that last piece. It slipped out of alignment as I clamped it anyway, which is not possible since I had it pinned. I must have broken the pins or something. But I caught it and smacked it back into alignment with my hammer, and it set up nicely. Whatever. You can see my trusty hammer sitting on the bench by the neck blank. I inherited that hammer from my father in law, who used it for many years to persuade lots of things into alignment. They don't make 'em like that any more.
Well that's it. Of course, I have presented the accelerated version of this process because I had to wait for the glue to dry in between smacking the wood around. So it took about six hours to do this work. Since some of that time was spent waiting for the glue to dry I will only count 3 hours of actual work.
Original post date May 28, 2008