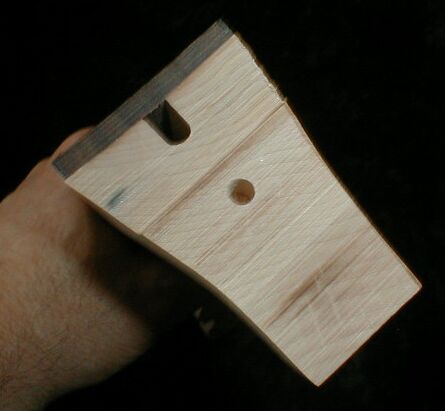
It is necessary to clamp the neck to the pot while aligning the neck to mark where to drill the first hole for the top hanger bolt. This is a tricky proposition because both the neck and the pot are round. So, I made some blocks to use while clamping to avoid damage to the neck and pot. Here is a photo:
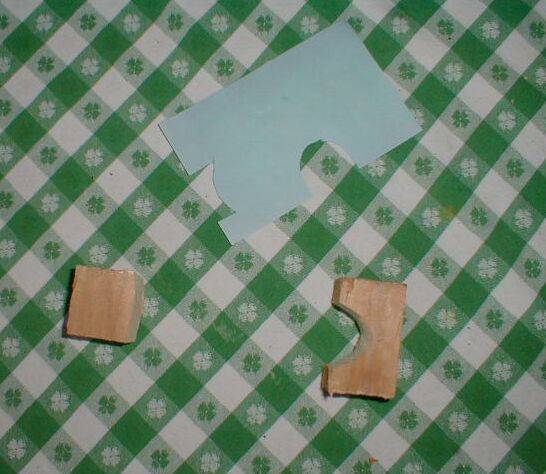
I traced the countour of the neck in two directions, i.e. the shape of the bottom of the heel and the shape of the side of the heel, and then cut them out of a piece of paper.
I then traced those shapes onto a block of wood and used a coping saw and a shoe rasp to shape the block. This was a tricky bit of work because the neck is curved in all three dimensions. So I eyeballed it the best that I could, checking for a fit occasionally. The block on the left is for inside of the pot, so it is just slightly rounded to fit nicely.
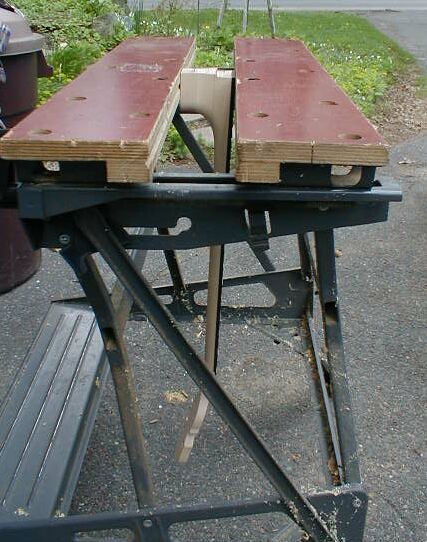
I then used a bench clamp to clamp the neck to the pot. Here is a photo:

Here is another photo from a different angle:
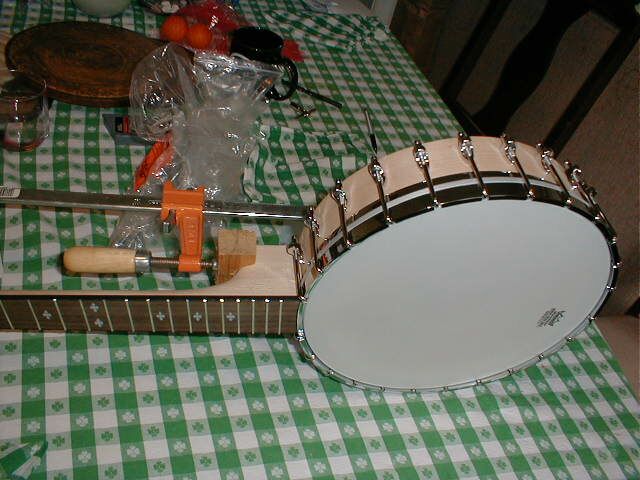
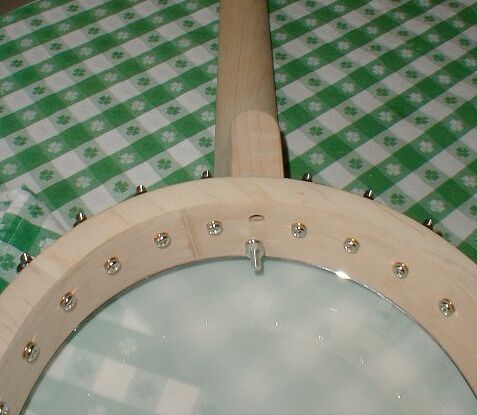
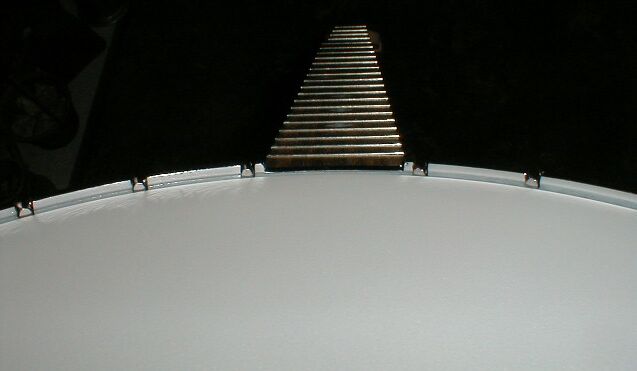
I clamped the neck gently enough that I could move it around as I sighted down the neck. The purpose of this is to align the neck at the correct elevation to make it even with the head. I centered the neck within the notch on the tension ring which provides space for the strings to get past the ring. The neck also must be absolutely parallel with respect to the head and not tilt to one side or the other. So, there were a lot of things to keep in mind while adjusting the neck position.
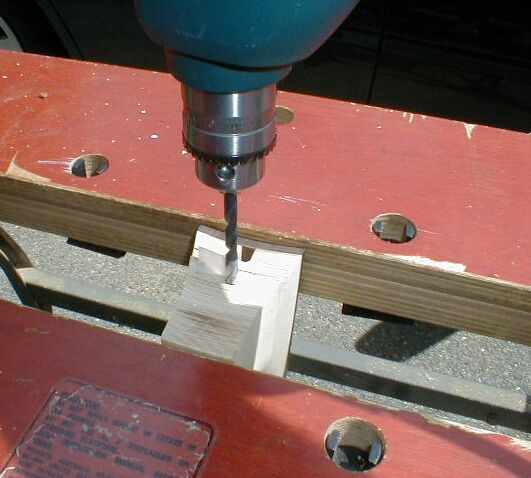
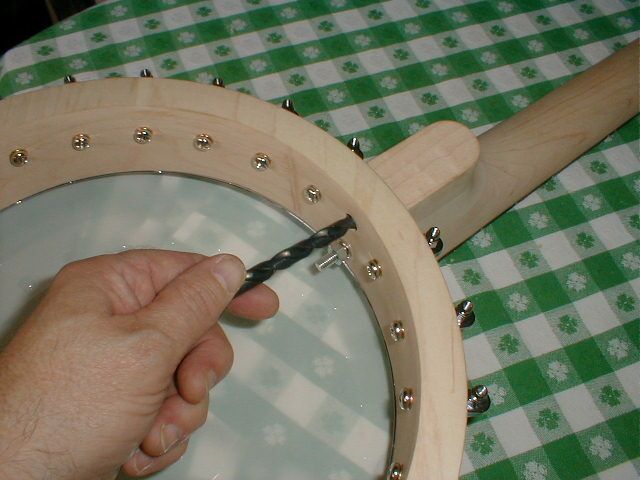
Once I had the neck properly aligned, I took my 5/16th inch drill bit and put it in the hole to mark the center of the hole on the neck. Here is a photo showing me marking the hole on the neck.

The reason that I used the large drill bit to mark the hole is that the drill bit fills the drilled hole, and is therefore self-centering. On other projects I have used a scratch awl to mark the position of the hole, and it has always been off-center. I have never been able to center an awl effectively while marking blindly in a hole.
So, once I had marked the position of the first hanger bolt, I disassembled the whole thing. Here is a photo of the mark made by my drill bit.
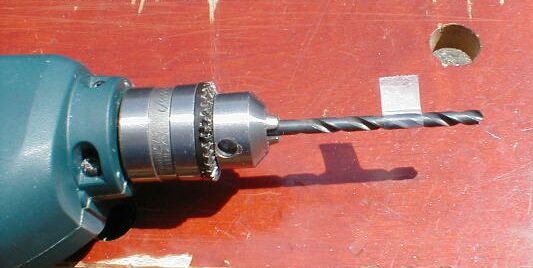
I put a flag on a 13/64th inch drill bit to make sure that I drilled the hole to the proper depth. This is not the same bit that I used to mark the position of the hole. This one is smaller, to match the size of the threads on the hanger bolt.
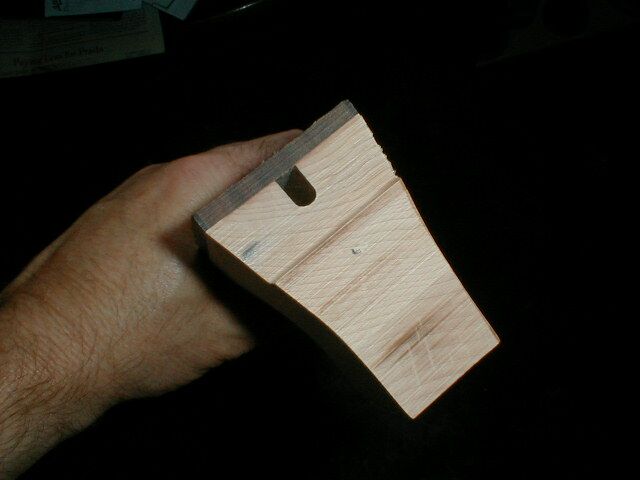
I clamped the neck into my Workmate, making it as level as I could. The hanger bolt hole must be drilled perpendicular to the base of the heel, not parallel to the direction of the neck. This is important to ensure that the 3° neck angle is preserved once the neck has been mounted.
In the photo you can see that the neck actually angles slightly to the left. Once I had the neck clamped, I took a deep breath and drilled the hole, doing my best to keep the drill perpendicular to the base of the neck.
This is a make or break hole. A bad alignment of this hole can make the banjo unplayable. Here is the hole.
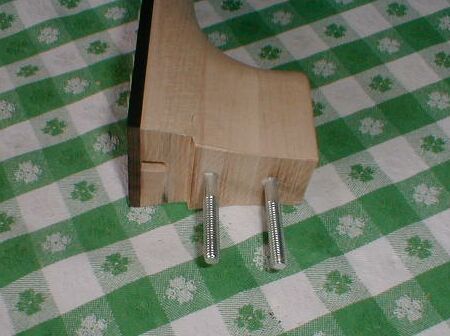
Screwing in the hanger bolt was actually quite easy. I put two nuts onto the machine threads, and used them to allow me to use a wrench on the bolt.
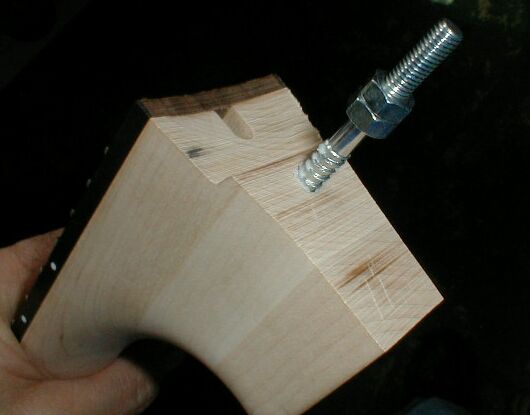
The white stuff on the threads is soap. I usually put soap on screw threads that I am screwing into hardwood. It helps the threads to go in smoothly.
Once the top hanger bolt was installed, I bolted the neck to the pot using that bolt so that I could mark the lower hole. The position of the lower hole is critical in making the neck perfectly horizontal with respect to the head.
I aligned the neck and then marked the position of the lower hole using the 5/16th inch drill bit to center the mark.
After marking the lower hole, I took the neck back out to the bench and drilled the second hole. Here is the final result of the effort:
Then, I mounted the neck to the pot using the newly installed hanger bolts to check it all out.
Gak! This is the stuff of nightmares! This is exactly what I did not want to happen.
So, I went away and thought about it a while. I finally figured that, if I cannot move the bolt, then maybe I could move the hole. So I took my chainsaw file and I filed away on the left side of the bottom hole in the pot just ever so slightly. This made the hole in the pot very very slightly oval... I mean, this is not even visible when I look at it. But, after I enlarged the hole like that I could torque the neck to the right and then tighten down the nut, and the neck was straight. Here is a photo:
I really feel bad about this hack because this is a big part of making the instrument playable. There is something that is aesthetically displeasing about having an oval hole in the pot because of my inability to drill to a precision spot on the neck.
But I did not know what else to do, and it is what it is.
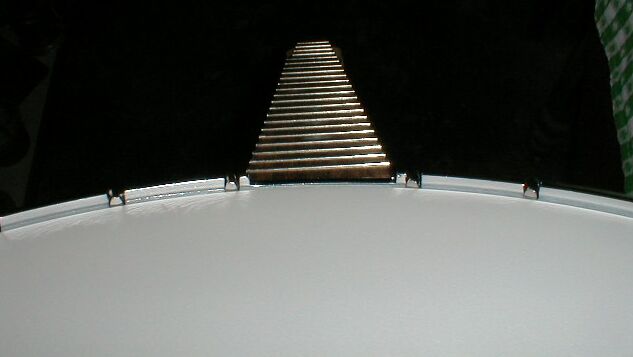
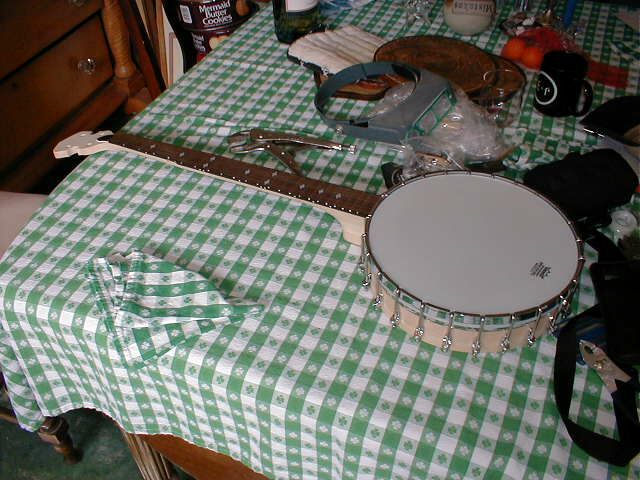
Here is a photo of the pot and the neck finally joined together. There are no co-ordinator rods in the pot yet. The neck is mounted to the pot using the nuts that I used before.
I have no idea how to make such a precise tool.
Also, it did not help to worry about it so much.