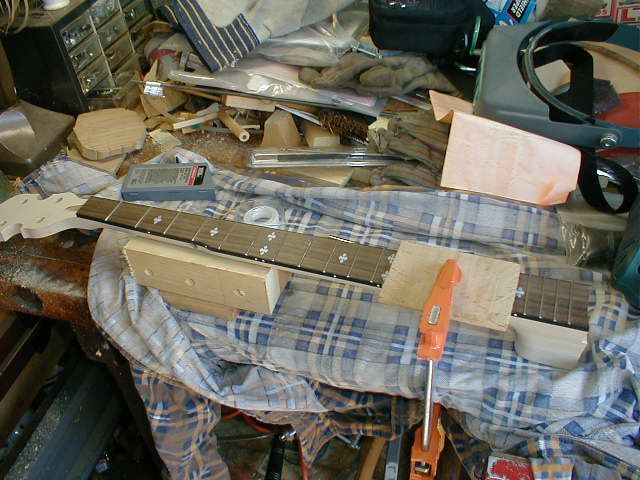
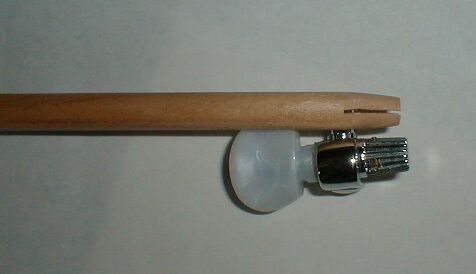
First I did the 5th string pip. In order to keep this operation as precise as possible, I clamped the neck to the bench using my support block. Here is the setup. Notice that it is especially important in projects such as these to keep your workspace neat and clean...... :-)
I measured in 1/8th inch from the 5th fret and from the side of the neck as directed in the instructions. I measured those distances using the 1/8th inch drill bit that I used to drill the hole. Then, I marked the location of the hole using a centering punch.
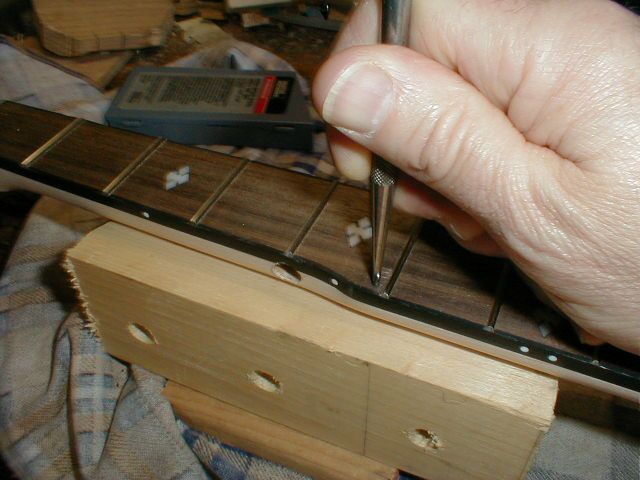
Here is the 1/8th inch drill bit with the flag on it. You can see the mark made by the punch just above the 5th fret.
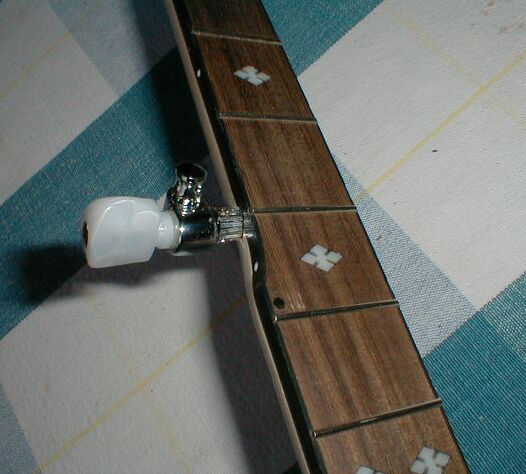
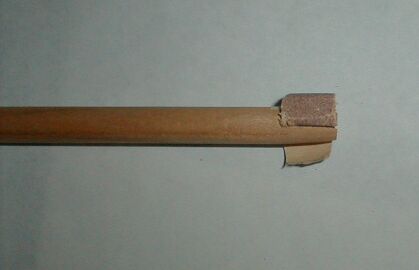
Here is the plastic pip installed in the hole.

I think they gave me a little extra length. I will cut that down later when I do the final setup on the banjo.
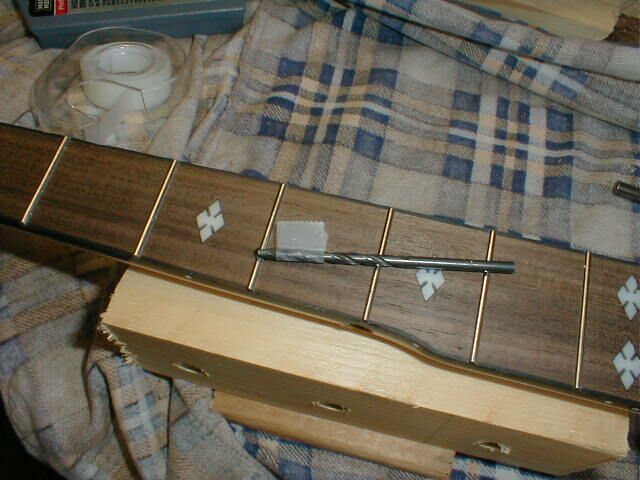
The next step is to do a dry fit of the 5th string peg... just to see how all of this is going together. Well, here is the first surprise of this step.
If you look closely, you can see that the peg just barely fits inside of the hole. Just the tippy end of the peg fits. It appears upon inspection that the hole is not tapered at all, but is, rather, drilled straight in. So it looks like I will have to taper the hole myself. Trying to seat the peg in that hole will surely split the neck.
I did some quick measurements, and I found that the peg tapers from about 3/8 inches down to about 11/32 measured at the outside edges of the splines. The hole is about 5/16 inch, which is the size of the point of the peg not counting the splines. So that is the reason that just the pointy end of the peg fits inside of the hole.
Since I do not have 5th string peg hole reamer, which is a specialty tool, I decided to do this job by making a simple tool for it.
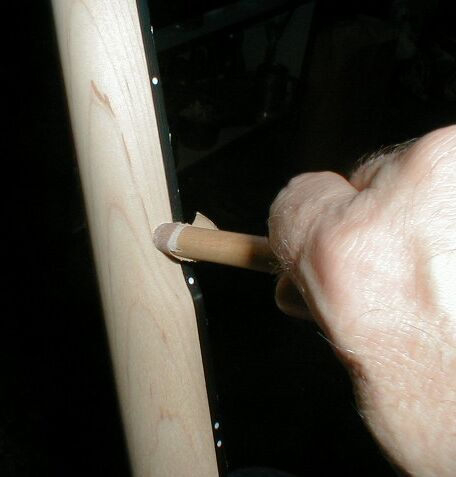
I made a tool out of a 3/8 inch wooden dowel, tapering it to roughly the same shape as the peg. Then I cut a slot in it using my coping saw. The slot is to hold a piece of sandpaper. Here is a photo:
Then I slipped a small piece of 80 grit sandpaper into the slot and wrapped it around the "reamer". Here it is:
Using this tool, I reamed out the hole in the neck. This was very tedious and took a long time. I wore out many pieces of sandpaper doing this.
Finally, the peg fits deeper into the hole. I left the hole small enough so that some of the splines are still showing so that they will bite into the wood when I whack the peg into the hole later.

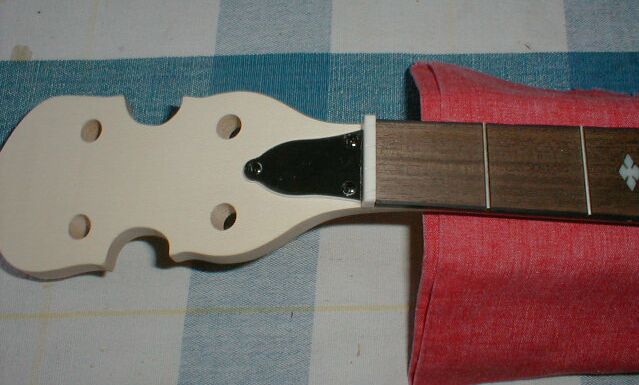
Finally, I put the nut in place by trapping it between the fingerboard and the truss rod cover. The truss rod cover is screwed on with tiny phillips head screws, so I had to use a rather small phillips screwdriver to get them to go in. You might need to purchase one if yours are too big for this job. I used soap on the screw threads to make them easier to drive in. Here it is.
That is it for this step. This was pretty easy stuff, although it got tedious when I was reaming out that peg hole.
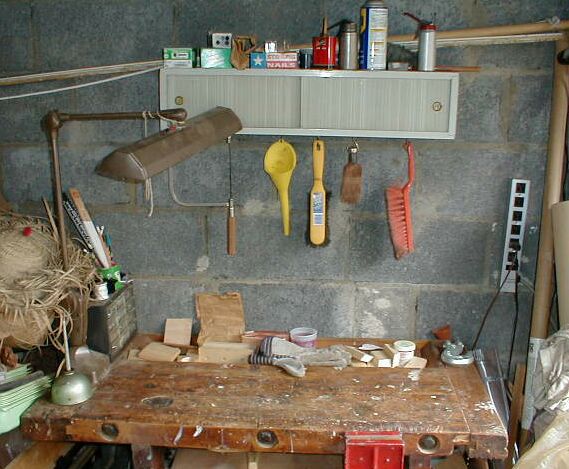
Also, cleaning up that cluttered workbench was a bit of a challenge. Here it is now:
I would also not worry about it so much.