It has been a few weeks since I looked at this project. I started building a hoop at the beginning of April and it is now near the end of May. Spring has sprung. But today I am going to take the time to finish building my first real hoop.
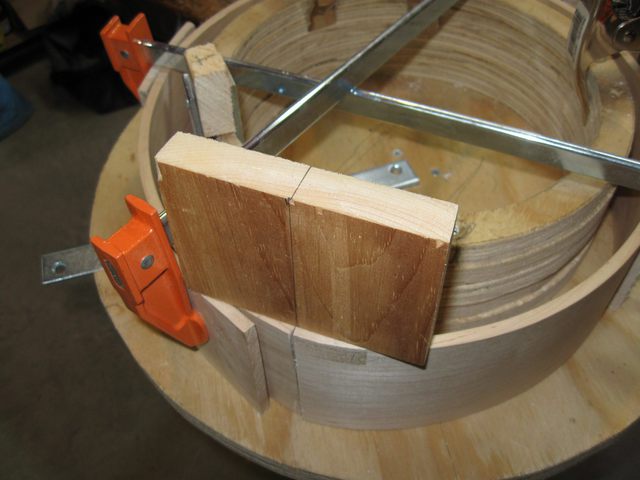
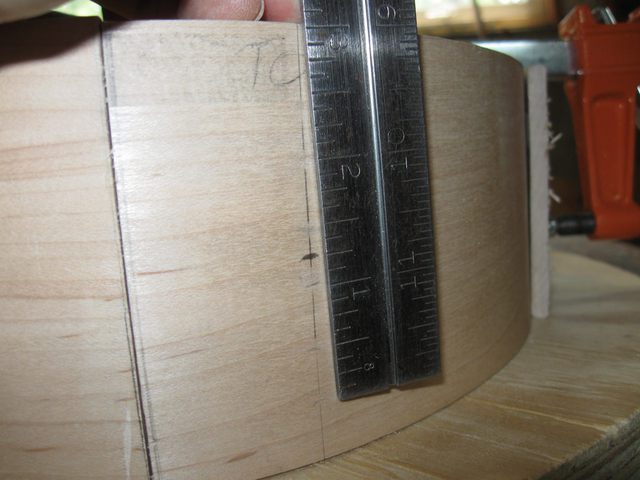
The depth of the hoop is 3 1/2" as shown below. That is the height that I have to make the heel block that will hold the ends together.
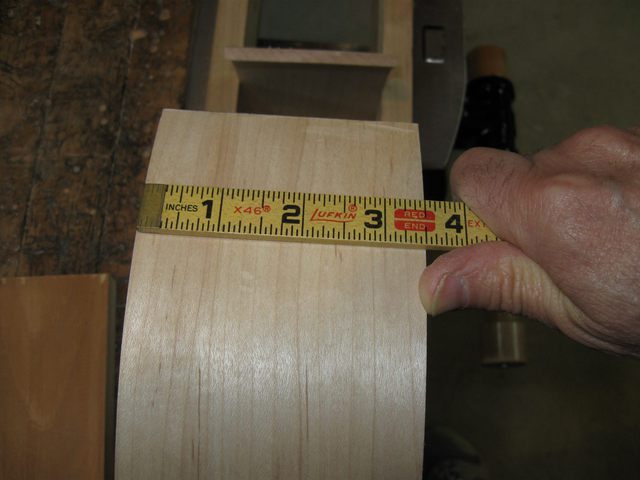
The Depth of the Hoop is 3 1/2"
I actually will cut the heel block slightly shorter than the depth of the hoop. That will provide some clearance between the top of the hoop, where the head will sit, and the top of the heel block. The purpose is to keep the head from hitting the top of the heel block and buzzing when it sags under the tension of the strings.
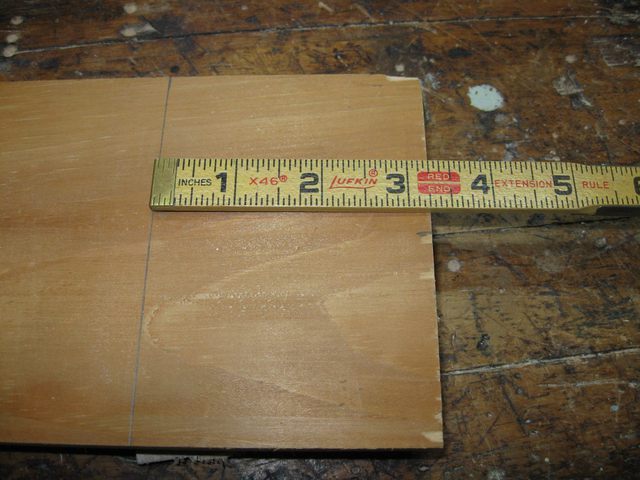
The Heel Block Will Be 3 1/4" Tall
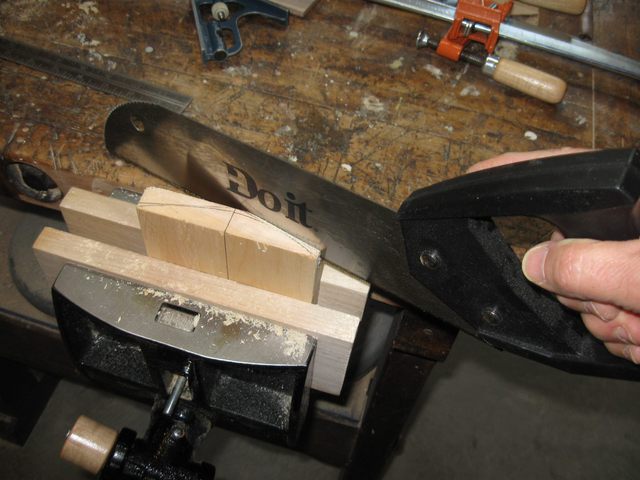
I clamped the board to the bench and sawed off the heel block.
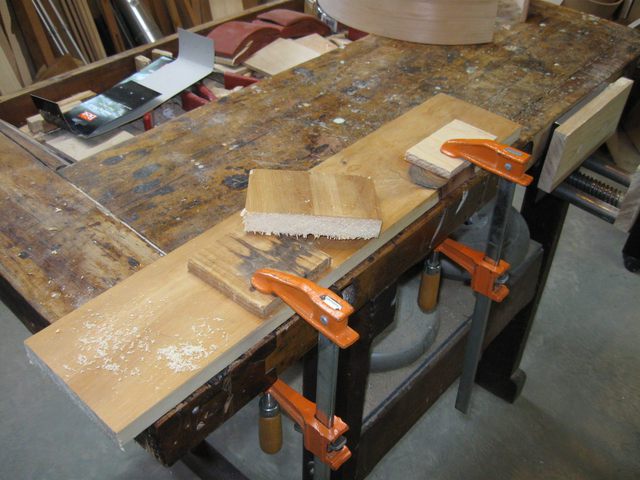
The Heel Block Has Been Cut Off
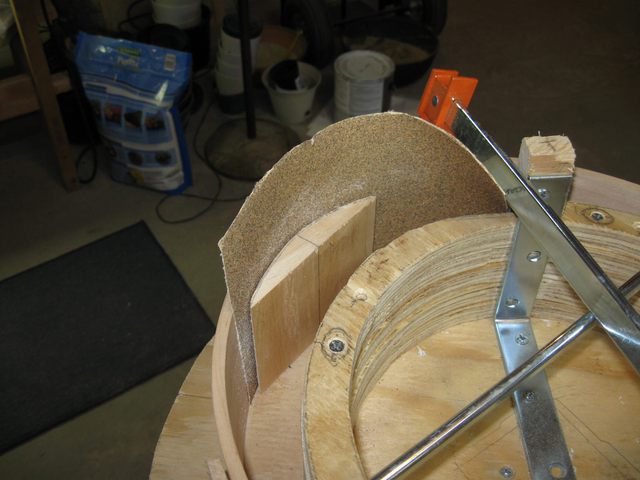
Then, I clamped the hoop to the bending form like I did before and used the bar clamp to squeeze the two ends together. I can now draw the curvature of the joint onto the end of the block by setting the block down on top of the hoop.
The Heel Block Sits on the Hoop
Getting the pencil in that slot between the hoop and the form was a bit tricky, but I managed to do it.
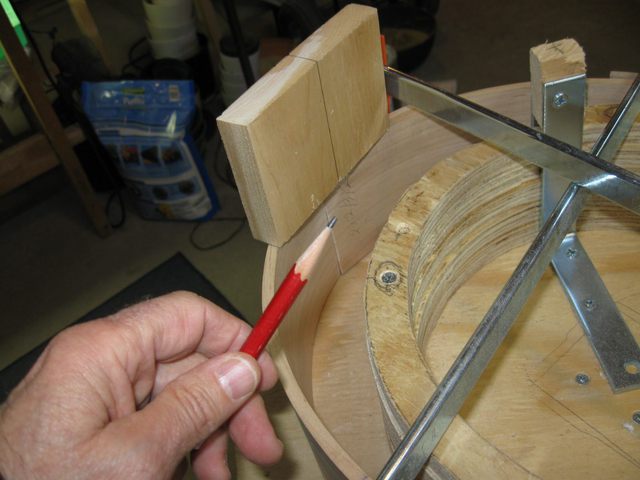
The Pencil Used To Mark The Heel Block
Here is the mark on the block showing the curvature that I have to cut.
The Curve
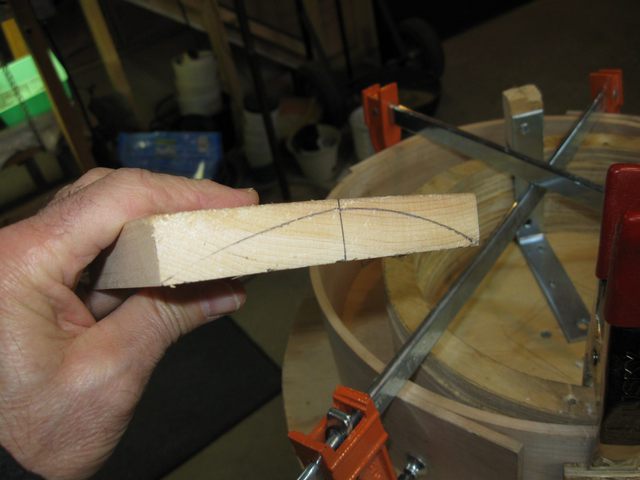
I drew some straight lines that are tangent to the curve so that I can remove most of the waste wood with a straight saw. This is the same technique that I have used before.
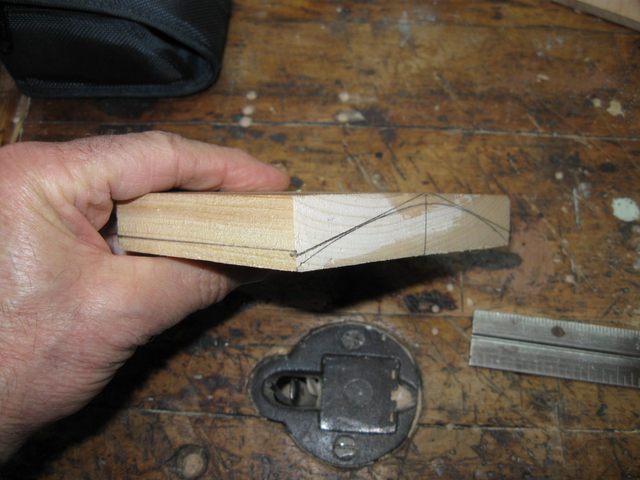
I Have Drawn the Straight Cut Lines
Using the panel saw I cut half way through the block. I will turn the block over to cut the rest of the way through.
Cutting Away the Waste With a Panel Saw
After cutting half way through, I turned the block over and stuffed some cardboard in the kerf to keep it open when I clamped the block in the vise.
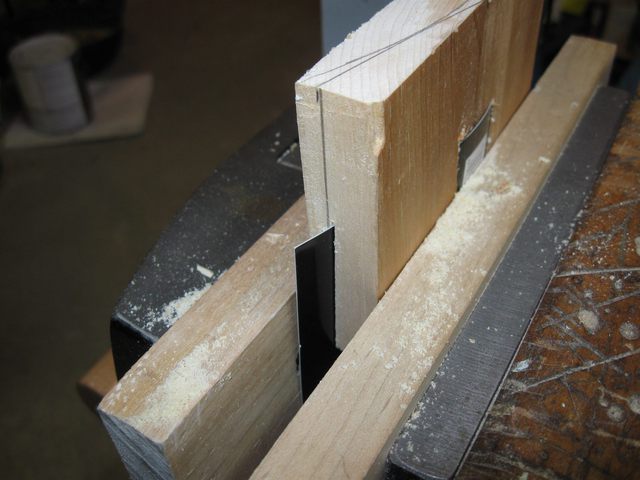
The Cardboard Keeps the Kerf Open
After sawing through the block end to end here is what I have.

Most of the Waste Has Been Removed
I clamped the heel block into the vise and carved the curve down to the line using the block plane.
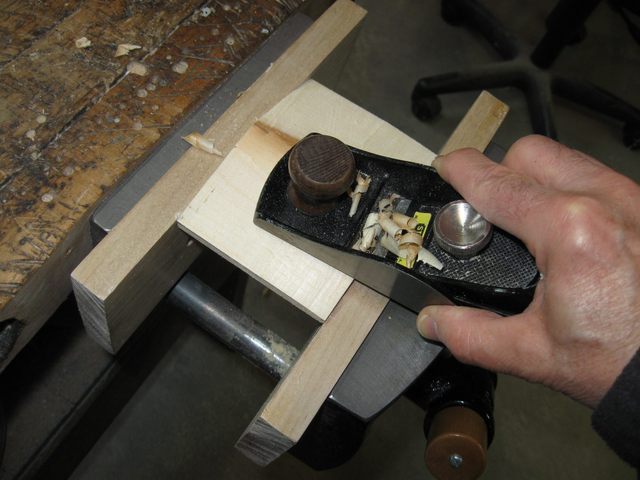
I Use the Block Plane to Carve the Curve
The pine is so soft that it doesn't take long to cut the wood down to the line.
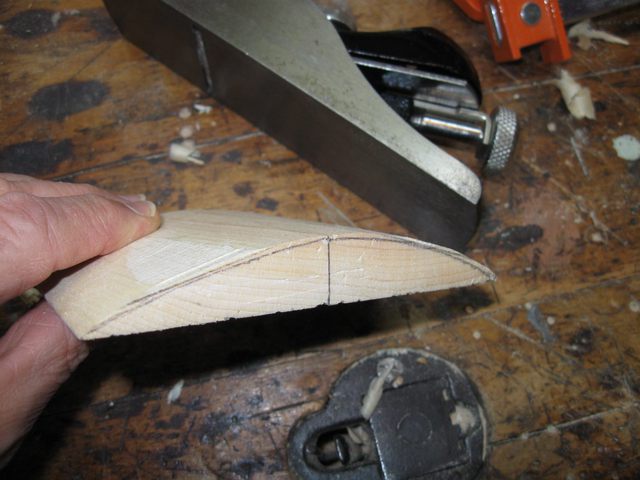
The Curve Has Been Cut to the Line
Next, I got out some brand new 60 grit sandpaper to fit the heel block more closely to the curve of the hoop.
Hey, look. A Star Wars Storm Trooper is on the back of the sandpaper. It must be especially gritty.

I Used 60 Grit Sandpaper to Fit the Heel Block
I put the sandpaper up against the hoop and rubbed the heel block against the sandpaper to cut the curve down to fit the hoop.
The Sandpaper Fits the Heel Block to the Hoop
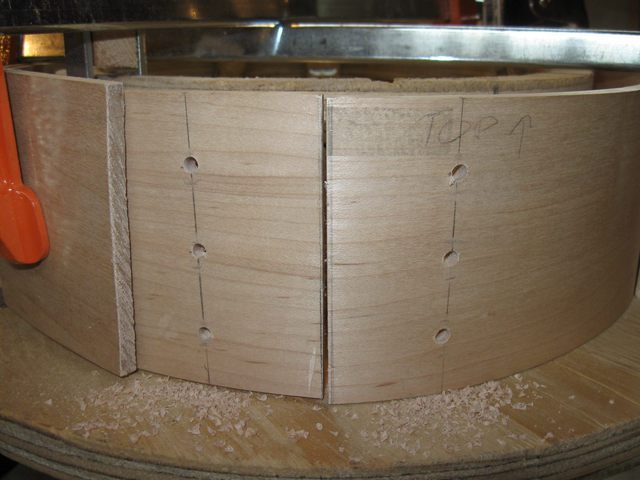
Now it is time to screw the ends of the hoop to the heel block. To locate the where the screws will go, I dropped a vertical line on each side of the seam that is 1 1/2" away from the seam. The screws go in along the lines. On my gourd banjos, the dowel pieces tend to be 1" to 1 1/4" wide where they come out of the gourd on the tail piece side. They are rectangular in cross section and tapered gently from the heel of the neck to the end of the dowel. I plan on using the same construction technique for these banjos as I have for the gourd banjos... except that I will be using a wooden hoop instead of a gourd.... so I need to leave room between the screws for the dowel stick.
Providing a 3" separation between the screws in the heel block should give me plenty of clearance to cut a hole for the dowel piece.
I will center the screws vertically on the hoop and put them 1" apart... three screws on each side. That is probably overkill, but I don't mess around when I want something to stay together.
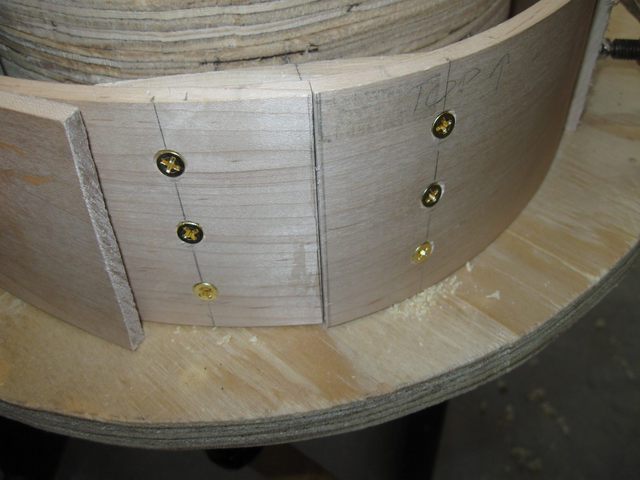
The Screws Will Be Centered on the Hoop
Here are the marks where I will place the screws to connect the ends of the hoop to the heel block.
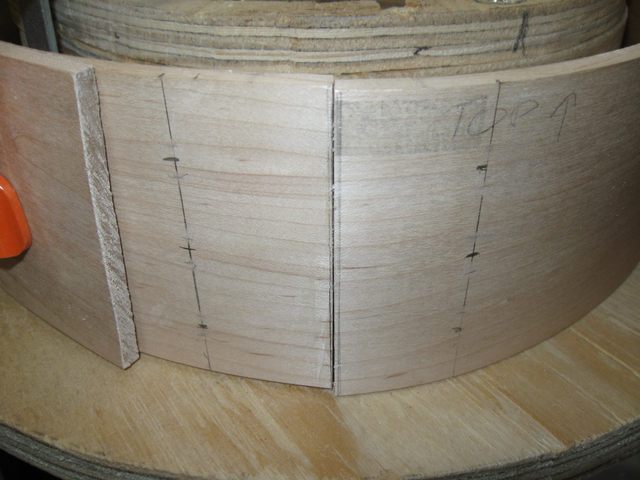
Six Screws Will Be Placed at the Marks
I have upgraded my screws to solid brass screws. They are not as strong as steel, but I will be using six of them, so that is not a problem. The brass screws will look nicer and will not rust over time.
These are #8 screws ( of course ) and are 3/4" long.
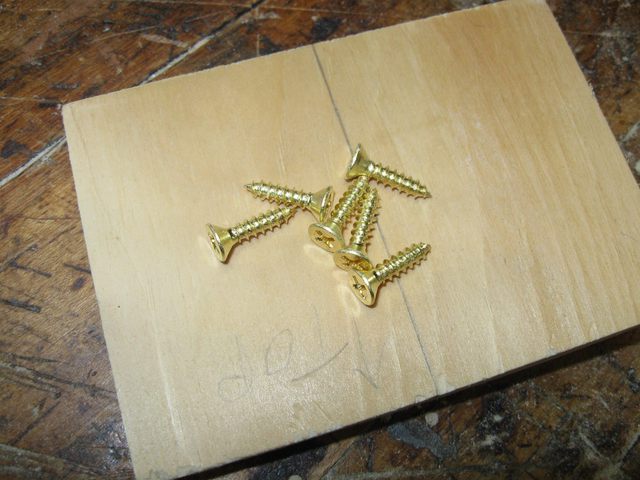
The Screws Are Brass
Before I put the heel block into the hoop, I drilled out the pilot holes using an 11/64" in drill bit.
The Pilot Holes
Then I chamfered the holes so that the flat head screws will be flush with the surface of the hoop.
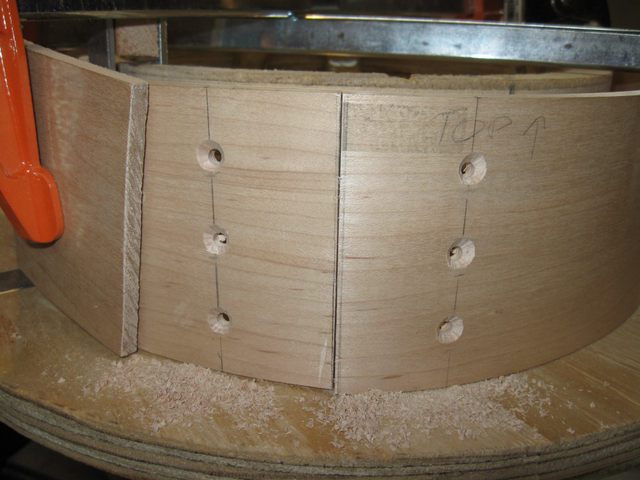
The Holes are Chamfered
There is a little bit of tearout on the inside of the hoop where I drilled the holes. I knocked that down with the sandpaper.
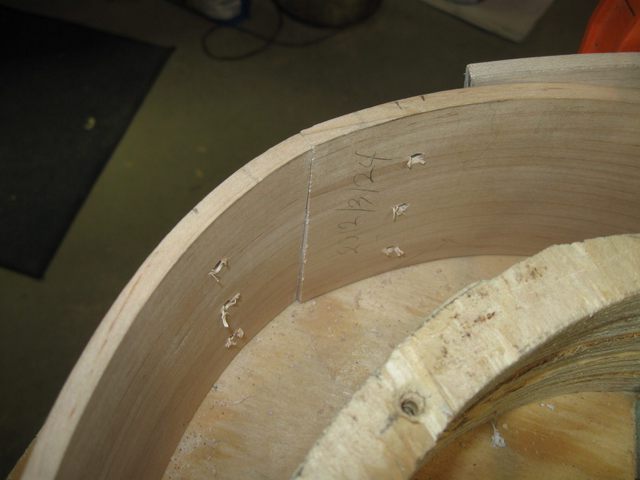
Tearout
I lined up the heel block inside the hoop and clamped it in place using C clamps. I then drilled the 7/64" pilot holes for the screw threads into the heel block.
I started the screws in the heel block by hand.
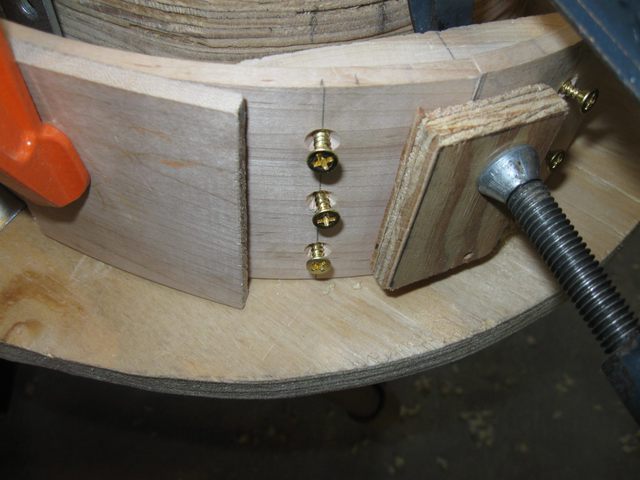
The Screws are Started in the Heel Block
Here they are, all screwed down flush. Looks good.
The Screws Have Been Seated
I took off all of the clamps, and here is the hoop. Solid as a rock.
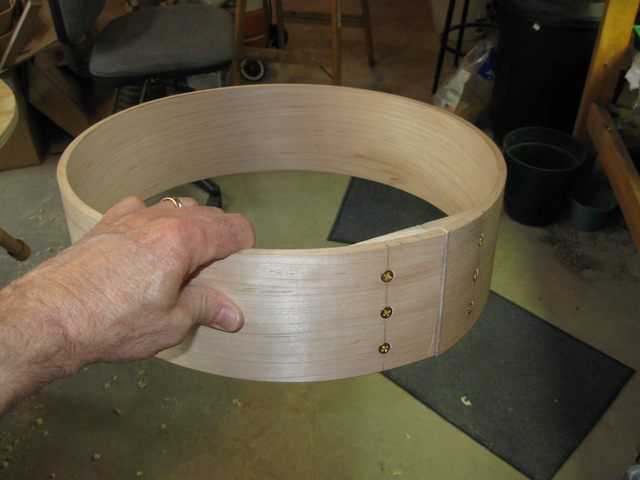
The Hoop is Done
It is mostly round, although slightly oval. That will not be a problem with my hand made tackhead banjo.
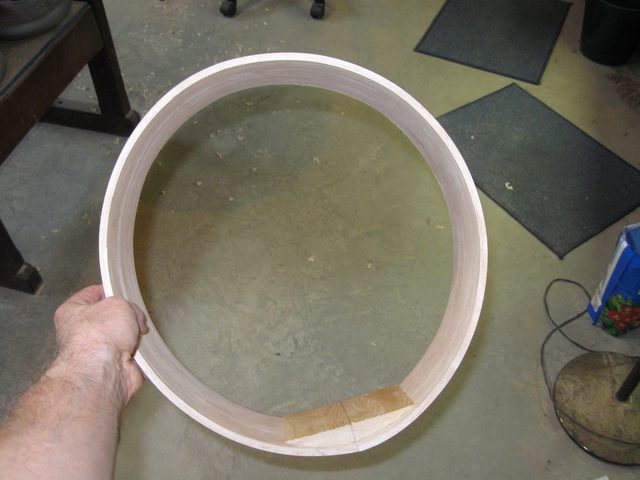
The Heel Block is Visible at the Bottom
There it is. My first banjo hoop. It isn't perfect, but I bet I could make it into a playable banjo.
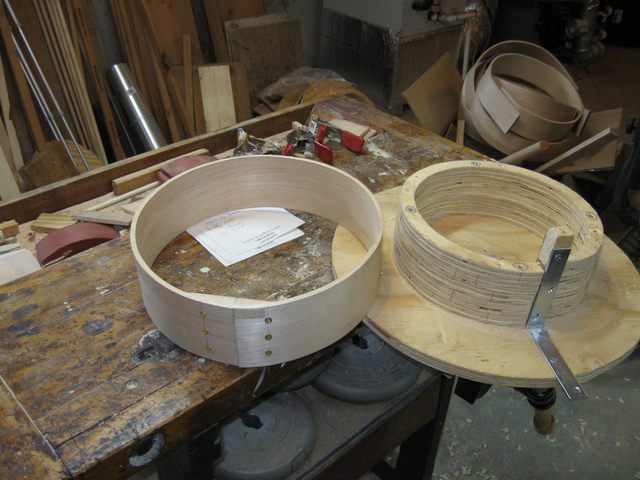
The First Hoop is Done
This was a good day. It is nice to know that I will have at least one hoop to make a banjo out of. It has not been obvious during this long process that I would ever figure this out. But there it is.