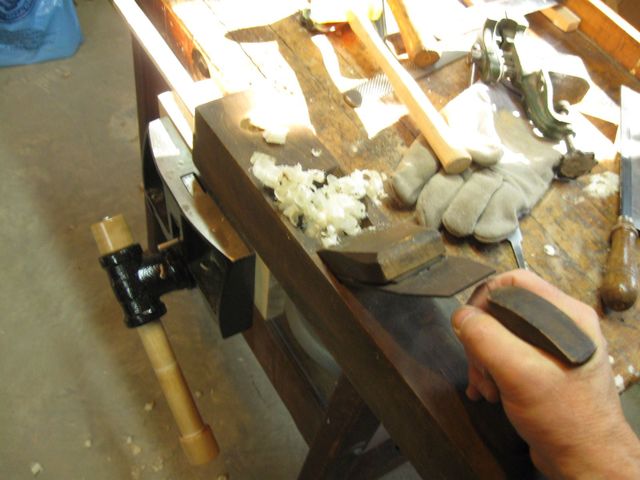
There was one last part that I needed to make before I could string this banjo up and try it out - the bridge(s). Before I got started making the bridge(s) I put a final coat of finish on the peg buttons.
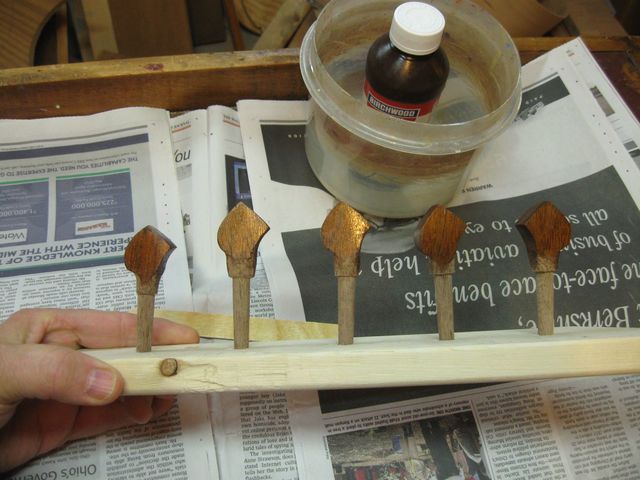
One More Coat of Oil Should Finish These Off
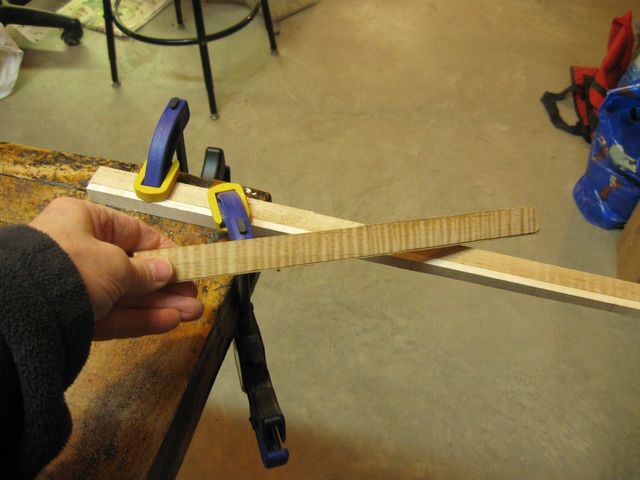
I keep saying "bridge(s)" with the (s) because I actually made two bridges, one out of maple and one out of pine. I read somewhere that minstrel banjos play louder if the bridge is made of soft wood, which is lighter. So while I have the tools out, I figured I would make two of them, one out of maple and one out of pine, and then I could try the softwood bridge later with less fuss. I normally use maple bridges, so I will string it up first with that one.
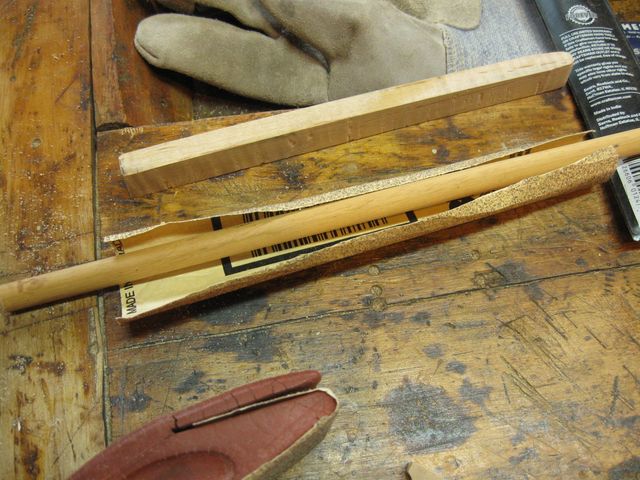
Anyway, I found the piece of scrap maple shown in the photo below, and it looked like it would make a fine bridge. The pine board is under it on the bench.
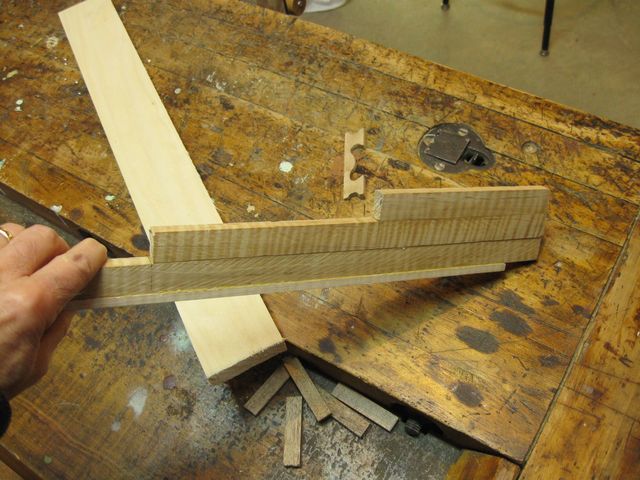
This Scrap is Curly
Notice that the piece in the middle has a considerable amount of curl in it. I thought it would be really cool to have a curly maple bridge to match the neck and finger board. In fact, since this piece was cut off of the neck, it will exactly match the neck.
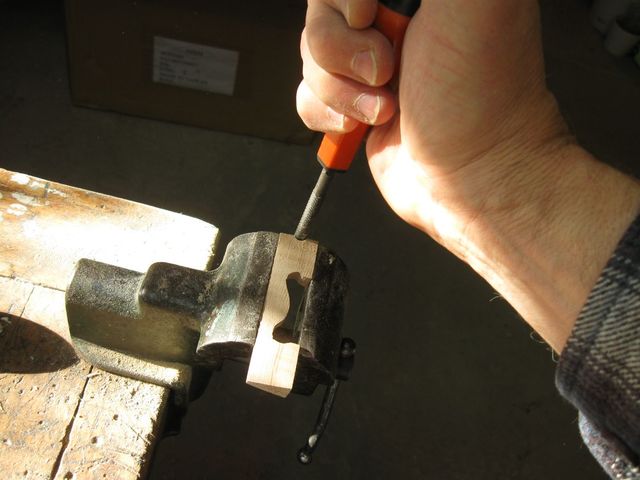
I have a spare bridge from one of my gourd banjos. It seems like I make more bridges than I can use. But I am going to make a new one anyway because I really want that curly maple bridge now.
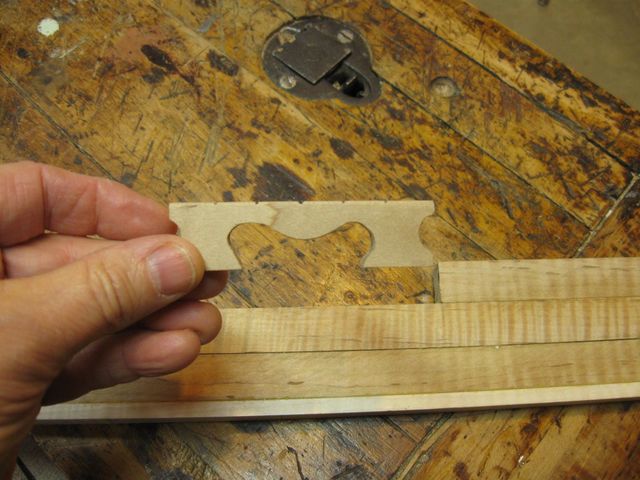
This Spare Will Be My Template
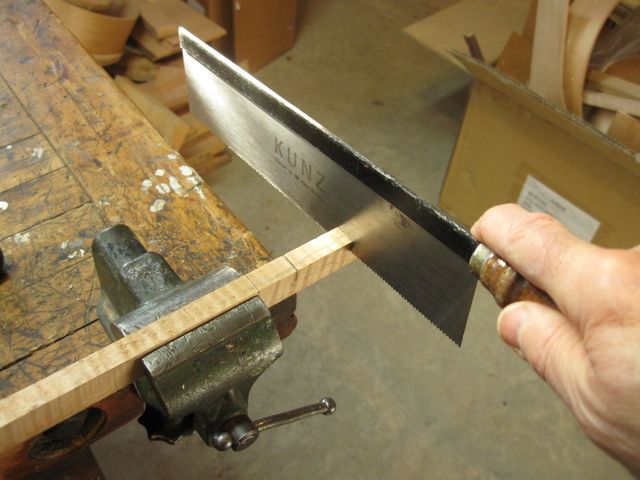
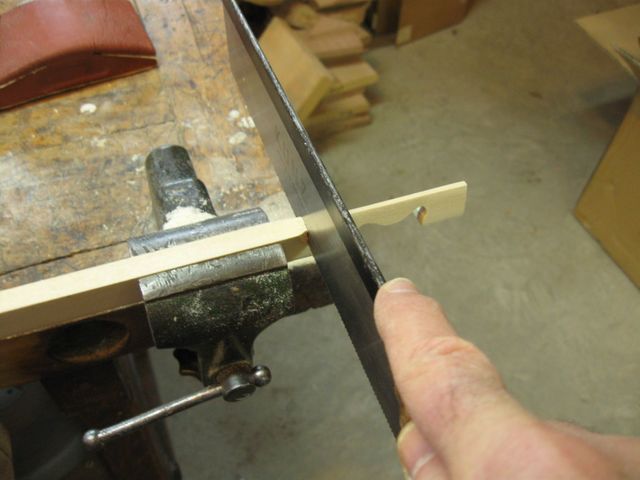
But first, I had to separate the curly maple strip from between those two other pieces. So I sawed them apart with the panel saw. I tried to saw just outside of the glue line in order to keep the whole 3/4" width of the part in the middle. I don't want to make a short bridge.
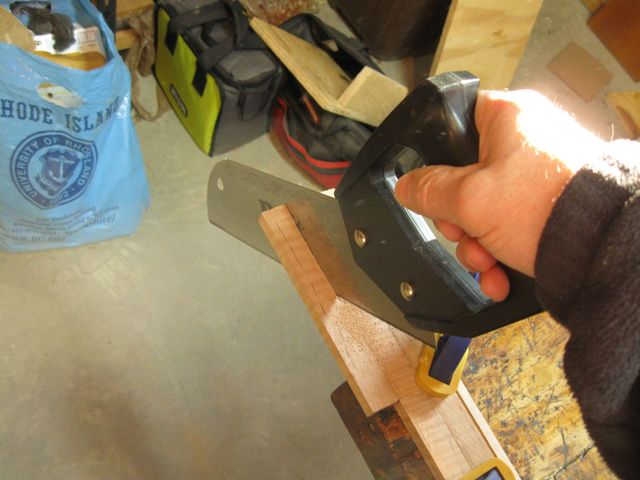
The Panel Saw Is Working Better With the Wax On It
And there it is, a nice strip of curly maple for bridges.
Ready To Cut Into Bridges
To make it easier to handle, I straightened out the sawn edge with my plane. I really like that old wooden jack plane. It is really easy to use.
Plaing a Straight Edge on the Blank
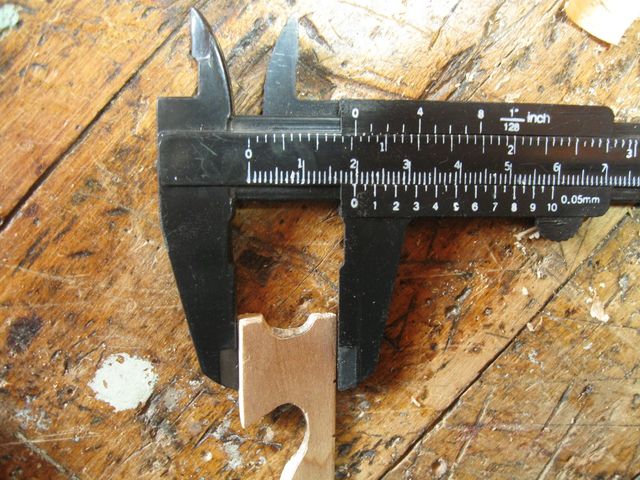
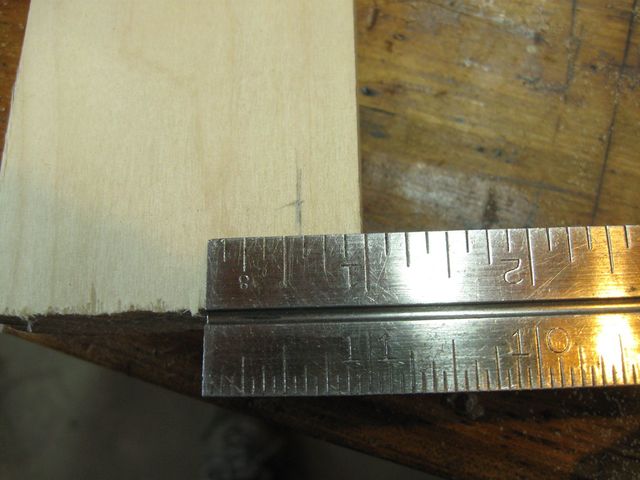
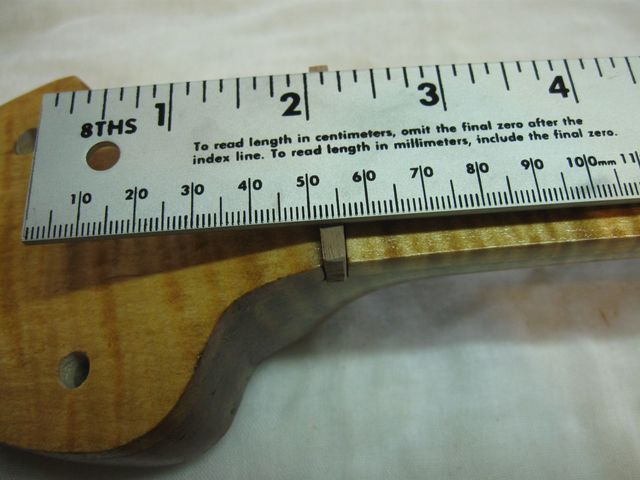
I traced the old bridge onto the blank. Then, I measured the thickness of the feet on the old bridge so see how this is going to fit. Looks like about 11/32", although it could be 21/64" if I wanted to get picky.
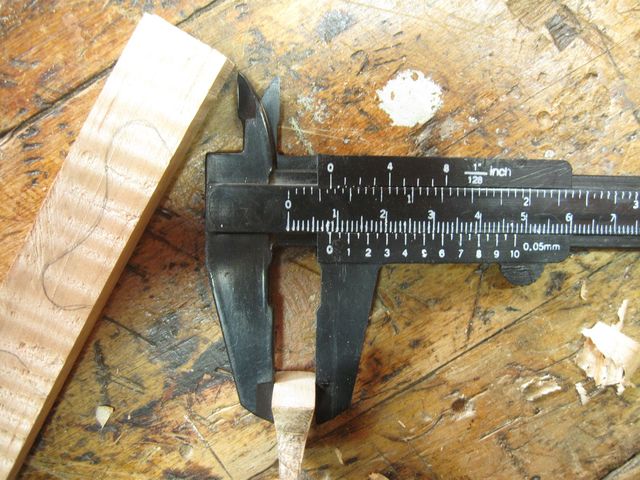
I Think I am Going To Go With 11/32"
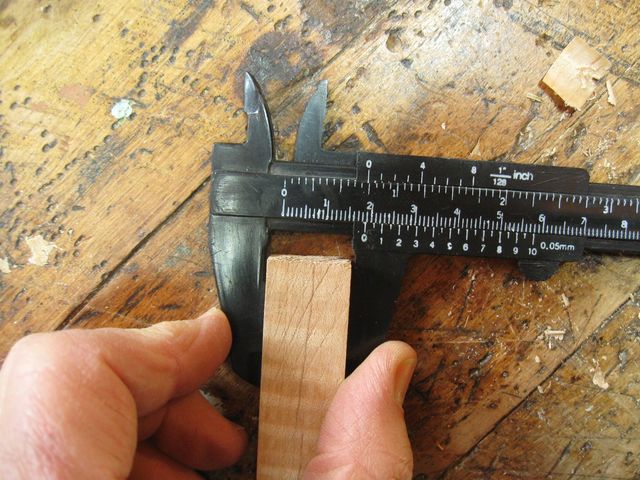
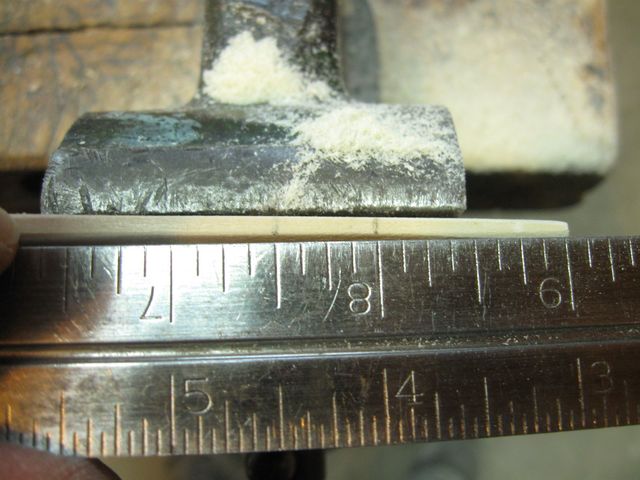
I measured the thickness of the blank I just cut, and it came in at 15/32", so I have enough wood there.
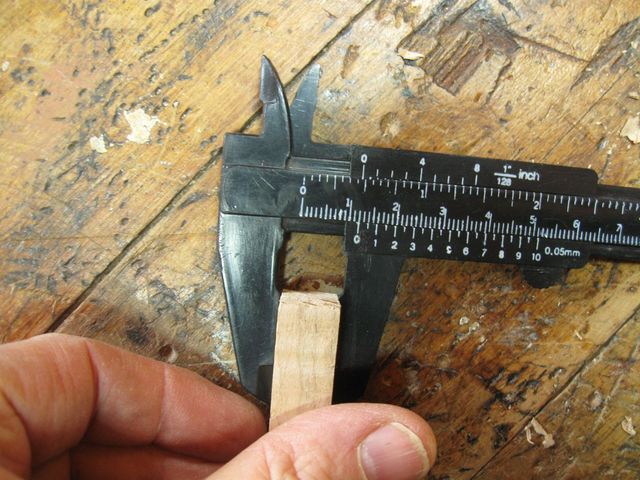
The Blank is 15/32" Thick
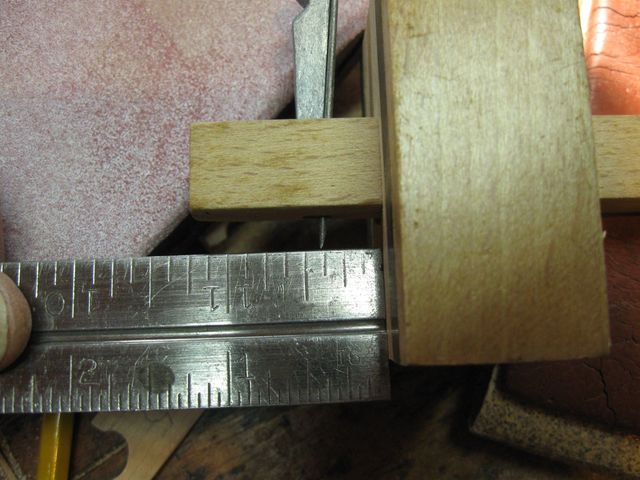
The bridge is 3/4" tall, which is the standard height that I make my bridges. Actually, it looks like this one is 1/32" taller than that.
The Bridge is 3/4" Tall
The blank is about 1/64" shorter than 3/4". I must have planed off a bit too much wood. But that is OK. That difference will not have any effect. If it does, I will make a taller bridge later.
The Blank is Just Short of 3/4" Tall
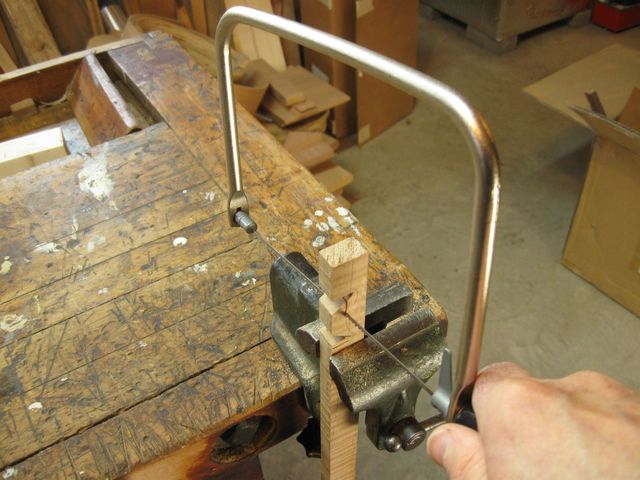
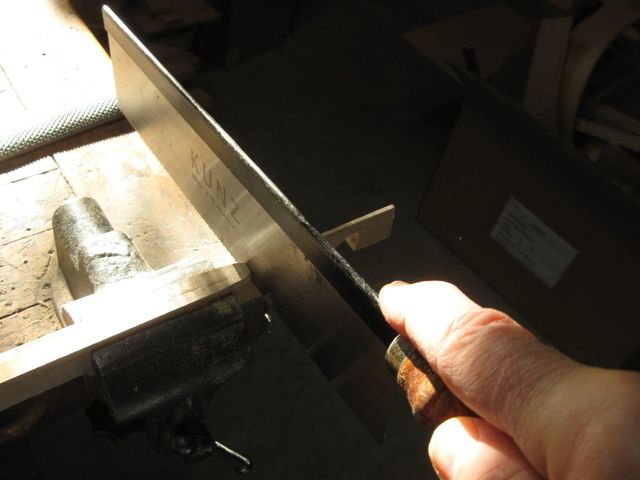
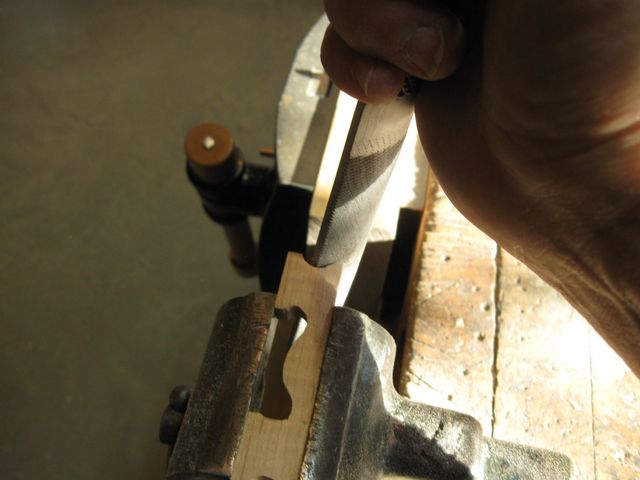
I started cutting out the holes in the bottom using the dovetail saw because it was cutting faster than the coping saw.
The Dovetail Saw Cuts Faster Then the Coping Saw
I initially tried to cut the curves with the coping saw, but it was slow and I was making a mess. So I decided to approximate the curves with the dovetail saw and then round them out with the rasps. Unfortunately, the dovetail saw was squeaking like the panel saw did earlier, so I put some beeswax on it.
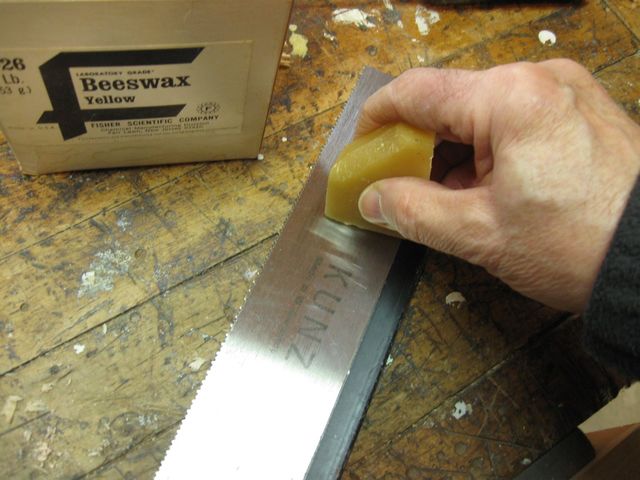
Beeswax Should Stop the Squeaks
That did not work very well. It was still squeaking. So I went back to the coping saw to finish it off.
Coping With the Squeaks With the Coping Saw
The rattail file smooths and rounds the curves.
Smoothing the Curves With the Rattail File
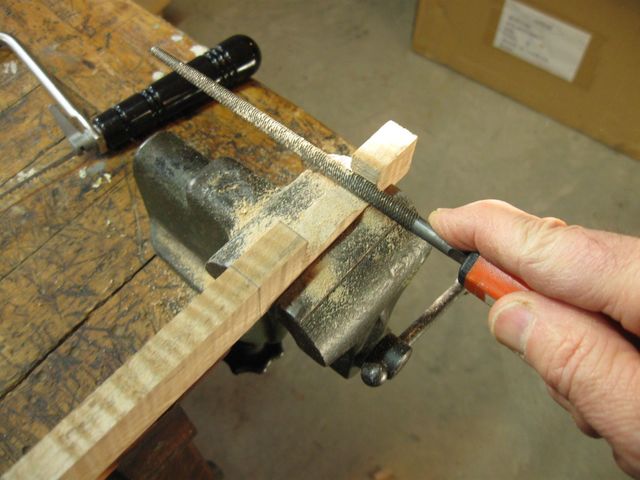
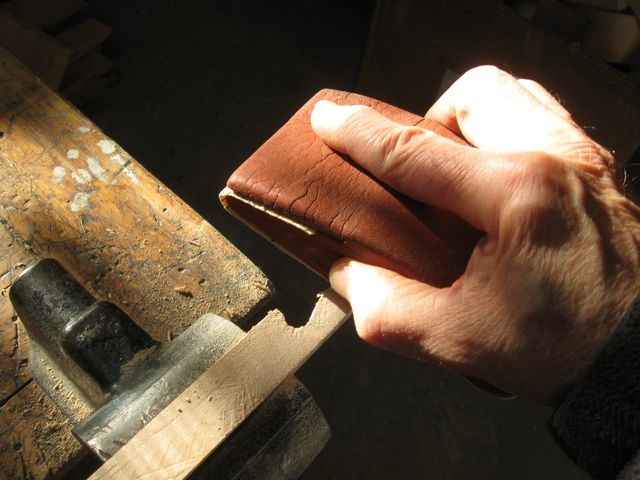
After the curves under the bridge were cut, I thinned it out and tapered it to a point at the top. I needed to remove quite a bit of wood to taper the bridge to a triangular shape, so I used the card scraper since that removes wood quickly.
The Card Scraper Removes Wood Quickly
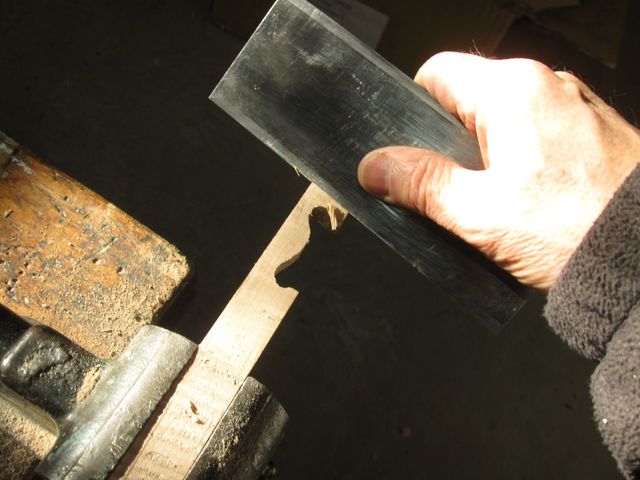
The card scraper actually removed the wood in a very uneven way, leaving the surface of the bridge wavy. So I moved to my shoe rasp, which keeps the surface flat. It is slower than using the card scraper, but easier to control.
The Shoe Rasp Keeps the Surface Flat
After I had cut the wood down far enough with the shoe rasp, I moved to the 60 grid sandpaper to smooth it out some while still removing wood.
The Sandpaper Leaves a Smoother Surface
Of course, with all that sawdust kicking up, it is wise to wear a protective mask so as not to breathe the dust.
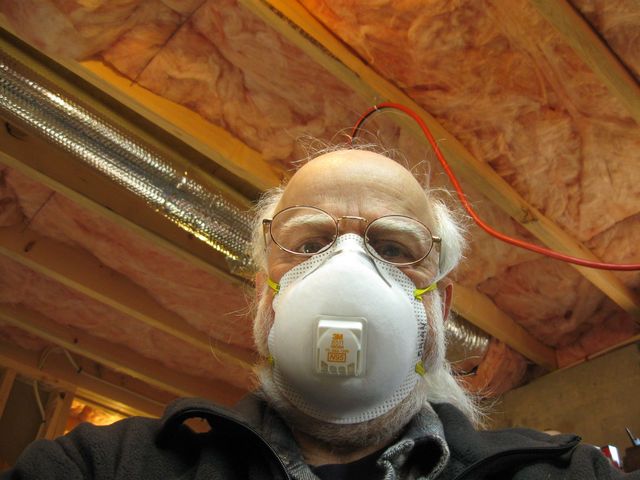
Wear A Mask Like I Do to Protect Your Lungs
I took that picture myself.
Wait a minute. It looks like a have a wire coming out of the top of my head. I really don't have a wire coming out of my head, it just looks like that in the picture.
Really.
Rats!
Wear the mask anyway, even if you look like a dork.
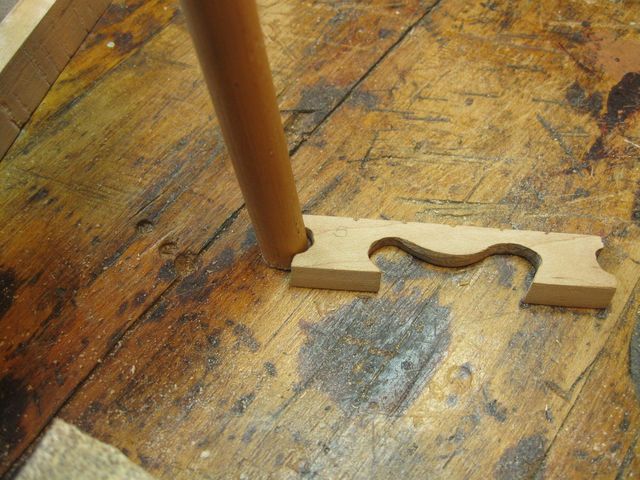
Anyway, here is the bridge blank still attached to the stick.
The Bridge is Still Attached to the Stick
I sawed the bridge off of the stick.
Saw the Bridge Off Of the Stick
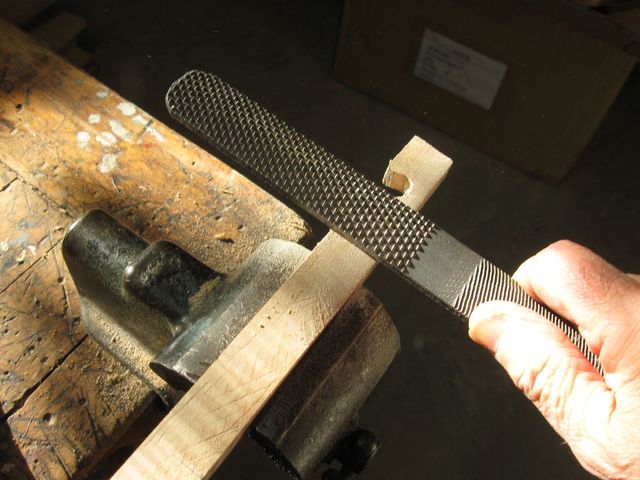
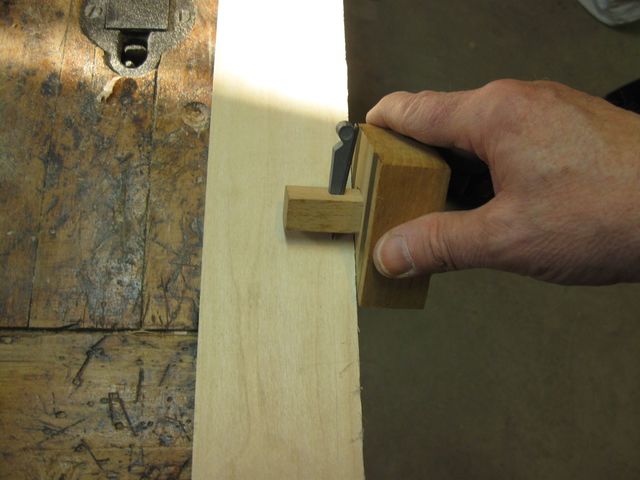
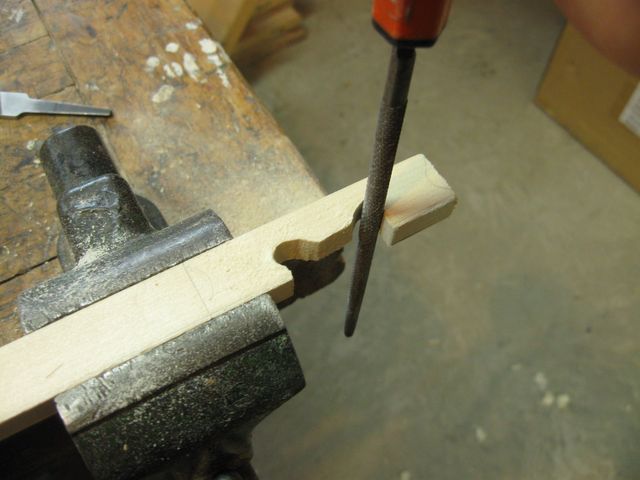
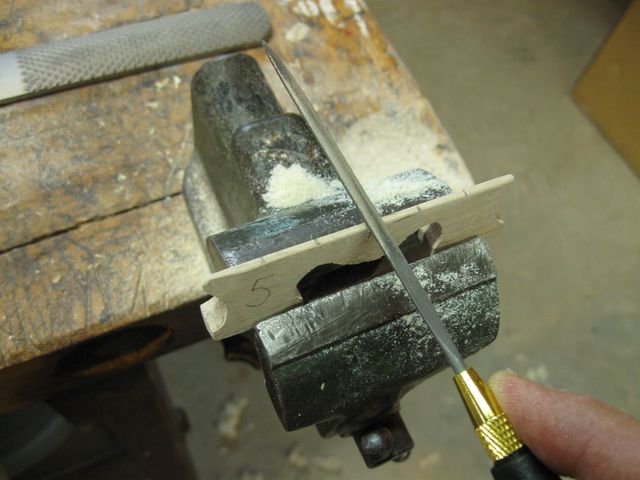
Then I used the rattail file to make the indentations at the ends of the bridge.
The Rattail File Makes the Indentations
That rattail file is too small for the notches that I want in the ends. So I found this dowel to see if I can speed this up some.
This Dowel Almost Fits the Notches in the Bridge
I tried wrapping sandpaper around the dowel to make something I could shape the notches with, but I could not keep the sandpaper wrapped tightly enough around the dowel, so I gave up on that and tried something else.
The Sandpaper Trick Did Not Work
The end of the sanding block looked like it might fit in the notch, but when I tried it, the notch ended up with corners that were square.
This Looks Like It Might Work - But It Didn't
So, I just bit the bullet and finished it up using the shoe rasp and the rattail file. Stick with what works.
The Shoe Rasp Works OK.
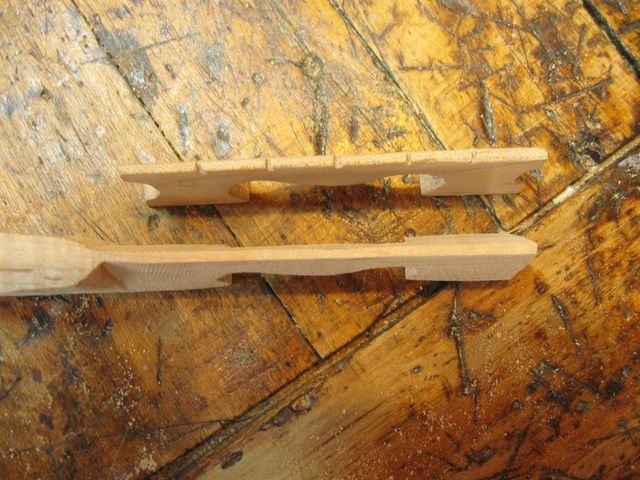
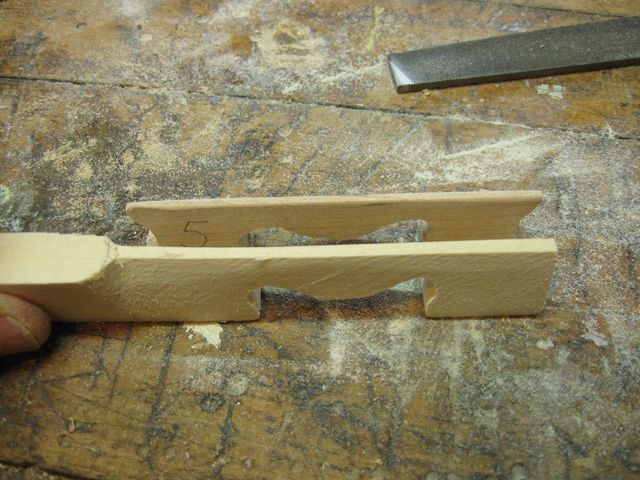
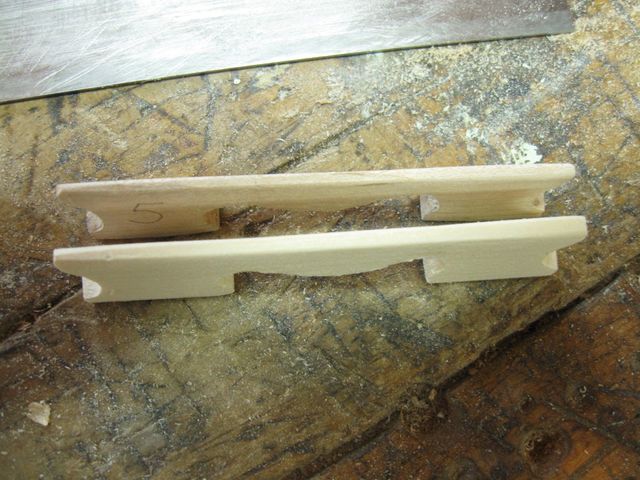
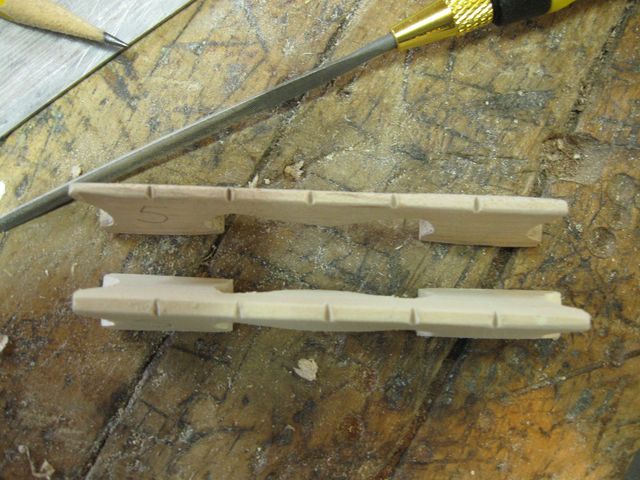
Here they are. The old bridge is on the top, and the new one is on the bottom. They are not identical, but it is close enough. How do you like my creative, crooked notches in the bottom? I did that on purpose.
Really.
The old bridge is also slightly larger than the new one too, but then I knew that going in.
But where is that curl I was looking for? It seems to have disappeared. Strange. Maybe it will come back later if I stain it. But I am not going to deal with that now.
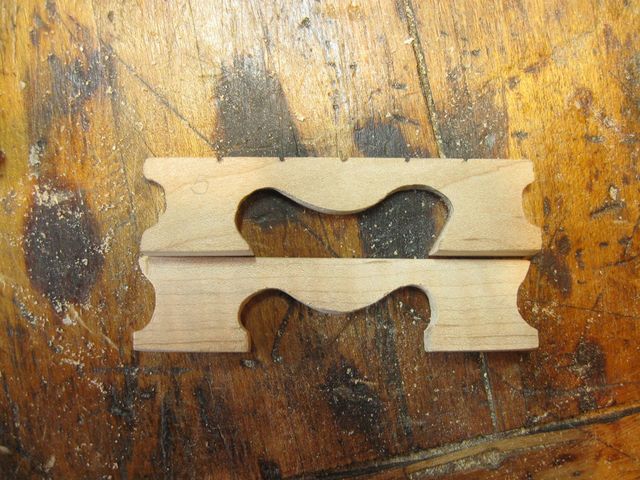
Two Bridges
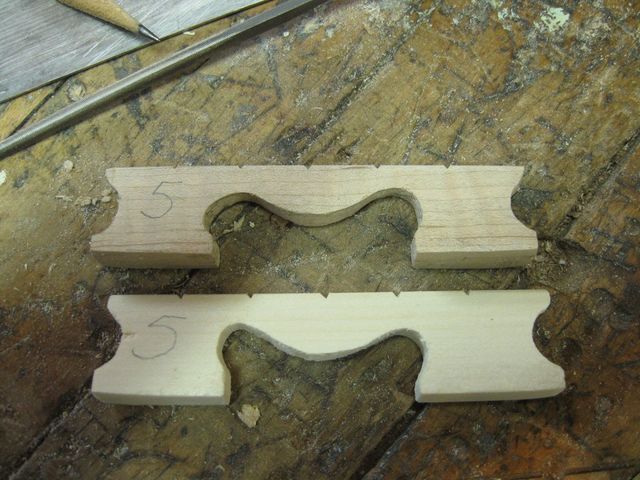
Here are the two bridges from the top. The old bridge, notched, and the new bridge, not notched.
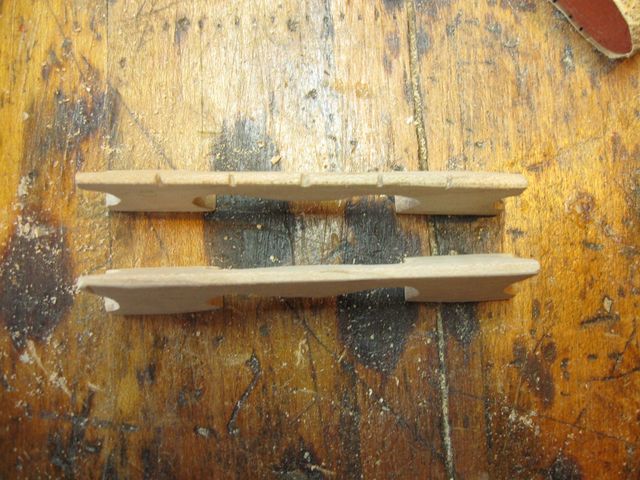
Bridges
I put the maple bridge aside for a while and continued to make the next one out of pine. I had to cut a blank from a pine board to start, so I measured the thickness of the bridge on the board to see how wide I have to cut the blank.
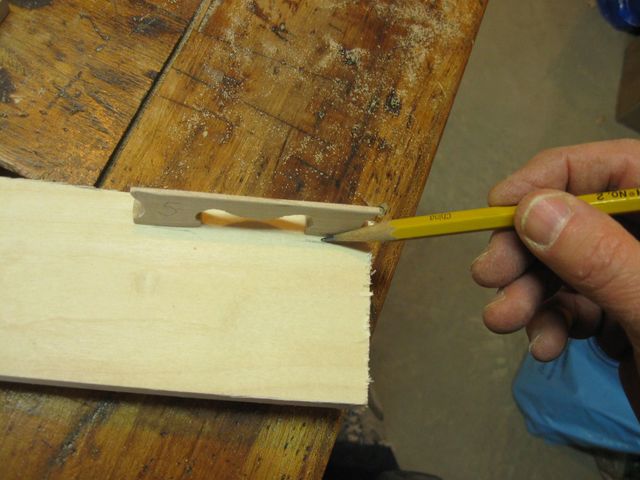
Marking the Width of the New Bridge
Looks like it is 3/8". A lot of things seem to turn out being 3/8".
The Blank Should Be 3/8"
I set up my marking gauge to 3/8".
Set the Marking Gauge to 3/8"
The marking gauge uses a knife edge to mark the wood. You can't really see it in the photo, but it is there.
Marking a 3/8" Line Down the Board
I sawed off the blank using the rip saw.
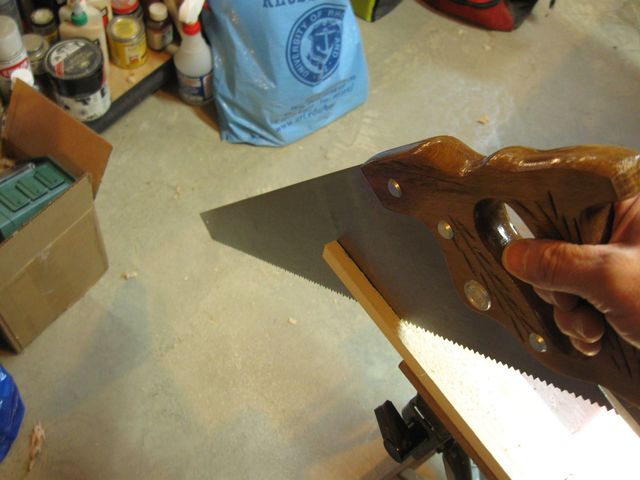
Ripping Off the Blank
Then I planed the side with the saw marks to make it flat and smooth.
The Plane is Really Easy to Use on Softwood.
I can set the plane up to take really fine shavings. Look at these. They are like angel hair.
These Are Really Fine Shavings
I cut this bridge out the same way I did the other bridge, sawing it roughly to shape and then using the rasps to finish the curves.
Use the Rattail File for the Inside Curves
The work goes much faster on the soft wood. It cuts more easily than the maple does.

Flatten and Shape the Profile With the Shoe Rasp
Here is the blank next to the hardwood copy.
The Pine Bridge is Almost Done
Saw it off of the stick.
Sawing the Bridge From the Blank
I carved the outside notches with the rasps, and here is the softwood bridge next to its hardwood sibling.

The Two Bridges are Very Much Alike
Here they are from the top.
The Top of the Bridges
I measured off the string spacing on the bridges and notched the locations where the strings will go. The strings are 1/2" apart at the bridge.
Mark the String Locations 1/2" Apart
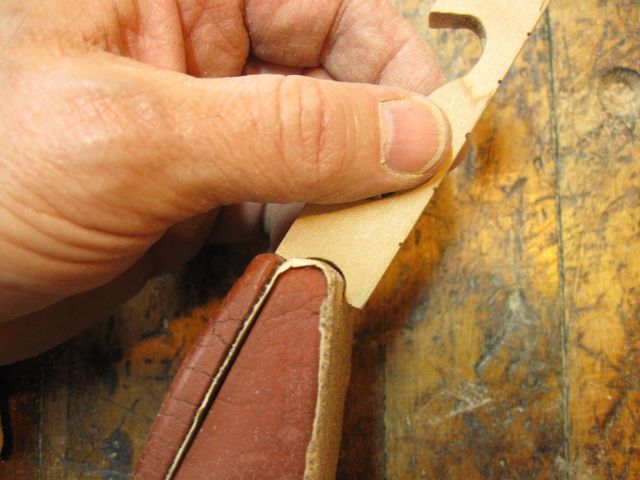
I used the small triangular file to make the notches in the bridge. These notches are just starting points that locate where the strings will go. The final notches will be cut when I do the final setup.
Notching the Bridge Using the Triangular File
Here they are, all ready for the final setup.
The Bridges Are Ready
From the side.
The Bridges From the Side
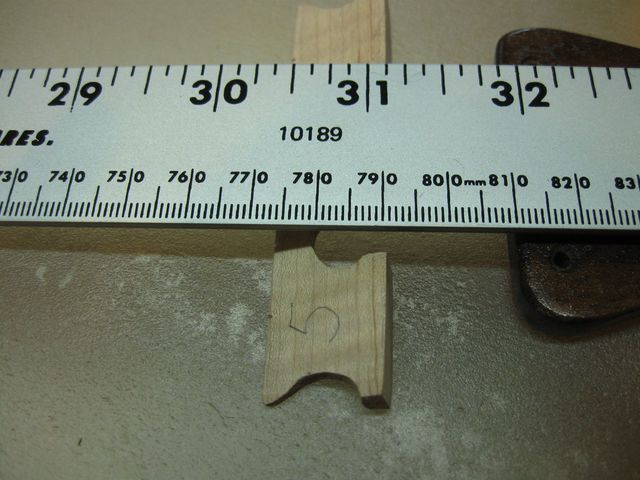
The 5 on the side of the bridge indicates where the fifth string will go.
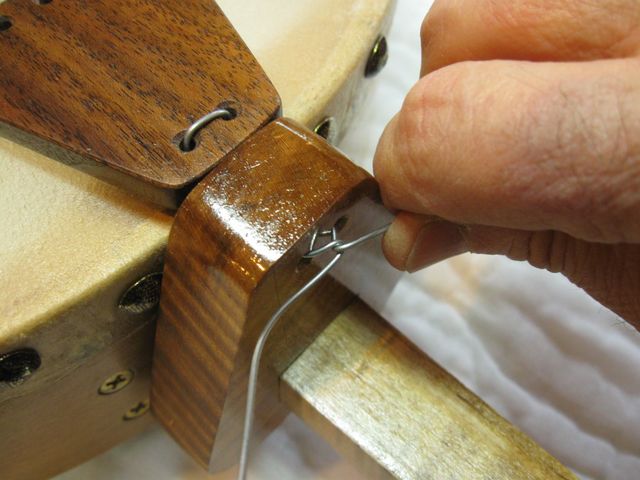
I still had some time left, so I wired the two tailpieces together. To do that, I use plain steel baling wire.
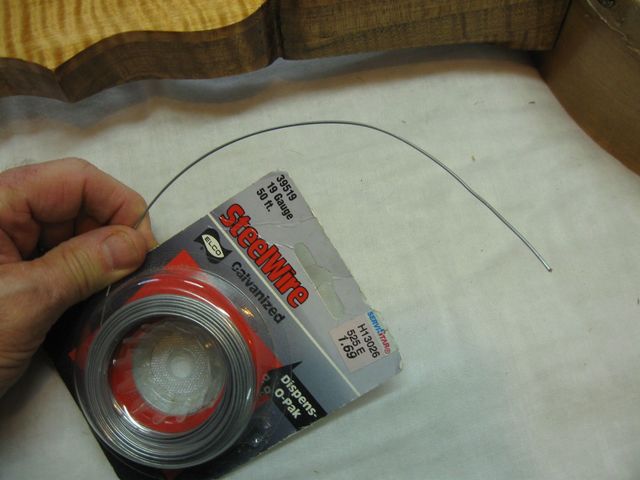
Baling Wire
When I first used baling wire to hook the tailpieces together on a banjo I felt pretty bad about that. I mean... c'mon... baling wire? You are supposed to do that with "tailpiece gut". But the wire works great, and since then I have seen the stuff used on other banjos, so what the heck.
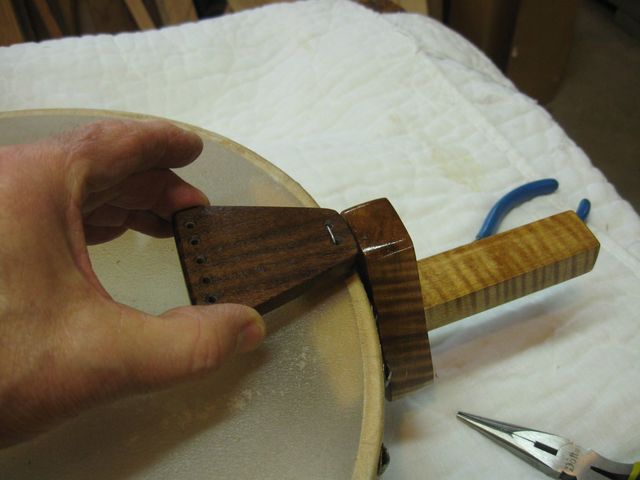
Here is how the two pieces go together.
The Tail Pieces Go Together Like This
I cut off a length of the wire and bent it into a U shape that is the same size as the distance between the two holes (3/8"... go figure).
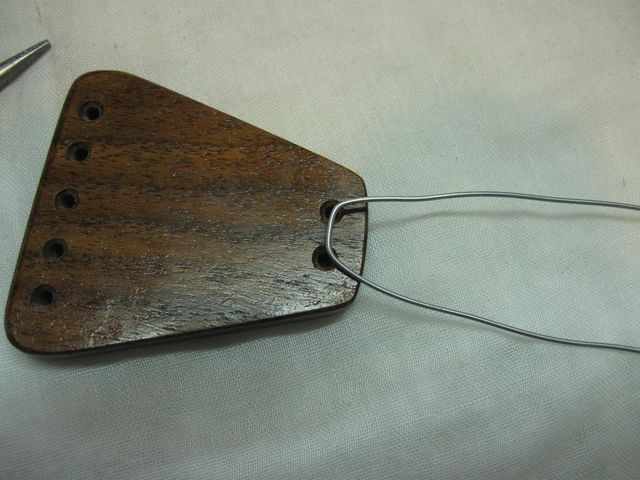
Bend the Wire Into a U Shape
Stick both ends of the wire through the holes and bend them up parallel with the tailpiece.
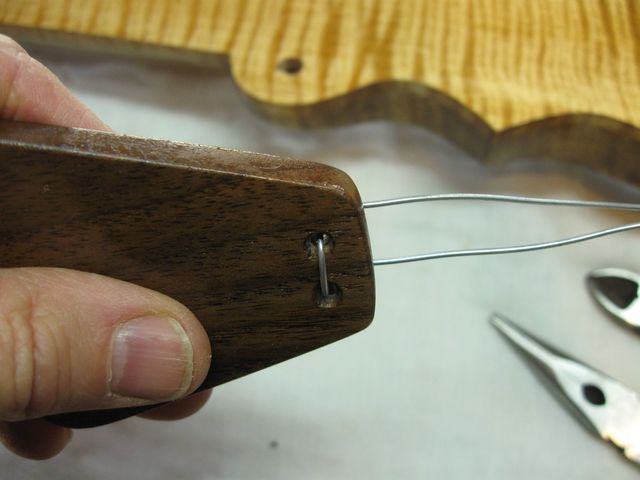
Through the Holes and Bent Up
Here is the other side.
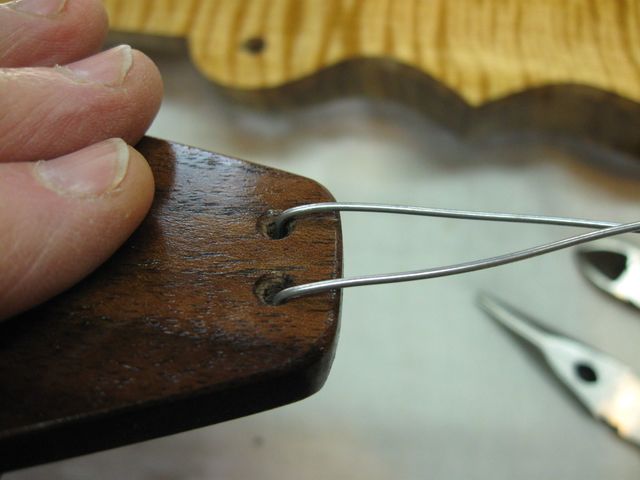
The Wires Come Through to the Bottom
Stick the wires through the two holes on the vertical part of the tailpiece.
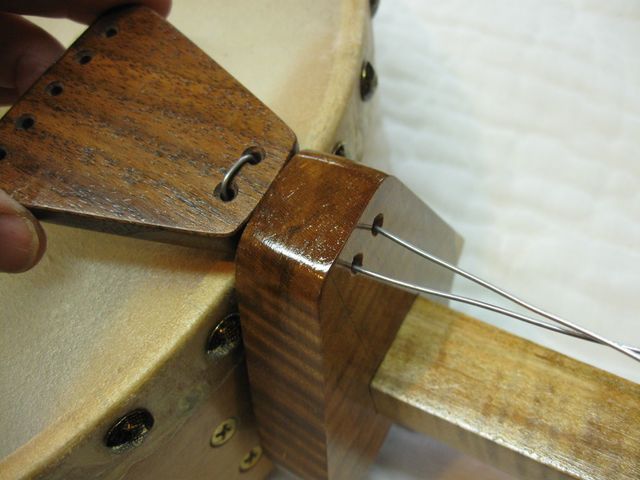
Push the Wires Through the Other Tailpiece
Wrap the ends around each other like a twist tie on a loaf of bread.
Twist the Ends Together
Snip off the ends.

Snip Off the Ends of the Wires
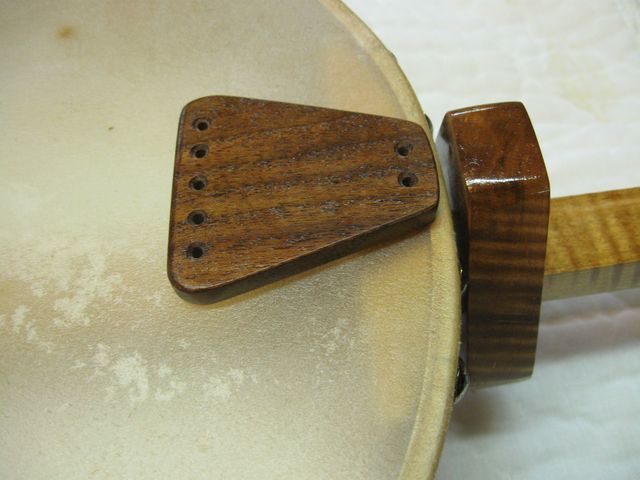
There it is. Ready to go. Simple. This isn't rocket science. And...there is no string tension in the world that is going to rip those two pieces apart.
So, to reiterate the theory, the strings pull between the pegs on the peghead, over the nut, over the bridge and onto the horizontal tailpiece, which transfers the tension through the wire into the top of the vertical tailpiece, which attempts to pull forward but cannot because it is wedged onto the tailpiece of the neck. Thus all of the string tension is transferred to the neck, and none of it is taken by the hoop. The only force experienced the hoop is the downward pressure of the bridge onto the head.
This Tailpiece is Ready to String
Finally, I get to screw the neck onto the hoop one last time. Hopefully, this banjo will not come apart again for quite some time.
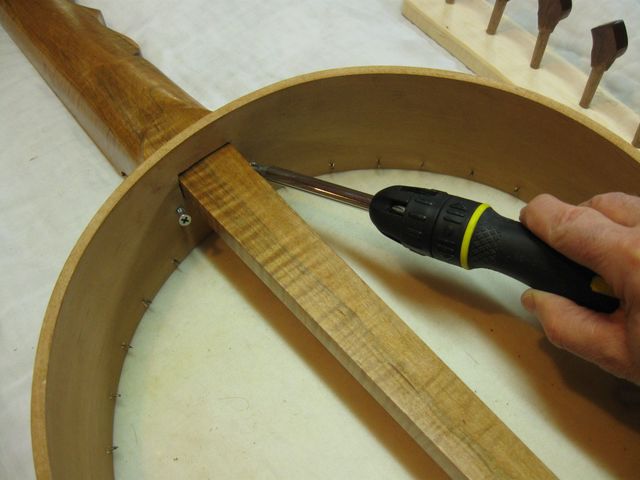
Screw the Neck Onto the Hoop
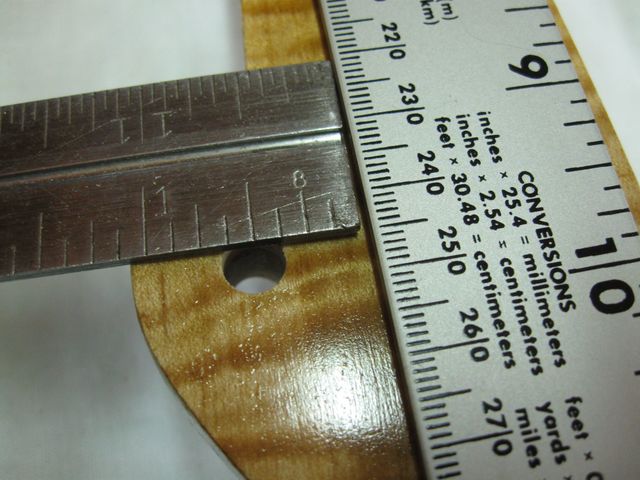
Now that the banjo was done, I wanted to check out how I did placing the fifth string peg. On my previous banjo, the one with this same neck, I put the fifth string peg in the wrong place and it ended up being too close to the fourth string. I put my straightedge on top of the banjo to see where the fourth string will go.
The Straightedge Is Where the Fourth String Will Be
The left end is aligned with the fourth string notch in the nut.
The Rule is Even With the 4th String Notch
I centered the bridge on the tailpiece and aligned the rule with the notch for the fourth string.
The Rule is Even With the 4th String Notch
I measured the distance between the side of the straightedge and the side of the fifth string peg hole. That is the side where the string will come off the peg.
The Hole and the Rule Are 3/8" Apart
The distance is 3/8", which is exactly the intended distance between the strings at the nut, so this is looking good.
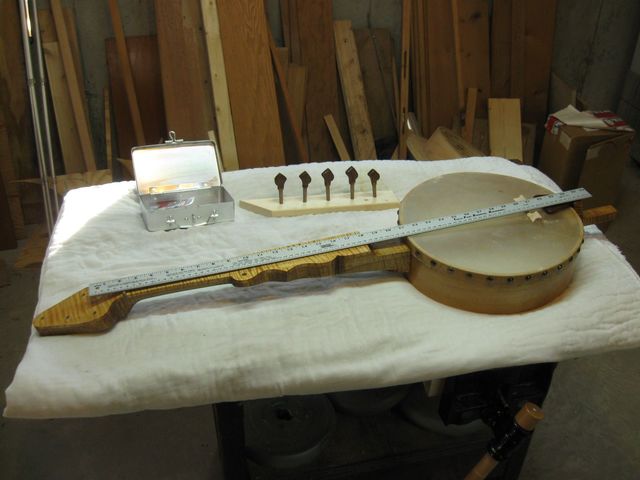
All of the prep work and assembly are now done on the banjo. Next time I will put the strings on it and set it up. This is exciting.
