A couple of weeks ago we took a short vacation trip up to Maine. On the trip we went past Lie Nielsen Tool Works to ogle the beautiful tools they make. I ended up buying a set of chisels to replace the hardware store junk that I have been using all these years. This installment shows how I tuned them up before using them to adjust the standoffs that I built for the back. Here they are. Gorgeous.
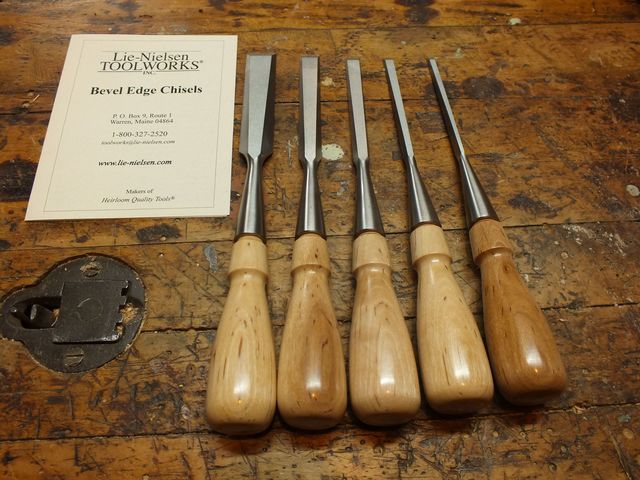
The New Chisels
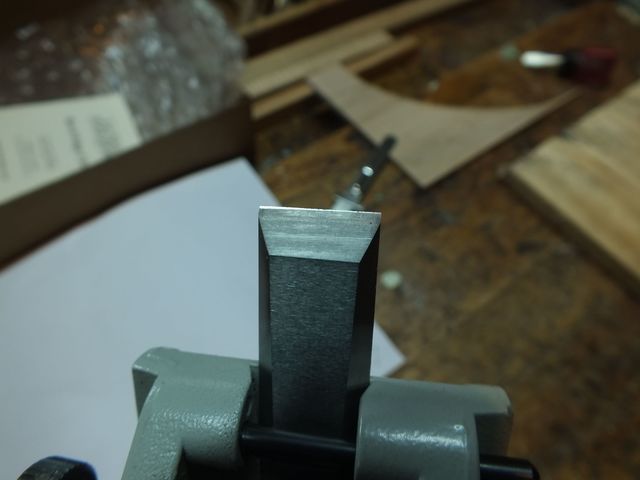
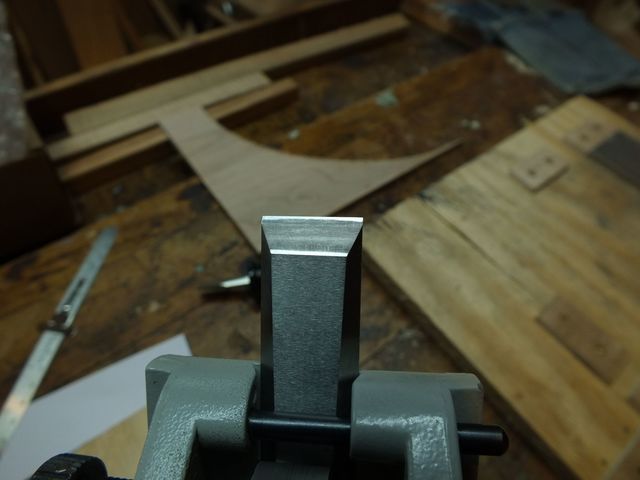
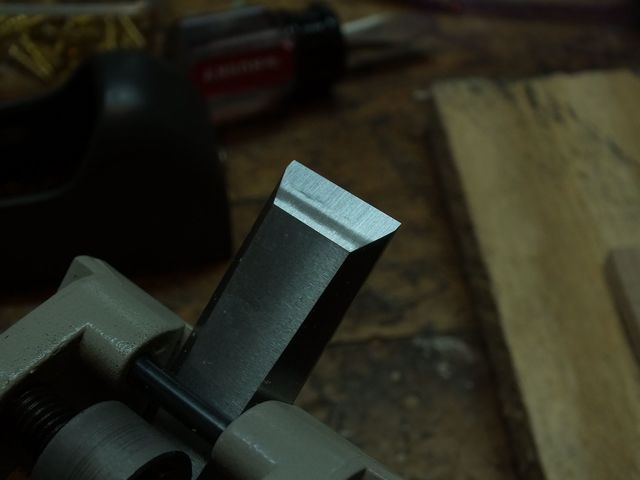
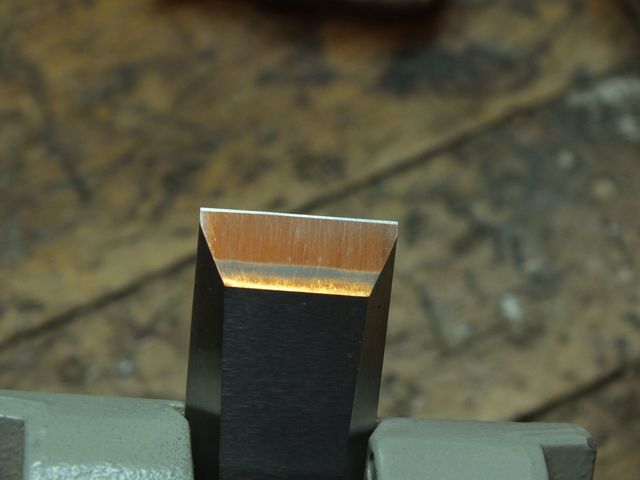
The chisels are ground at the factory to a single bevel at 30°
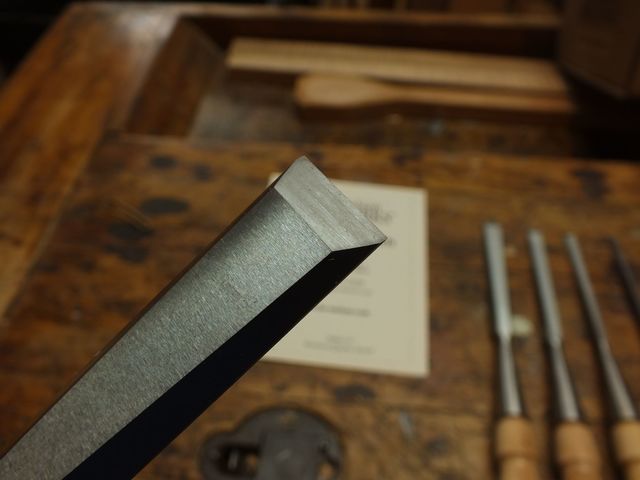
The Single Ground Bevel
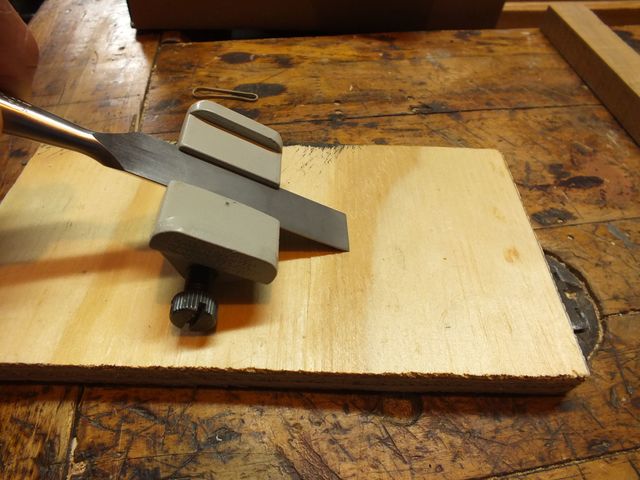
Before I use them I will hone them to the edge that I want them to have. I also want to set up my sharpening jig to allow me to polish the 30° primary bevel and then establish a secondary bevel at 35° Here is a photo of one of the chisels in the sharpening guide.
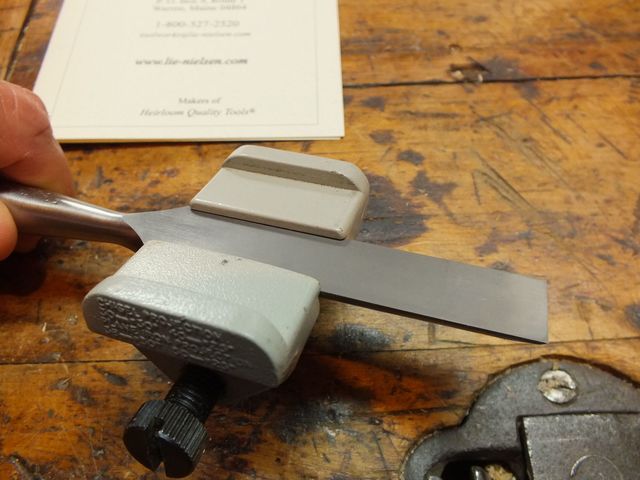
In the Guide
I need to calculate the distance from the edge of the guide to the edge of the blade so that I can put a stop on the sharpening jig to set up the chisel quickly. I can't use the numbers I used for the plane blades because the chisel is clamped into the guide in a notch that is closer to the wheel. So I have to re-accomplish the calculations.
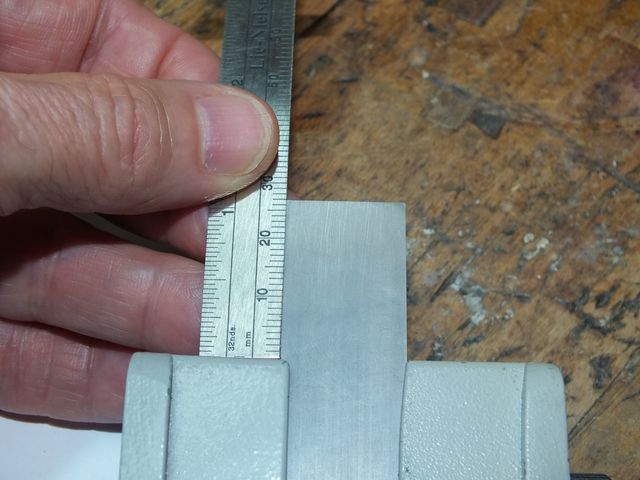
I measured the distance from the top of the chisel blade to the bottom of the wheel.
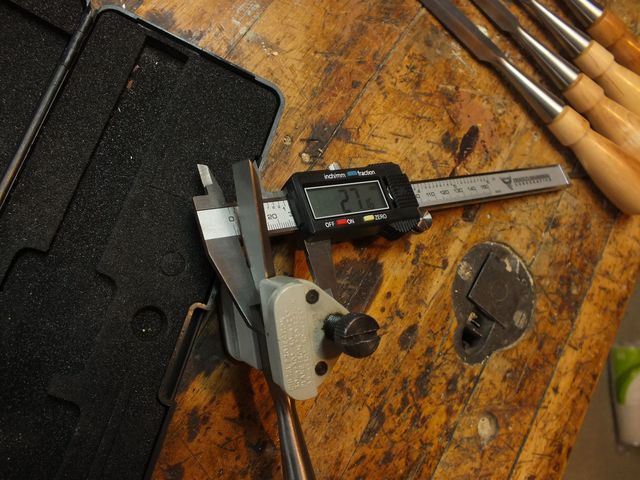
The Elevation of the Blade
As you can see in the photo, the measurement is 27.16 mm. I used that height to do the calculations as shown in the figure below:
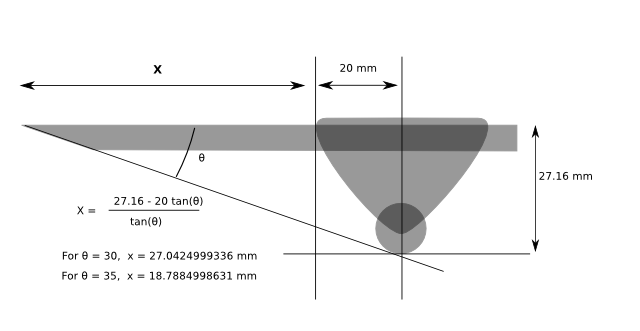
The Calculations
I won't repeat the details of the calculations. They are pretty much the same as they were for the plane irons but using different numbers. You can read about the formulas on the Sharpening page. The results are in the figure.
| θ | X |
| 30° Primary Bevel | 27.0424999336 mm |
| 35° Secondary Bevel | 18.7884998631mm |
I need to make two stops for the jig and screw them down at those locations. To double check my calculations, I put the chisel into the guide and eyeballed the bevel flat on the surface of some plywood.
Eyeballing the Bevel Adjustment
Then I measured how far out the blade projects from the edge of the guide.

Measuring the Projection
That looks like about 31 mm. It's a bit off from my calculations. I think that my eyeballs aren't calibrated very well. So I set up the chisel at the calculated 27 mm.
Set Up to the Calculated Number
I did a little swipe on the stone to see where the grinding is taking place at that setting.
Only on the Edge
That is grinding only the very edge of the blade, so it isn't quite there yet because it should match the original 30° bevel. I don't want to change that. This is hard to figure out, so I adjusted the blade and ran it over the stone and iterated by trial and error until the grinding was happening on the whole primary bevel.
Grinding All of It
In the photo below you can see that the bevel is being ground evenly. It only touches the edge and the base because the original bevel was ground on a round wheel, so the surface is very slightly concave. I am going to flatten that out on the stone.
This is Grinding at the Proper Angle
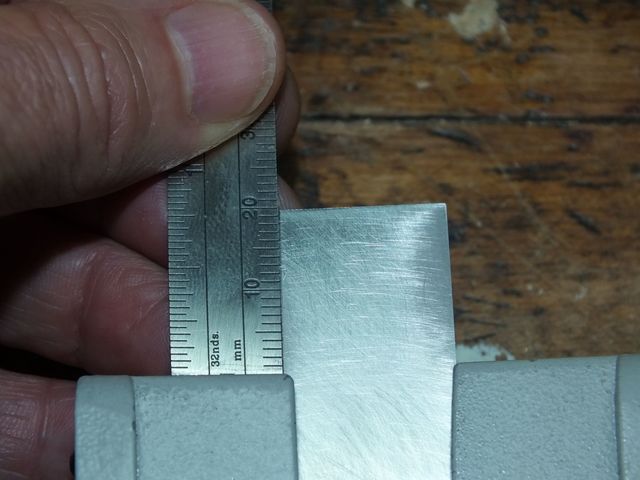
After I found the proper angle I measured how far out the edge projects from the guide.

Measure the Projection
Looks like about 28 mm is the answer. It would probably have been easier to just do it this way instead of going through all those calculations. Oh well. Live and learn.
To make this even simpler, I didn't even try to translate that number to a ruler and then mark it. I just put the chisel down on the jig and marked it at the end of the chisel.

Mark the Spot for the Stop
Instead of using plywood for the stops like I did last time, I used some of the leftover wood from the back. The solid maple will be more robust when butting the edge of a sharp-ish chisel up against it. The plywood got a bit frayed in a short time.
Maple Board from Cutting out the Back
The first stop is in place, and the second one (for the secondary bevel) is cut out.
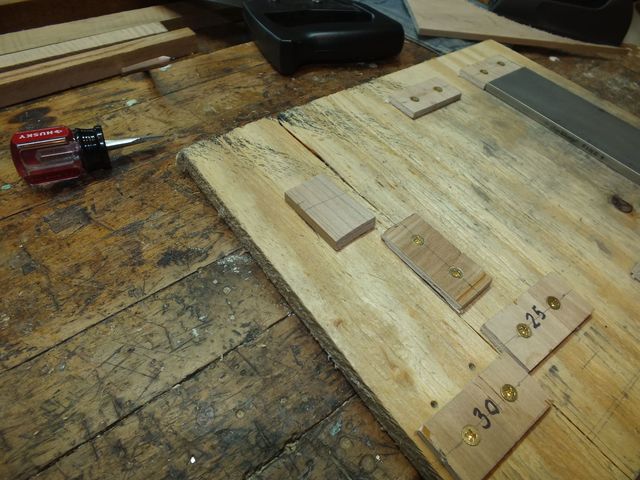
The Stops
I drilled out two holes and used some nice brass screws to secure it to the jig.
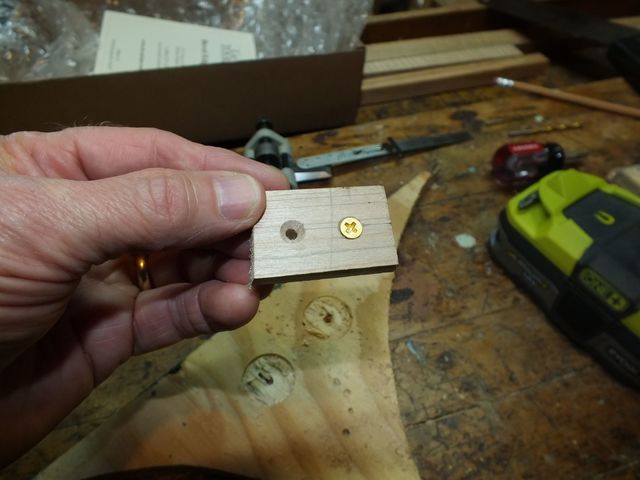
Screws Will Hold It Down
Well, here is a testament to how bad I am at locating screw holes accurately. The chisel does not lie flat when put up against the stop.
Oops. Not Very Accurate
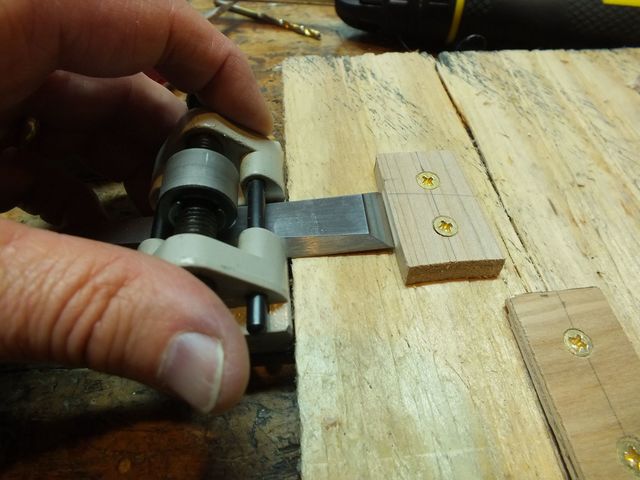
Here is a closeup.
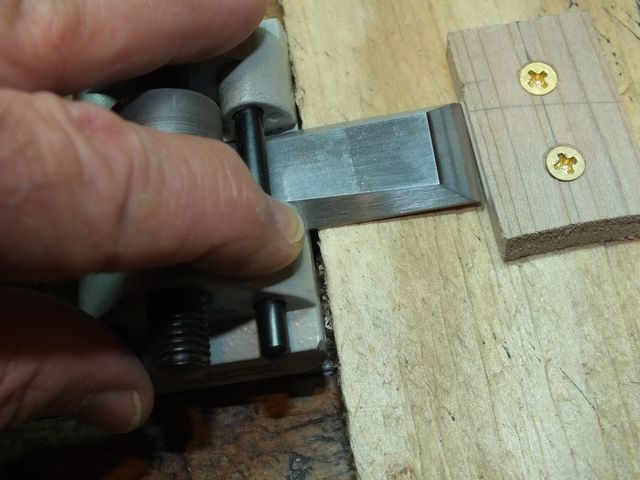
Easier to See That The Chisel is not Flat
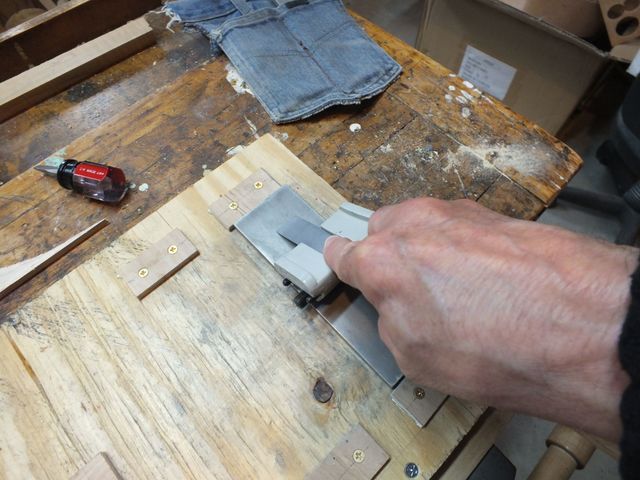
Since the edge of the stop is too close to the edge of the jig, I just need to remove some wood from it to make this right.
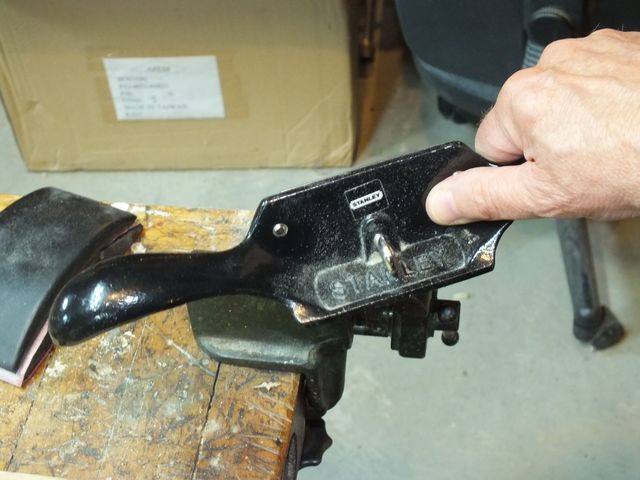
I Removed the Wood Using the Cabinet Scraper
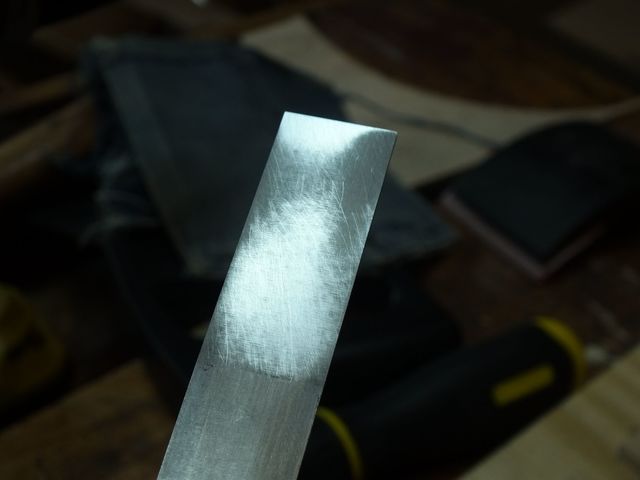
We are all set now. I set the chisel up using the stop and started honing it on the coarse side of the stone. This will make the primary bevel flat instead of concave. You can see in the photo below that most of the concave part has been ground away.
Almost Done
I turned the chisel over to flatten the back side as well. A sharp chisel requires a completely flat back as well as the correct bevel on the front. You can see in this photo that there are some uneven places on the back.
Uneven Places
The diamond hones that I use can be used with water as a lubricant. I also use them dry, but this time I decided to put some water on them to keep the metal floating and clean out the pores.
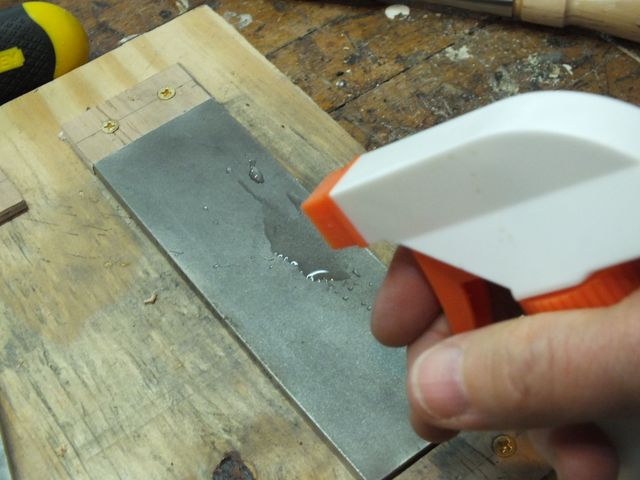
Water Keeps the Stone Clean
The secondary bevel does not need to match an existing angle so I can set it to whatever I want. I calculated a nominal 35° bevel for the secondary at about 18.79 mm. I cannot even measure it to that tolerance, and the angle itself isn't that critical. So I just set up the blade with 20 mm sticking out.
Set It to 20 mm and Forget It
A couple of passes on the stone and we are all done. Making the secondary bevel is really quick.
Secondary Bevel
I measured the position of the secondary bevel stop on the jig and screwed it down. I also labeled the stops so that I won't get confused about which one to use for which tool. The stop on the far right is for the primary bevel on my old wooden plane, which is different from the bevel on my steel Stanley.
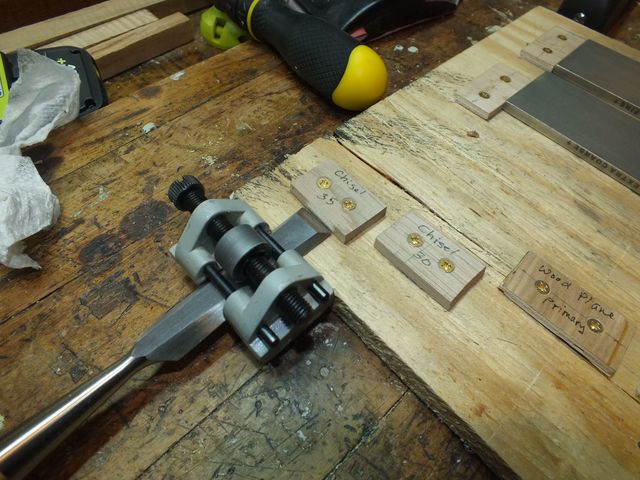
The Stops are Done
OK. I am finally back to what I started to do in the first place. I need to bevel the inside corners of the standoffs so that I can fit them into the pot more easily. Here is the back off of the pot.
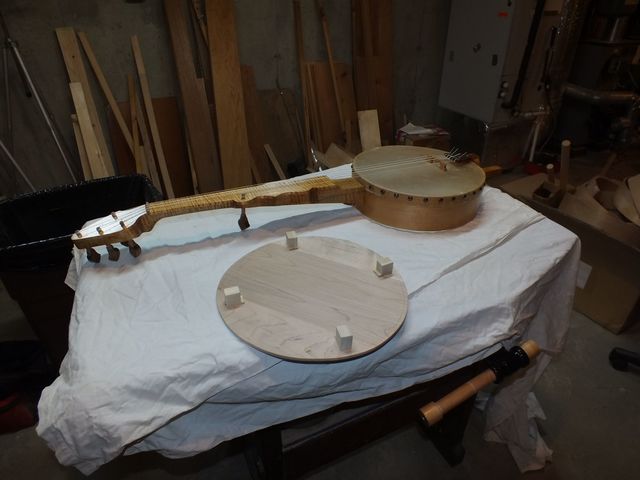
The Banjo Back
I made the sides of the standoffs straight because that seemed like a good idea at the time.
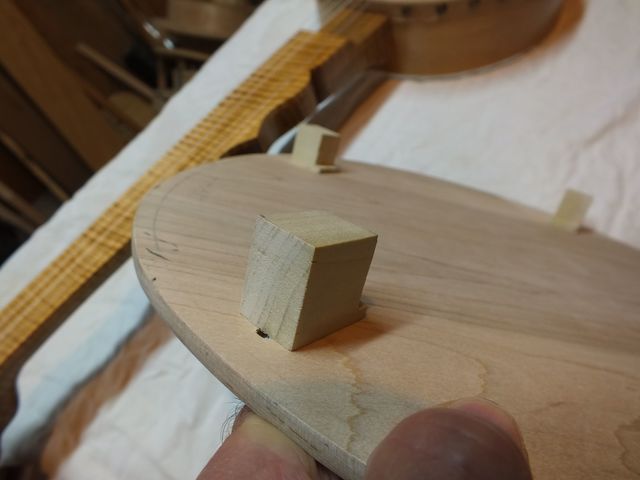
Straight Sides
That is a problem when I am relying on a friction fit to keep the back secured. I cannot adjust the standoffs well enough to allow them to fit inside the pot and still have a friction fit that is sufficient to hold on the back. They are either too far out and I cannot get them into the pot, or they are too far in and the back keeps falling off. So I took my newly sharpened chisel and cut a bevel on each corner of each standoff.
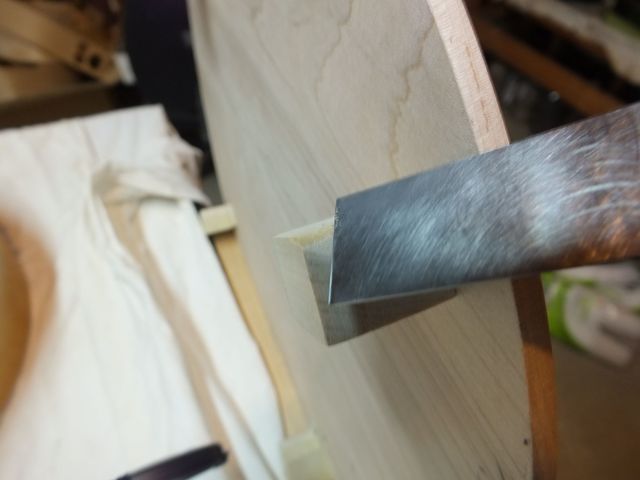
Trimming a Bevel onto a Standoff
Sweet! That chisel cuts wood like a hot knife through butter.
After I did all four standoffs, I adjusted the standoffs out a bit and put the back into the pot. Because of the gentle taper of the standoffs, the pot will hold the back in place.
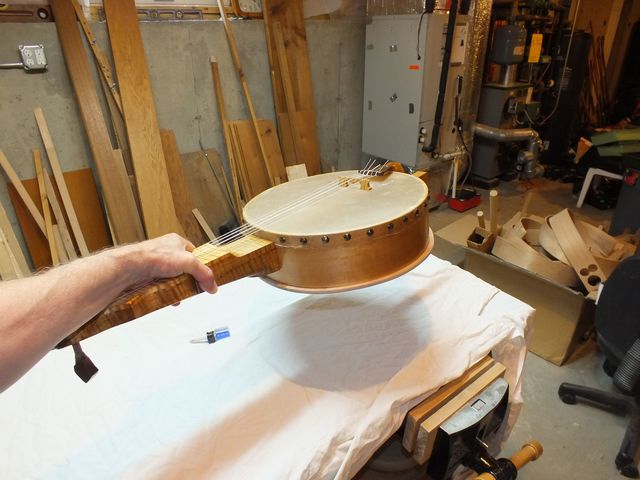
This Seems to Hold
That is it for today. Now I need to put some finish on the back and I am done.
