In my last installment, I showed you my new Lie Nielsen chisel set and how I sharpened them. But the sharpening was missing an important bit, and that is a final honing. So for this installment, I decided to make a strop for my edge tools.
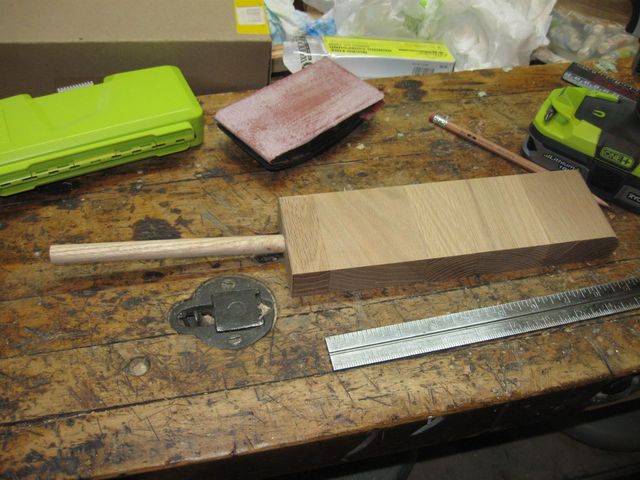
The strop is a generally a flat surface with some honing compound on it. To make that, I grabbed this out of the scrap box.
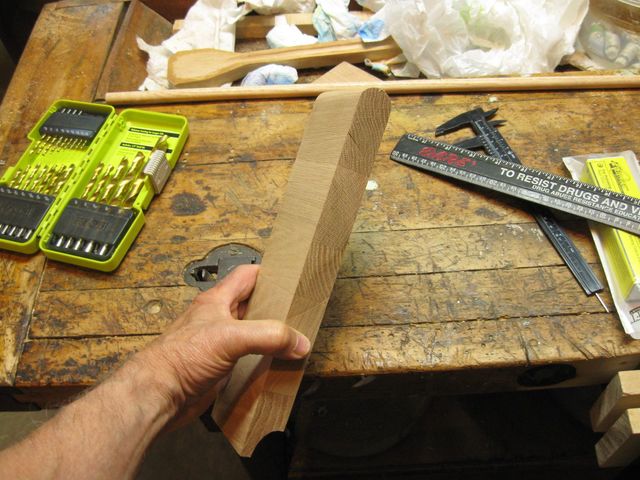
Potential Hone
What that is, is the end of an oak stair tread that was cut off when the stairs were put in this house. It is 1" thick and 2 3/4" wide, and is solid oak.
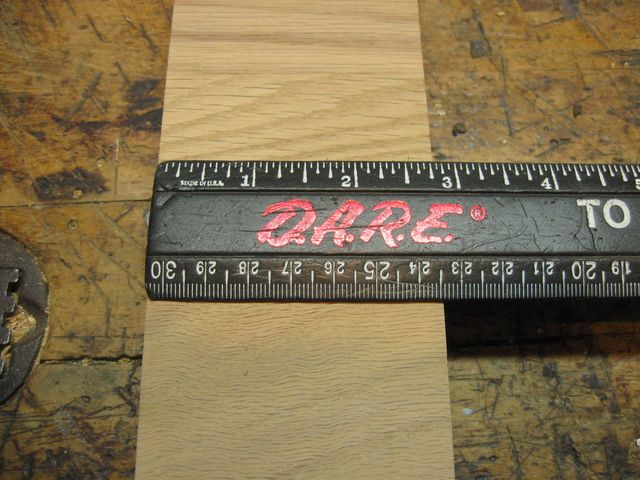
The Tread is 2 3/4" Wide
I also found in the scrap box this 1/2" hardwood dowel.
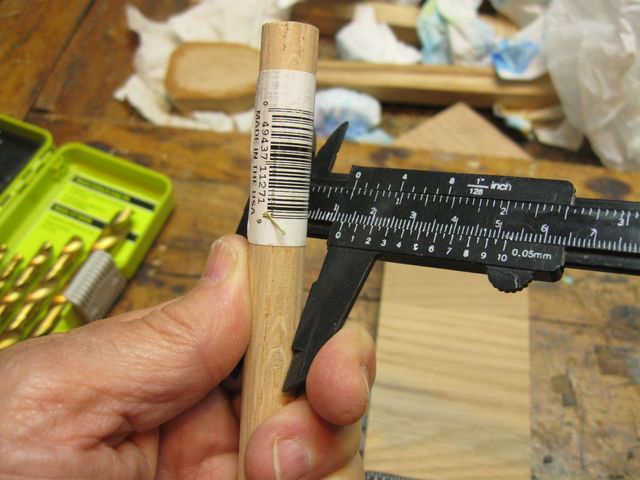
This Will Serve as a Handle
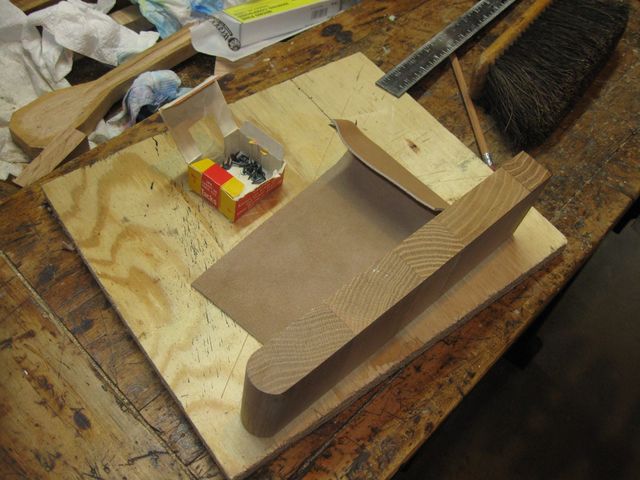
I started by cutting off the end of the tread that has the scooped out part. You can see it in the bottom of the first photo on this page. It looks like a cove molding cut out of the tread. I'm not sure what that cove cut is for, but it was probably to allow the tread to match up with the bull nose on another tread. I'm not sure, but I don't need it, so off it comes.
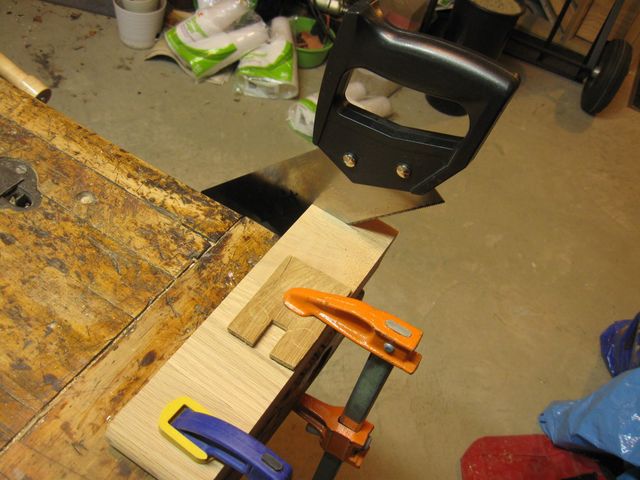
Cut Off the Cove
On the flat end of the tread, where I just cut off the cove, I marked the center of the piece and punched it with my center punch.
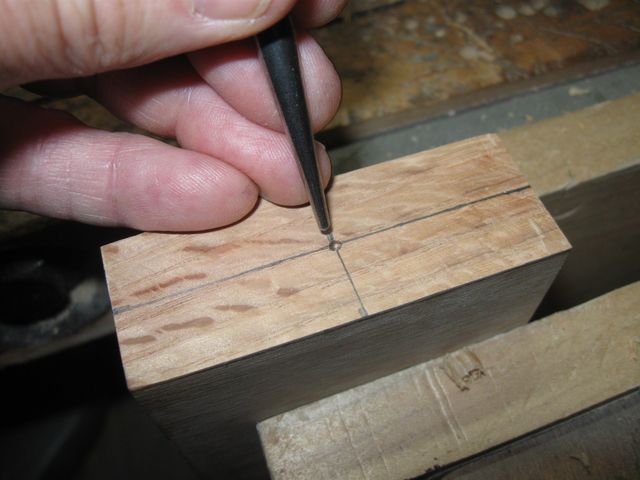
Punched
I grabbed my 1/2" drill bit from the bit set.
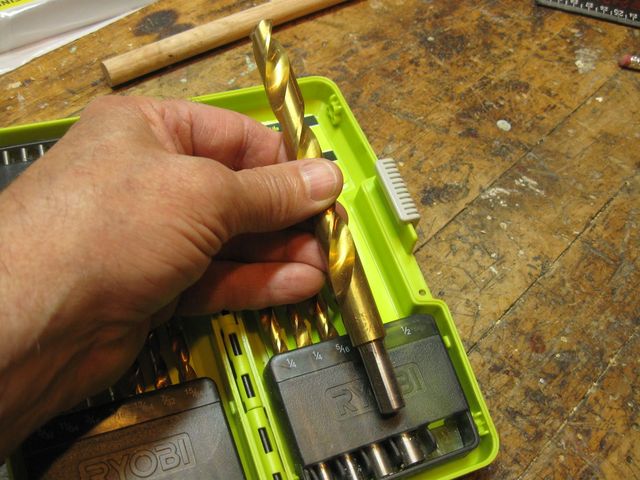
This is a 1/2" Drill Bit
I measured up 1 1/2" from the tip and put a tape flag on the drill bit so that I know how deep to drill.
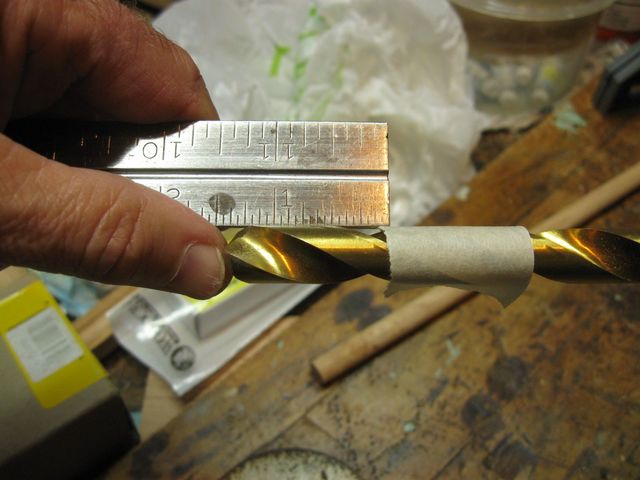
Add a Flag on the Bit
Then, eyeballing the vertical in my normal way, I drilled out a 1/2" hole in the bottom of the tread. That is where the handle will go.
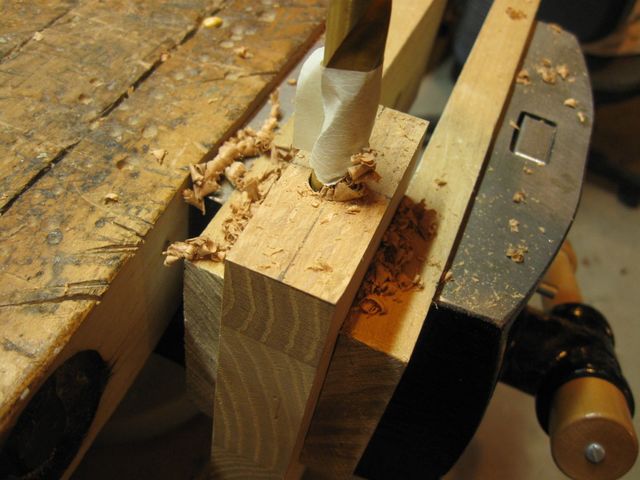
Drilling out the Handle Hole
I stuck the dowel into the hole, and there you have it.
The Handle is In
Well, OK then, here is the precision that I managed to get with my eyeballed vertical drilling.
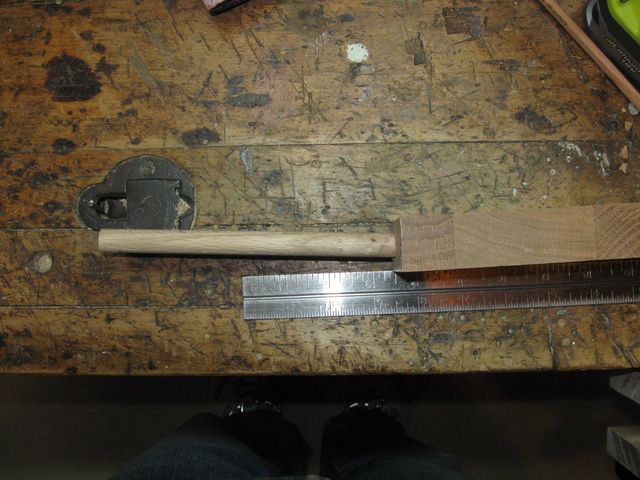
Oops. Not Exactly Square
You know, I really ought to get some kind of drill press, because I really am not very good at this eyeballing thing. In this case, it isn't important, but for some things, perpendicular has to be perpendicular. Know what I mean?
Moving on to the next step, I used the cabinet scraper to scrape the wood smooth.
Scrape It Smooth
Here is something else that I found in the scrap box... a piece of leather. I will tack the leather down to the wood and then rub the honing compound into the leather to make a strop. I measured out 4" of leather to give me some overlap for tacking it down.
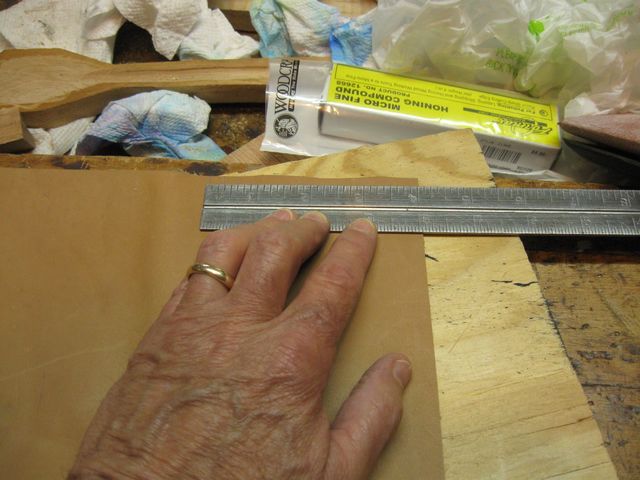
Measuring the Leather
Here is the leather, measured to size.
The Leather has been Cut
I wrapped the leather around the sides of the oak tread and tacked it down using some carpet tacks that I... uh.... found in the scrap box. Are you sensing a theme here?
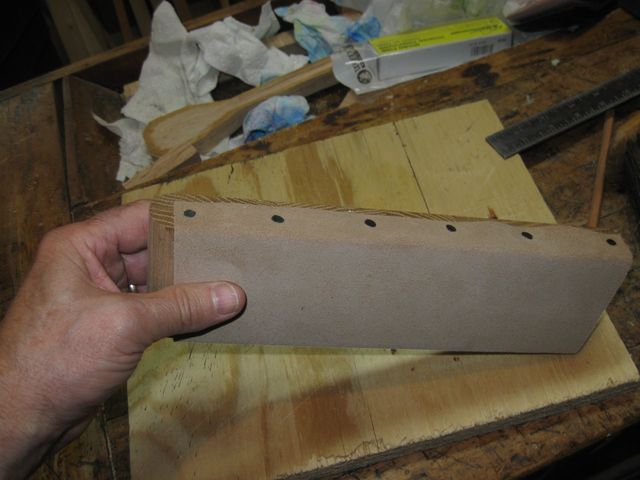
The Leather is Tacked to the Oak
Well, here is a problem that I have run into with oak before. It tends to split easily.
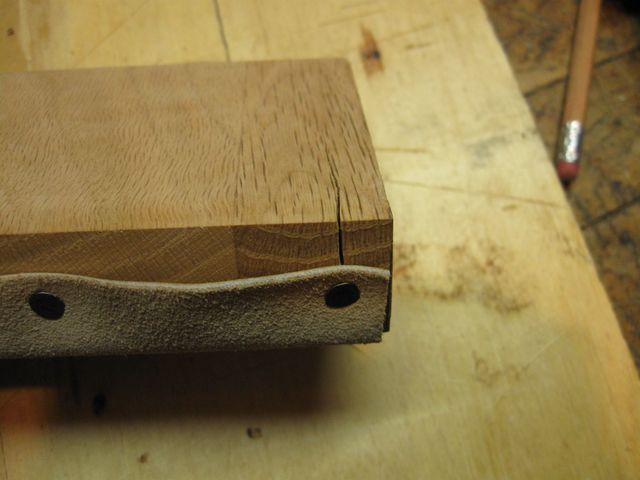
The Oak has Split
It doesn't matter for this project, but it is frustrating anyway.
Next, I sanded the wooden side smooth.
Sanding the Wooden Side
Here is the Honing Compound.
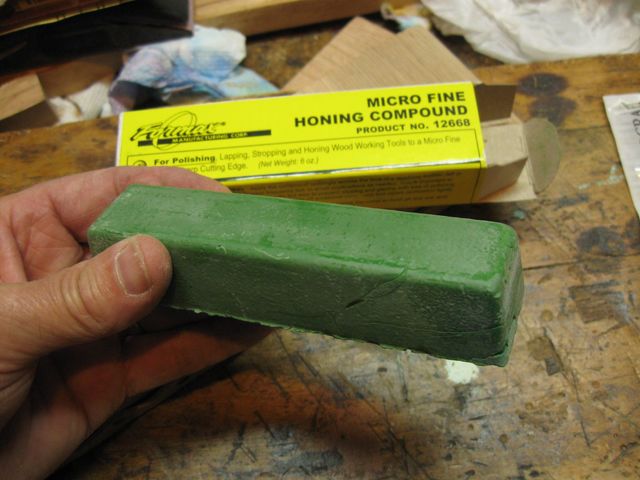
Honing Compound
This did NOT come from the scrap box. This came from WoodCraft® Here is what WoodCraft has to say about the green honing compound.
This micro-fine honing compound is ideal for providing the final mirror finish in the buffing and honing process. The green, aluminum/chromium oxide compound works particularly well with leather power strops and felt wheels operating at or below the 1750 RPM range. Use it to charge your leather bench strops for superior hand-honing of tools. The .5 micron particle size leaves the cutting edge of your plane irons, chisels, and carving tools razor sharp. It comes in a 20 oz. bar
That is all well and good, and it better be right, because this stuff costs 25 bucks. Every penny I saved by my trips to the scrap box went into the honing compound. Yikes.
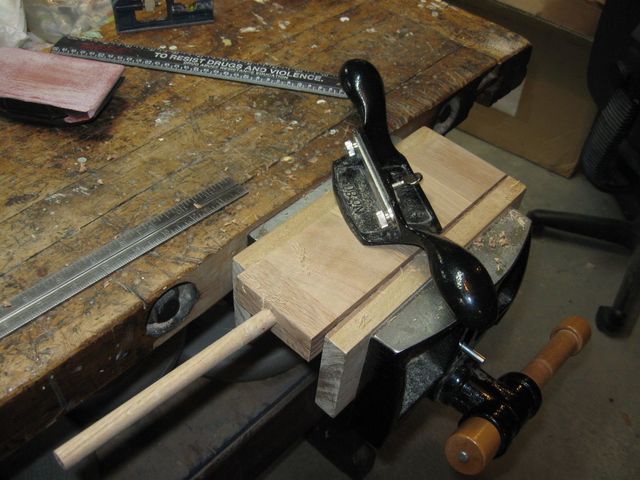
Oh well. Ya gotta do what ya gotta do. So I put it on both sides of the strop.
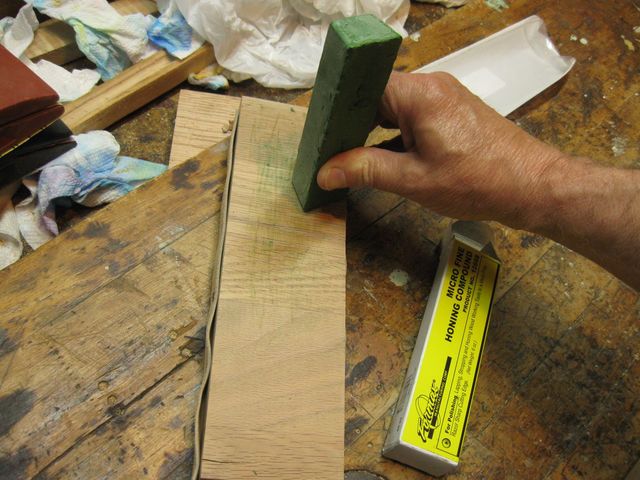
Rub the Honing Compound into the Oak
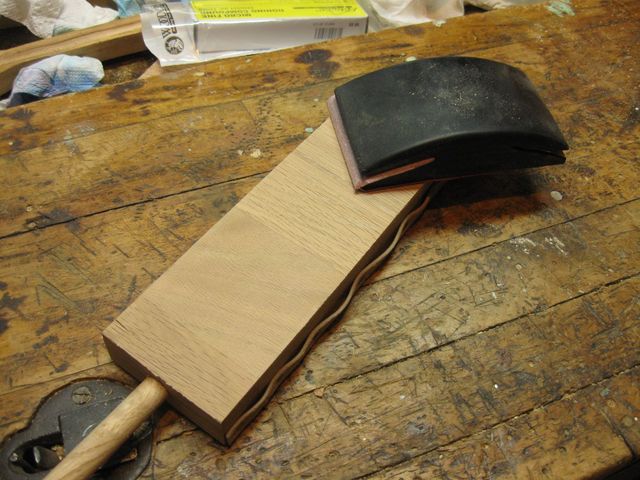
Putting the honing compound into the wood allows me to use the sharpening jig to put a mirror polish on the secondary bevel of the chisels. That ought to make them razor sharp.
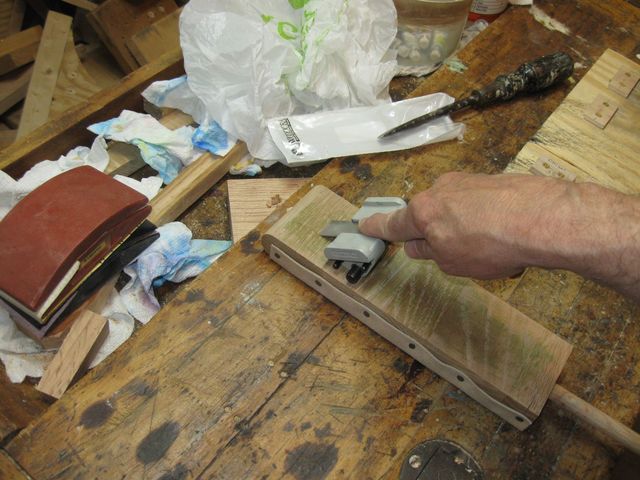
Doing a Jig on the Honer
I rubbed it into the leather as well. I can use the leather side for honing other types of edges like shop knives.
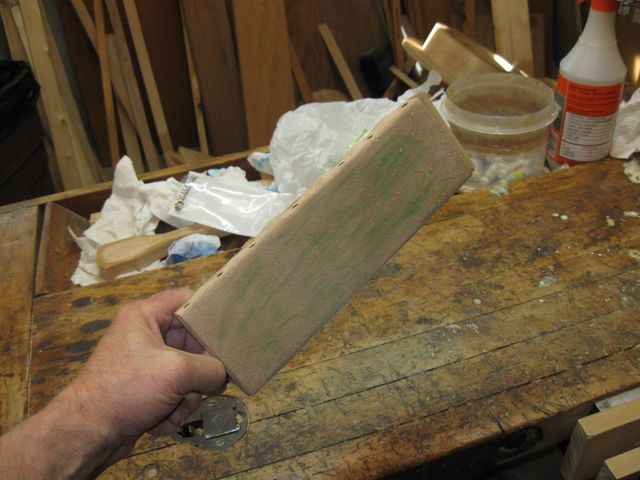
The Leather Side
That was it for this session. Next time I will try to get back to working on the banjo itself.
