CONFESSIONS
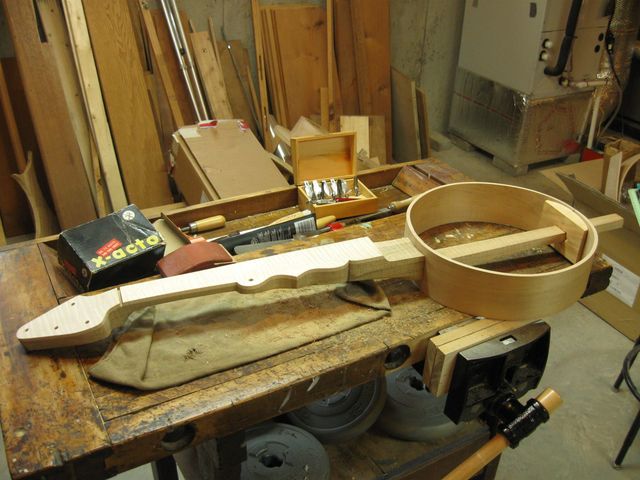
I picked up the banjo today to start carving the curvature of the hoop into the heel. Taking a look at my previous work, I was pretty horrified at the poor quality. Here is where the dowel stick comes out of the back of the hoop.
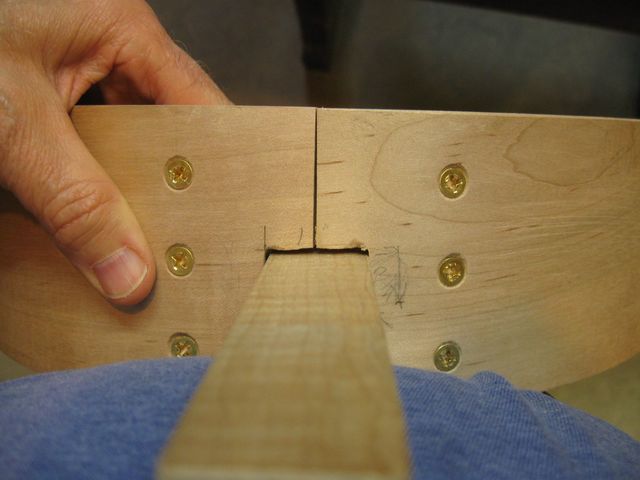
That is Not a Clean Job
I split the seam on the hoop, leaving a crack, and the chisel work around the hole looks like I did it with a chainsaw.
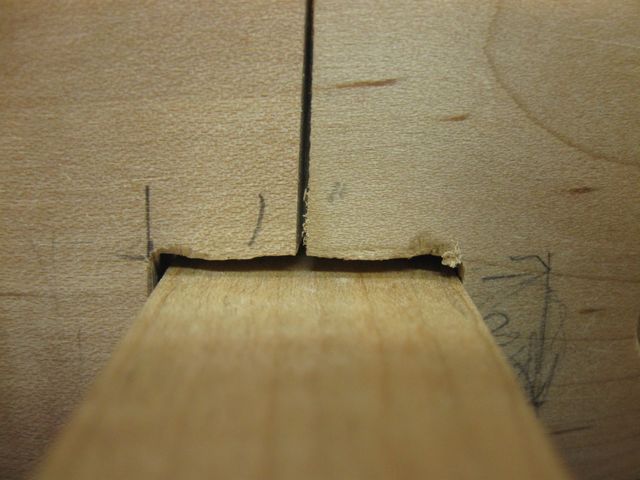
Chainsaw Al Did This Work
On the inside it is even uglier. Tearout and bad chisel work around the hole.
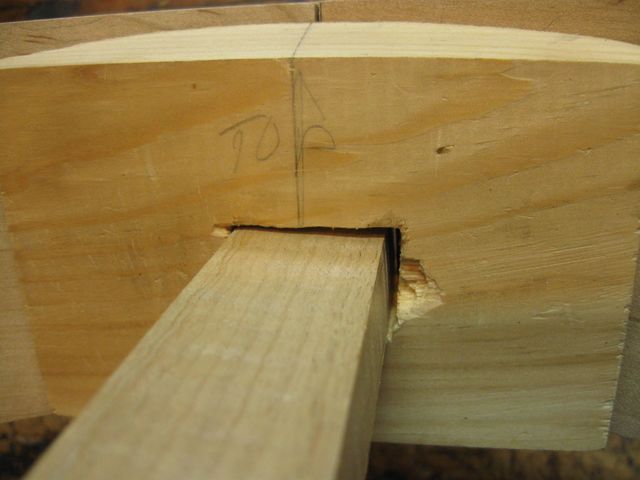
Inside the Hoop it is Uglier Still
It makes you want to...
Scream!
END OF CONFESSIONS
Most of the ugliness ought to be invisible once the banjo is complete. It was caused by the need to twist the neck to a level position instead of being canted to the left like it was... so the hole got over worked... but still... I could have done better than that.
Enough of that. It is what it is. I now need to carve the heel of the neck to fit the curvature of the hoop. I put the hoop down on the heel and drew a pencil mark around it to show where I had to cut the heel for a fit.
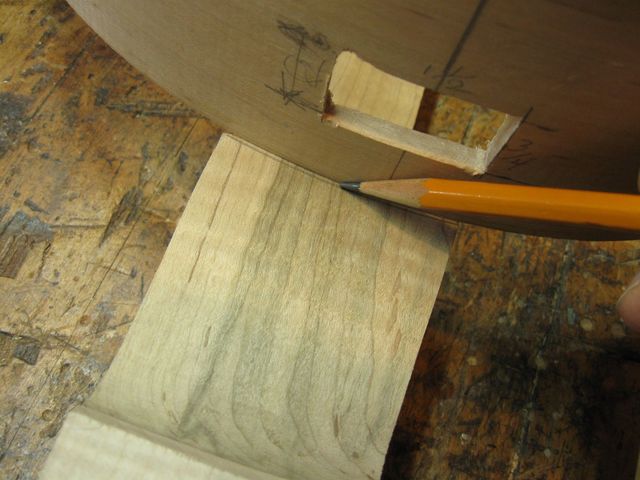
Marking the Heel With the Hoop
This is the part where, in a modern banjo factory it takes about 10 seconds to do the job because they just back the heel up into a sanding drum of the same diameter as the hoop... and it cuts a perfect arc instantly every time. That is done before the dowel stick goes in, and it is real quick and easy.
When I did the same job by hand... it took about three hours.
However, I am doing one banjo, not hundreds. So obtaining all that equipment and setting up the jigs and figuring out how to automate it would cost way more time than the three hours I spent cutting it by hand. So I win anyway.
I started with a chisel in an attempt to chop out a bunch of the wood quickly.
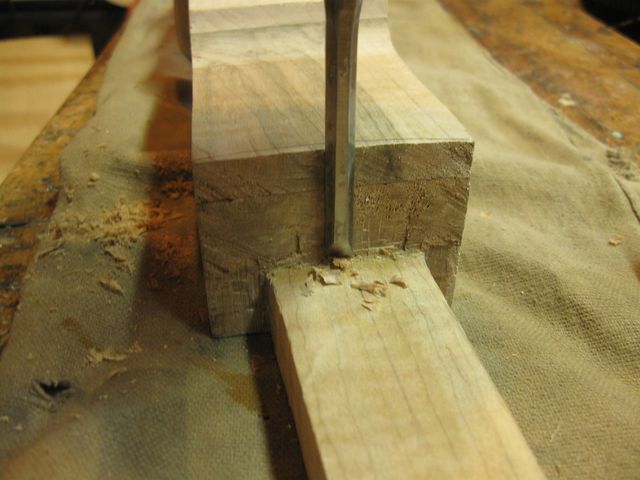
The Chisel Didn't Work Very Well
I was cutting across the end grain, and the chisel was making a mess of the wood. If you need a reminder of how bad I am with a chisel scroll to the top of this page and look at the photos again. So I got out my trusty hook knife and tried that.
The Hook Knife Sort of Works
It takes the wood off, but it is slow going, and difficult to get into the corners. So far, this is what I have done.
This Needs a Lot More Work
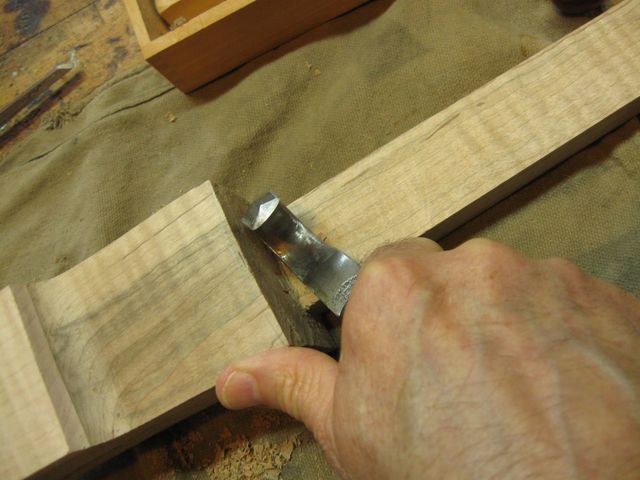
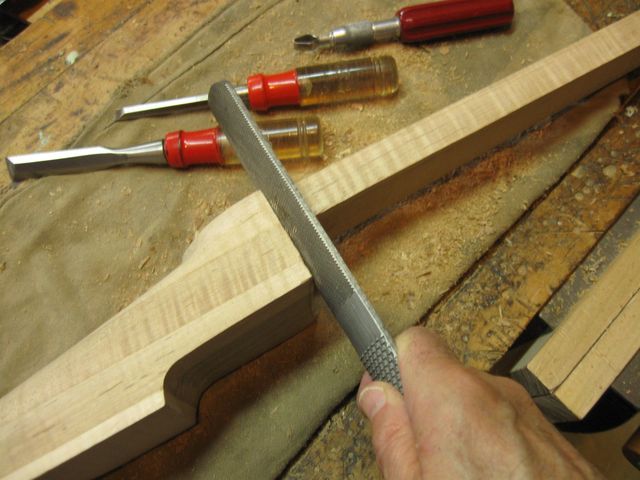
I could turn this into a retirement job. So I looked around for some different tools to try. I found this tool in my X-acto set.
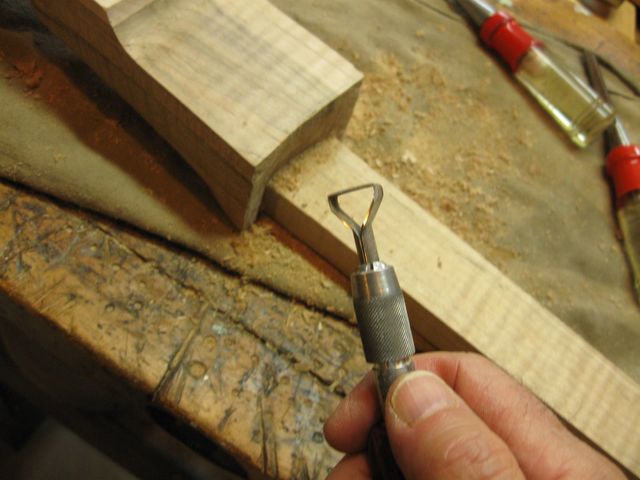
This is a Strange Tool
It seems to work better than the hook knife for this job. I think that it is because of the combination of the flat surface for cutting away lots of wood plus the sharp bends at the corners for getting into the tight places next to the dowel stick.
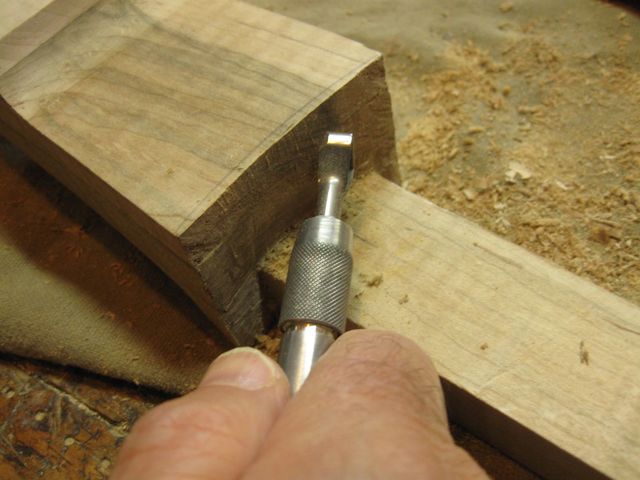
Carving Wood With the Strange Tool
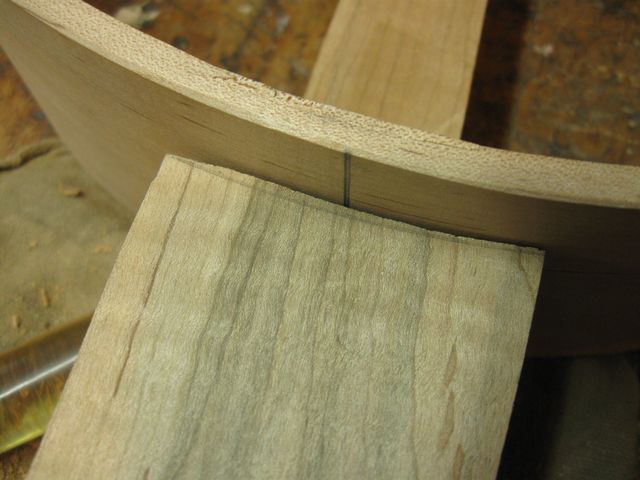
Once again, I am using it like a scraper to slowly cut away the wood in the curve. The X-acto tools are hobby quality tools. They are not designed for doing heavy woodworking. But in this case the tool seems to work, and is holding up fine. In the photo below, you can see that some progress has been made in fitting the heel to the hoop.
My finger is pointing at the location where the contact is made, so that is where I need to cut away the wood next.
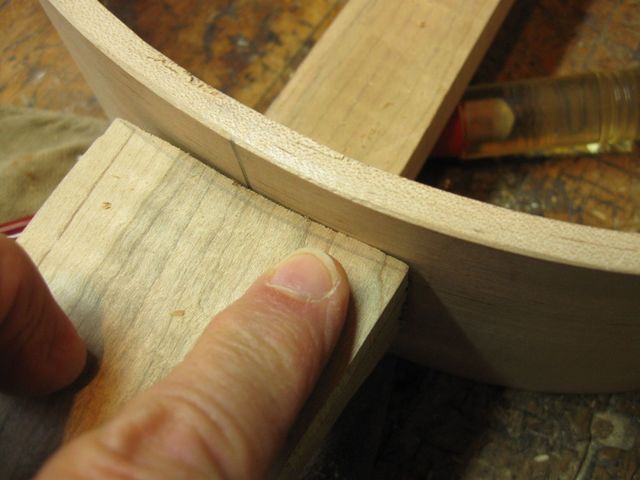
Some Progress Has Been Made
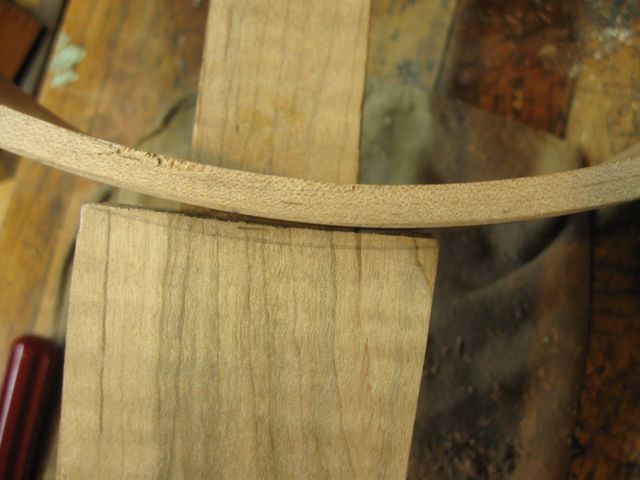
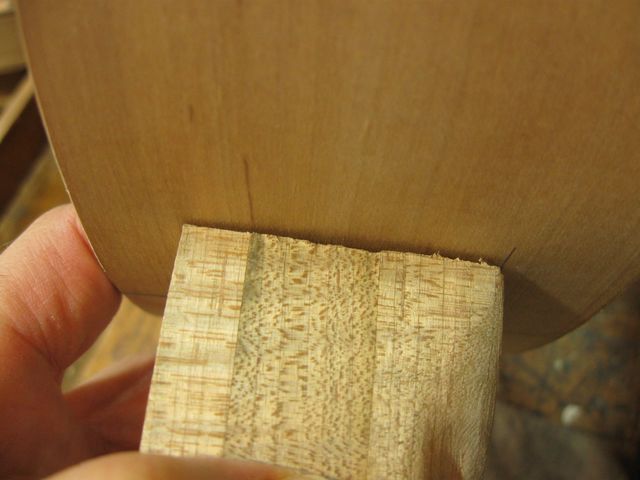
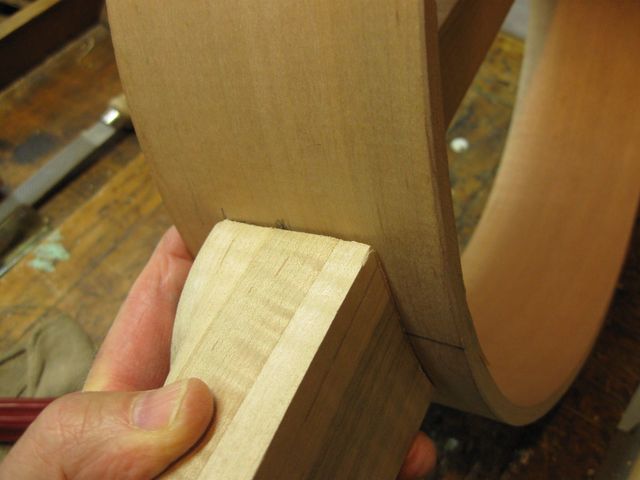
Looking at the ogee side of the neck, you can see the open space between the neck and the hoop. I would like to close that up into a tight joint.
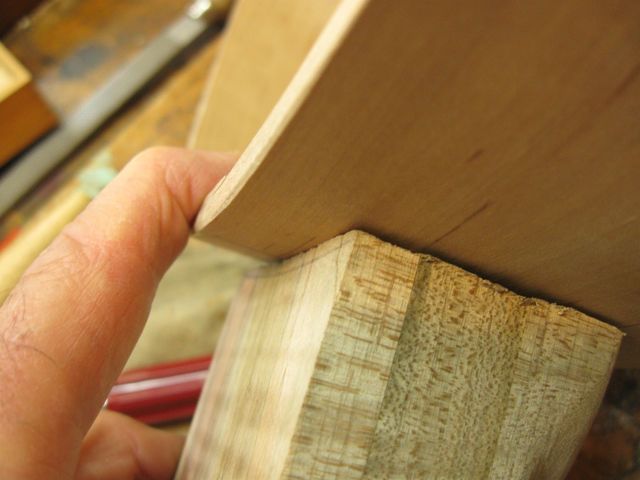
This Gap Needs to be Closed
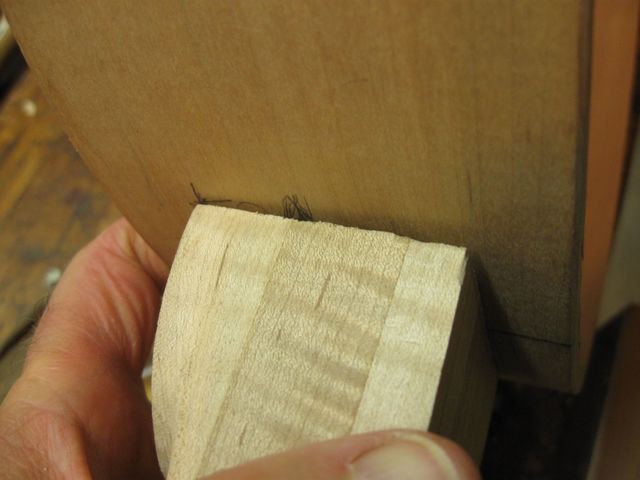
You may also notice that the edge of the heel at that point is rather jagged and uneven. I need to square that up in order to make the joint look good. I used the shoe rasp to straighten out the sides.
The Shoe Rasp Makes the Edge Straight
Here is another shot of the joint. it is closer, but not there yet.
Still More Work to Do On This
The joint on the ogee side of the neck is closer.
This Is On the Ogee Side of the Neck
The gap on the other side is also coming in.
The Other Side of the Neck is Closing Too
That is about all there is to this. Nothing glamorous here. Cut some wood; try the fit; cut some more wood; try the fit. A while ago, when I was doing this to match a neck to the curvature of a gourd I tried the recommended technique of putting shoe polish or some other dye on the hoop (gourd) and seeing where the contact is being made by where the shoe polish was left on the heel. That technique was a spectacular failure, and I don't do it anymore. It makes a mess and it distracts me from eyeballing the fit. So I just did this one by eye.
By the way, matching the neck to a gourd is much more challenging than matching a neck to a hoop because the gourd curves in both directions and the hoop curves only in the horizontal direction.
When got it fairly close I switched to the 60 grit sandpaper.
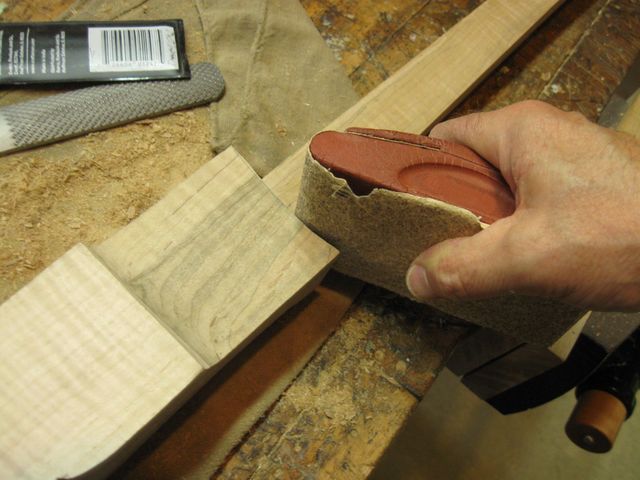
Sandpaper is Used to Finalize the Fit
Finally, I declared it done. This is not a machine tolerance fit that some factory banjos have, but it will have to do. Some people say that the exactness of the fit of the neck to the hoop is critical to the quality of the sound of the banjo, but I don't believe it. This is a banjo, after all. Twang, twang, twang. As long as it doesn't rattle, I doubt this joint has much acoustic clout.
The top part of the joint looks pretty good.
The Top of the Joint
The sides look pretty good too.
The Ogee Side of the Neck
Not a bad fit for a hand cut job, done by a guy who is very bad with a chisel (see photos above).
The Other Side of the Neck
I sighted down the neck to see how that left-leaning neck looks. There is still a bit of a lean to it, but not much. After I screw the neck to the pot so that it is permanently set in position I will see about correcting that slight lean by taking a small amount of wood off the finger board on that side. I have a quarter inch of wood there to play with, and I should need only a few thousandths.
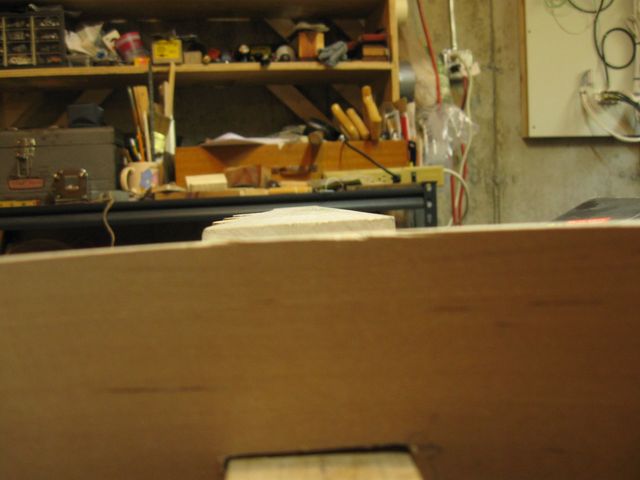
This Might Still be Leaning Very Slightly
OK! Here is the Hero Tool of the Day. My funky triangular scraper blade from the X-acto set.
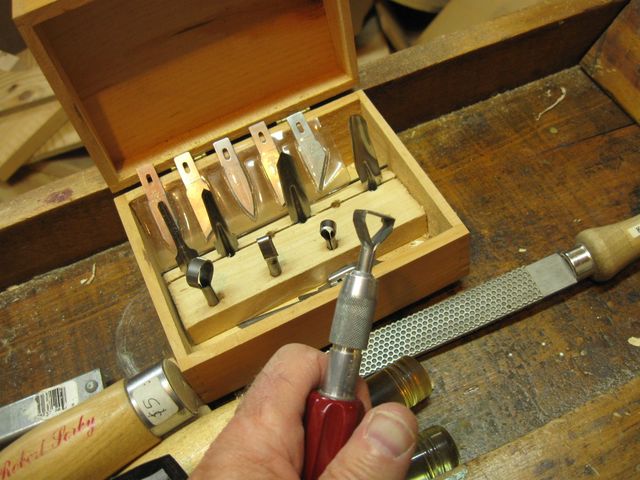
The Magical Tool of the Day
By the way, I just did a Web search and found this very same set (nearly) for about $25 (2013 dollars). So I guess this tool set has legs, because mine is about 40 years old.
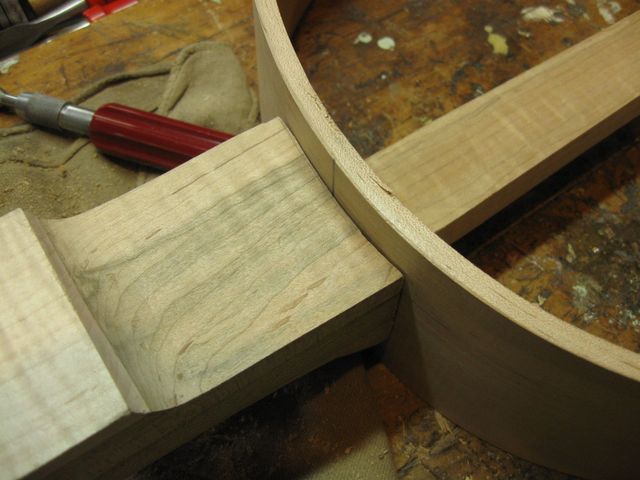
Alrighty then, here is the result of today's efforts. The heel has been cut to a concave shape that matches the curve of the hoop.
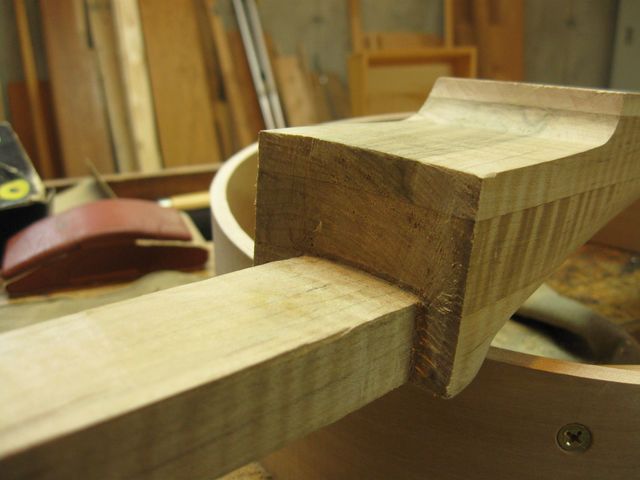
The Heel Is Now Concave
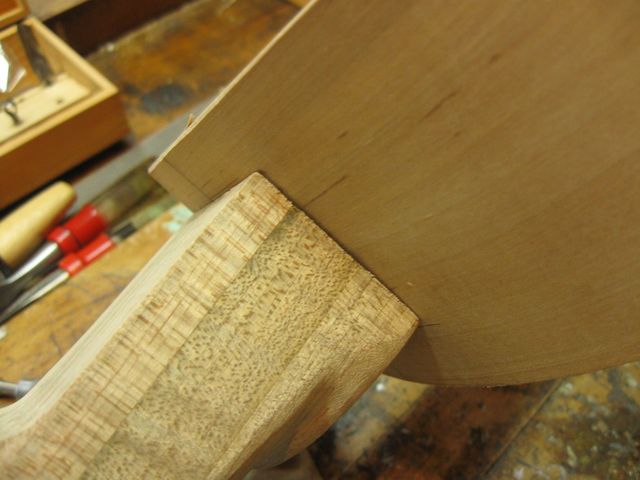
When the neck is inserted into the hoop, the heel fits up against the hoop. Here is a photo of the completed job.
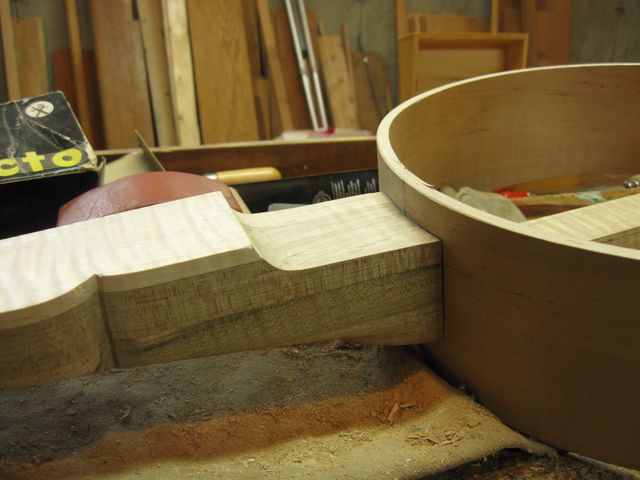
Neck and Hoop are Joined at the Heel
Backing away from the banjo, it looks pretty much the same as it did last time, before I did this work. But the Devil is in the details, and this one is done.
The Banjo as She Exists Today
The next trick is to screw the neck to the hoop and get rid of whatever leaning is left in the neck. After that, I can do a final polish on the neck to get rid of any scrapes and damage caused by all this extra handling.
