I am going to attach the neck to the hoop using two steel screws. I could not do that on the gourd banjos because once the head is on the gourd, the inside of the gourd is not accessible. But since the bottom of the hoop will be open, I will be able to get to the screws even after the head is on.
One problem that became apparent after I skewered the hoop with the neck was that the neck was leaning to the left. Here is a photo of that situation.
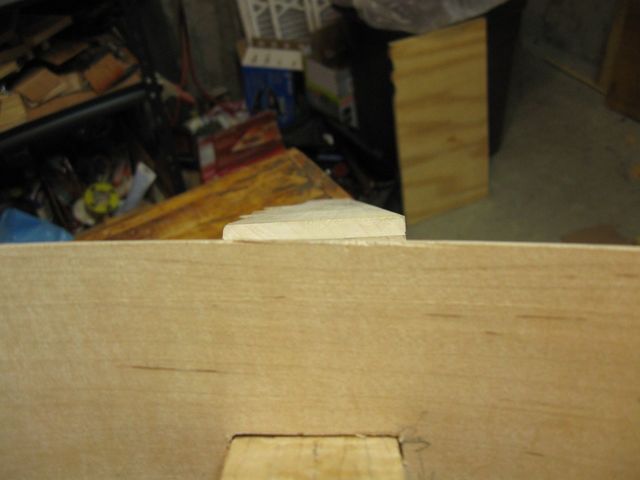
The Neck Leans to the Left
You can see in the photo that the top of the dowel stick is flush with the top of the hole in the hoop, and that the surface of the finger board is canted to the left. To fix the problem I cut the hole in the hoop lower on the right so that I could twist the neck down and make the finger board level.
Here is a photo of the neck while I am twisting it to the right.
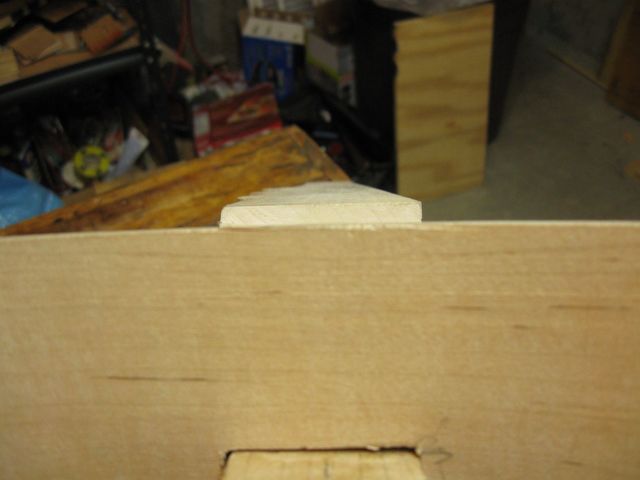
I Am Twisting the Neck To the Right
The finger board is now level with the edge of the hoop, but the dowel stick is leaning to the right in the hole. When I screw the neck to the hoop, I have to do it so that the twist is preserved. That will take some planning.
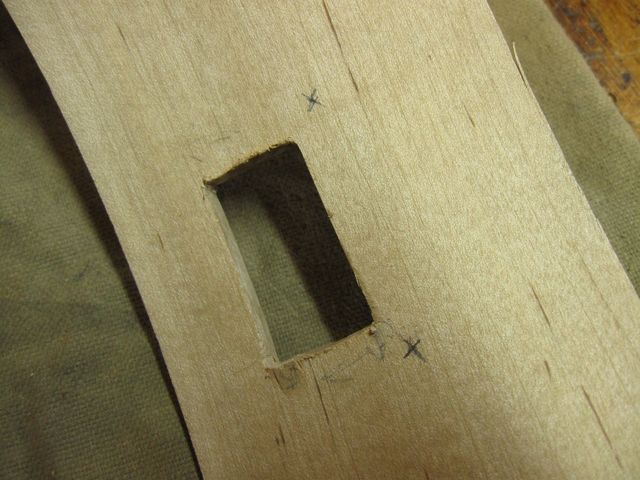
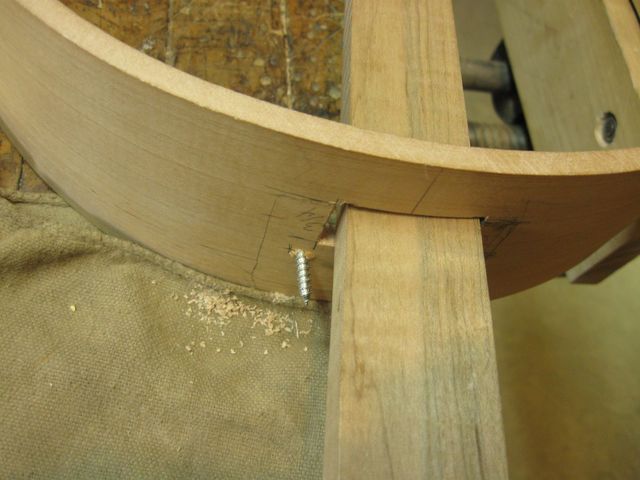
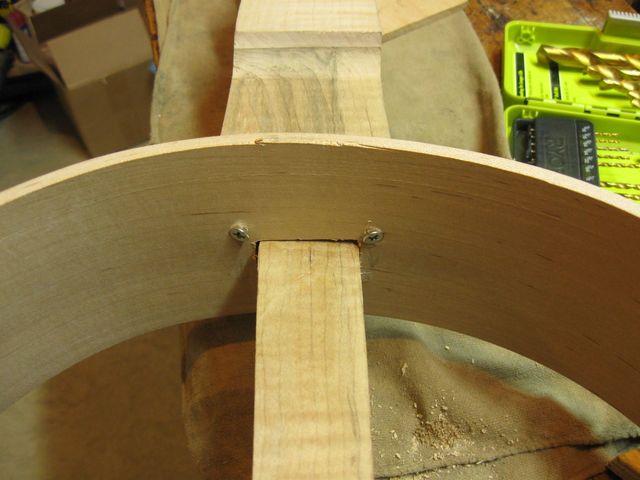
The screws will go through the hoop and into the heel of the neck like this. I will put one on each side of the dowel stick.
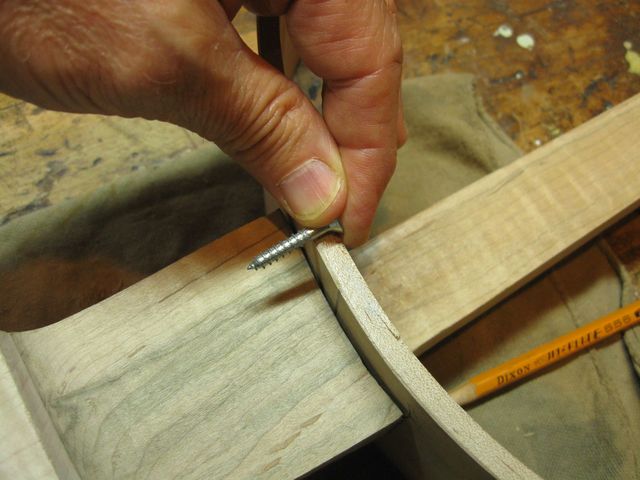
This Is Where the Screw Goes
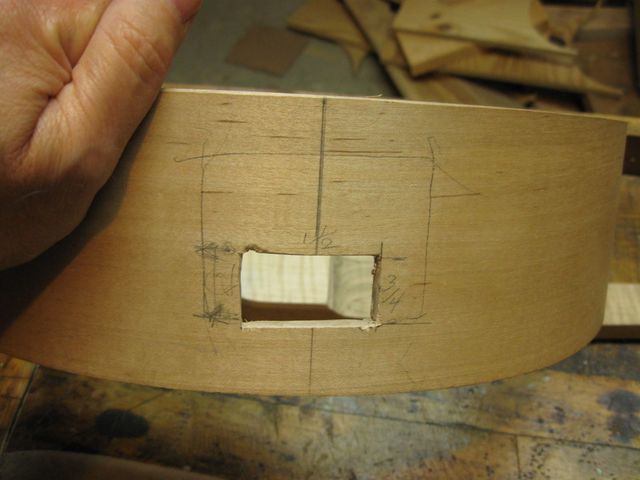
I twisted the neck in the hole and marked its outline with a pencil.
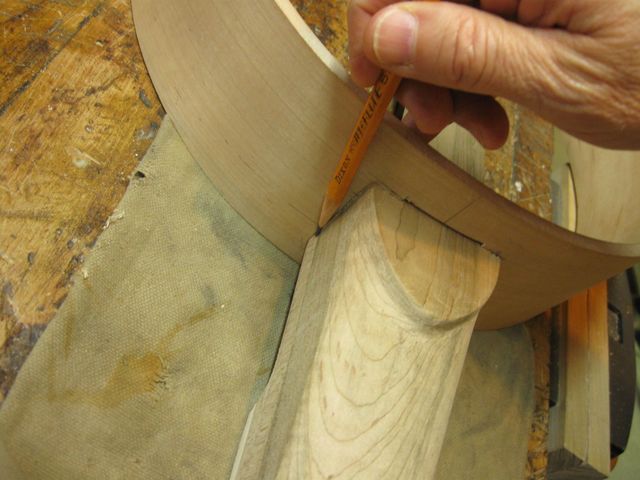
Marking the Outline of the Neck on the Hoop
The penciled in box is where the neck goes. If I put the screws through the hoop outside of that box, it won't work all that well.... because the screws will be screwed into air... and that won't hold much together. So it behooves me to make sure that the screws go inside of the box.
Put the Screws Here
I need to be able to get to the screws from the bottom of the hoop, so I can't screw them in over the dowel stick. So I measured off 3/8" from the corner of the hole and put a mark. I am hoping that there will be enough wood there to grab the threads of the screw and still have the heads of the screws accessible from the bottom.
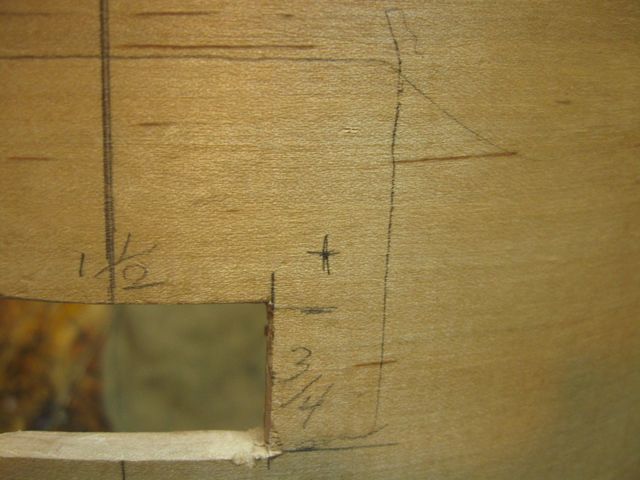
Hole One Goes Here
I marked both sides.

Hole Two Goes Here
Those two marks are definitely inside of the box. So if I duplicate those measurements on the inside of the hoop I should be good to go. That is what I did.
The Screws Go Through at the Marks
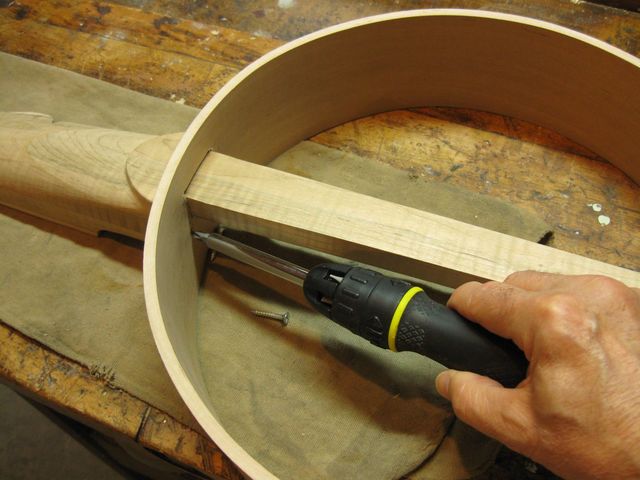
I slipped the neck into the hoop and tried it out with my screwdriver to see if this is going to work. In the photo I am not screwing anything in; I am just trying out the fit.
I figure that if I put the screws in at an angle, I can get easy access to them. That will also put more of the neck wood in front of the screws, making it less likely that a screw will poke through the side of the neck.
Measure Twice and Cut Once
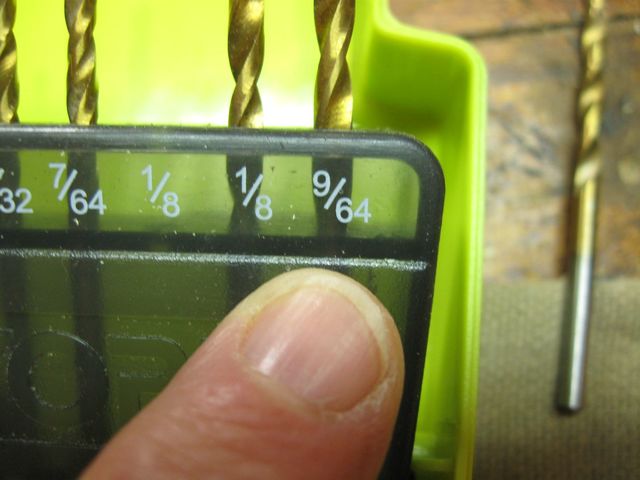
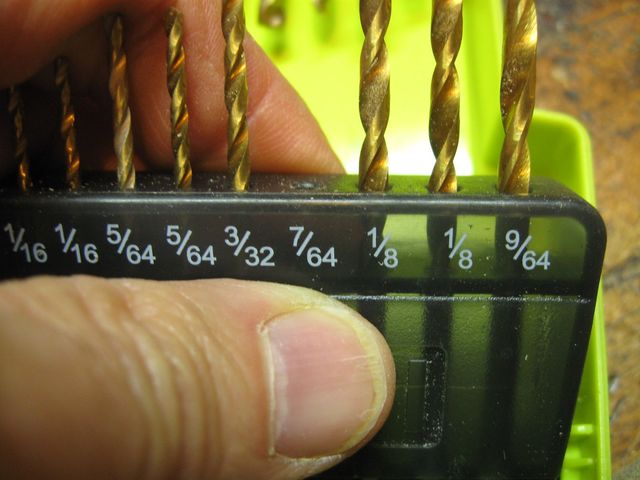
I am using #8 screws that are 1" long. I don't use those very often. I mostly use screws that are 1 1/2" long because they are going through material that is 3/4" thick. So I thought that I would measure the 1" screws to see what size pilot holes I need to drill. For a #8 screw, I normally use 7/64" for the threaded hole and 11/64" for the shaft hole. Here is what I found.
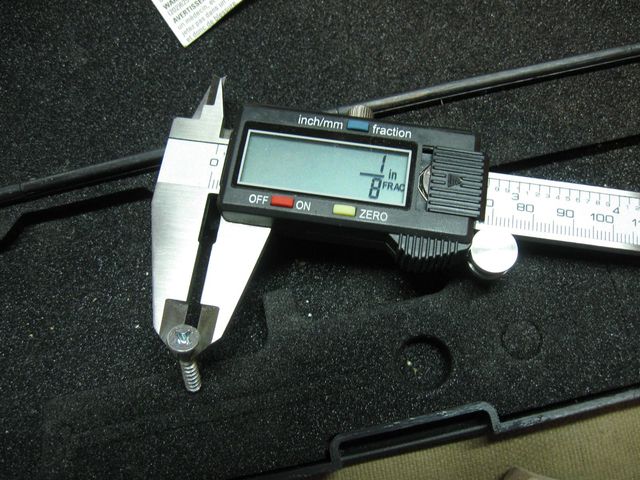
The Diameter of the 1" Screw
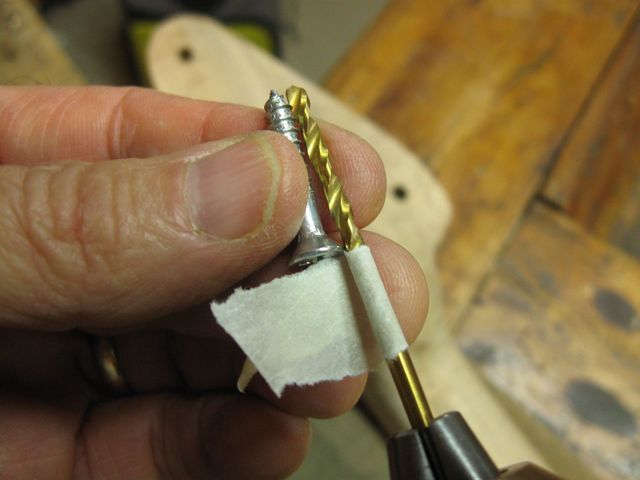
That seemed smaller than I remembered, so I found a #8 screw that is 1 1/2" long and measured that.
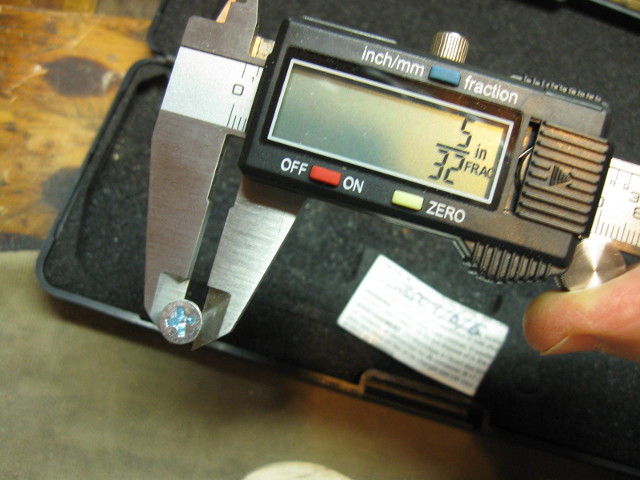
The Longer Screw Is Larger in Diameter
Very strange. Both of those screws are #8 screws. I guess #8 screws are different diameters depending on how long they are.
I measured the diameter of the shaft where the threads are to see what they have done to me down there.
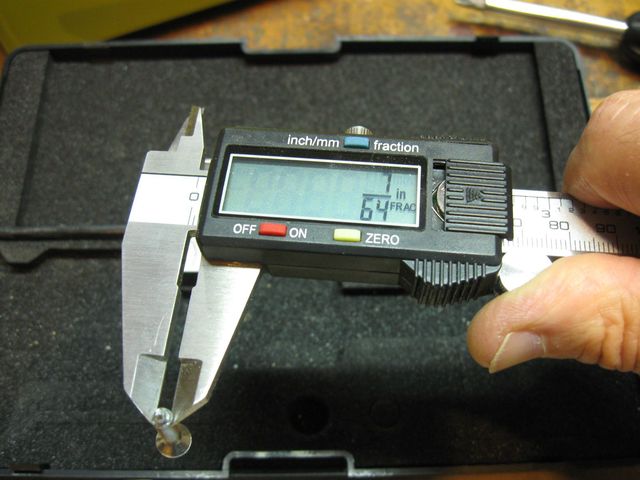
The Diameter of the Threads Appears to be the Same
That is the same 7/64" that I usually see. But the upper shaft size is different. I guess I will adjust my pilot holes accordingly.
The first thing to do is to punch the locations for the pilot holes with the center punch.
Punching the Hole Locations
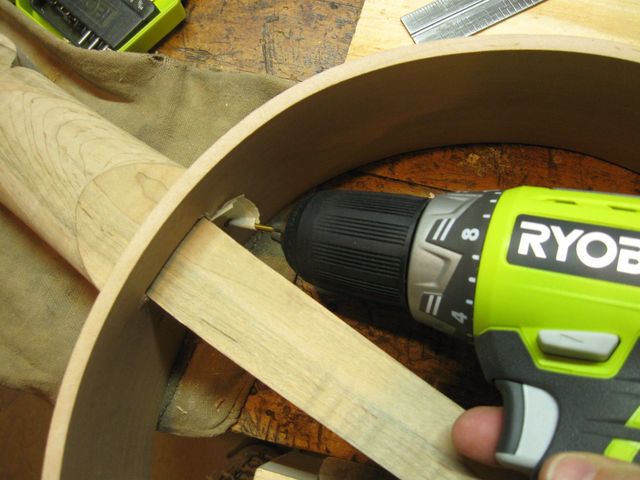
I put the neck part way in the hoop and clamped the whole thing to the bench. I did that to make sure that I would be putting the screws in at an angle that would allow me to get at them around the dowel stick. Then I drilled out the large pilot hole with the electric drill.
That is a 1/8" drill bit to make a hole that is the same size as the smooth part of the screw shaft. The heel of the neck is pulled away from the hoop so that I won't make that large hole in the heel.
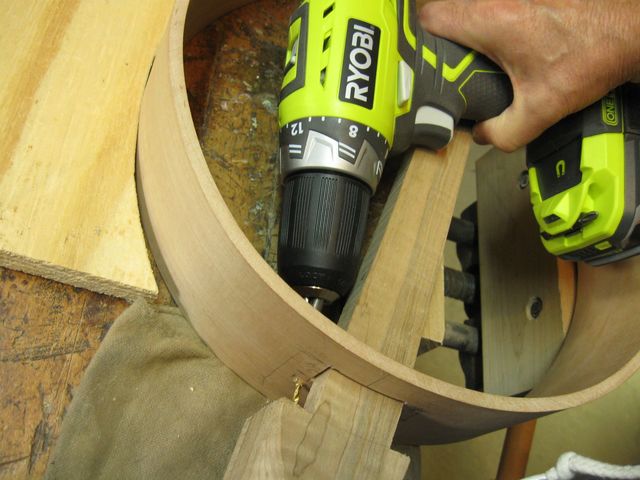
Drilling the Large Pilot Hole
Then, I drilled out the hole on the other side the same way, and put the screw in.
The Screw Won't Go Through the Hole
The screw will not go through the hole. It is supposed to go through the hole without having to screw it in so that it will slip in that hole, and screw into the hole in the neck and pull the two pieces together. But it won't go through the hole.
The 1/8" bit has not made a big enough hole. Strange. So I upgraded my drill bit size to 9/64, which is just a bit larger than the shaft size.
This Drill Bit Should Do It
I drilled the holes out to the larger diameter and put the screws in them. It goes in farther, but it still won't go through.
The Screw Still Does Not Fit
So, I upgraded my drill bit to 5/32. I will eventually find one that fits this screw.

Upgrade the Bit Size to 5/32"
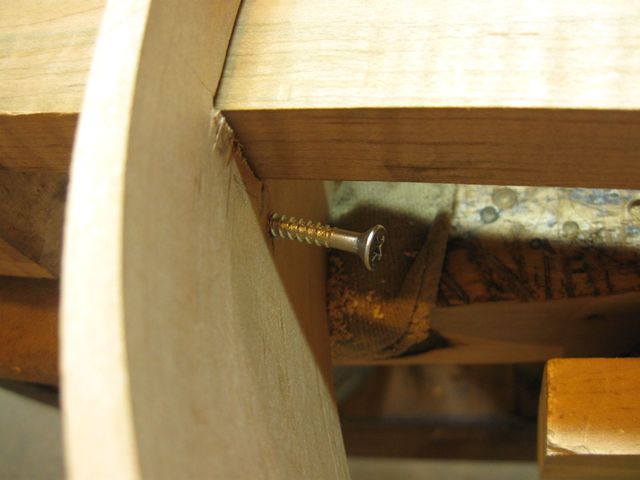
This time, the screw was tight, but with a little screwdriver persuasion it went through.
The Screw Finally Goes Through the Hoop
The next bit up from the 5/32" bit is the 11/64" drill bit, which is the one that I normally use for a #8 screw, and it would probably have worked fine after all. So I give up trying to outsmart these screws with my calipers. From now on, it is #8 screws and 7/11 pilot holes!
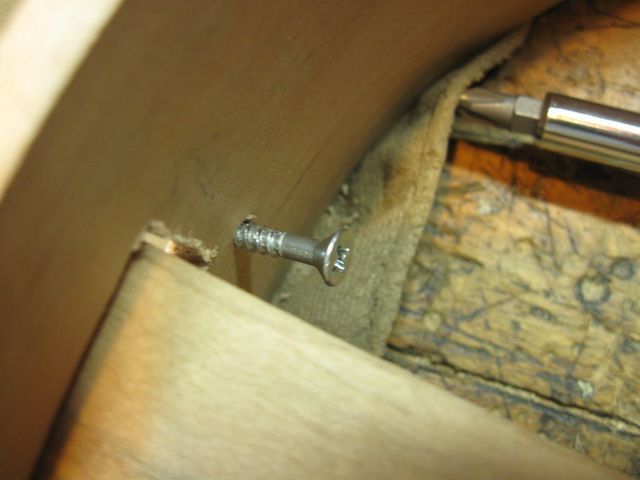
For the pilot hole in the neck that the threads will bite into I used the normal 7/64" bit.
The 7/64" Bit is In the Drill
I put a flag on the bit at the 1" mark to match the length of the screw. That will keep me from poking the bit through the neck.
I Put a Flag on the Drill Bit
Then I put the neck all the way in the hoop, clamped the whole thing to the bench, twisted the neck to the left with my left hand, and drilled out the small pilot hole with my right hand. If I had a third hand, I probably could have used it for this.
Drilling the Small Pilot Hole Into the Neck
I put the screws into it and cinched it all down with the screwdriver. Here it is.

The Neck is Screwed to the Hoop
Here is a photo from the top of the hoop. When the head is on it, this viewpoint will not be accessible.
The View from the Top
I thought I would see how I did with the slant of the neck by sighting down the neck again.
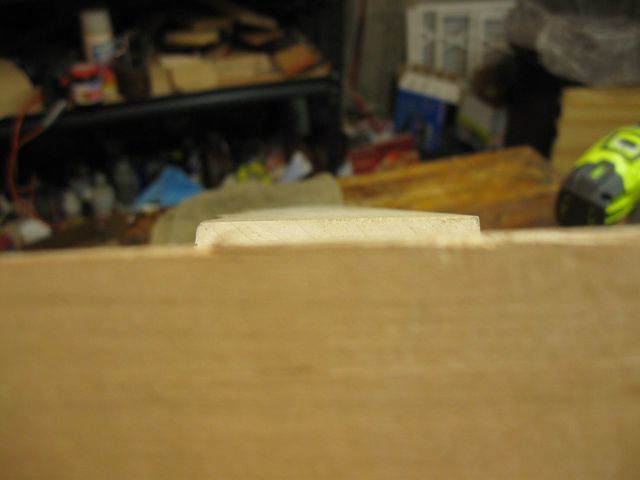
The Neck Looks Level
Wow. The neck looks level. I don't think that it needs any correction at all. I guess all this trickery worked. The finger board is not elevated above the level of the hoop as it looks in the photo. I took the photo from a high angle so you could see the end of finger board. The neck is actually quite level and square now.
Now that it is screwed together, this is the permanent location of the neck with respect to the hoop. Let's see how the neck angle came out after all that. I put the machinists rule on top of the hoop and down the neck so I could measure the deflection of the neck at the nut.
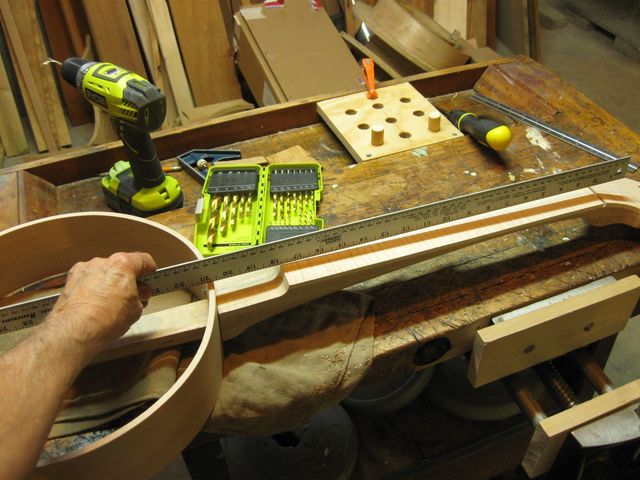
Measuring the Neck Angle
There was no way I could hold the rule and measure the deflection at the nut and still take a photo, so you just have to take my word for it. The deflection of the rule at the nut was 13/32". So, with a neck length of 19", we can calculate the resulting neck angle:
n = length of the neck = 19".
a = angle of the neck
d = deflection of the neck at the nut = 13/32" = 0.40625"
tan(a) = d / n = 0.40625 / 19
a = ArcTan(0.40625 / 19) = 1.22488759436°
That is a little more than the target angle of 1°, but it is close enough. I will take it. Here is the banjo skeleton all assembled. It looks the same as last time, but it isn't.
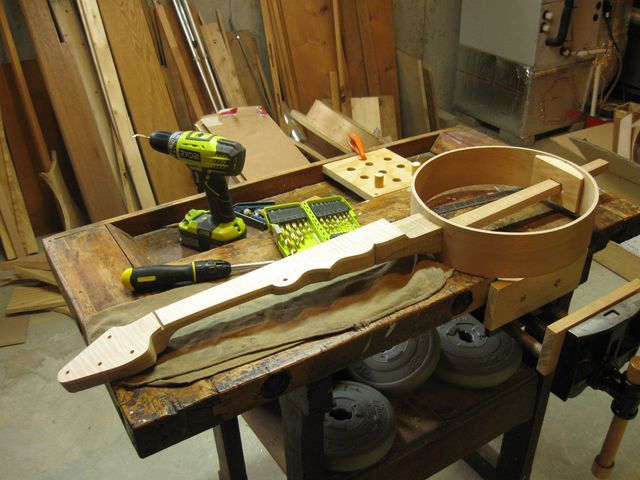
The Banjo is Screwed
Next time, maybe I will make the tailpiece.
